Refresh Your Wardrobe

Refresh Wardrobe (1)

Today’s activity is one of those for mama, not baby. The goal: to refresh your wardrobe.

I knew I needed this challenge! My go-to dresses all summer have been the same ones I wore last summer (i.e. maternity clothes) because they are loose and are perfect for nursing. But it was also nice to think about shopping for clothes that were just for my body, not for a body that’s pregnant or lactating.

I headed off to the mall, but somehow this didn’t feel right, too indulgent. At least Veronika was napping so the mall was a nice cool place for it!

Refresh Wardrobe (5)

I kept getting distracted by baby stores; I was out of the habit of indulging myself since I only buy kids’ clothes these days!

Refresh Wardrobe (6)

I backtracked to a local store, because it always feels good to shop local. Veronika was awake now, and loved playing in the dressing room.

Refresh Wardrobe (3)

And mama got a little wardrobe refresh after all. In sum, take the time to do these things for yourself. Baby gets a fun outing, and you get to practice some self-care.

Refresh Wardrobe (7)


Express Emotions

Express Emotions (4)

Veronika had a tough day today. My hunch is because of teething, or perhaps a Wonder Week, but sometimes babies just have fussy days and we as parents just ride them out.

But it was a good reminder to focus on emotions, not just teaching her the positive ones, but also giving her words for the sad ones. So today, when I felt happy (or Veronika did), I made a big show of it on my own face.

Express Emotions (2)

And when she was sad, I mirrored that. “You’re feeling sad,” I commiserated.

Express Emotions (5)

You can do the same throughout the day (or any day!) with surprised, angry, scared, tired, or any other emotion that crosses your baby’s face. Here she is a bit worried by loud noises.

Express Emotions (1)

If you’re looking for inspiration, flip through some children’s magazines or books together and point out the various emotions.

Express Emotions (9)

Either way, it’s healthy for your little one to learn about all these emotions. And maybe a happy face in a book will cheer Veronika up!

Express Emotions (3)

Summer Baby Field Trips

Summer Zoo (2)

If it’s your baby’s first summer, you may be hesitant to get out and about in the heat. But here are a few of my suggestions for places that – yes! – you can take baby. Veronika is 9 months old for all of the ideas below, but you can adapt them for your child from birth on up.
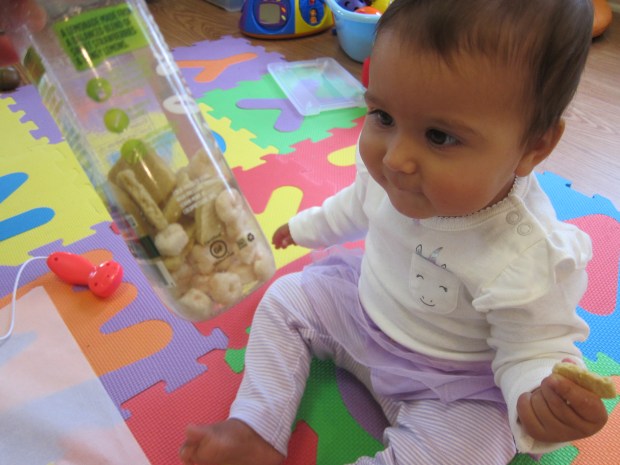
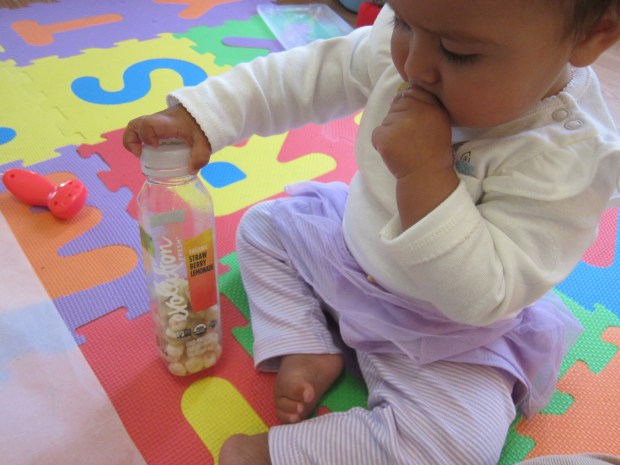
Head to the Pool:

Ideally, there will be a kiddie area with shallow water where you and your baby can sit together. Worst case scenario, camp out on the shallowest step.

Head to Pool (1)

Veronika loved hanging out here, kicking her feet and dipping her hands in the water. Bigger kids brought her a few pool toys, which made fantastic teething rings.

Head to Pool (3)

Tips: Make sure to stay in the shade as soon as you’re out of the water and dried off, and come prepared with plastic baggies (for wet bathing suits), swim diapers, regular diapers, a change of clothes, and snacks or milk (depending on age).

Head to Pool (2)

If you’re inclined to go deeper, take baby in your arms to swish around; babies love this feeling of weightlessness.
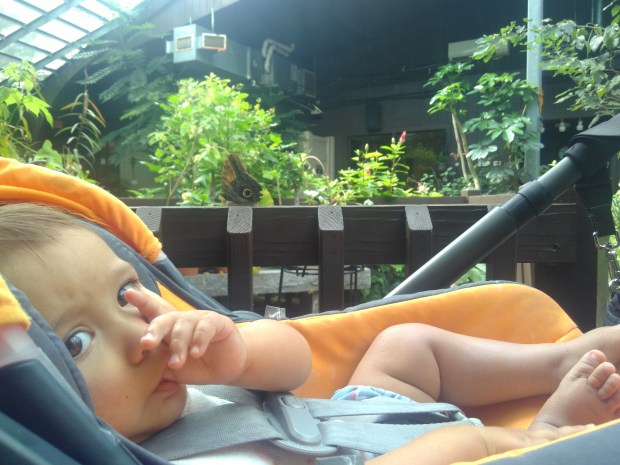
Butterfly Garden:

We stopped by a small butterfly garden that’s been in our local area for almost 30 years. The wonder in Veronika’s eyes was immediate as she watched the butterflies swirl and dance above her.

Butterfly Garden (1)

One landed on her shoulder and it was pure magic. She looked over at me after watching this one, as if to make sure I saw it too.

Butterfly Garden (3)

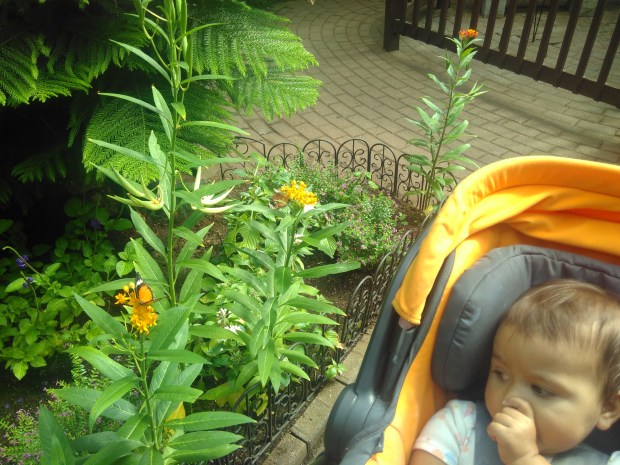
She also loved just touching the plants and bright flowers.

Butterfly Garden (7)

There are so many colors and scents for a baby in this experience! Just make sure you help keep little fingers away from the delicate insects themselves.

Butterfly Garden (5)

Tips: Go early (right at opening is ideal!). Many places like this will host camp groups in the summer, and I wanted her to marvel at the butterflies without lots of kids in the way. We were lucky to share the room with only two other families.

Butterfly Garden (2)

Also, consider leaving the stroller behind. She was much more into it when she was out where she could swivel her head and take in the butterflies from all directions.

Admire New Construction:

Big trucks are fascinating to babies and for good reason! There’s noise, there’s movement, there’s lifting, there’s digging. Veronika and I stopped by a local street that’s been under construction all season. There goes whirly swirly cement truck!

Construction Site (4).jpg

She had no idea what was coming around the corner, but grinned once she saw this bulldozer go by.

Construction Site (1)

Tips: If the noise is too loud for your little one, consider standing far back, or investing in Baby Banz.

Construction Site (3)

There will still be plenty of movement and excitement to observe from far back, without overwhelming the senses. Also, try to go on a day that’s not too hot, or when you can be in the shade, since construction sites tend to be sun-drenched dusty places.

Construction Site (2)

Botanical Garden:

Don’t think your baby will be bored in a place with no toys; as with the butterfly garden, the draw here is for all the senses.

Botanical Garden (7).JPG

There are bold colors to take in visually; the feel of wind on hair or sunshine on skin or grass on toes; and of course the smell of pretty flowers.

Botanical Garden (2)

Many botanical gardens can be overwhelmingly large, so either find a small one or stick to a small area.

Botanical Garden (5)

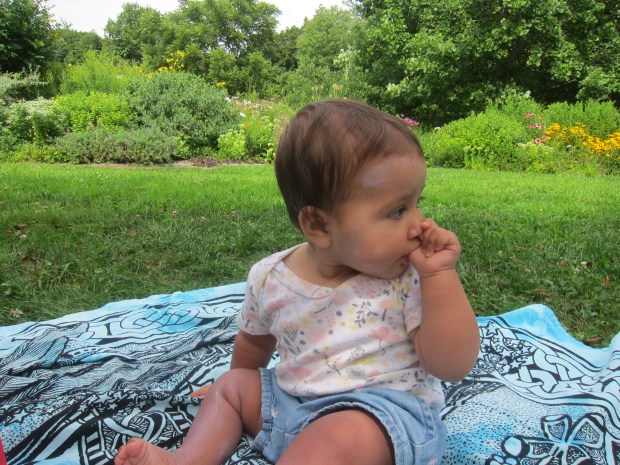
If allowed, lay down a picnic blanket and spread out a few toys or books to read together and make a little afternoon of it.

Botanical Garden (6)

Tips: Just because you’re not at a pool or beach, don’t forget a big sunhat and sunscreen. Also make sure to bring along bug spray, especially if garden trails lead through wooded or shady areas.

Botanical Garden (1)

Animal Fun:

I don’t take my kids to zoos, but I love exposing Veronika to animals through local sanctuaries. Although we’ve visited such farms in the past, today she was very alert and focused on the animal’s behavior. She loved watching the chickens and roosters.

Summer Zoo (2)

Their crowing startled her a little, but she was fascinated watching them take dirt baths or roost up high.

She also loved the cows! For each animal we marveled at, I reminded her of their noises. “Moo moo!”

Summer Zoo (4)

The sheep were enjoying a morning munch on grass, which she seemed to love.

Summer Zoo (3)

There’s lots of great ways to expose your baby to new vocabulary on a trip like this, too. Barns and tractors come to life, instead of being abstracts in a board book!

Summer Zoo (5)

Tips: Go in the morning. Animals will be more active before the hottest part of the day, and your baby will notice movements more than sleeping animals.

Where have you taken your baby this summer? Please share in the comments!

Faces of the Moon

Face of Moon (10)

If you’re looking for the most delicious way under the sun (er, moon!) to teach your kid the names for all the moon’s different phases, this quick lesson plan from Raddish Kids has you covered. Hint: It involves Oreo cookies.

But before I let Travis eat cookies, we focused on a little moon information. I asked Travis what he pictured when he thought about the sky; he came up with ‘blue’ and ‘clouds’. Two great daytime picks! But what about focusing on the nighttime sky, I asked him.

Face of Moon (1)

We watched two quick background videos on moon phases and I also made him a chart (which earned a “thanks Mom!”). This was his first introduction to some great science words, like waxing, waning, and gibbous.

Face of Moon (2)

Now it was time to show him the moon phases with three neat projects.

To make the first, a moon phase viewer, cut a black rectangle from construction paper. Fold the paper in half and open back up again. Cut a white square from white construction paper that fits in the folded black rectangle, leaving a long tab on either end so you can pull the white paper side to side.

Trace a coin on the black paper, pressing firmly so the imprint is visible on the white paper below as well. Cut out both circles.

Face of Moon (3)

Now line up your viewer and slide the white paper to see it change from gibbous to half to crescent to new and back again!

Face of Moon (4)

For the second moon viewer, you’ll need two plastic cups. Glue or tape a yellow circle onto black construction paper and insert into one plastic cup; tape into place.

Face of Moon (6)

On the second cup, label a place for full, waning half, new, and waxing half moons. Now rotate your yellow circle and color over it with black sharpie as appropriate to form each moon phase, leaving the full moon with no sharpie. Travis loved spinning this one!

Face of Moon (5)

The third version is where he had the real fun! I set out eight cookies (we like Newman O’s) on a diagram and it was Travis’s job to scrape the right amount of frosting off each to form the eight phases.

Face of Moon (7)

Needless to say, there was much nibbling along with the scraping!

Face of Moon (9)

I had to help him with some of the trickier ones (gibbous, crescents), but he was a pro at half and new moon.

Face of Moon (8)

We finished off with a read of The Moon Book by Gail Gibbons.

Face of Moon (12)

Consider making craters in a clay moon if your kids want to continue the fun!

Face of Moon (11)


Eat the Alphabet

Eat Alph main.JPG

What better way to conclude an almost-kindergartner’s summer alphabet lessons than to eat your way through it? Each day for 26 days at snack time, I gave Travis a food starting with a letter, in alphabetical order. He had to make that letter first, then – yum – gobble it up! Without further ado, Travis nibbled his way through:

A for apples

Eat Alph A

B for banana slices

Eat Alph B

C for cereal

Eat Alph C

D for dates

Eat Alph D

E for eggplant

Eat Alph E.JPG

F for Fritos

Eat Alph F

G for grapes

Eat Alph G.JPG

H for Hippies (chickpea puffs)

Eat Alph H.JPG

I for ice cream cone

Eat Alph I

J for jelly

Eat Alph J.JPG

K for kiwi

Eat Alph K.JPG

L for licorice

Eat Alph L

M for marshmallows

Eat Alph M

N for nuts

Eat Alph N

O for Oreo cookies

Eat Alph O.JPG

P for pretzels

Eat Alph P

Q for quesadilla

Eat Alph Q

R for raspberries

Eat Alph R

S for Sour Patch kids

Eat Alph S.JPG

T for Twizzlers

Eat Alph T.JPG

U for Utz chips

Eat Alph U.JPG

V for veggie stix

Eat Alph V

W for watermelon

Eat Alph W

X for two x-ed bell pepper stix

Eat Alph X

Y for yams

Eat Alph Y

and Z for zucchini!

Eat Alph Z

Suitcase Sandbox

Suitcase Sandbox (4)

If you’re hesitant to bring your baby to the beach during his or her first summer, then bring the beach to your baby! This little activity is one step up from the sand sensory play I did when Veronika when she was only 6 months old.

This time, I found an old craft suitcase and completely filled the bottom with sand. Any old suitcase with hard sides would work fine for this purpose! I briefly considered that bigger might have been better, but the small one had an added bonus: I could do the entire activity in the tub, making for fantastically easy clean-up.

Suitcase Sandbox (1)

I stripped Veronika down to a diaper and sat her in the sand. Beach day!

Suitcase Sandbox (2)

The most fun was burying her hands and feet and then helping her uncover them. She loved just kicking her legs in the sand, although looked confused by the grittiness, too.

Suitcase Sandbox (3)

I sprinkled some over her upturned palms, but found that in general it was best to keep the sensory play to her feet, so she didn’t eat any sand.

Suitcase Sandbox (6)

After a time, she seemed frustrated by the small box so I moved her to the side.

Suitcase Sandbox (5)

I loved watching her reach in and draw patterns in the sand.

To clean up, simply close the suitcase and save it for next time! Any extra sand that had spilled was simply rinsed down the tub drain.

Suitcase Sandbox (7)

Melted Crayon Suncatchers

Crayon Suncatcher (8).JPG

It’s so fun to harness the power of the sun when you make art in the summertime. Travis and I used melted crayons in a project once before, but that one relied on the indoor heat of a hairdryer. This time, we put the sun’s heat to work!

To set up, lay a piece of black construction paper on a baking sheet. The dark surface and the metal will help absorb as much of the sun’s heat as possible. Cut two equal sheets of wax paper, and place one on the black paper.

Crayon Suncatcher (1)

The next step was a bit tricky: remove the paper wrapper from crayons and use the edge of a craft stick to shave off bits of wax. Travis found this to be quite difficult, and in all honesty, I did too.

Crayon Suncatcher (2)

After he’d tried for a bit, I made sure our wax paper was covered with enough shavings. Cover that with the second piece of wax paper.

Crayon Suncatcher (3)

Now place in direct sunlight (just like we did with a solar oven a few days ago)! Depending how hot the day is, your crayons may need anywhere from 1 hour to several in order to melt. You can press down, on occasion, to help the process along.

Crayon Suncatcher (5)

To turn it into a suncatcher, cut the wax paper into rectangles or other shapes, and punch a hole in the top of each piece.

Crayon Suncatcher (6)

Thread them onto a dowel (or attach with string), and hang up in the window to catch the sun.

Crayon Suncatcher (7)

What beautiful sunshine!

Crayon Suncatcher (9)


Sundial

Sundial (12).JPG

Last summer Travis helped make two DIY versions of a sundial, but he was really too young to understand how we were tracking the sun. This year, he was ready, and our model a bit more precise!

First, he traced a circle on a piece of sturdy poster board.

Sundial (1)

Cut out and find the exact center of your poster board by measuring halfway lengthwise and crosswise.

Sundial (2)

We used a dowel as our centerpiece, and used clay to hold it in place; Travis pressed down the clay, and then made sure the dowel was nice and secure.

Sundial (4)

We headed out the next morning as soon as sunlight hit the patio, and I showed Travis how to trace a straight line along a ruler following the dowel’s shadow.

Sundial (6)

I pointed out how looong the shadow was this time of day, too, and challenged him to notice how that would change as the day went on.

Sundial (7)

We missed a few morning hours because we were out and about! But by 1 p.m. we were steadily marking on the hour. As we had guessed, the dowel’s shadow was much shorter in the middle of the afternoon, then began to lengthen again.

Sundial (8)

After 5, we lost our sunlight on the patio!

Sundial (9)

So now it was time to head inside and decorate the sundial. Dot markers were the perfect tool for the job!

Sundial (10)

Travis loved the way it looked and now has a neat visual of the sun’s path across the sky each day.

Sundial (11)


Make a Noise

Make a Noise (3)

Admittedly sometimes parents just want the kids to be quiet (is that even possible?) but likewise sometimes it’s great to encourage loud play. Babies and toddlers love banging things together for a reason; they reap an instant reward for their efforts, and they provide themselves with instant entertainment. You can help them get the loud out of their system with this quick-as-can-be game.

I took two of Veronika’s teacups and banged them together. That’s it! Then I handed them over.

Make a Noise (1)

She didn’t need to see it twice.

Make a Noise (2)

Soon she was tapping with glee…

Make a Noise (5)

…and occasionally eating the cups.

Make a Noise (6)

You could also play this game with two stacking cups, or any other two toys, really, but Veronika seemed to like the teacups best!

Make a Noise (4)


Quick Make & Play Edible Sensory Bottle

Edible Bottle (4)

This fantastically easy sensory bottle is quite possibly my new favorite thing in the world…and Veronika’s, too!

To set up the bottle, save any clear plastic juice bottle with a wide mouth and a lid you can screw on tightly.

I gave Veronika the bottle (which of course is a toy all by itself!) and set out a few easy-to-hold snacks in front of her, including Plum Organics super puffs and Earth’s Best letter of the day cookies (both vegan!).

Edible Bottle (1)

I showed her how to drop some of the snacks into the bottle, making a nice plink sound each time. She soon was following suit, with the added fun that she could nibble as she worked.

Edible Bottle (2)

Once she paused to enjoy the puffs, I filled the bottle a little further and put on the cap.

Edible Bottle (3)

Now it was a sensory bottle to shake!

Edible Bottle (5)

The real beauty of this sensory bottle became apparent as soon as we were on the go. At the grocery store, first Veronika could just enjoy playing with it, shaking it or chewing at the cap.

Edible Bottle (8).jpg

But when she got a little fussy, I unscrewed the cap and surprised her: a snack!

Edible Bottle (9)

She kept handing me the bottle over and over, asking for little puffs with sounds and gestures. I loved watching her enjoy the toy in multiple ways during our shopping trip and I may very well always keep one of these on hand from now on.

Edible Bottle (6)