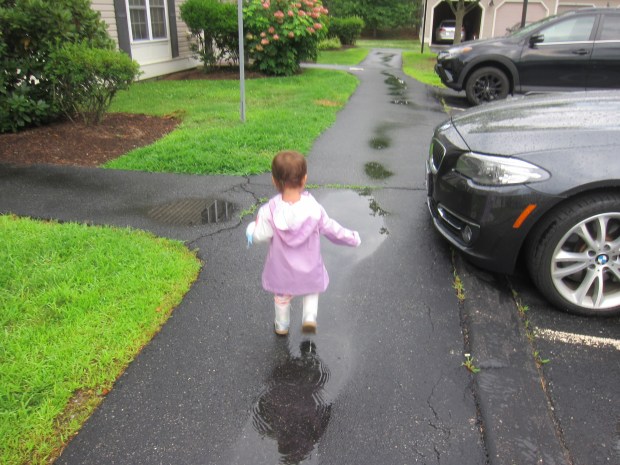
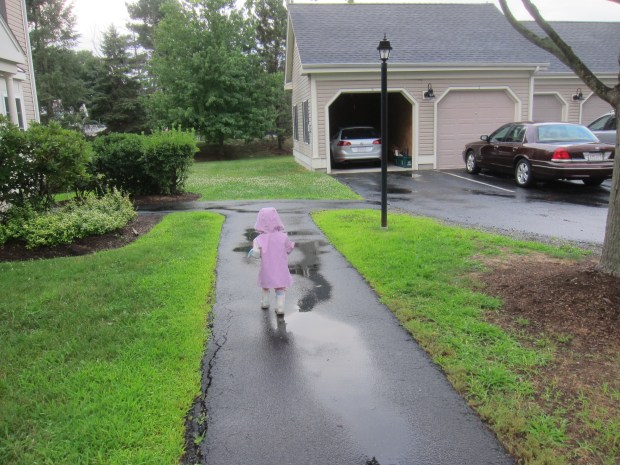
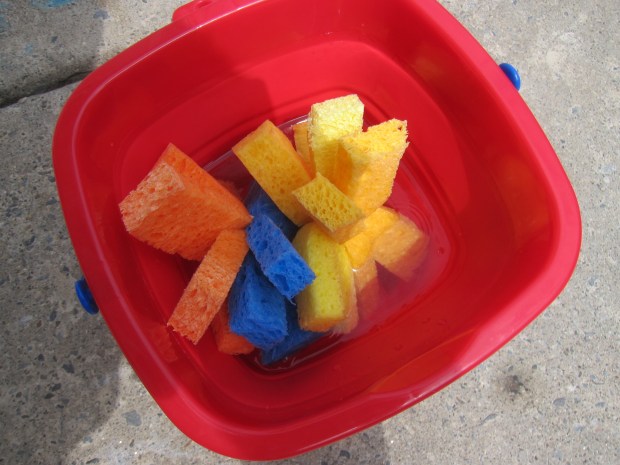
We woke up this morning to a summer rain storm, the barely-drizzling kind of warm rain that’s perfect for walking in. So no sooner had the kids eaten breakfast than I knew what we needed to do: Take a rain walk!
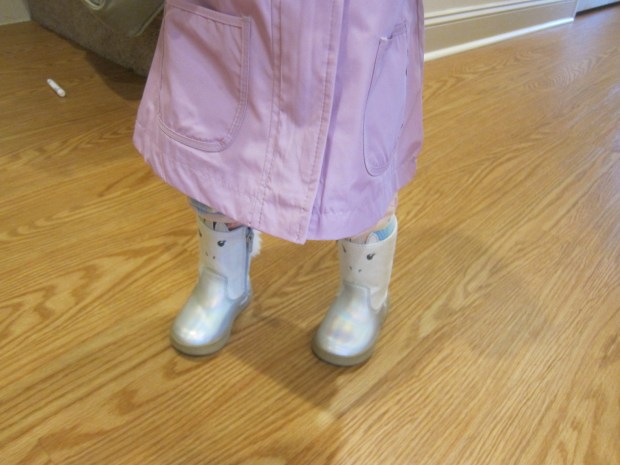
We put on rain boots and rain jackets just for fun, since Veronika has new rain swag for the fall. But honestly it wasn’t even cool enough to need them.
Off the kids headed, intrepid rain explorers!
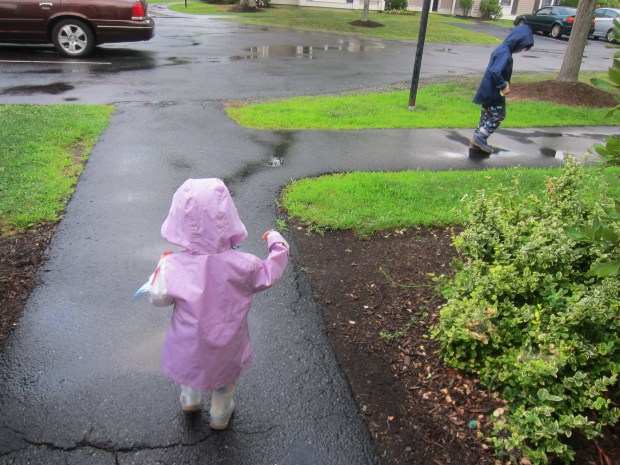
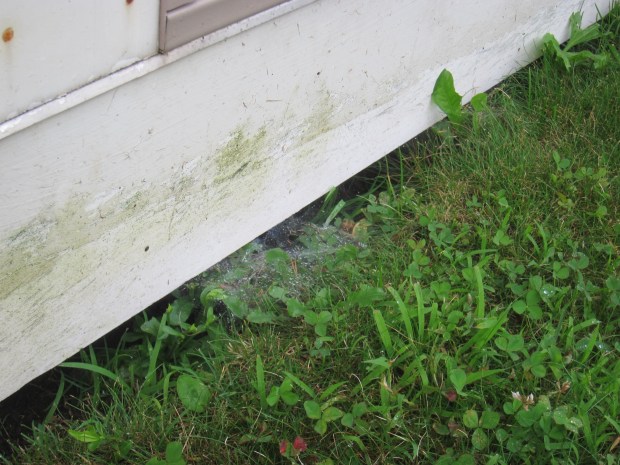
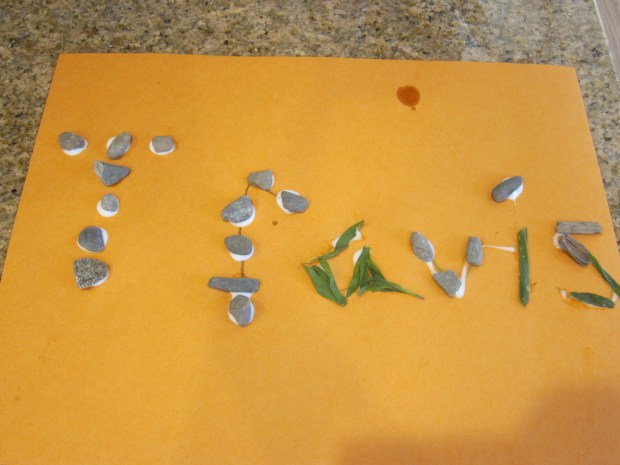
It was so beautiful just to watch their wonder. I encouraged big brother Travis to notice what was different after a rainstorm, whether the obvious (puddles to stomp) or the subtle (spiderwebs covered in wet drops).
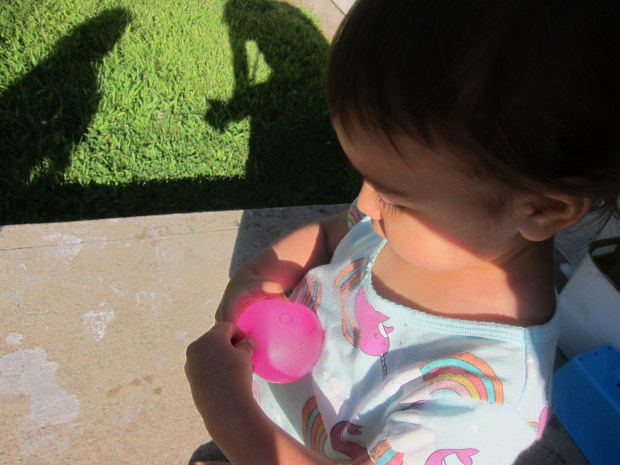
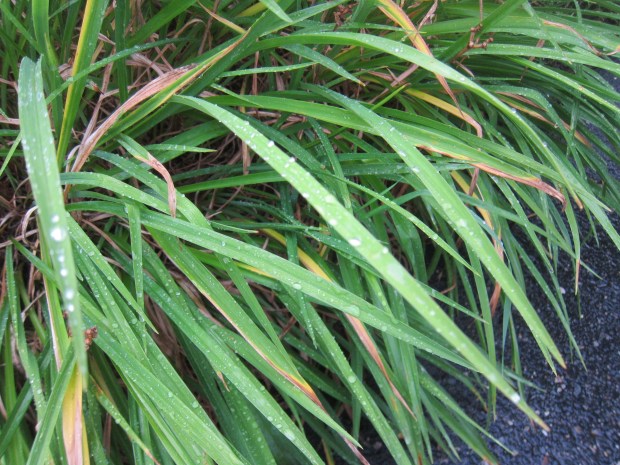
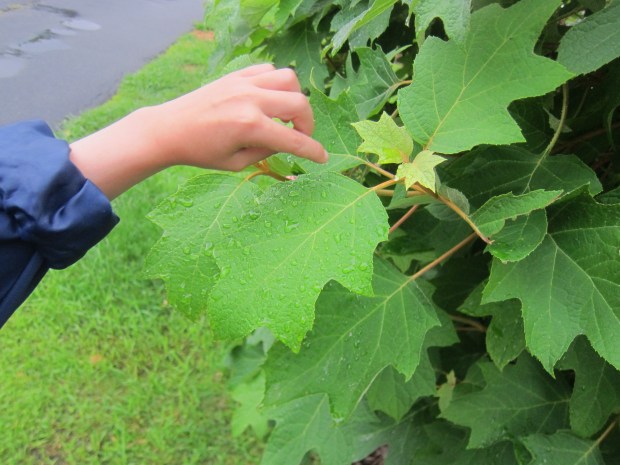
Veronika loved the sensory elements of the walk. I pointed out leaves covered in raindrops which she could pop like bubbles.
And gently shook the raindrops from a tree onto her head.
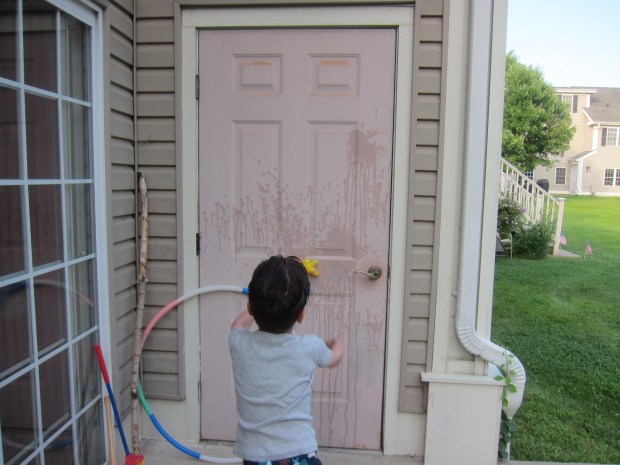
And yes of course, the biggest hit was finding puddles to stomp.
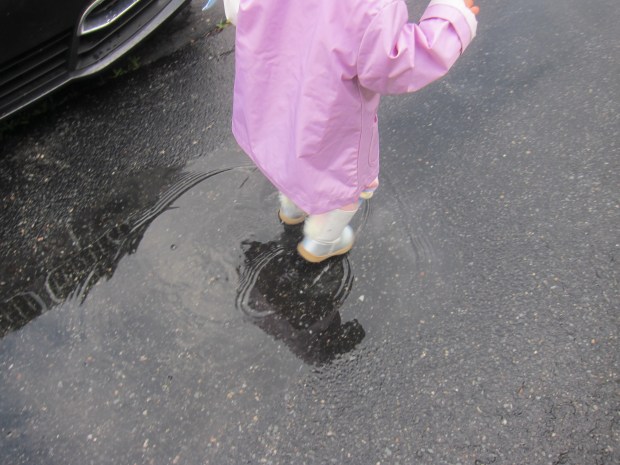
And stomp.
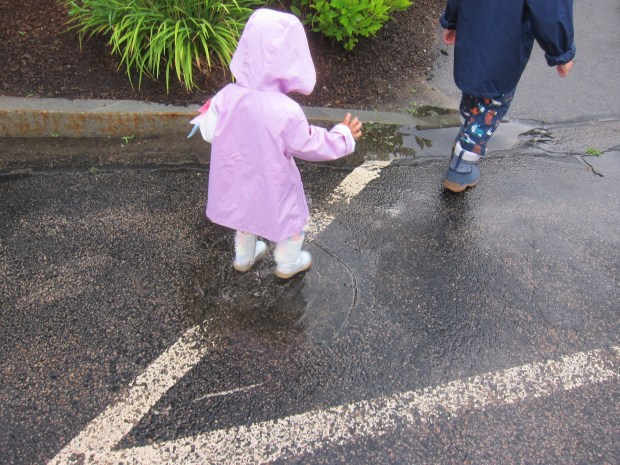
And stomp.


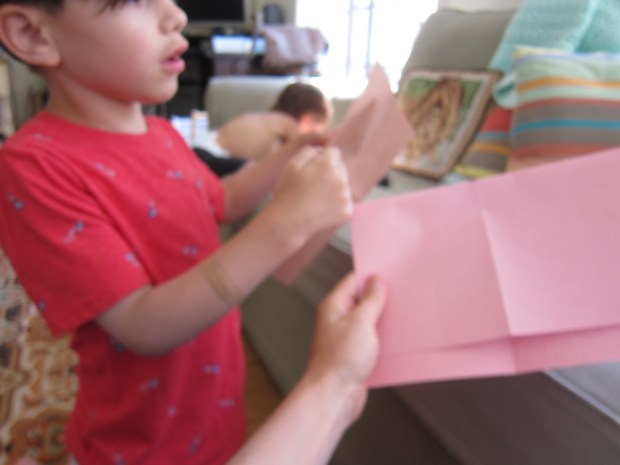
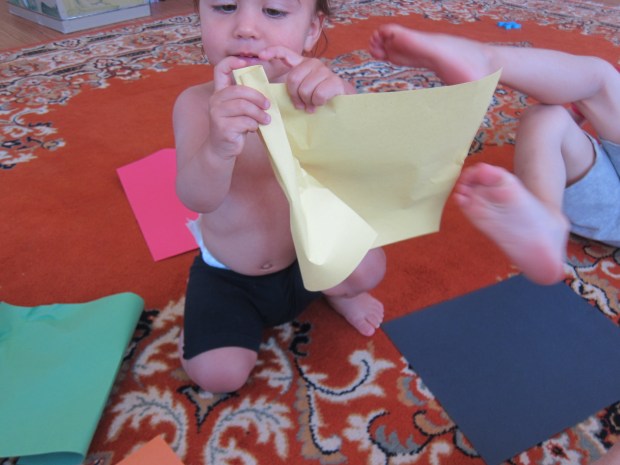
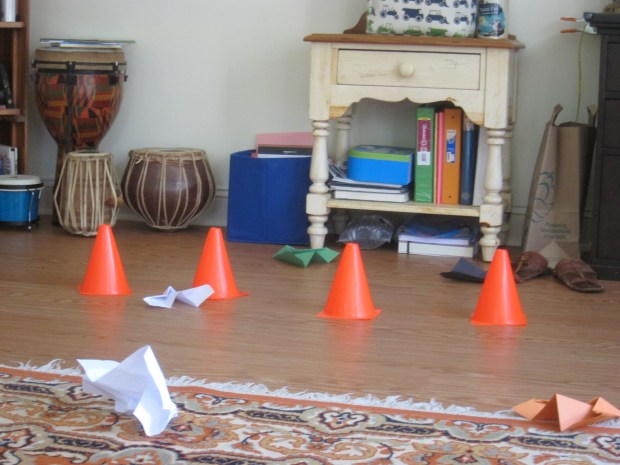
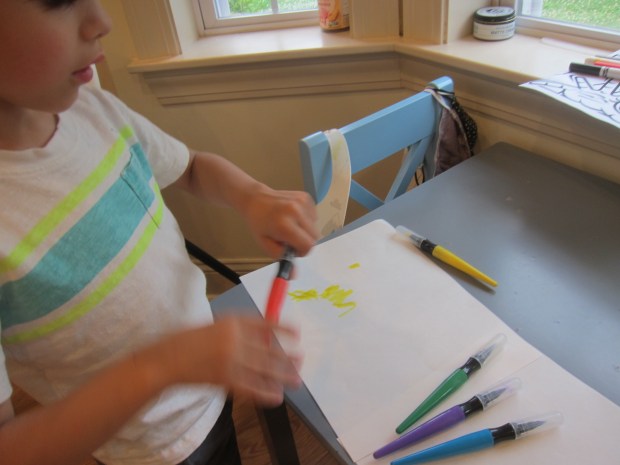
 …and little sister crumpling up lots of extra paper to participate…