Tiny Treasure Hunt

Tiny Treasure Hunt (1)

It seemed only fair to stage a toddler treasure hunt for Veronika today, since big brother Travis has enjoyed big kid versions lately! While she was distracted and busy playing, I placed a few small gems from our dress-up box in a cookie tin, and then hid the tin under a nearby bush.

I stretched a long length of yarn that led from the cookie tin back to our patio. Depending on where you play the game, you can make the yarn twist and turn, looping up and over bushes or playground structures, too.

“Look!” I told her with excitement as I handed her the end of the yarn. “Pirates were here in the night and left treasure!” (Travis immediately wanted to know if this was true).

Tiny Treasure Hunt (2)

I showed Veronika how to hold the yarn and gather it with each step, following the trail.

Tiny Treasure Hunt (3)

The more excited you act, the more your toddler will catch on to the thril of such a quest.

Tiny Treasure Hunt (4)

X marks the spot! She spotted the little box waiting at the end of the trail and loved the jewels inside.

Tiny Treasure Hunt (5)

Cucumber Tomato Salad

Cucumber Tomato Salad (2)

Just a few simple ingredients come together in this vibrant summer salad. My kids love it plain, with chips for dipping, or served on top of fresh bread! It’s the perfect side dish with your favorite vegan chick’n or other easy protein.

Cucumber Tomato Salad alt

Ingredients:

  • 4 tomatoes
  • 1 cucumber
  • 1/2 red onion
  • 2 tablespoons olive oil
  • 3 tablespoons red wine vinegar
  • 1/4 teaspoon salt
  1. Finely chop the tomatoes, cucumber, and red onion, and place in a large bowl.
  2. Add the olive oil, vinegar, and salt, stirring to combine.

Cucumber Tomato Salad (1)

Teddy Swing

Teddy Swing (2)

Veronika’s favorite activity at the playground is the swings, so I thought for sure she’d enjoy letting her stuffed animals have a turn. It turned out this activity wasn’t nearly as fun as the real thing!

I tied yarn securely around the waist of two favorite stuffed animals, a teddy bear and a monkey, then looped the other end of the yarn over a low tree limb.

The animals were hanging right about chest height on Veronika so she could easily give them a push. But I think she got a little nervous seeing her animals dangling!

Teddy Swing (3)

It turned out big brother Travis liked this activity a whole lot more. He, at least, loved giving the animals big swings!

Teddy Swing (4)

Perhaps your toddler will enjoy it more! Let me know what your kids think in the comments.

Summer Boredom Bucket List: Day 1

Boredom 1 d

Highlights magazine had a great feature in its July issue of 30 ways to turn your kids’ words around when they come harping to you that they’re “bored” this summer. Yes, sometimes it’s good to be bored. But also: it’s summer; they’re kids; coronavirus means camps are cancelled or starting late; and you as a caregiver deserve to stay sane. I’m guessing you are as hungry as I am for ways to keep the littles entertained!

Tonight I’m kicking off a week-long series of posts, a full week’s worth of activities to stymie the statement, “I’m bored”. We’ve tested all of these in the past month, so I can guarantee they work!

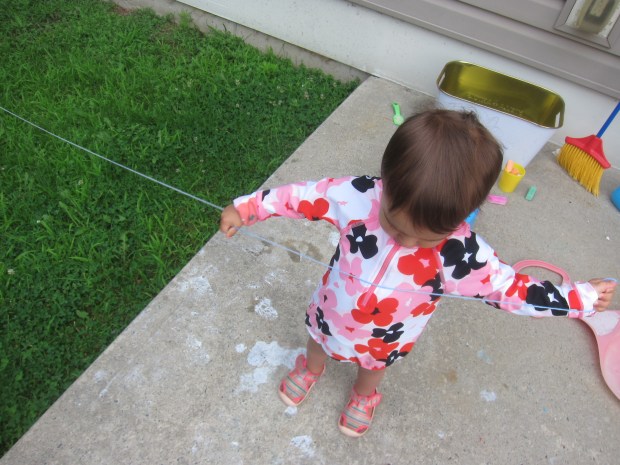
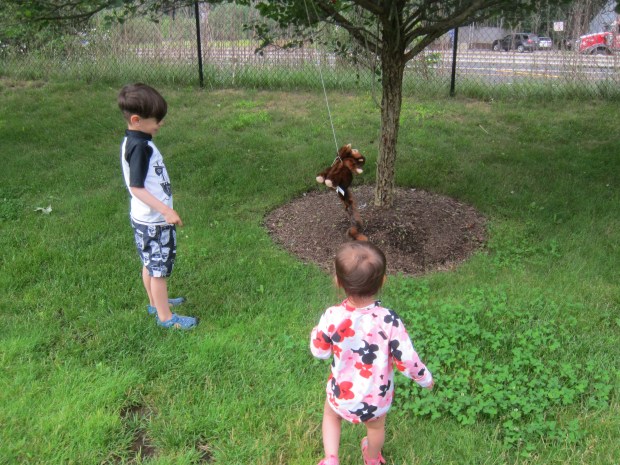
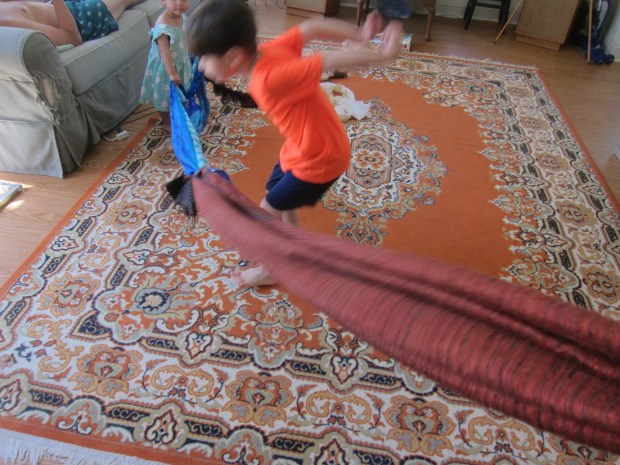
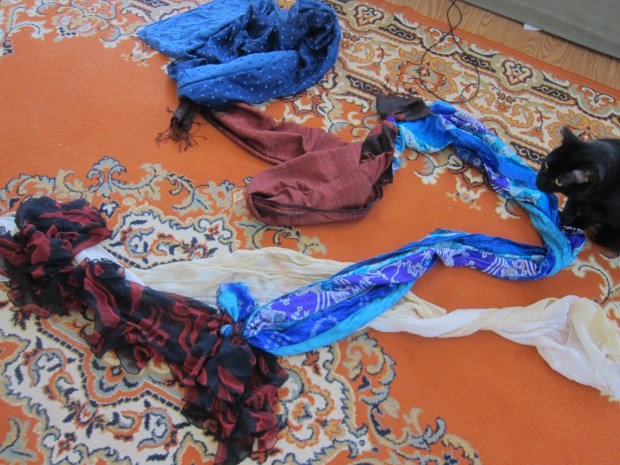
Idea 1: Make a Jumbo Jump Rope. The first time I heard, “I’m bored”, I pulled out every scarf from my dresser and tied them into one long rope. A giant jump rope!

Boredom 1 a

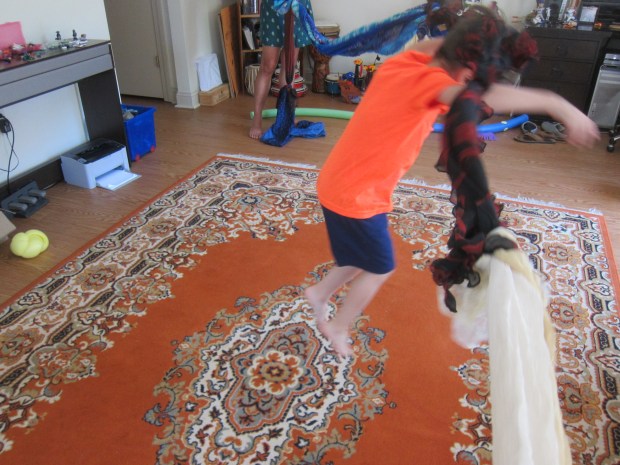
Because Travis hasn’t had much practice even on a regular jump rope, first I encouraged him simply to work on his jumping skills, back and forth over the dangling scarves. This was a super fun challenge!

Boredom 1 b

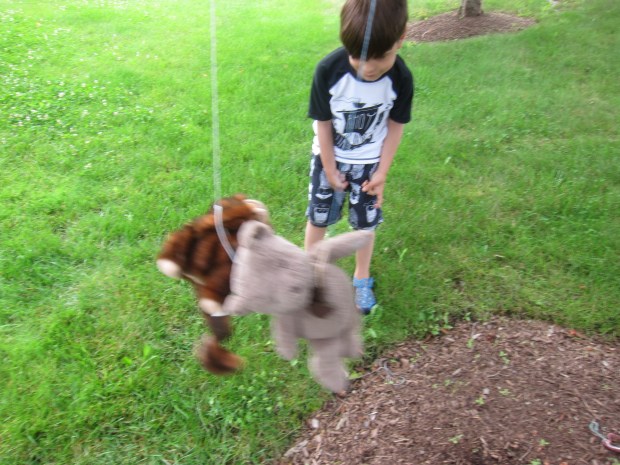
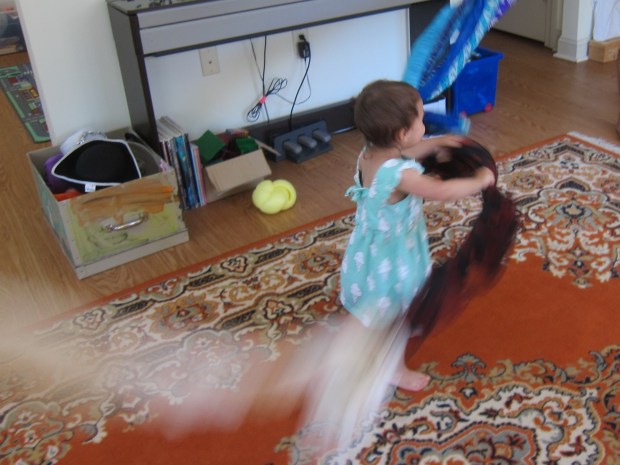
Well then little sister grabbed on, and it became a shaking scarf for musical play. Use a rope like this to shake shake shake, then stop/freeze, teaching your child about pauses in music.

Boredom 1 c

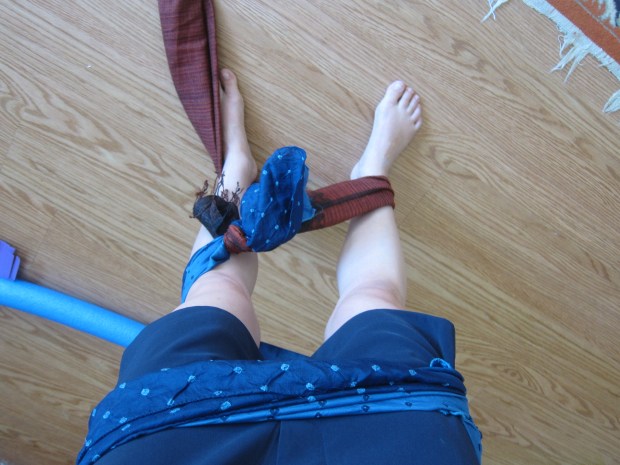
Then Travis pretended he was climbing a rope up, hand over hand, like a ninja! And then mommy got captured. Uh oh, I hadn’t quite planned on that one.

Boredom 1 f

As you can see, one long line of ropes busts boredom.

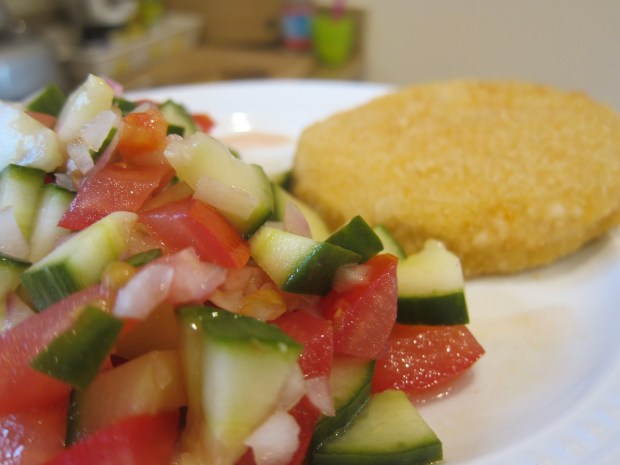
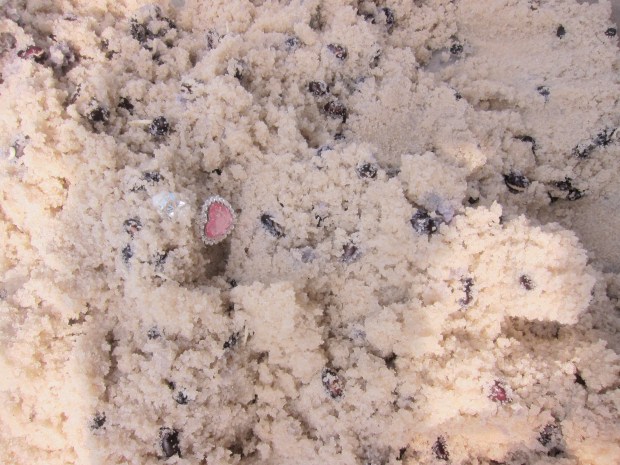
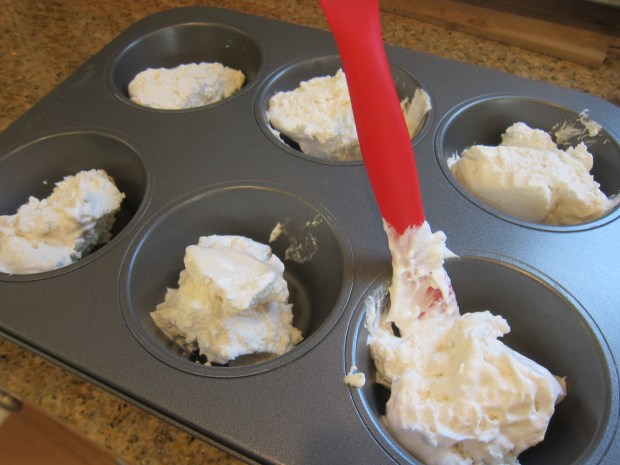
Idea 2: Bake a Giant Chocolate-Chip Cookie. If kids announce they don’t know what to do and it’s only 8.45 in the morning, then it is definitely time for a giant cookie. “Let’s make a cookie as big as a pizza!” I said, and I instantly had two happy faces, even my toddler marching around the kitchen chanting “cookie cookie!”

Boredom 4 a

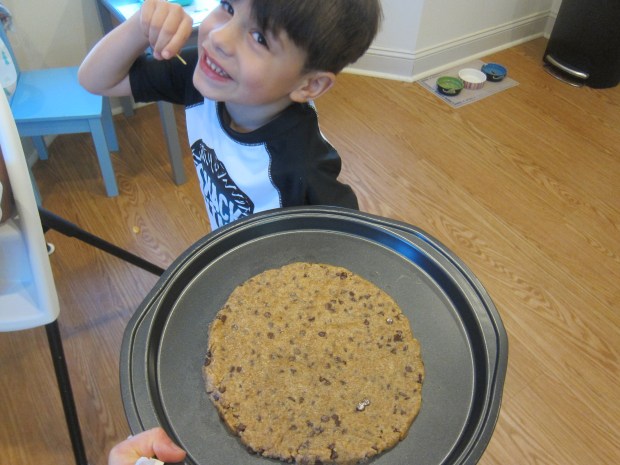
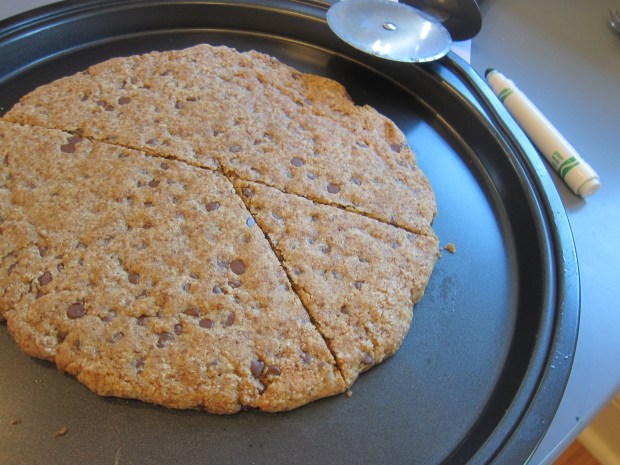
Luckily I had a mix in the pantry, making this easy for me too. The mix, a dash of almond milk, a little oil, and a little vanilla, and we were ready to pat our cookie into a circle on a pizza pan. After it baked, we even sliced it with a cookie cutter for a snack time full of chocolate smiles.

Boredom 4 b

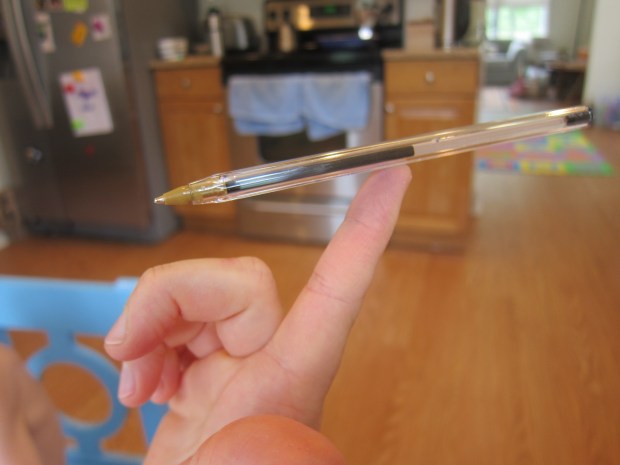
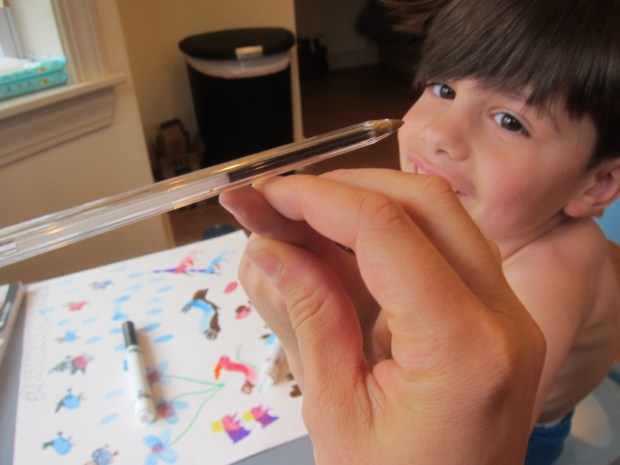
Idea 3: Balance a Pen on One Finger. This little challenge turns out to be quite a moment of zen. What worked best? By trial and error, Travis and I worked out the following formula: elbow supported (either on one knee or on the table); pointer finger crooked back; cap removed from the pen; and then finding the fulcrum. Balance!

Boredom 5 a

I was proud of Travis not getting frustrated, too!

Boredom 5 b

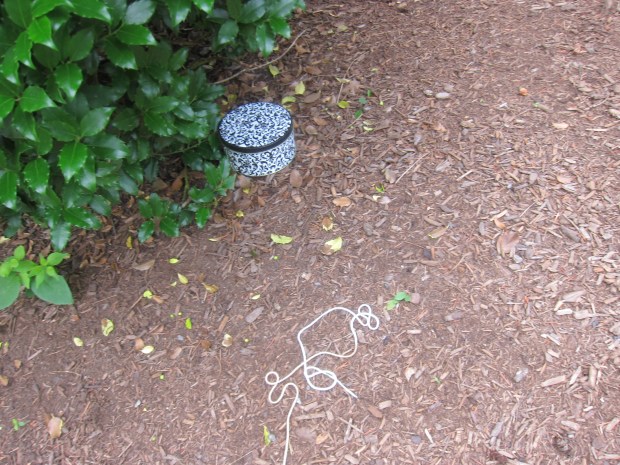
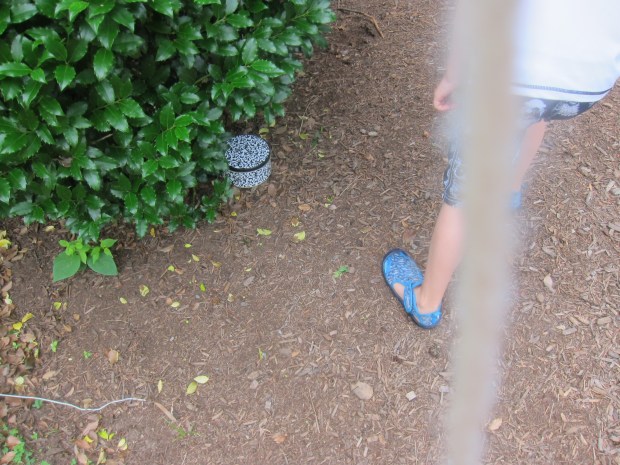
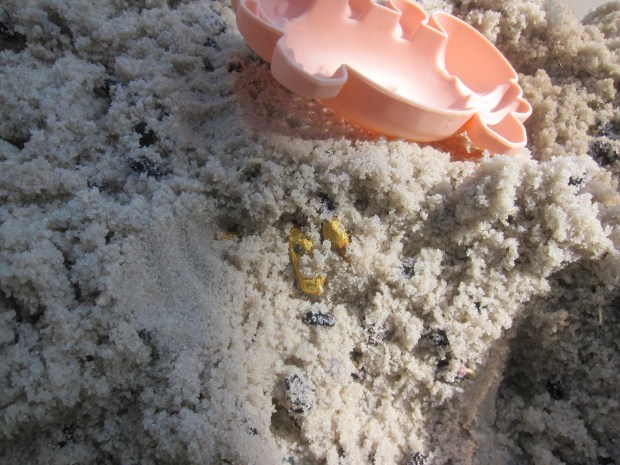
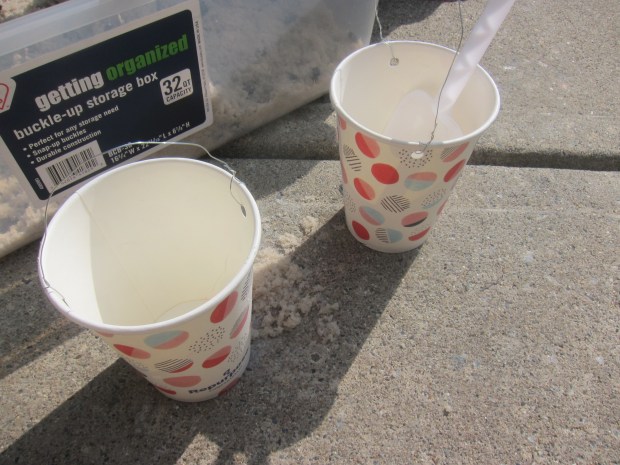
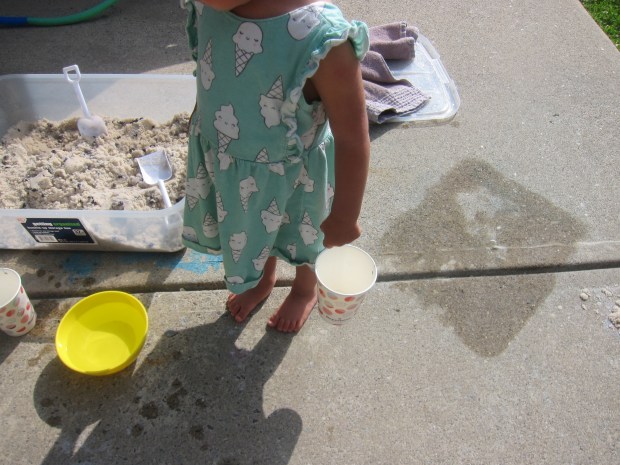
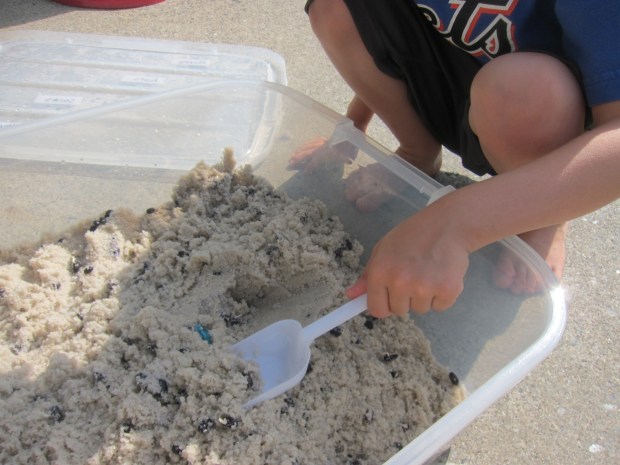
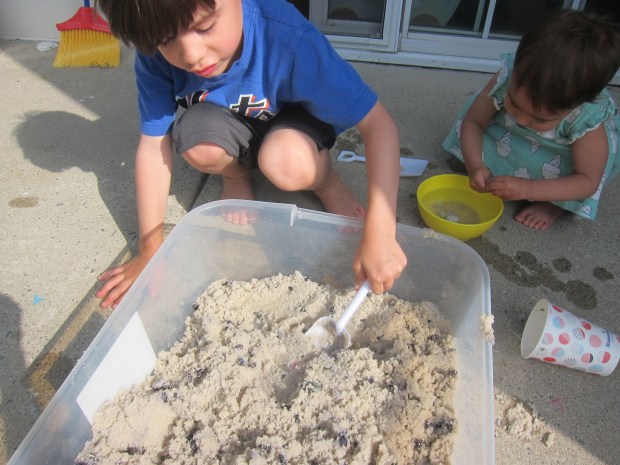
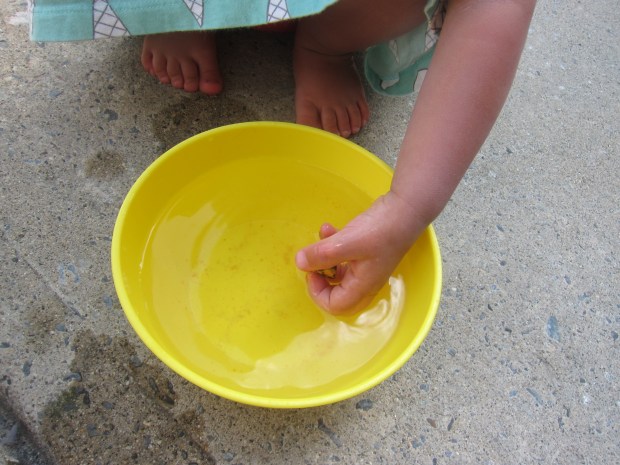
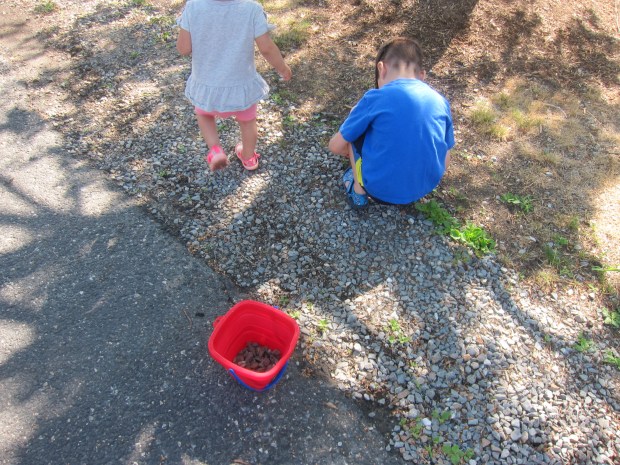
Idea 4: Do Stuff with Tiny Stones. What couldn’t we do with tiny rocks? This boredom prompt filled a whole afternoon! First we headed outside to the driveway, where we knew there were just the right tiny pebbles near the garage, and the kids gathered them into a bucket.

Boredom 6 a

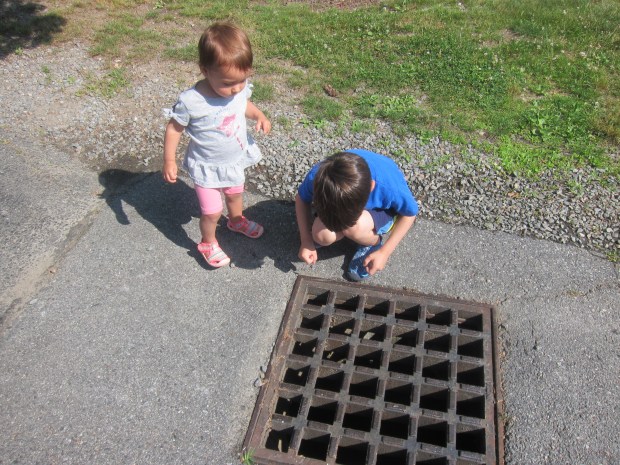
They then discovered the storm drain, and spent almost half an hour plinking rocks through the holes and watching the water ripple at the bottom!

Boredom 6 b

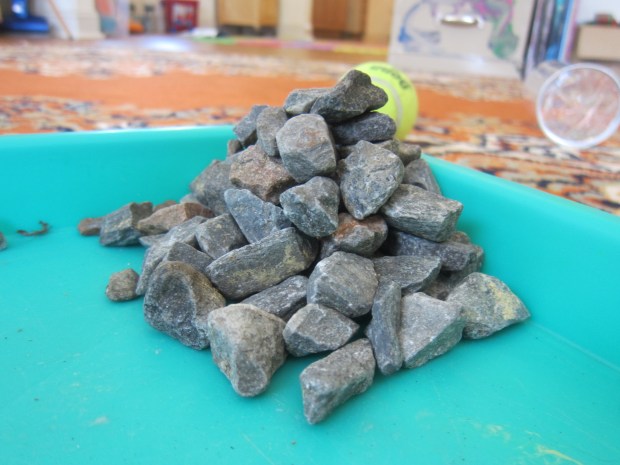
Okay, I got them inside, and now we had so many ideas. First we piled them up and built pyramids.

Boredom 6 d

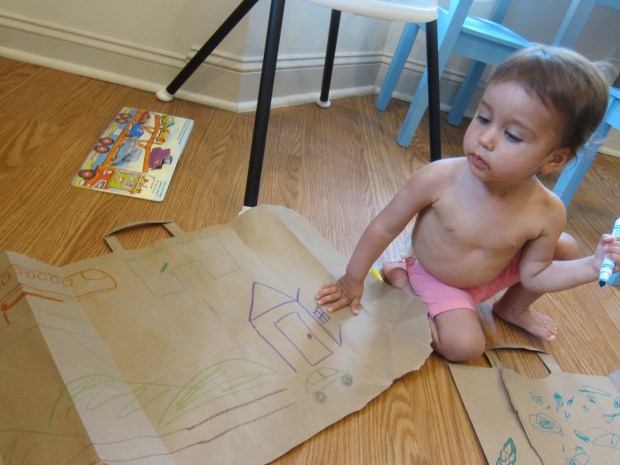
Then we decided to get artsy. I hot-glued rocks to two pieces of paper and asked Travis what he saw to finish the drawing. He thought this one looked like a deep-sea anglerfish!

Boredom 6 g

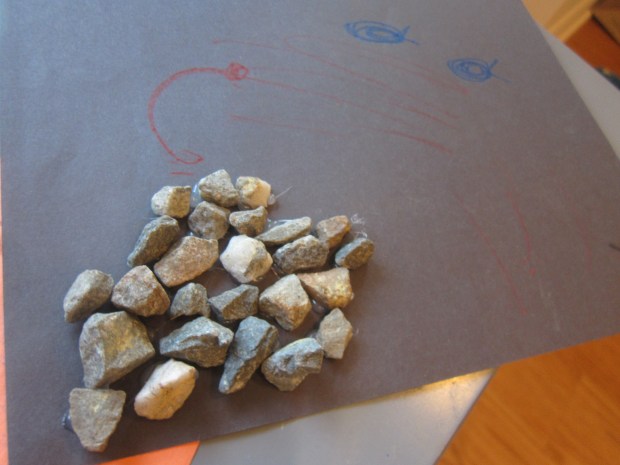
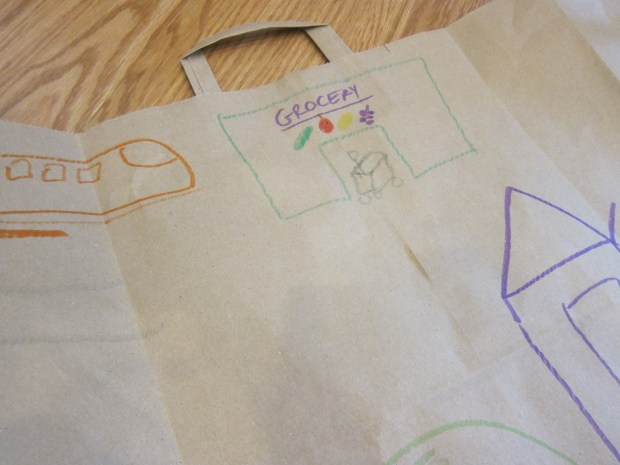
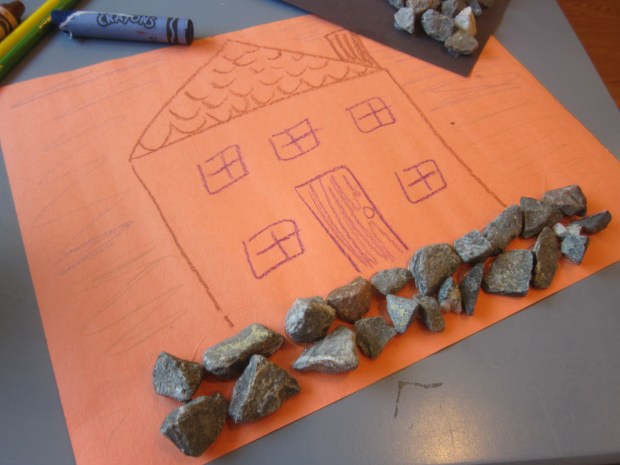
I made a second into a stone wall in front of a house (meaning this was a boredom buster for mama, too).

Boredom 6 f

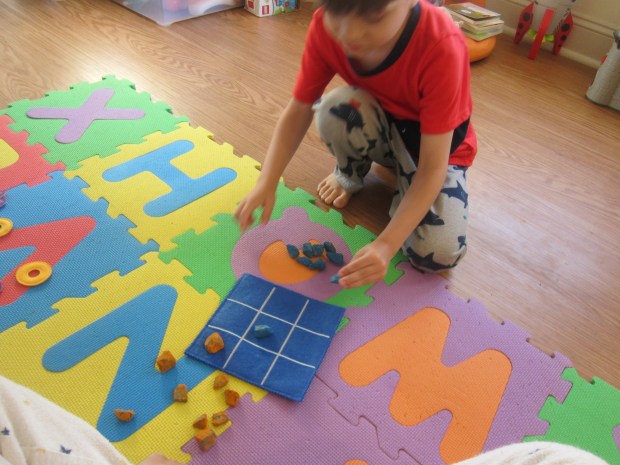
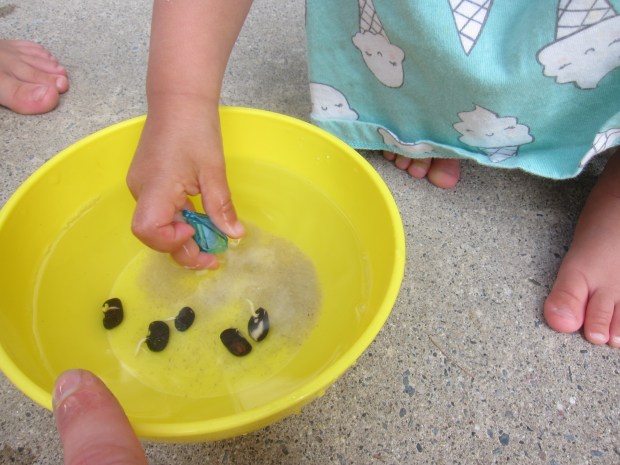
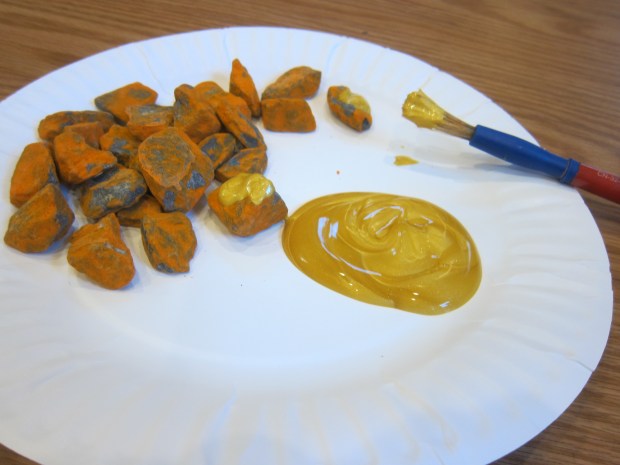
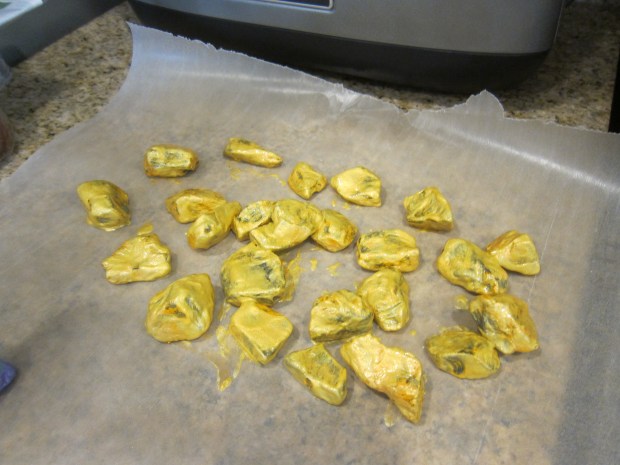
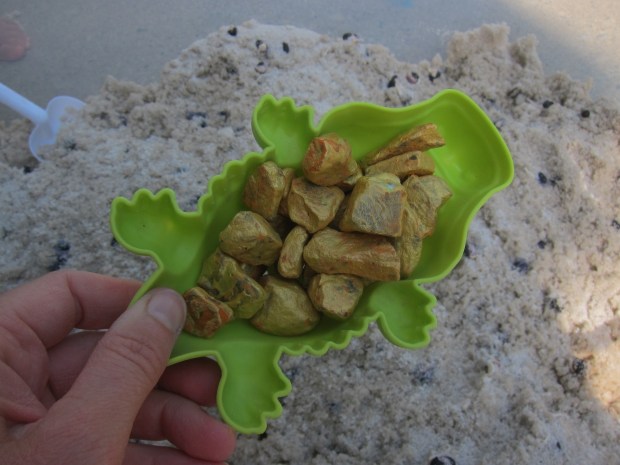
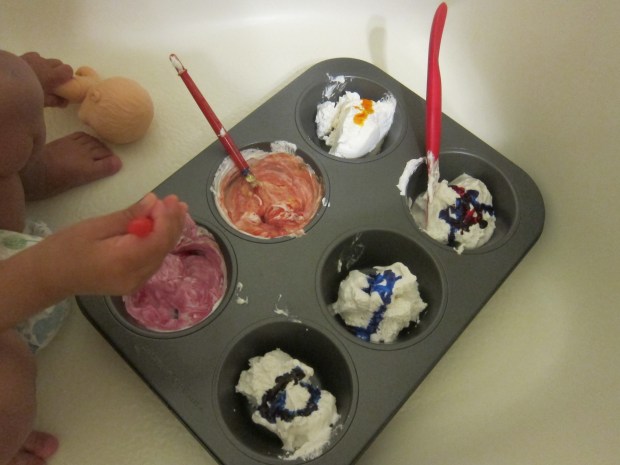
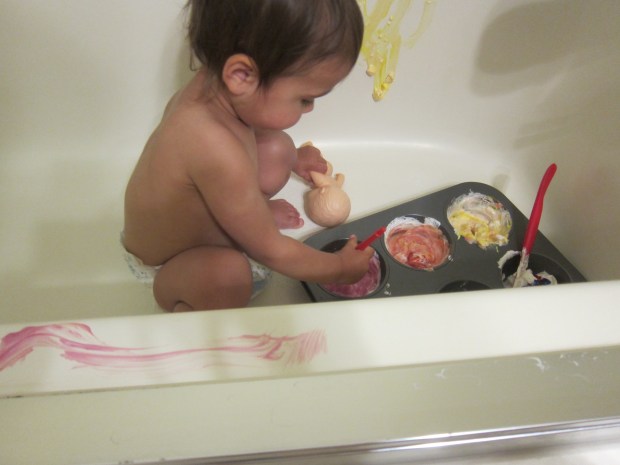
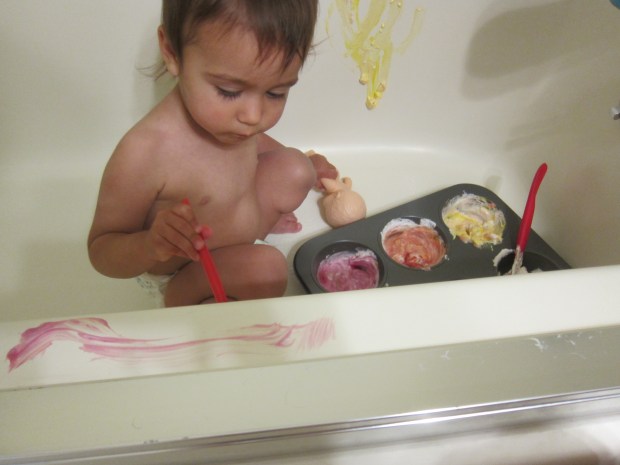
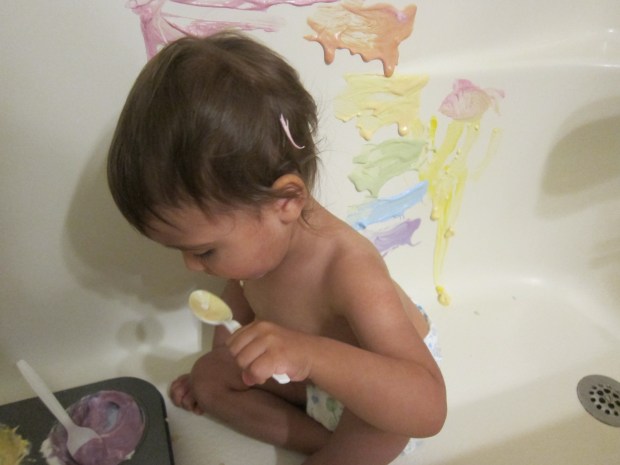
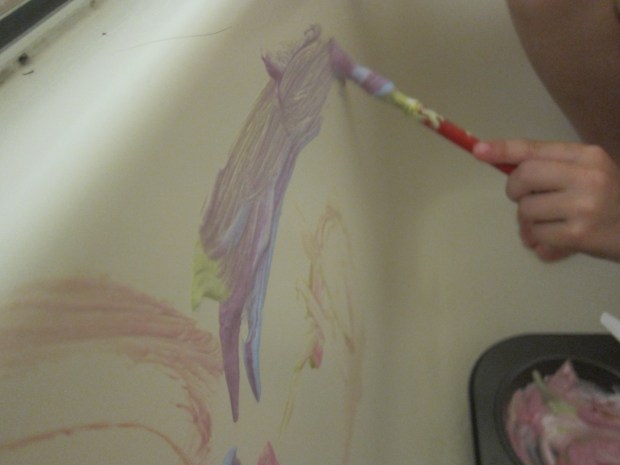
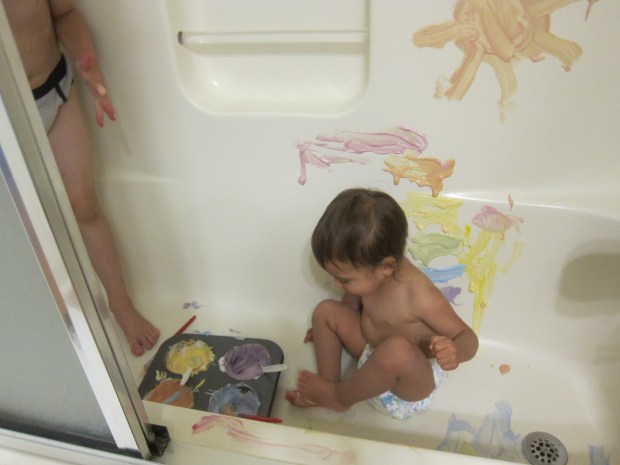
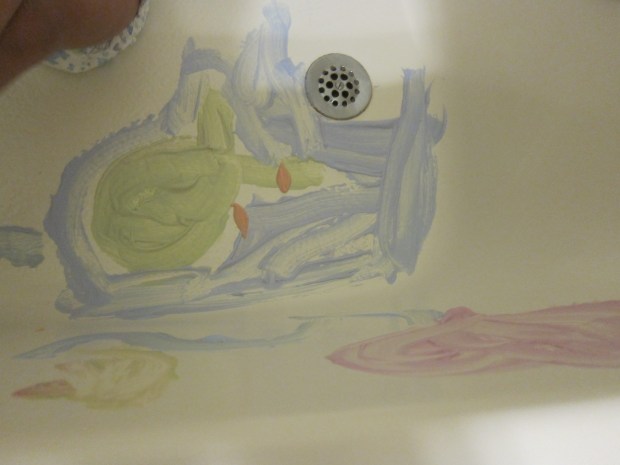
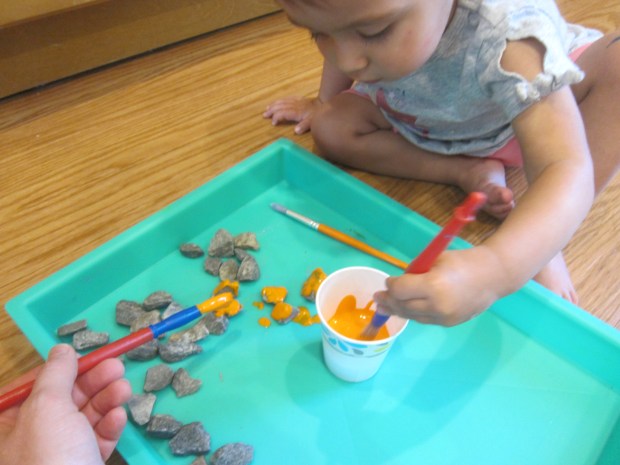
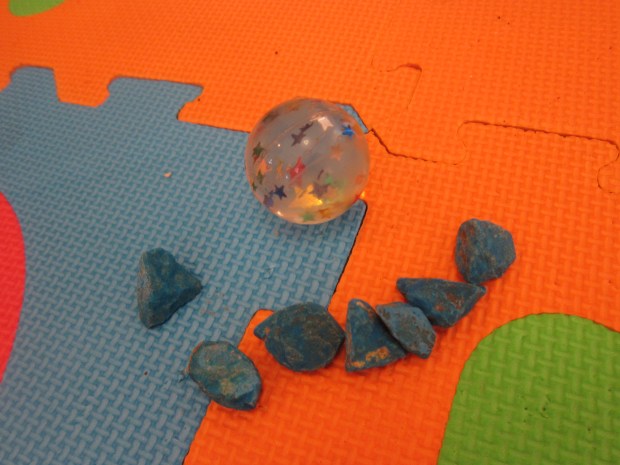
Then we decided to paint the remaining stones. For the blue, we put them in a cookie tin with blue paint and shook until coated. “Loud!” Veronika said. The orange ones we painted normally with a paint brush.

Boredom 6 e

We left them to dry, and then by evening we could play games that involved two sides, like jacks…

Boredom 6 i

…or tic-tac-toe (make that tic-tac-rock).

Boredom 6 j

Treasure Sandboxes, Two Ways

Pan for Gold Sandbox (5)

After digging for dinos and enjoying a pretend day at the beach, it was time to turn our homemade sandbox into a gold mine! We played around with this idea in two ways, first as a diamond mine and then panning for gold.

For the diamond mine, I gave each of my kids a paper cup with a handle to collect any treasures they unearthed.

Diamond Mine Sandbox (1)

Ideally I would have used pipe cleaner handles, but we’re all out! Floral wire worked in a pinch; just make sure to twist any pointy ends safely away.

Diamond Mine Sandbox (3)

I buried four “gems” from our dress-up box in our container of sand and pebbles. Each kid got a shovel, and the digging began!

Diamond Mine Sandbox (2)

Veronika seemed unsure at first, until big brother Travis joined in. He loved searching for a glint of treasure.

Diamond Mine Sandbox (7)

Veronika preferred rinsing off the glittering finds in a little bowl of water on the side. This was simple but good fun in the sunshine (you’ll notice we’ve moved the sandbox outside).

Diamond Mine Sandbox (4)

For the second version, it was time to pan for gold. This time, I painted a few pebbles with gold metallic paint. Toddlers will love helping with this step!

Pan for Gold Sandbox (1)

Let dry completely.

Pan for Gold Sandbox (2)

In the afternoon, I buried the “gold” in the sandbox and set out sand sifters instead of shovels.

Pan for Gold Sandbox (3)

Ours are in fun animal shapes, though it would be more realistic if you have classic circular ones. Once again, we had a dish of water on the side to rinse off any gold nuggets the kids discovered.

Pan for Gold Sandbox (4)

Surprisingly, this didn’t hold their attention for long, but perhaps they were all mined out!

Diamond Mine Sandbox (5)

Cool Whip Painting

Cool Whip Painting (5)

What’s better than finger paint in the bath tub? Edible finger paint in the bath tub of course!

When I spotted this brilliant (and delicious) idea, I knew it would be worth the mess. For a vegan cool whip, try Whole Foods’ non-dairy whipped topping from the freezer aisle. Let thaw in the refrigerator about 3 hours prior to this activity and it will be the perfect consistency when you’re ready to play.

I divided the whipped topping evenly among the tins of a large muffin tray. Add drops of food coloring to each cup.

Cool Whip Painting (1)

To get the full rainbow, we mixed a few of our colors (red + yellow, blue + red). Older toddlers might enjoy helping with this step!

Cool Whip Painting (2)

Then I simply stripped Veronika down to a diaper, handed her a paint brush and set her loose in the tub. She immediately started painting.

Cool Whip Painting (3)

“A rainbow!” she said, even though she only had one line of color. What a perfect idea, so I started to paint stripes in rainbow order on the side of the tub. Some of the paint dripped onto her leg as a result. “Oh no!” she said, but I assured her it was okay because this paint was edible.

Cool Whip Painting (4)

She looked at me with surprise; usually I chide her not to eat paint, ha! So I dipped a finger in and held it up to her tongue. “Yummy!” she said with absolute delight.

Cool Whip Painting (6)

“Try blue?” So I dipped a finger in blue for her. “Try green?” You get the idea. Well clearly we were going to need plastic spoons!

Cool Whip Painting (8)

After this it became more feast than art project. At this point, big brother Travis needed to join in. He loved both taste-testing and smearing the paint on the tub with a brush.

Cool Whip Painting (9)

He even tried turning it into body paint!

Cool Whip Painting (11)

Meanwhile, I kept using the paintbrushes around my happy diners. This little fish was swimming right on the bottom of the ocean.

Cool Whip Painting (10)

Clean up was surprisingly easy. Strip everyone down and run the water and rinse (humans and tub alike). Travis even loved using a washcloth to scrub the walls until they were sparkly clean.

Cool Whip Painting (12)

3 Ways to Celebrate Watermelon

National Watermelon Month (3)

We learned that the whole month of July is National Watermelon Month (as if we need an excuse to eat it when this fruit is the epitome of summertime), so today we decided to throw a party for this fantastic fruit!

The kids loved getting silly with this. First we needed to decorate, so we made watermelon a banner of… watermelon!

National Watermelon Month (2)

Color the center of paper plates pink with marker or crayons, then add green around the edges for the rind. Don’t forget the black seeds!

National Watermelon Month (4)

If you want, cut the plates into triangles and string up in a garland this way like watermelon wedges. We left ours as circles and I festooned the kitchen door with this ode-to-watermelon.

How better to celebrate watermelon, next, than to eat it! For fun, we cut some slices into “fries” and dipped them into yogurt “ketchup”.

National Watermelon Month (1)

Or, cut a circle cross-section from a whole watermelon and spread with your favorite yogurt. This could be a pizza… Or a cake! Travis decided he wanted his topped with non-dairy cream cheese instead.

National Watermelon Month (5)

Any favorite watermelon treats in your home? Please share in the comments!

Baby’s Adventure

Baby's Adventure (5)

Whether your day involves a simple stroll to the mailbox, a trip to the store, a jaunt to the playground, or something more out of the ordinary, it’s all exciting for a toddler. Everything is new and wondrous at this age, and this fun game will highlight that fact once you return home.

Today’s “adventure” was simple (a trip to a local playground, followed by a quick stop for dinner ingredients on the way home). But when we got in, I opened up two paper grocery bags so they lay flat, and set out markers.

Baby's Adventure (1)

Starting on one side of the paper, I talked excitedly to Veronika about how the journey had begun: leaving home and setting off in our car. “Gray car!” she said with excitement when she looked at my drawing. The journey continued along the road and I talked about the scenery we had passed. “Swings!” she said happily as I drew them.


Baby's Adventure (2)

I then talked her through the jaunt to the grocery store on the way home (don’t forget about the train we spotted!) followed by ending back where we had begun.

Baby's Adventure (4)

As I drew and talked through my version, she happily scribbled on the second paper bag I had laid out. She said she was drawing trucks and motorcycles!

Baby's Adventure (3)

This was such a great way to make Veronika the main character of her own story. Plus we simply had fun making art together!

Baby's Adventure (6)


Beach in Your Sandbox

Beach In Your Sandbox (3)

Although this indoor sandbox wasn’t quite as big a hit as recent ones, a make-believe beach still provided fun morning entertainment before we could head off to the real thing!

For set up, I filled a large storage bin with sand. (Note: The stray pieces of black bean were leftover from a dinosaur dig, but the kids decided that now they were “seashells”).

Beach In Your Sandbox (1)

Then add whatever beach-y elements you have on hand. I used blue felt for water with a few plastic sea creatures swimming on top; fabric scraps for beach towels, topped with a few Duplo figures; and a few real sea shells. If you have tiny drink umbrellas, they would be perfect as beach umbrellas!

Beach In Your Sandbox (2)

Veronika’s favorite part about this sandbox were the people figures. She liked walking them through the sand or lying them down to be “cozy” on their beach blankets.

Beach In Your Sandbox (6)

Big brother Travis liked burying them in the sand!

Beach In Your Sandbox (5)

The kids begged for me to add real water. In retrospect I wish I hadn’t since it made clean-up harder (wet sand is more of a pain than dry sand), but I indulged them. I made a moat along one side of the bin lined with the blue felt and poured in water.

Beach In Your Sandbox (8)

Now the people and sea creatures could go for a swim! It was fun to see the kids smiles when they made their toys splash about.

Beach In Your Sandbox (9)

Glow Bottle Bowling

Glow Bottle Bowling (6)

Long summer nights are tailor-made for staying up late, and I love finding activities to heighten the excitement. So on the heels of a few other glow-in-the-dark sports, tonight it was time to go bowling!

During the day, we decorated empty plastic water bottles with colorful tape. You could also use paint markers, but Travis preferred just to use the tape. He loved making diagonal stripes on his!

Glow Bottle Bowling (1)

After dark, we activated glow sticks and dropped one in each bottle.

Glow Bottle Bowling (2)

Line up in bowling formation, then take aim with bean bags! You can use regular bean bags, or glowing ones leftover from a bean bag toss.

Glow Bottle Bowling (3)

Travis loved it so much he insisted on multiple rounds. We played several variations, like lining them up in different ways or sliding the bean bags along the floor instead of throwing them.

Glow Bottle Bowling (4)

I think we’ll need a new set of glow sticks so we can play again tomorrow night!

Glow Bottle Bowling (5)

If your kids are older and want a greater challenge, fill the bottles with water to make them harder targets.