Popsicle Stick Drop

Popsicle Drop (1)

Coordination, learning colors, and the endless surprise of watching a stick disappear and then reappear; this game has it all for toddlers!

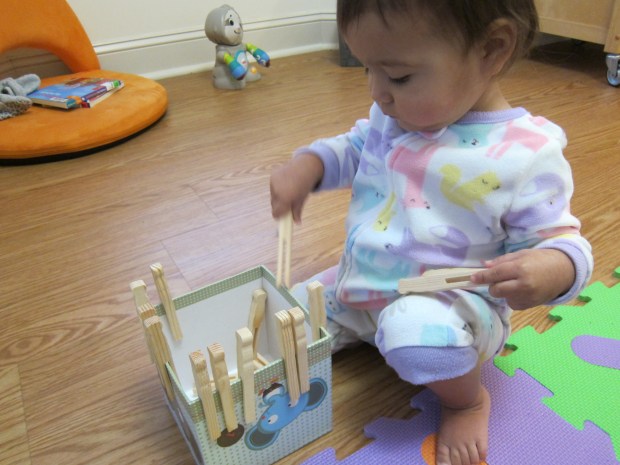
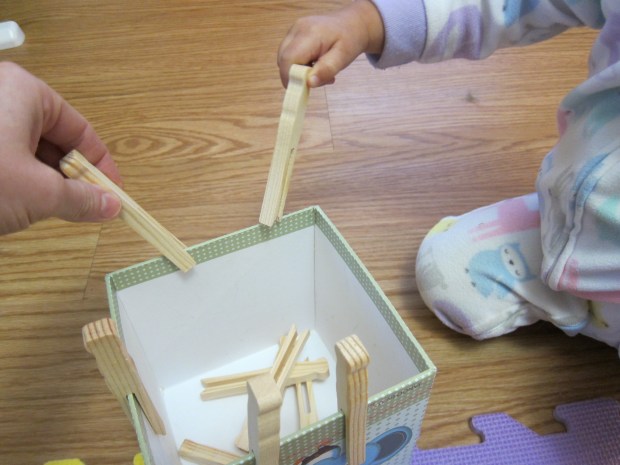
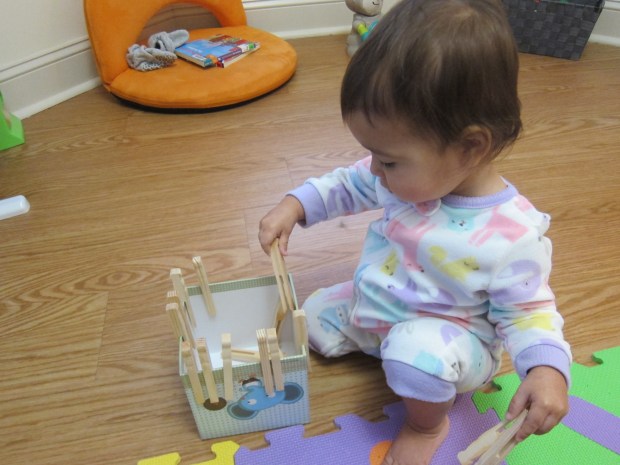
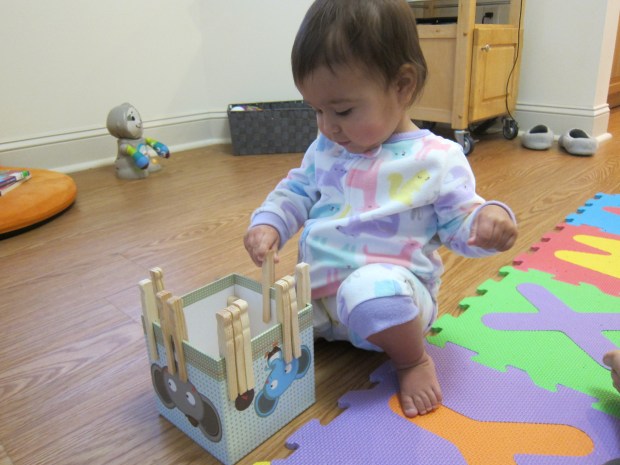
As prep, simply use masking tape to attach an empty paper towel tube to a wall. I recommend using multiple strips of tape for extra security. I then provided Veronika with craft sticks to drop into it and placed a bucket at the bottom to catch them. That’s it!

Popsicle Drop (3)

The game will have the most visual appeal if you use a rainbow assortment of craft sticks (which you can purchase already colored at the craft store).

Popsicle Drop (6)

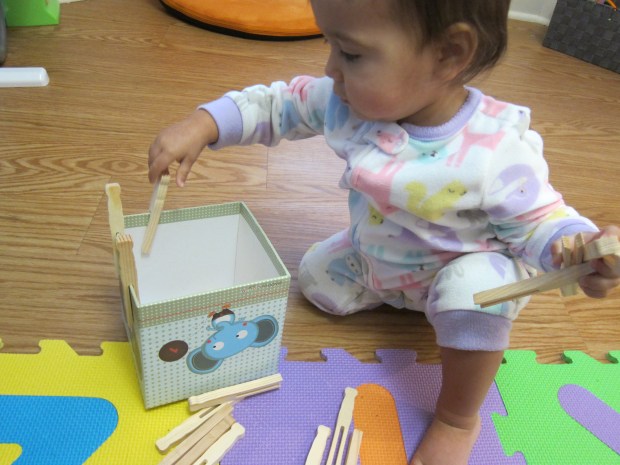
It took Veronika a few tries watching me release a stick into the tube before she realized she needed to release her grip to achieve the same affect. And then she was hooked!

Popsicle Drop (2)

Of course toddlers will also just love playing around with the sticks in the bucket at the bottom.

Popsicle Drop (4)

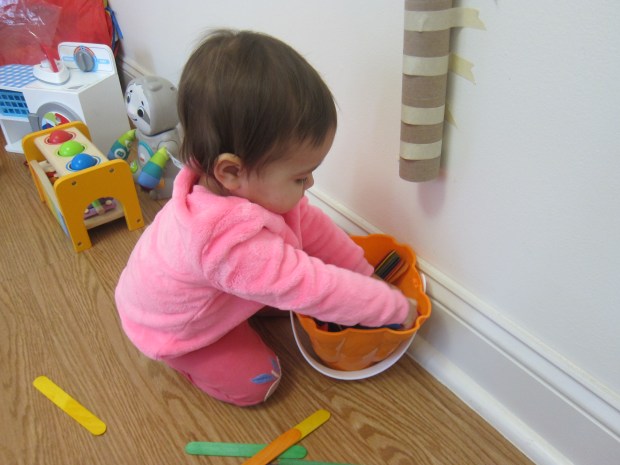
For a touch of color learning, I sorted the sticks for her into different colored piles. Needless to say, they didn’t stay sorted for long!

Popsicle Drop (5)

Threading Cereal on Pipe Cleaners

Cheerio Pipecleaner (2)

Veronika and I have been working our way through classic toddler activities lately; she’s at that tricky age between having developed the gross motor skills of a one-year-old, but not yet ready for the understanding or fine motor skills of an 18 month old. I remember this period feeling particularly tricky to fill with my older son, but this time around I’m prepared!

Hence, the emphasis on classic games lately. Today, I sat her down with a big blob of play doh on her highchair tray, but the play doh was only an anchor, not the point of the game.

Cheerio Pipecleaner (1)

Insert pipe cleaner pieces into the play doh base. Now show your little one how to thread o cereal onto them (we like the Morning O’s from Whole Foods 365).

Cheerio Pipecleaner (3)

Veronika quickly got the idea, although she loved lifting the cereal off to eat it more than she focused on threading it on.

Cheerio Pipecleaner (4)

That, of course, turns this activity into snack time, too, and there’s nothing wrong with that!

Cheerio Pipecleaner (5)

The pipe cleaners are also fun to lift in and out of the sticky play doh base.

Cheerio Pipecleaner (7)

Needless to say, it’s a great way to keep a toddler busy during meal prep.

Cheerio Pipecleaner (8)

Clothespins + Empty Box

Clothespin Box (6)

This is one of those classic games for toddlers that checks all the boxes: only two supplies needed, great for fine motor skills, and endlessly entertaining.

For Veronika at 14-months-old, I used clothespins that simply slot on (without a hinge). Older toddlers can definitely work their pincher grip here with the kind that pinch open and shut!

I set a few of the clothespins along the rim of an empty stacking box, and she immediately began pulling them off and dumping them into the box. This was great fun!

Clothespin Box (2)

Soon she wanted to imitate my ability to hook the clothespins on. This took a bit more coordination, turning until the slot lined up just the right way. She was so proud when she made it work!

Clothespin Box (3)

It kept her busy and concentrating for quite some time.

Clothespin Box (5)

Another fantastic toddler activity that you can put together in a, well, pinch!

Clothespin Box (7)

Small Toys in an Empty Wipes Container

Toys in Wipes (4)

Today Veronika and I circled back to a game we played when she was much smaller, back then using fabric scraps. Now, with strong toddler hands, it was time to put toys in an empty wipes container!

Toys in Wipes (1)

To kick off the game, I used pieces of toy fruit that Velcro together. I showed Veronika how to stuff them down into the container, and she was an eager copycat.

Toys in Wipes (2)

Then we lifted the whole lid and dumped the fruit out. Next up: magnet letters! She loved making these disappear into the container, and of course we named each letter as it went in.

Toys in Wipes (3)

We followed up with foam puzzle pieces. This time she was much more interested in taking out. Doing so requires strong hand muscles, in order to reach past the flap in the container, grip the item, and tug it out.

Toys in Wipes (5)

Don’t be surprised if your little ones gets silly and wants to see what else fits inside. A chocolate bar?

Toys in Wipes (8).JPG

Finally, we played with a set of plastic bugs. Perhaps because of all the tantalizing legs and antennae, these were her favorites to put in and out.

Toys in Wipes (6)

A very simple game that will entertain a toddler immensely!

Toys in Wipes (7)


Off and On

Off and On (5).JPG

Simply taking off lids and putting them back on again is a delight for babies at Veronika’s age (13 months), and it can be fun simply to set your little one up with a lot of lidded items, a few toys, and watch them play!

To get Veronika started, I set out a saucepan with lid and lots of Tupperware with lids, some that twisted off and some that lifted off.

Off and On (1)

That would be enough right there, but for added amusement, I hid a few toys in the saucepan.

Off and On (2)

I also put a toy in a container with a screw-on lid. Leave lids like this relatively loose and your little one should be able to twist them off. I resisted the urge to jump in, and let Veronika problem solve by herself!

Off and On (7)

For some early learning color fun, I put color-coded stickers on the base and lids of two identical containers. I encouraged her to notice that orange went with orange and yellow with yellow.

Off and On (4)

I didn’t expect her to ace this test, of course, but was laying some groundwork! You can work up to lots of different color stickers as your one year old gets older.

Off and On (6)

What other types of containers with lids does your baby play with? Shoe boxes? Baby wipe containers? Please share favorites in the comments!

Off and On (3)

Baby Food Jar Play

Baby Food Jars (6)

Veronika hasn’t eaten baby food out of jars in ages (this little miss prefers finger foods), but I like to keep a few empty jars on hand for games and activities. Today she kept so busy with 4 jars and 4 lids and this simple activity.

I set the jars in front of her on a soft surface (be sure your floor is well padded if using glass jars).

Baby Food Jars (1)

To start, I simply showed her how to remove a lid, and then place it back on. Babies will instantly want in on this action. Veronika snatched off the lids (I had them very loose) and tried to put them back on.

Baby Food Jars (3)

It was so interesting to watch the brain at work on this one. At first she put the lids on upside down, or on the bottom of the jars.

Baby Food Jars (2)

But after a few tries, she was putting them on right side up, even making them a little tight.

Baby Food Jars (7)

She looked so pleased with herself and had to do it over and over!

Baby Food Jars (4)

For extra fun, I put small toys inside a few of the jars. I thought she would be interested in digging for the rewards once the lids were off, but truly the lids and jars themselves were what fascinated her.

Baby Food Jars (5)

I loved watching this sequence: She gets the lid on.

Baby Food Jars (9)

Then off again.

Baby Food Jars (8)

Then peeks inside for a toy!

Baby Food Jars (10)

She was one very pleased little girl.

Baby Food Jars (11)


Stacking Rings

Stacking Rings (10).JPG

Stacking rings are such a simple and classic baby toy, but they bring such joy and fantastic learning! Your baby is problem solving as he or she figures out how to stack the rings, as well as honing fine motor skills. Because many are brightly colored and ordered in size from largest to smallest, they are also great for language development.

Today, Veronika and I mixed things up to bring new life to her standard stacking ring set! Instead of threading them onto the provided post, I gave her a wooden spoon to slot them on to (you could also try the game on your arm).

Stacking Rings (1)

She was immediately intrigued.

Stacking Rings (3)

The spoon itself was fascinating to her, and I think she believed herself to be Queen Veronika, brandishing it like a royal scepter and chatting to the spoon for quite some time.

Stacking Rings (2)

Eventually I coaxed her into adding more rings onto it.

Stacking Rings (7)

She was delighted when she saw that her spoon now had three fun rings, not two.

Stacking Rings (9)

She loved to stand up holding it, as well!

Stacking Rings (5).JPG

If you want to challenge your baby with smaller rings, try stacking on shower curtain or window curtain rings instead! How do you and your baby play with stacking rings? Please share in the comments.

Stacking Rings (4)

Shall I Pour?

Shall I Pour (7)

Pouring dry items from cup to cup is a fantastic way to build the fine motor skills that will one day allow your little one to pour liquids. Don’t expect your baby to be pouring his or her own water and juice after this game, but it is great practice and cute fun!

I put a soft blanket down on the kitchen floor, then filled two cups with O cereal and left two cups empty (one set for me, one for Veronika).

Shall I Pour (1)

Once I had her attention, I showed her how to pour the cereal from a full cup to an empty one.

Shall I Pour (2)

“Watch me pour!” I instructed.

Shall I Pour (4)

Well at first she was simply delighted to discover that the game involved a snack. Yum!

Shall I Pour (3)

She also seemed to love the visual of the cereal trickling from one cup to another.

Shall I Pour (8)

After showing her a few times, her hand reached out to mimic me, which I had anticipated; ten-month-olds are fantastic mimics!

Shall I Pour (9)

She tried her own hand at pouring…

Shall I Pour (5)

…and then just wanted to play with Os and cups. As I said, don’t expect your baby to be a pro after the game (your play space will probably look like mine, below), but your little one will have a blast!

Shall I Pour (10)

Paper Clip Challenge

Paperclip Challenge (8).JPG

Travis and I took the day off from tracing, but I challenged him with this activity that hones fine motor skills and sorting skills – two great things to work on in the summer before kindergarten!

First, I cut construction paper into squares using four different colors. Each color corresponded with a colored paper clip.

Paperclip Challenge (1)

The goal was to gather all the paper slips of one color, and affix them together with the corresponding paper clip.

Paperclip Challenge (2)

He was an avid participant, combing through the pile of papers to make sure he didn’t miss a single one.

Paperclip Challenge (3)

When it came time to clip on the paper clip, I realized he’d never used one before! I showed him how the end with two loops will naturally slip over a stack of paper, one loop in front, one behind, and hold them together. This was like magic to my 5 year old!

Paperclip Challenge (4)

Needless to say, he eagerly began searching for the next color. “You have all the green,” I said, pointing toward the green paper clip. “Nope, missed one!” His eyes are better than mine!

Paperclip Challenge (5)

At the end, he had four neat stacks.. .and loved the task so much that he wanted to play with the paper and clips for some time after.

Paperclip Challenge (7)

Bean Picture

Bean Pictures (6)

Engage your child’s budding artistic skills and fine motor skills with this quick project!

I invited Travis to draw anything he liked on thick watercolor paper, but suggested it needed to be something he could truly draw – not a “scribble scrabble” as he’ll do when he’s joking around. He thought about this and decided on a person.

Bean Pictures (1)

I love the way he draws people at age five: a very big head with round cheeks and small facial features, then tiny stick arms and legs.

Next I had him squirt glue all along the lines he had drawn. He took this mission very seriously.

Bean Pictures (2)

Finally, it was time to cover his person with dried beans. He laughed as he worked about “Mr. Bean,” and carefully added beans along every bit of glue.

Bean Pictures (3)

Near the end, he decided it wasn’t Mr. Bean after all… It was his baby sister!

Bean Pictures (4)

She needed a sun to stand under, so he penciled in a second circle, and insisted we cover that with glue and beans, too!

Bean Pictures (5)