Kindergarten Home School Week 5: Wednesday

Home School 23 d

Well, today was not as rough as Monday, not as fantastic as yesterday, but I can accept a middle-of-the-road middle of the week here in Covid-19 home school. Don’t forget to share how your day went in the comments!

9-10: ELA: Today’s focus was on the sounds in words. I put ten objects in a pillowcase, all with one syllable (pen, car, etc.).

Home School 23 a

As Travis drew them out, he tapped out the sounds on his fingers, so, for example pen has three distinct sounds (p, e, and n). He enjoyed the tactile nature of the game. He then did one letter page in his workbook and 30 full minutes on Lexia but then…

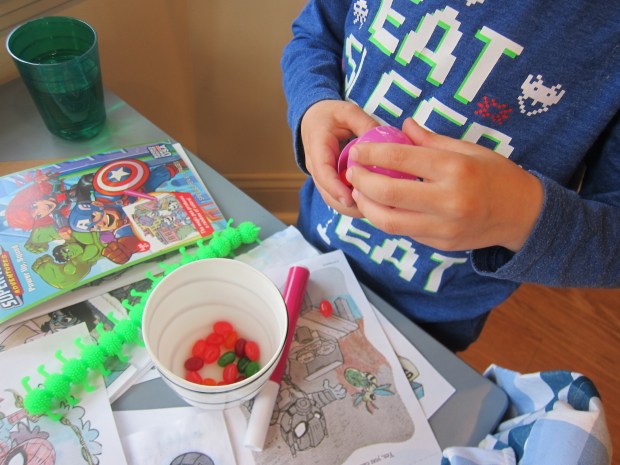
10-11: Math. When I asked him to come to his math lesson, he had a meltdown. I recommended free play and recess, but that didn’t cut it. So I pulled out a surprise (his latest package from Little Passports; stay tuned for my full recap!). Even this didn’t really reset him so I sort of just talked him through the lesson on 3-D shapes, despite a fun rap song to watch and a scavenger hunt.

Home School 23 c

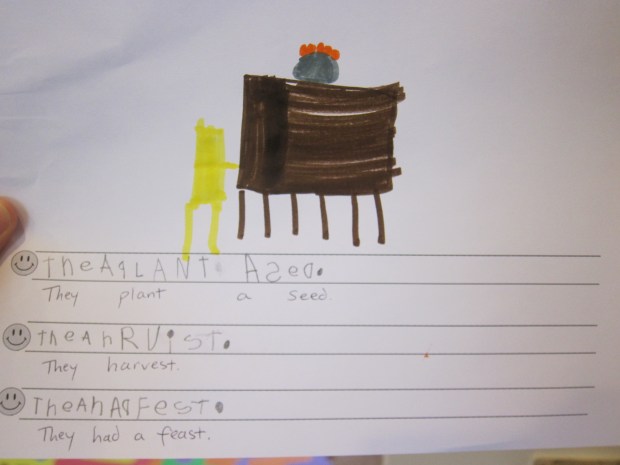
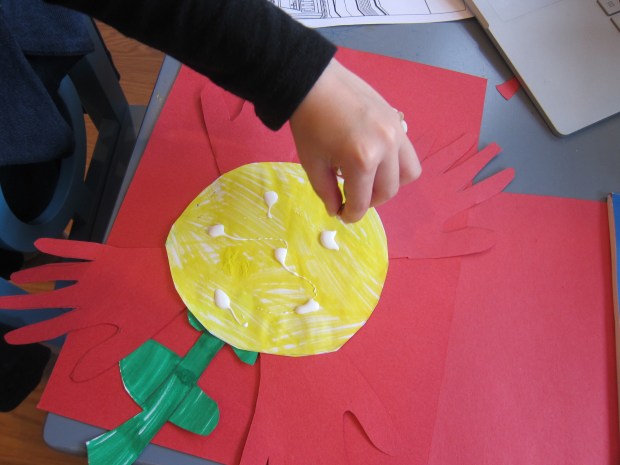
11-11.30: Social studies. Travis watched videos on nurses and farmers as two important community jobs. He drew a picture of a farmer and wrote a sentence about how they help. Eating lunch after he told me, “Mom I ate my crops!” A cute, positive moment in the day.

Home School 23 f

11.30-1: Long lunch/free play.

1-1.30: Library. For his special today, we watched his librarian do a story read online of Tops and Bottoms, and do a silly bunny rabbit finger play.

Home School 23 e

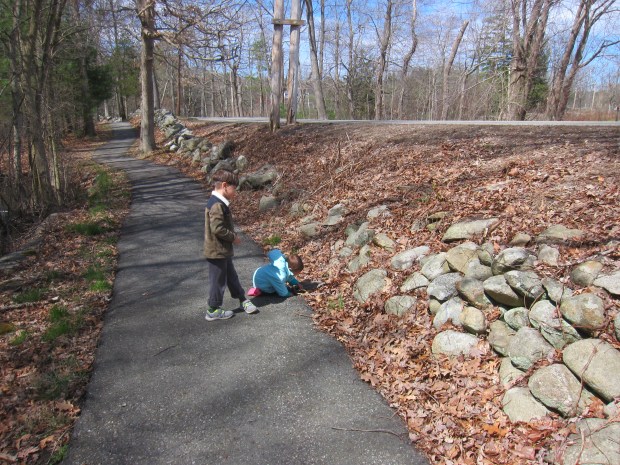
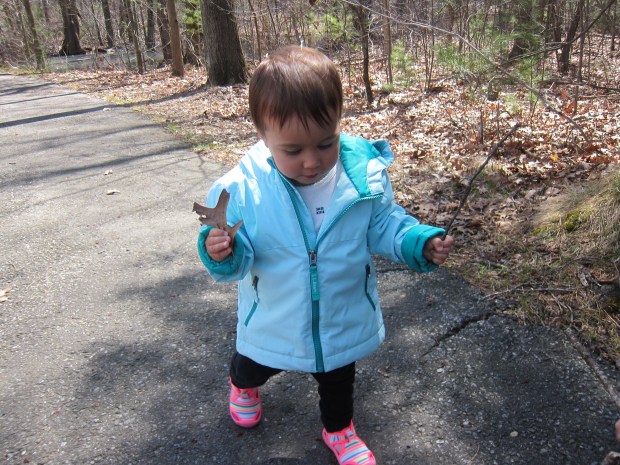
1.30-2.30: Outside! We took a long walk. It was cold but sunny and it did everyone good.

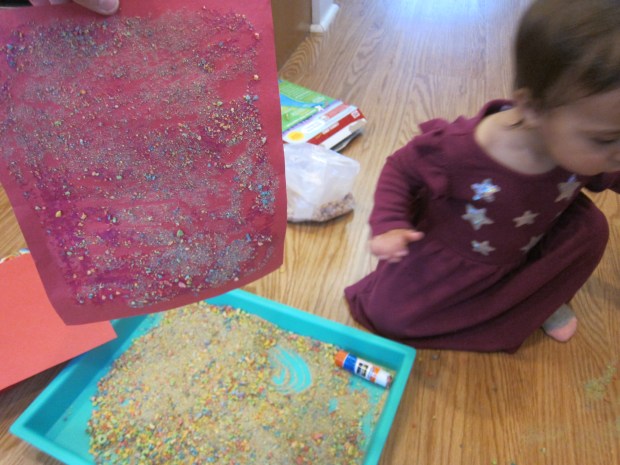
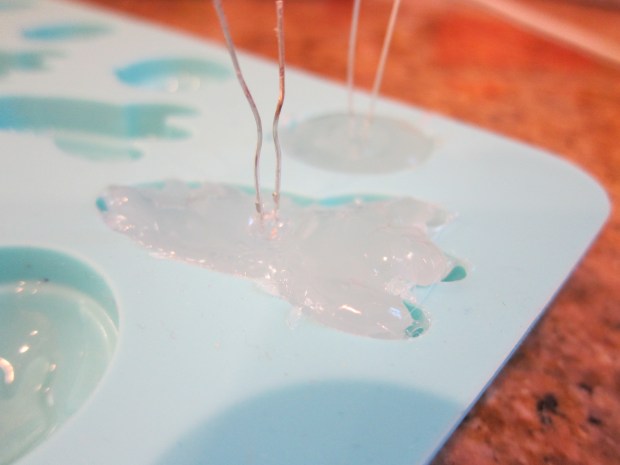
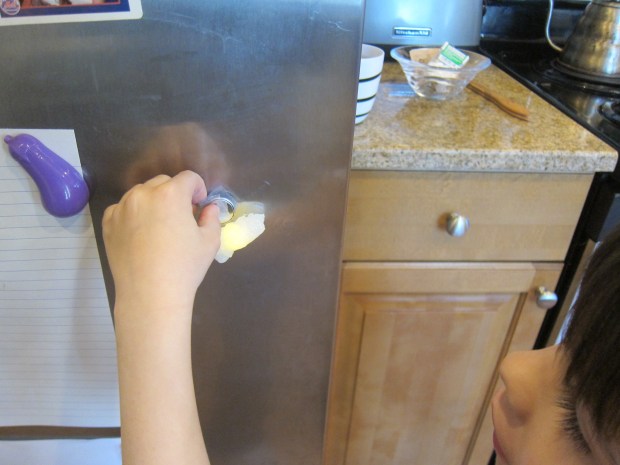
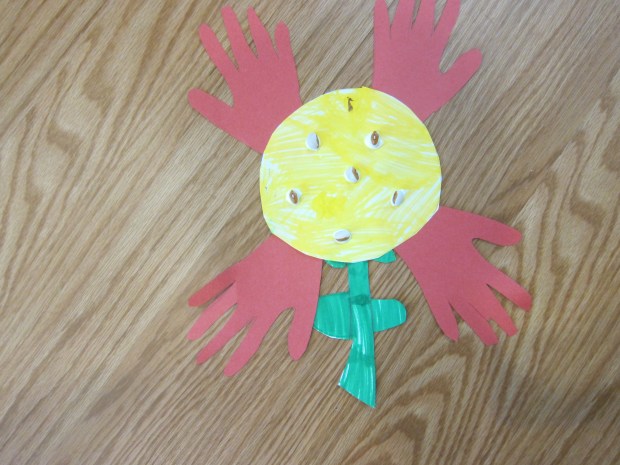
We rounded out the afternoon with a bunch of miscellany, whether playing the card game Uno, fitting in a STEM craft on muscles, or just letting the siblings play.

Froot Loop Sand

Froot Loop Sand (10)

This project is a fun way to use up a box of any rainbow colored o-shaped cereal, whether brand name Froot Loops or an organic version.

To start, you’ll need to crush the cereal until very fine, which is half the fun/ Yes you can do this step in a food processor, but I wanted Veronika to get hands-on with it.

Froot Loop Sand (1)

I placed a big batch of the cereal in a large zip-top bag and had her help roll over it (or just whack it at!) with a rolling pin. I helped her out because the finer the “sand” the better the project turns out.

Froot Loop Sand (2)

Next I gave her a glue stick and showed her how to rub all over a piece of construction paper, which she loved!

Froot Loop Sand (3)

Once the paper is really sticky, pour the cereal sand on top. Shake off any excess over a tray, then let dry.

Froot Loop Sand (5)

The colors really do look so pretty! We tried this a second time by pressing a gluey piece of paper down over the cereal sand instead, once it was all in the tray. This didn’t work quite as well, but was a nice variation.

Froot Loop Sand (7)

Of course Veronika was busy with leftover “sand” and a few utensils for quite some time!

Froot Loop Sand (6)

In sum, a great toddler art project.

Froot Loop Sand (8)

Kindergarten Home School Week 5: Tuesday

Home School 21 b

On the heels of a trulydifficult Monday, we had a Terrific Tuesday around here. Travis loved school today and was up for every bit of it. Color me one proud mama.

9-10: ELA. For Tuesday writer’s workshop, we watched a read-through of Plant a Little Seed for an Earth Day unit. He then got busy writing a recap (first, next, last), using full sentences and periods, and he was so proud of the picture he drew. Baby sister, meanwhile, was happy with chalk. Travis was on such a roll that he requested extra time on the Lexia spelling program, after.

Home School 21 c

10-10.30: Recess/snack. Travis went off collecting rocks. Baby sister was happy with pom poms. I was happy in the sunshine.

Home School 21 k

10.30-11: Emotional Learning. Travis watched another read-through (How Full Is Your Bucket), and then we discussed the story and ways to fill our own emotional “buckets” each day. He drew himself playing a game nicely with his little sister!

Home School 21 d

11-12: We took a STEM break to make LED magnets!

12-1: Lunch/free play.

1-2: Outdoor time: We turned a beautiful spring day into a nature scavenger hunt.

Home School 21 e

Travis enjoyed checking off items on the list his teacher provided, as well as finding novelties like a square-shaped stick!

Home School 21 j

Little sister squeezed in some nature learning, too.

Home School 21 f

2-2.30: Acting: After a quick watch of the Three Billy Goats Gruff, Travis built a bridge so we could act out the story. His involved two stools and a big cardboard box. Kids might also like making a bridge from smaller objects like Legos or building blocks. Then we acted out the billy goats gruff!

Home School 21 h

This led to an inventive afternoon of pretend play, leaving me free to make dinner. So hurray for Terrific Tuesday.

LED Magnets

LED Magnets (6)

Okay, this is likely the last time Travis and I will play with LED lights and batteries for a while, but we’ve had lots of fun with them this month. Of all our light-up projects, this was the simplest. But by now Travis is an expert!

To start, we needed to make magnets using a silicone mold and hot glue. We have a mold in fun rocket and planet shapes that was perfect.

LED Magnets (1)

Because it required squirting a lot of hot glue into a relatively wide receptacle, this was the first time I let Travis use the gun solo. He was so proud! You’ll likely go through three or four glue sticks to fill a couple of molds.

LED Magnets (2)

Let the glue cool slightly, but before it’s completely set, push an LED light in. Make sure the wires are still sticking out.

LED Magnets (3)

Glue the positive (longer) leg of the LED to a circular magnet. Attach a 3V battery to the magnet with small pieces of tape so that it touches this positive leg, and then tape the other (negative) leg of the LED to the negative side of the battery.

LED Magnets (4)

Perhaps you can use these magnets to hang up any home school work!

LED Magnets (6)

Here’s our planet in action:

Toddler Nature Walk

Nature Walk (3)

This game can grow with your child. Initially, it’s a fun way to teach the name of nature objects. Later, it can become a guessing game or a sorting game, once your toddler firmly has a few of nature words under his or her belt.

For the easiest variation on a nature walk today, I asked Veronika to pick up treasures and fill a paper bag we’d brought along. Of course she didn’t entirely understand, but she certainly loved bringing me sticks and dropping them in!

Nature Walk (1)

I rounded out the collection with other items we spotted, like leaves, tall grasses, pine needles, acorns, and seed pods.

Nature Walk (4)

Once we were home, we took our treasures to the back patio. For older kids, have them reach into the bag and guess what they are feeling; you can even use a blindfold, if your child wants to! At seventeen months old, it was easier to dump the bag out in front of Veronika and hand her one item at a time.

“Leaf,” I could say, for example. She is a parrot these days, and loved practicing new words right back to me, as we then discussed the color or texture.

Nature Walk (5)

When I gave her grass, she immediately grabbed it…

Nature Walk (6)

…and ran to return it to the grass just off our patio, an amazing insight to her little brain!

Nature Walk (7)

There was definitely some new vocab here, including words like “acorn” and “bark”. I sorted our items into piles so she could better understand each new word.

Nature Walk (8)

In sum, we got a nice pause in the spring sunshine, and a little lesson all in one!

Nature Walk (9)

Kindergarten Home School Week 5: Monday

Home School 21 i

Well, happy Monday. There was lots of resistance and tantrums today, folks, a few moments of laughter to break the tension, and a toddler who refused to nap. Chaos, in sum! How did your day go? Please share!

9-10: ELA. Travis and I started out with a game of sight word Fiddlesticks. Ideally play this with craft sticks, but I recently used mine up so I wrote sight words on the end of paper strips.

Home School 21 a

We put these in a cup, along with one strip marked with a purple diamond. Travis and I took turns pulling out the strips and reading the word. If we drew the purple, we declared “Fiddlesticks!” and our strips went back in.

Home School 21 b

This got some laughter at least. He also did a letter page in his workbook and 20 minutes of Lexia, which involved a fair amount of yelling, fussing, and hating me.

10-10.30: Math. While Travis wrote the numbers 1 through 10 on red squares of paper, I marked 10 additional squares with hearts in corresponding amounts. Travis laughed at making me draw so many hearts. I’ll take laughter where I can!

Home School 21 d

Then we played a version of Memory: finding a number card and the corresponding number of hearts means you keep the pair and get another turn.

10.30-11: Much needed snack and free play (sigh, pouring rain).

11-11.30: Science: Travis watched a read-through of The Tiny Seed. Then we made a giant flower by coloring a green stem, yellow center, and tracing his hand on red paper for the petals. As a bonus, we glued down dried beans in the center for seeds! He was mildly into the project. At least he wasn’t screaming at me.

Home School 21 j

11.30-12: Gym. Everyone needed to move and baby sister wouldn’t take her nap, so we checked out his P.E. teacher’s suggestions.

Home School 21 g

A rhythm stick dance to ‘Thunder’ by Imagine Dragons fit the bill, followed by a game called Kicking Corners. Put 2 cups in each of the 4 corners of a rug or other open area. Time your child and see how long it takes to kick all the cups down with a soccer ball. This was great for kicking skills, no hands allowed.

Home School 21 h

12-1: Lunch/free play.

1-1.30: Spanish. For some silly fun we watched the teacher’s dog “sing” a song about 10 little dogs. Then Travis drew 10 animals in circles, and was proud of his own details!

Home School 21 k

We then looked up the names of each animal in Spanish. Mommy even learned a few new ones.

Home School 21 l

We called it quits early, turning to a fun cooking project instead and going for a drive in the pouring rain just to get out of the house. We’re hoping for a nature walk, fewer tantrums, and more naps tomorrow.


Walk and Find

Walk and FInd (4)

Here’s just a quick game I played with Veronika this morning, as we work on building her language skills and following directions.

For the former skill, I hid a series of toys under pillows, and then used directional words “Where is your toy?” “Who is under the pillow?” to direct her along.

Walk and FInd (2)

She very quickly solved the mystery!

Walk and FInd (3)

The latter goal was to help her follow directions when specifically asked to do something. I placed toys on a series of chairs in the hope that she’d move in order from chair to chair to couch, picking up a toy as a prize each step along the way. She followed directions quite well!

Walk and FInd (5)

As a side note, this is a great game to play if your child is in the early stages of walking but still needs to “land” against something after a few steps. Have him or her go from chair to chair (or other similar landing spot), with the toys for encouragement.

Walk and Find (6)

4 Ways to Use Plastic Eggs

4 Ways Eggs (2)

Now that the Easter egg hunts are done, we’re left with lots of plastic eggs! Here are four ways to put them to use before packing them away until next Easter.

First, there’s the classic plastic egg maraca. Fill an egg with a little bit of uncooked rice and secure with tape around the middle to avoid any spills.

4 Ways Eggs (1)

Then shake shake shake!

4 Ways Eggs (4)

Next we made them into an afternoon snack holder. This delighted Veronika, who found cereal puffs inside hers…

4 Ways Eggs (5)

…and Travis who wanted to fill his own (with leftover Easter candy of course).

4 Ways Eggs (6)

Then we made creatures! We got crafty with wiggle eyes and pom pom legs for “creepy crawlies” that had both kids giggling.

4 Ways Eggs (7)

You can add pipe cleaners as antennae if you have them on hand, or get really detailed with one type of bug or animal.

4 Ways Eggs (8)

Finally, have one last hunt before bed, but make it a glow-in-the-dark hunt! After dark, hide some of the eggs again for older kids with lights inside.

4 Ways Eggs alt

Mini glow sticks work well for this, as do small balloon lights.

4 Ways Eggs (9)

Travis loved discovering a few just before bed!

4 Ways Eggs (10)


Ring of Love

Ring of Love (3)

Today was a very different Easter for us, as I’m sure it was for many during Covid-19, just our family of 4 around a small table in the living room. To make it feel special for both siblings, I called everyone over before ourmeal began. We held hands and began to walk in a circle around our coffee table.

Immediately, this delighted Veronika! She no doubt loved taking us all for a “walk”, and the sight of our hands joined together. Travis felt the special nature of the moment, too, and stopped to give her a kiss.

Ring of Love (2)

As we walked around, we each shared a hope for the family: that we are happy, that we are healthy, and so forth. It was a beautiful moment, so much so I might make this a tradition!

Ring of Love (1)

You can even just have siblings join hands and spin each other around and around. Make it more of a game by having them change the way they move (walking, running, hopping), or switching directions. Either way, this one is sure to make everyone in the family feel the love.

Bunny Ears Craft for Easter

Bunny Ears Craft (6)

If your baby or toddler will tolerate wearing these little bunny ears, it’s pretty much the cutest way to get a young child into the Easter spirit, long before they know who the Easter Bunny is!

To involve Veronika in the craft, I sat her down with construction paper and chalk to decorate the headband portion. Drawing on paper with chalk was novel!

Bunny Ears Craft (1)

Meanwhile, I traced two bunny ear shapes on a separate piece of construction paper, and glued down cotton balls. Stretch the cotton out slightly for a softer look.

Bunny Ears Craft (3)

Older toddlers may want to help with this step, too!

Bunny Ears Craft (2)

Cut your child’s chalk drawing in half to make two strips, then measure around your child’s head and secure to the right circumference with double-sided tape or a stapler. I originally hoped to avoid staples, but they were definitely more durable than the double-sided tape, which gave out pretty quickly.

Bunny Ears Craft (5)

Attach the bunny ears to the sides with additional staples. Next time I would make smaller ears, so they weren’t so heavy and floppy. But my little bunny loved it!

Bunny Ears Craft (8)