Icy Winter Scene Salt Paint

Icy Winter Scene Salt (4)

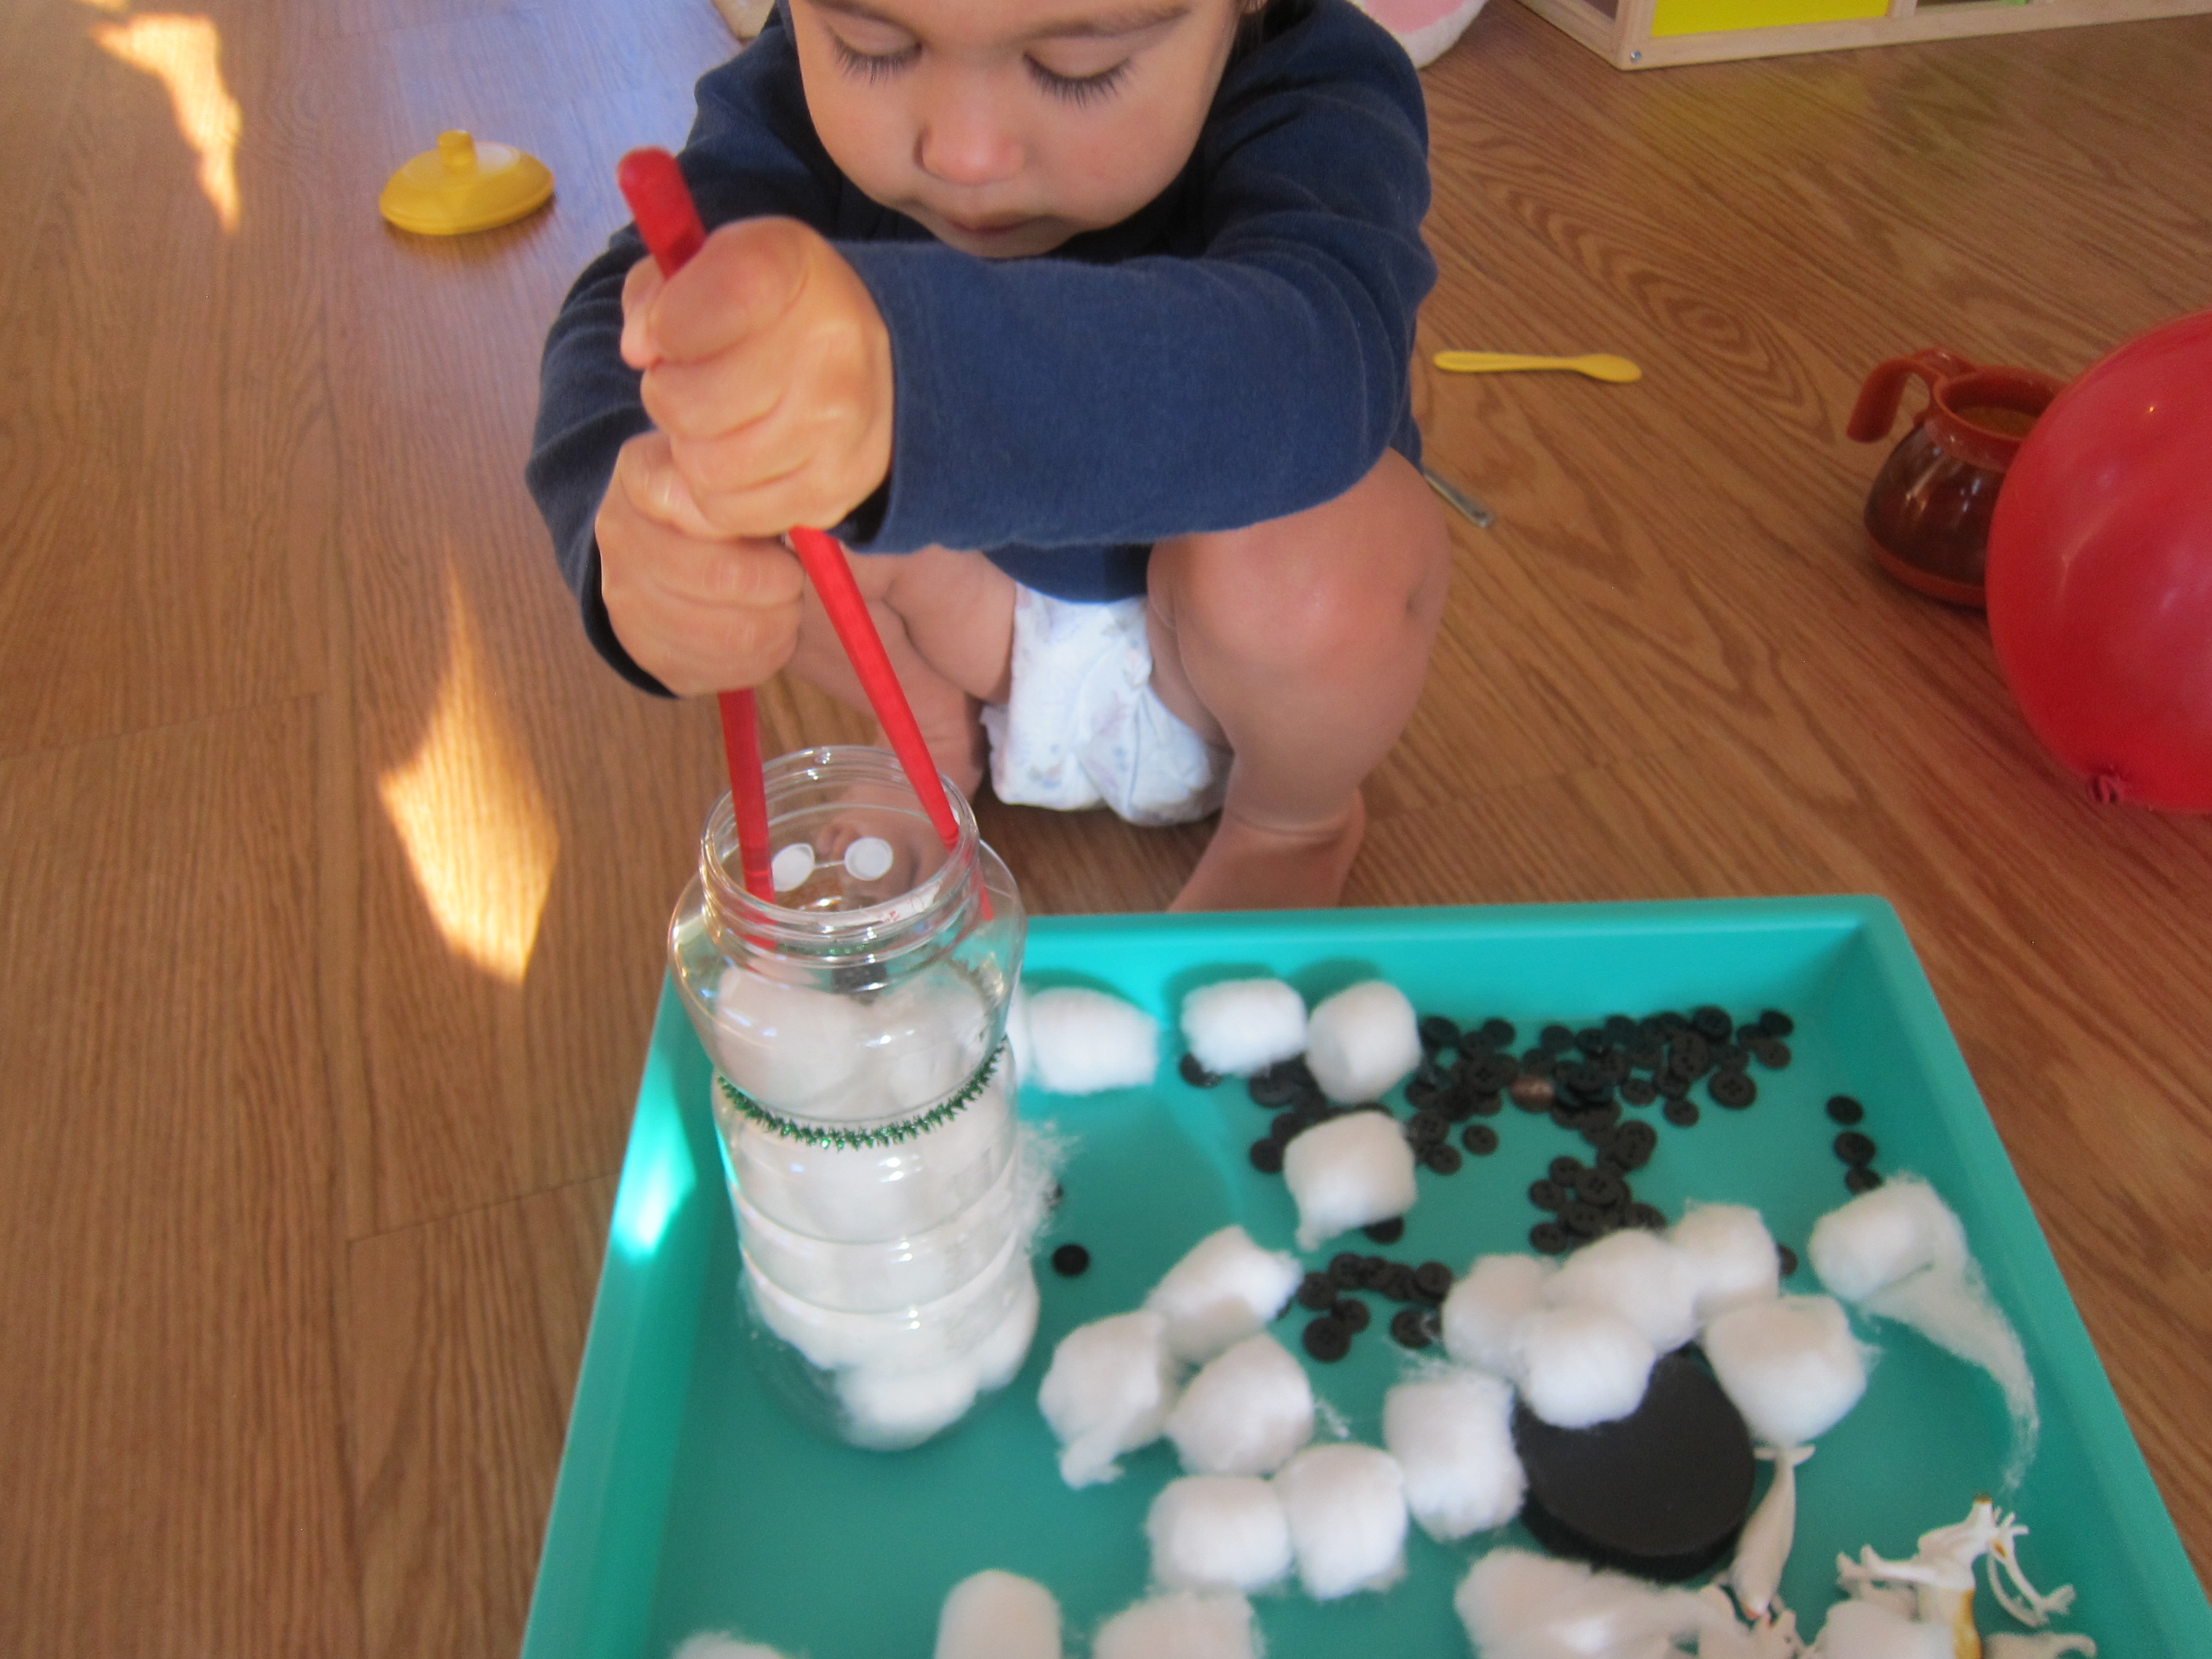
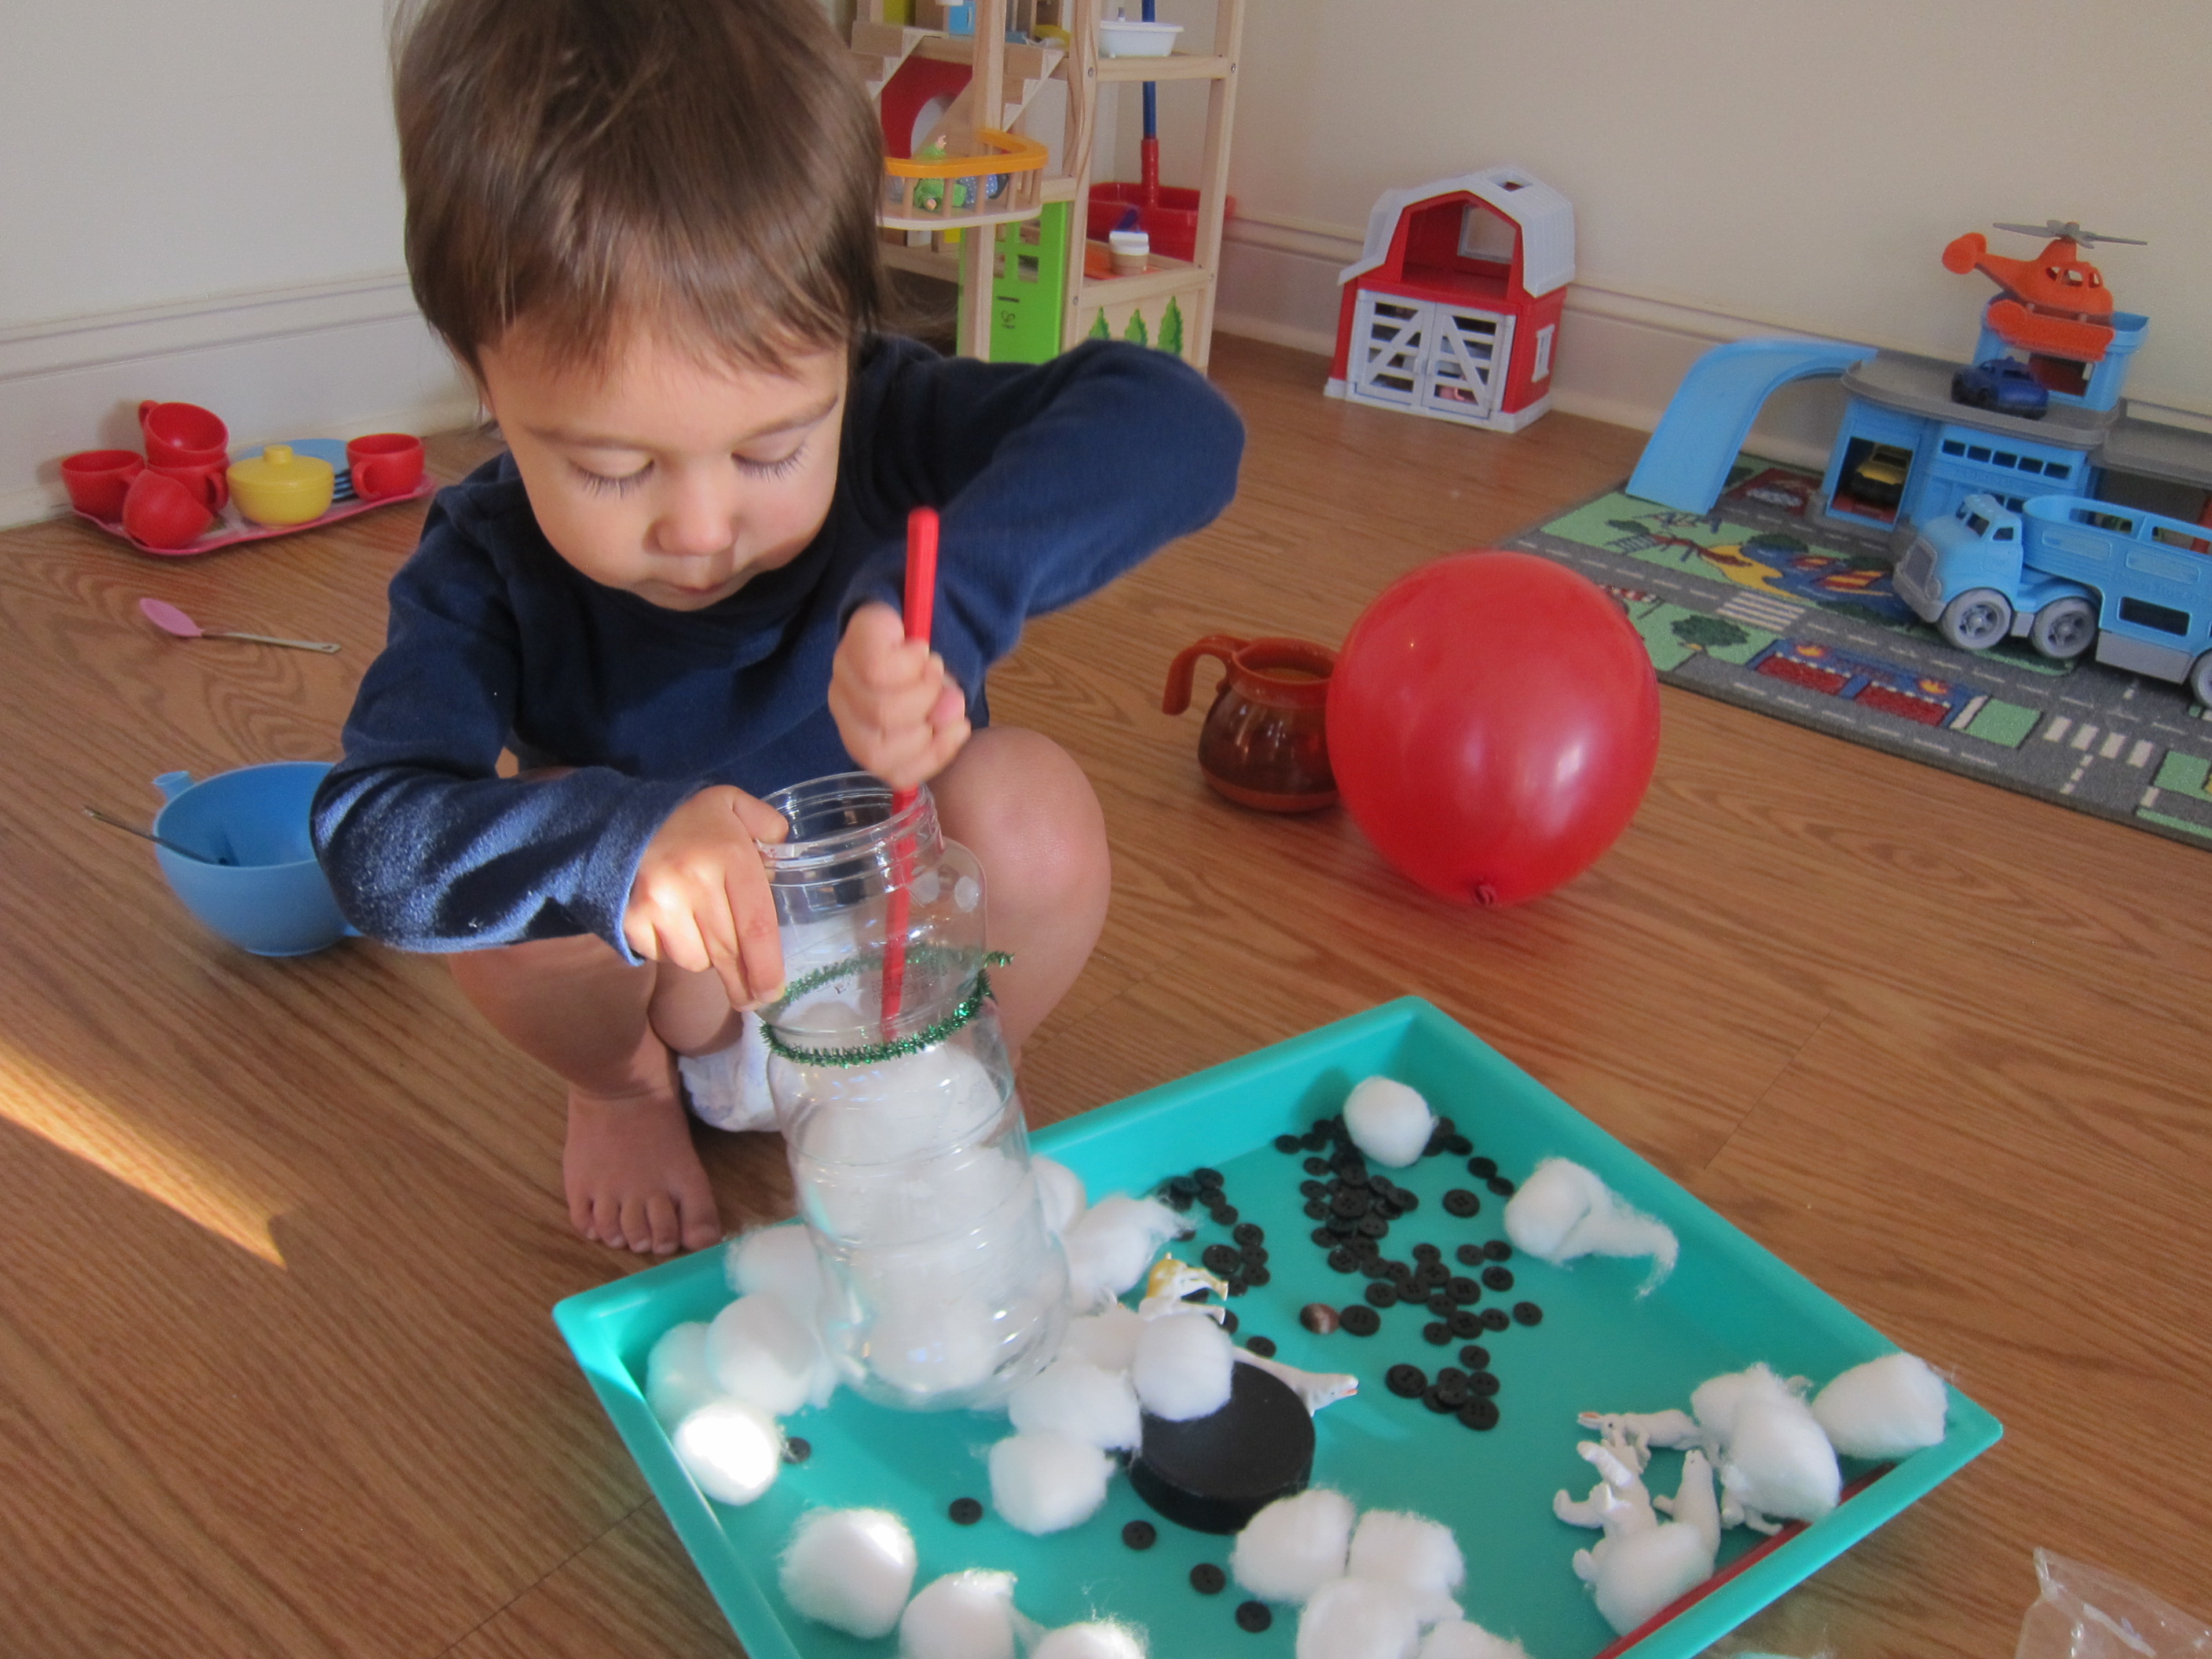
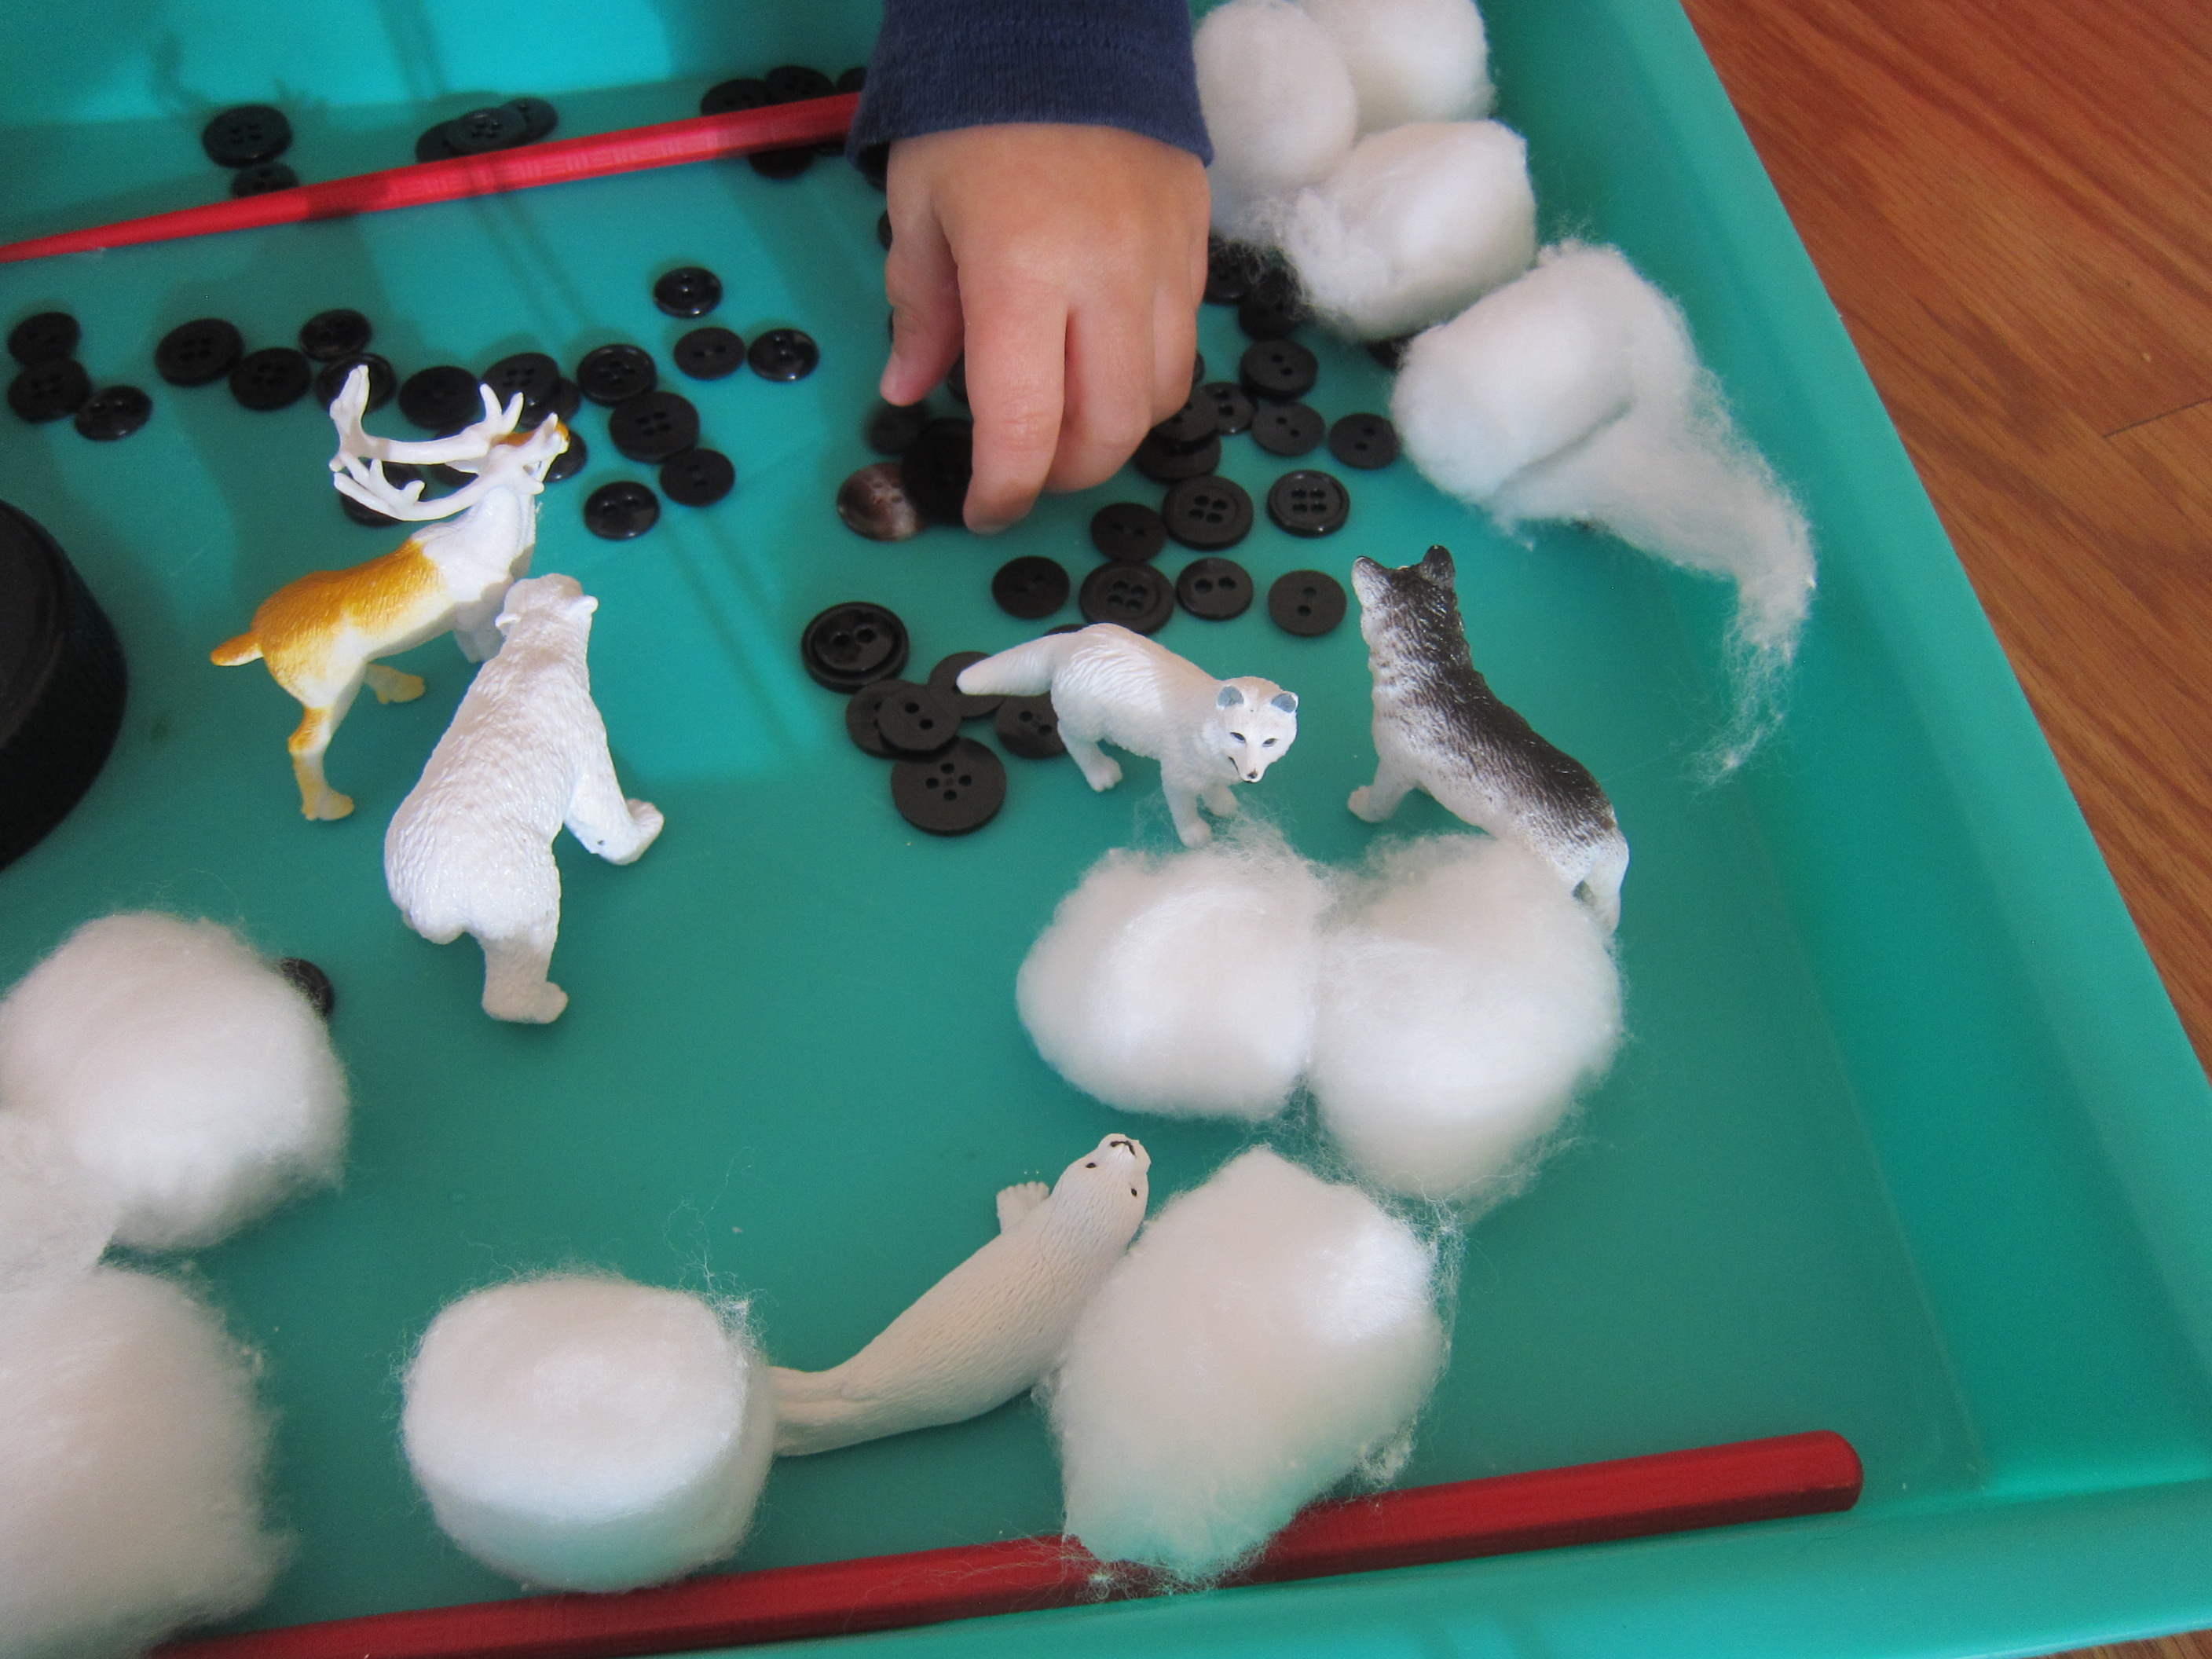
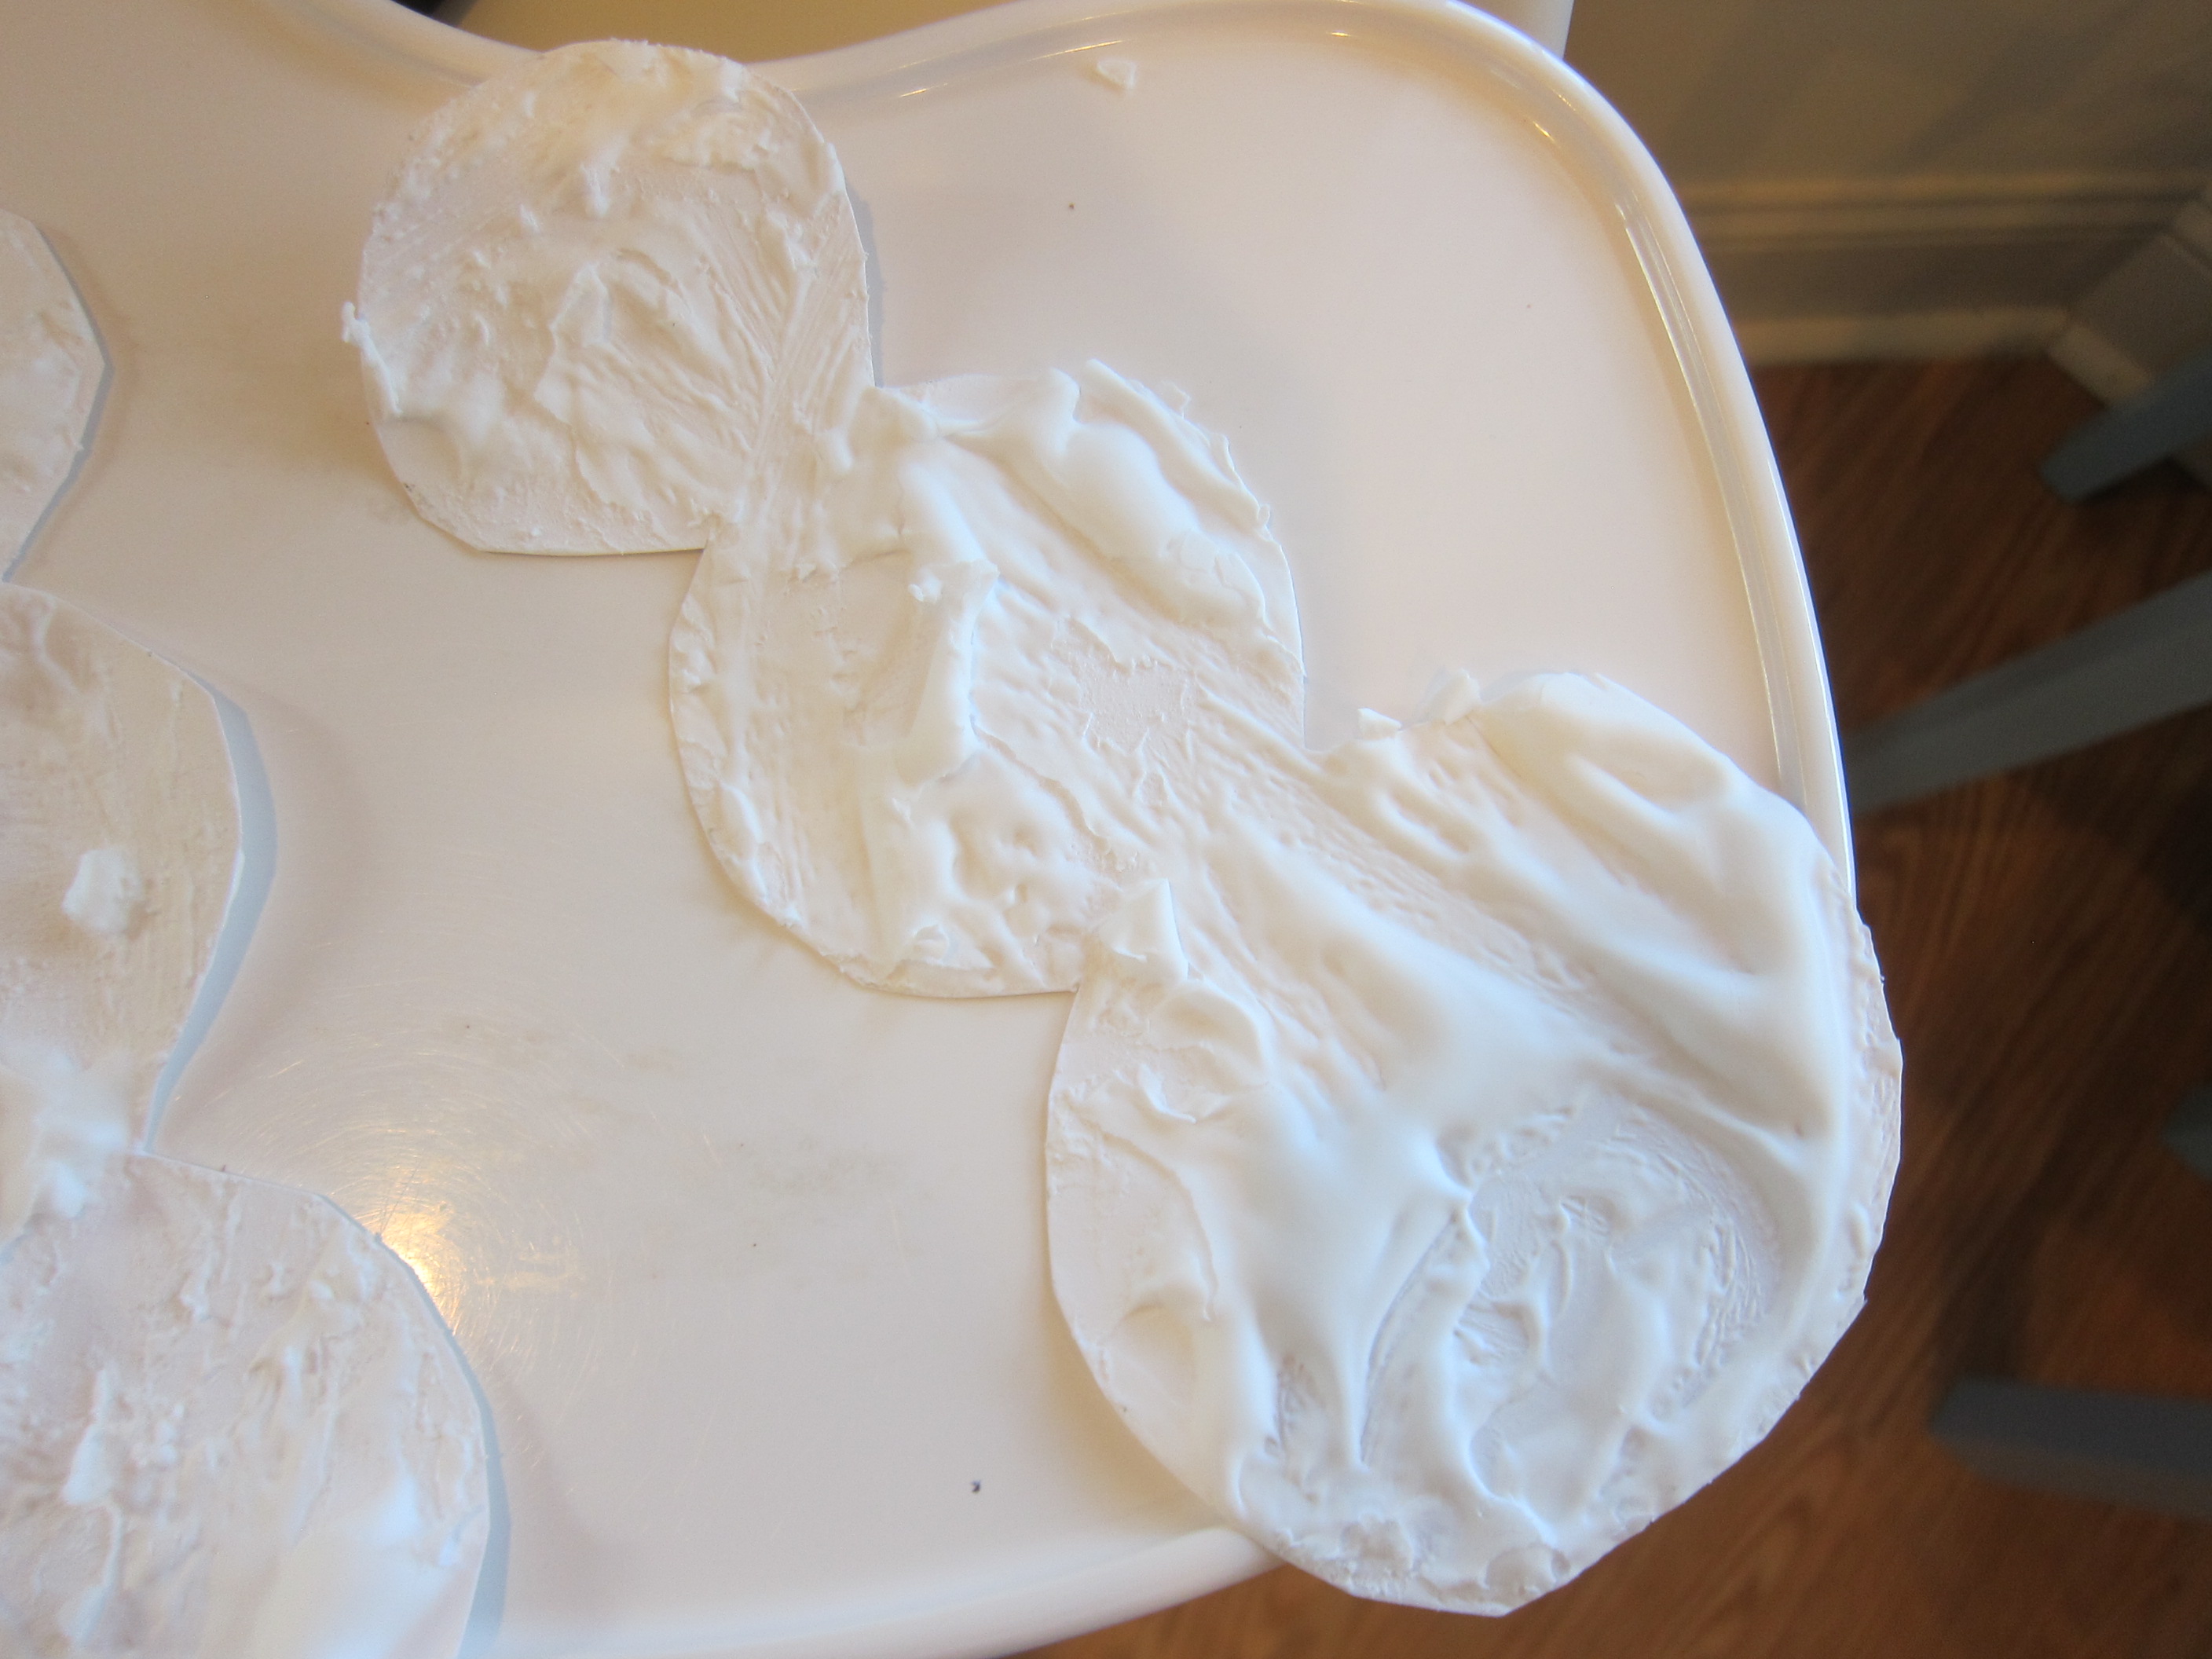
You only need two items to make a toddler happy on a slow morning: white glue and Epsom salts! To wit, Veronika made a winter artwork of “ice and snow” with just these two ingredients.

I set out one cup full of white glue and another with the Epsom salts, along with a sheet of construction paper. We chose blue as a background to evoke the bluish light of winter.

Icy Winter Scene Salt (1)

I thought she might want to paint the glue on with a paintbrush, but she was so interested in the cup of salt that she wanted to dip her brush back and forth between that and the glue. This meant her brush was quickly too gunky to spread the glue around on the paper.

Icy Winter Scene Salt (2)

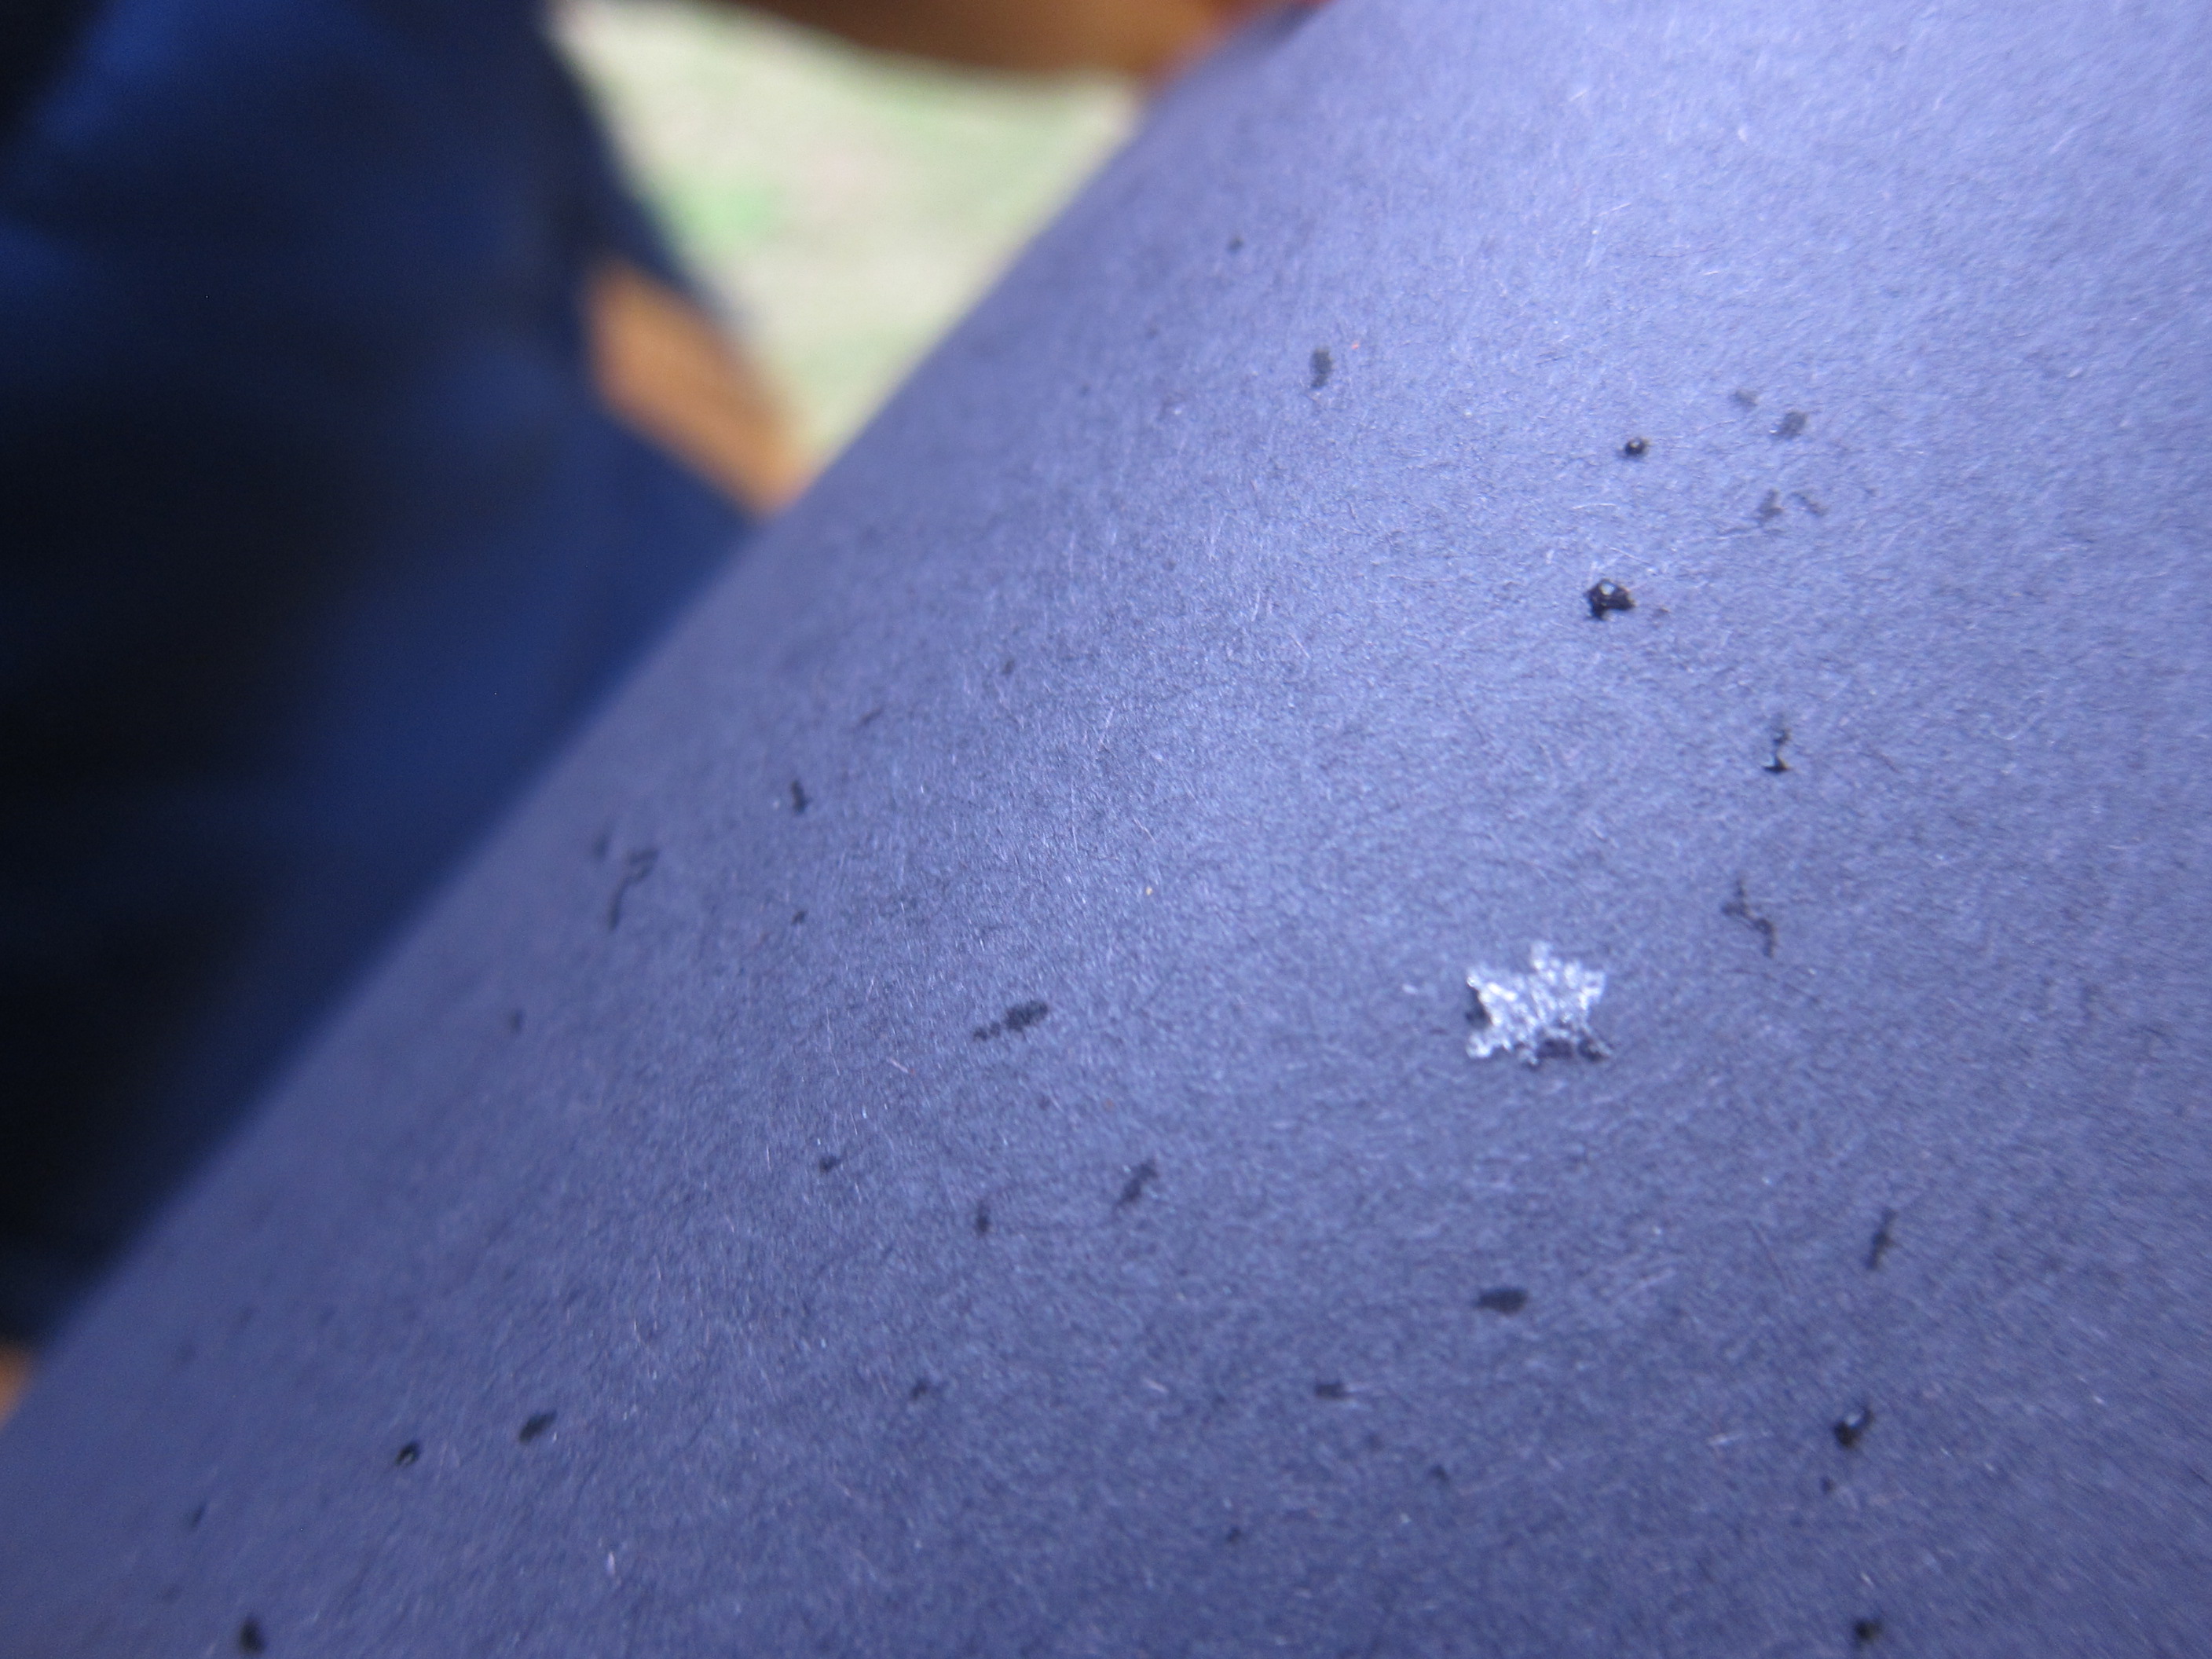
Instead, I helped her pour the cup of glue right over the paper! Then I showed her how to pour the salt on top. There’s no need to worry about a mess because as you tilt the paper to tap off any excess salt, the rest will stick in the puddles of glue.

Icy Winter Scene Salt (3)

It looked like sparkly snow and ice to us!

Bundt Pan Suncatcher

Bundt Pan Suncatcher (10)

We’ve made sparkly winter suncatchers in cookie cutter shapes before, but this year we decided to think big: Bundt pan big that is!

To start this gorgeous project, head off on a treasure gathering hunt. Veronika especially loved finding the bright pop of red berries and collecting small pine cones as we took a walk.

Bundt Pan Suncatcher (1)

Once home, I filled a Bundt pan with water about half full, then we plunked in our treasures.

Bundt Pan Suncatcher (5)

Now simply set it outside to freeze! We actually had to wait a few days for this to work, since first I realized our layer of water was simply too deep and poured some out. Then we needed a night that dipped down to 20 degrees, and finally we woke to a beautifully solid chunk of ice.

Bundt Pan Suncatcher (7)

To unmold, simply run the bottom of the pan under a little hot water and slip out gently. I wrapped a bright ribbon through the hole in the center of this ice “cake” and suspended it from a tree branch.

Bundt Pan Suncatcher (8)

This was absolutely gorgeous in the sunlight!

Bundt Pan Suncatcher (9)

Travis loved that way that tiny icicles began to form near the bottom as the sun warmed the ice through a little.

Bundt Pan Suncatcher (11

We’re hoping for a few icy cold days so this can last before the sun melts it. As a bonus, all the nature treasures can simply fall where they lie as the suncatcher melts. Just be sure to clean up the ribbon!

Catching Snowflakes

Catching Snowflakes (4)

We learned about this neat trick for catching snowflakes from Parents magazine and had a chance to test it out today when we looked outside and saw snow flurries!

Ahead of time, place a few sheets of black construction paper in the freezer. Just leave them there if you live some place that’s bound to get snow during the winter, because you’ll want to have them at the ready.

When we saw the snow, we bundled up, grabbed the frozen black paper and a magnifying glass, and headed outside.

Catching Snowflakes (1)

When the snowflakes hit the icy cold paper, they won’t melt. That gave Travis and Veronika the chance to peer at them with a magnifying glass. Travis marveled at how we could see the six points of each flake.

Catching Snowflakes (6)

Veronika just loved the beauty of it, and kept eagerly holding out her paper for more.

Catching Snowflakes (5)

What a simple but wonderful way to experience winter.

Catching Snowflakes (2)

Winter in a Bag

Winter in a Bag (5)

Veronika loves glitter but I confess I’m not always in the mood to deal with the sparkly mess it leaves behind. This sensory bag is a great way to enjoy all the sparkle and ice of winter, without a single bit of that mess!

To start, I squirted about half a bottle of clear hair gel into a large zip-top bag. Add any items that are fun to squish and resemble little snowballs or snowflakes. To wit, we used white pom poms and large Dandies marshmallows!

Winter in a Bag (1)

For snowy sparkle, I then poured in blue glitter and a few silver star-shaped sequins that looked roughly like little snowflakes. Veronika wanted to get hands-on with the bag right away!

Winter in a Bag (3)

The marshmallows in particular are fun to squish, even through the bag. As a bonus, there’s no sticky mess left on fingers. She also loved spotting the silver snowflakes in the mix.

Winter in a Bag (4)

She then decided to stand on the bag instead, delighting in how squishy it felt beneath her toes.

Winter in a Bag (6)

The bag didn’t hold her interest for very long, truth be told, but it was sparkly, wintry fun while it lasted.

Dance Like a Penguin

Dance Like a Penguin (3)

If a cold winter day means your kids have extra energy to burn in the house, chances are you need some movement play. To wit, today we invented this arctic animal dancing game!

Veronika has a toy penguin that she currently loves, so I’ve been showing her how to “waddle” like a penguin. The silly movement is always good fun for toddlers. And heck, it’s fun and silly for moms and dads, too.

Dance Like a Penguin (8)

Then it was just a matter of cranking up the music and doing our best waddle along to the tunes!

Dance Like a Penguin (7)

Veronika, of course, didn’t always stick with a waddle, but that didn’t matter now that she was getting in her movement play. Soon she was marching or twirling or knee-high stepping to the beat.

Dance Like a Penguin (10)

She loved making her little penguin bounce along, too!

Dance Like a Penguin (4)

This gave us the idea to think of how other winter animals would move to the beat. Could we lumber along like a polar bear? Clap like a seal? Jump like an arctic hare?

Dance Like a Penguin (11)

No matter what we were pretending to be, there were big smiles and lots of movement.

Dance Like a Penguin (12)

Paper Plate Skating

Paper Plate Skating (5)

All the ice in town melted after an unusually warm day. So today we decided to pretend ice skate indoors, instead!

This gross motor activity couldn’t be easier or more fun. To start, Veronika and I decorated paper plates with crayons. You don’t actually even have to do this part, but it was fun to add an arts & crafts component to the game. Veronika scribbled in her favorite colors while I drew something that sort of resembled ice skates on a few other plates.

Paper Plate Skating (2)

Time to lace up! By which I mean, simple help your child place one foot on each plate and start to glide.

Paper Plate Skating (3)

Veronika got the hang of it immediately; I was impressed with how sturdy she was, and how quickly she mastered the motion.

Paper Plate Skating (4)

She loved holding hands for a few loops around the house but soon was brave enough to strike out on her own.

Paper Plate Skating (6)

The only frustration was that her feet popping off the plates. I asked her if she wanted to wear socks and have me fasten her in with a strap of tape, but she preferred bare feet. So we just dealt with this minor inconvenience.

Paper Plate Skating (7)

Here she is carefully putting her “skates” back on after coming off the plates. She was one determined skater!

Paper Plate Skating (8)

Reindeer Mix

Reindeer Mix (2)

Really this is just an ordinary snack mix that you could make any time of year. But if you tell your kids it’s “Reindeer Mix”, all of a suddenly ordinary becomes extraordinary!

Ingredients:

  • 3 tablespoons Earth Balance butter
  • 3 tablespoons brown sugar
  • 1 teaspoon minced fresh thyme
  • 1/2 teaspoon salt
  • 1/2 teaspoon cinnamon
  • 1 cup almonds
  • 1 cup walnuts
  • 2 cups pretzel twists
  • 1 cup Puffins cereal
  • 1/2 cup dried cranberries
  • 1/2 cup vegan white chocolate chips
  1. Combine the butter, brown sugar, thyme, salt, and cinnamon in a small saucepan. Cook over low heat for about 3 minutes, just until the butter melts and the sugar dissolves.
  2. Arrange the almonds and walnuts on a baking sheet lined with foil and pour half of the brown sugar mixture over the nuts, tossing to coat. Bake at 375 degrees F for 7 minutes.
  3. Toss the pretzels with the remaining brown sugar mixture. Add to the baking sheet and bake for a final 3 minutes. Let cool for 30 minutes.
  4. Transfer the nut mixture to a large bowl and add the cereal, dried cranberries, and white chocolate, stirring to combine.

Reindeer Mix (3)

Be sure to snack on this mix while you track the reindeer and Santa across the sky on Christmas Eve!

Cute Winter Snowman Sensory Bin

Snowman Sensory Bin (4)

Instead of painting a snowman today, it was time for a 3-D snowman that was all about sensory play. This little sensory bin of winter goodies was pure fun for Veronika.

To set it up, you’ll need an empty plastic bottle. One with a wide opening will work better than a narrow-necked water bottle in this case; we used a dry-roasted peanut jar.

I added two wiggle eyes and 3 black buttons with hot glue, attaching them roughly where they would be a snowman’s body, then twisted on a sparkly green chenille stem for a scarf and drew a carrot nose with orange marker.

Snowman Sensory Bin (1)

Next, I added lots of cotton balls to the tray. Once stuffed inside the bottle, it looks just like a little snowman, and one that will never melt!

Snowman Sensory Bin (3)

The fun (and challenge!) now was for Veronika to put the cotton in and then take it back out again. I added chopsticks to the tray for her to use as a tool (tongs would be great, too).

Snowman Sensory Bin (6)

But after a few tries, she preferred to use her fingers.

Snowman Sensory Bin (7)

Or just to upend the bottle and dump it!

Snowman Sensory Bin (8)

To round out the tray, I added a collection of plastic arctic animals and lots more black buttons.

Snowman Sensory Bin (2)

After she tired of transferring cotton balls in and out of the jar, she loved putting the little animals inside and then practicing screwing on and off the lid.

Snowman Sensory Bin (9)

All in all, this was great little bin full of wintry fun.

Puffy Snowmen with Shaving Cream and Glue

Puffy Snowman (7)

I’ve been on a hunt this winter season to find the best toddler snowman project, whether stamping it with marshmallows, turning it into a melted snowman, and more. In this version, the snowman shape isn’t cut out until the end, meaning your toddler can simply have fun with painting on a more sensory level.

First, we needed to make puffy paint, which is fast becoming a favorite around here. I squirted equal parts white glue and shaving cream onto a paper plate and Veronika helped mix it all up with a paintbrush.

Puffy Snowman (1)

She began to smear it thickly over a sheet of white craft paper. I encouraged her to use all her senses for this particular paint. The shaving cream mixture smells fresh and soapy and has a wonderful goopy texture.

Puffy Snowman (2)

I encouraged her to make a handprint…

Puffy Snowman (4)

…which led to gleefully squeezing the mixture between her hands. We had a quick hand wash and then finished covering the white paper with the puffy paint.

Puffy Snowman (6)

Once dry, I taped a snowman template onto the back of the paper and cut out. Be careful as you cut not to squeeze the puffy paint mixture, or it may flake off.

The snowmen looked so cute in the window, and almost like they were covered with real bits of snow!

Puffy Snowman (8)

Making Snow

Making Snow (7)

With a snowstorm outside, Travis and I tested how many ways we could make snow inside today. The answer was four, if you count cartoon snowflakes in a movie as the final way!

First, we got a little scientific and tested two homemade mixtures to see which made better snow.

In the first bin, we combined 1 cup baking soda with 1 cup shaving cream. This mixture looked a lot like snow, and had a nice chill to the touch, but didn’t clump together well.

Making Snow (2)

In the second bin, we combined 2 and 1/2 cups baking soda with 1/2 cup conditioner. This mixture turned out to be fantastic! We could shape it into snow balls and build little snowmen.

Making Snow (3)

And as you can see, it led to lots of joyful messy play.

Making Snow (4)

Once the mess was cleaned up, we turned to paper snowflakes. Fold a white square of paper into a triangle, then fold over itself again into a smaller triangle. Now fold this triangle up into thirds. A helpful visual on these instructions can be found here.

Making Snow (5)

Begin using scissors to snip any which way, just not cutting all the way through this folded triangle. The thick paper was tough for Travis to cut, so I helped him out and we ended up with beautiful snowflakes.

Making Snow (6)

They looked fantastic against our snowy window!

Making Snow (10)

Finally, we watched snowflakes on the TV screen. The The Snowy Day movie is a well-done extension of the classic book by the same name. It inspired us to think of all the ways we’ll play in real snow tomorrow.  In the meantime, we’ll be here eating snowball cookies!