Toothpick Drop

Toothpick Drop (5)

This game couldn’t be easier, but is fantastic for developing fine motor skills. It sounds almost too simple to be true, but I promise it will fascinate your toddler. Are you ready for the easy instructions?

Dump a pile of toothpicks on the floor, preferably in a variety of colors:

Toothpick Drop (3)

Give your child an empty spice jar (or any lid with small holes) and show him or her how to drop the toothpicks through the holes.

Toothpick Drop (4)

All cleaned up? Remove the lid, dump out the toothpicks, and start all over again!

Toothpick Drop (2)

If you have colored toothpicks, the game is a great way to talk about various colors as well, or make a game of finding a blue one, etc. Do make sure to supervise this one closely, since toothpicks are sharp!

Toothpick Drop (6)

Jellyfish

Jellyfish (4)

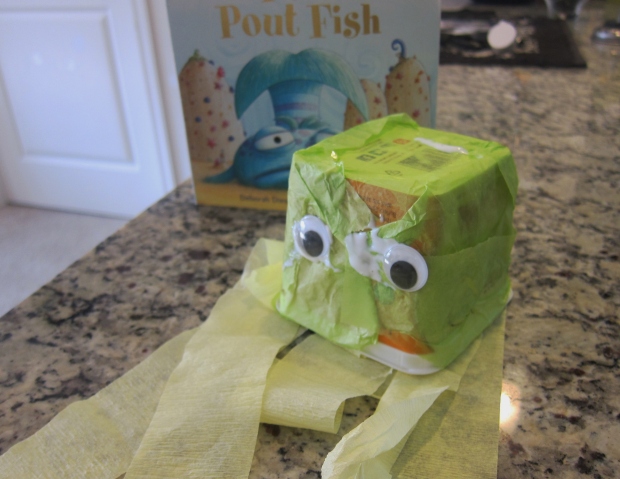
An empty Earth Balance tub needs only a little creativity (and lots of glue!) to become a whirling and twirling jellyfish. We’ve had fun recently reading Pout-Pout Fish, and Travis is intrigued by the creatures in the story, a jellyfish among them, so it seemed an opportune time to try this craft.

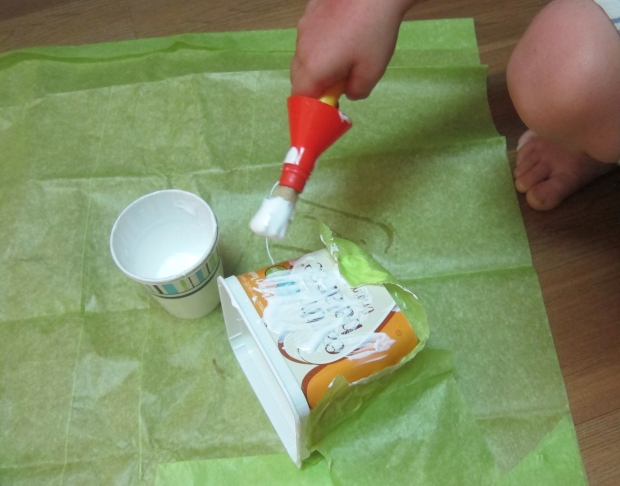
One caveat: making this project is a MESS. Be prepared to be very gluey, but also to have lots of fun. From experience, however, I recommend not mixing this much mess with a half-naked toddler…

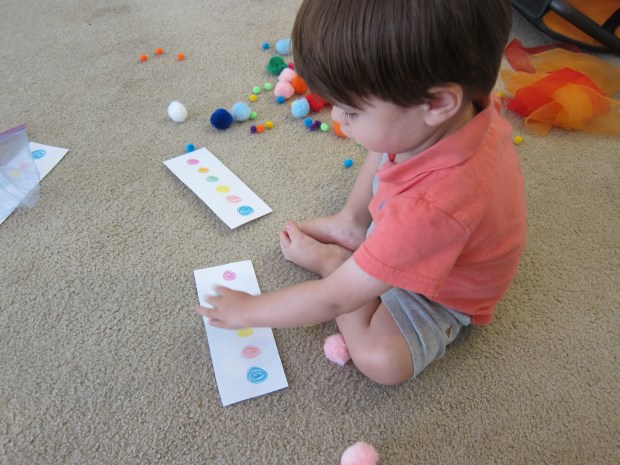
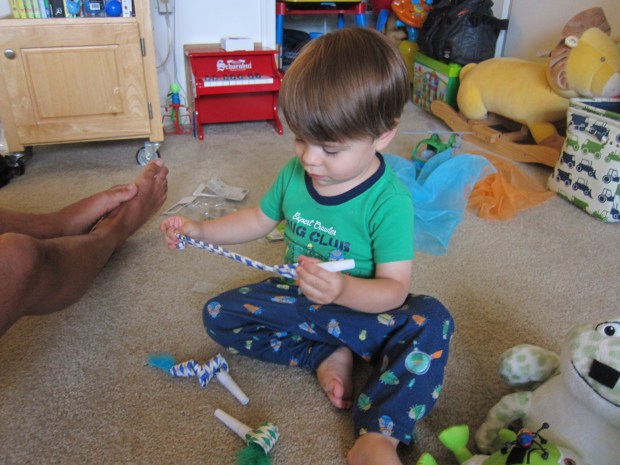
Let your (preferably clothed!) toddler brush glue over the entire outside of the empty tub – Travis loved this assignment, since he becomes frustrated sometimes at class art projects where glue is “supposed” to be applied to only a small area.

Jellyish (1)

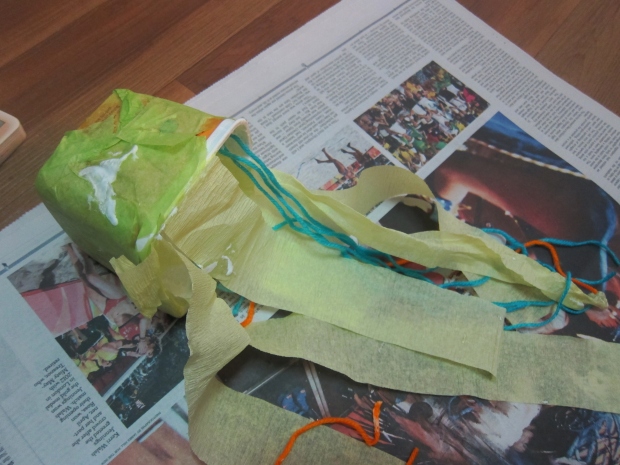
Once completely gluey, stick torn construction paper over the tub, until it is covered. Let dry.

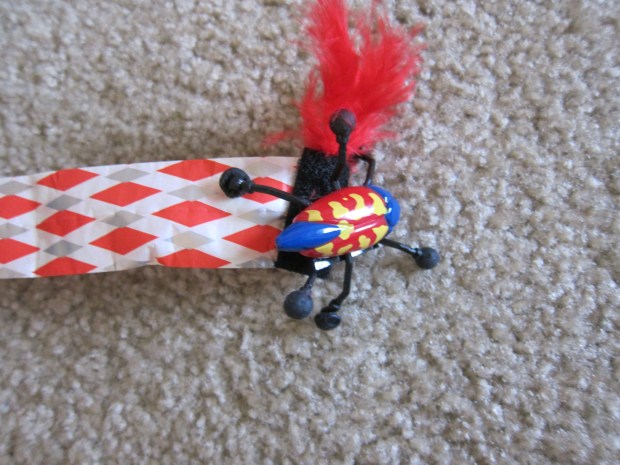
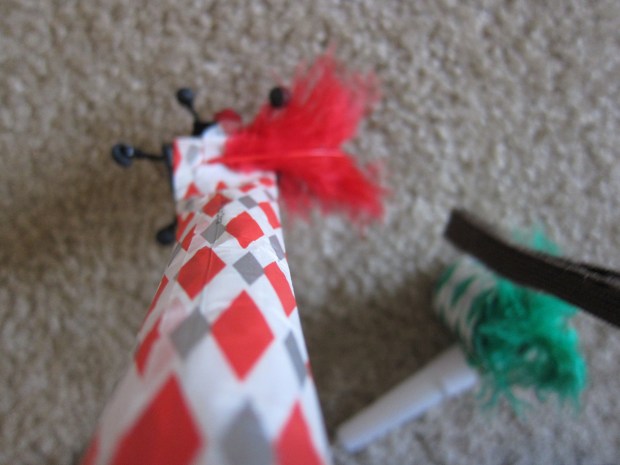
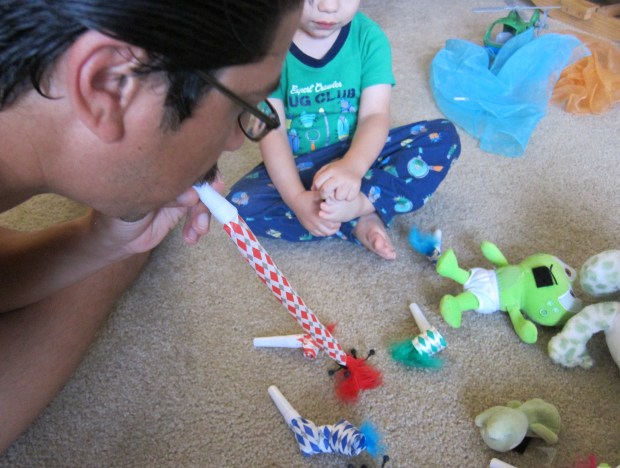
Next up, have your child brush glue all around the inside edge of the tub. Now it’s time to add the tentacles! We tried both streamers (a success) and yarn, but alas the latter came off in clumps since I had a son who was over-eager to use his jellyfish before the glue was completely dry. But the streamers held up great!

Jellyfish (3)

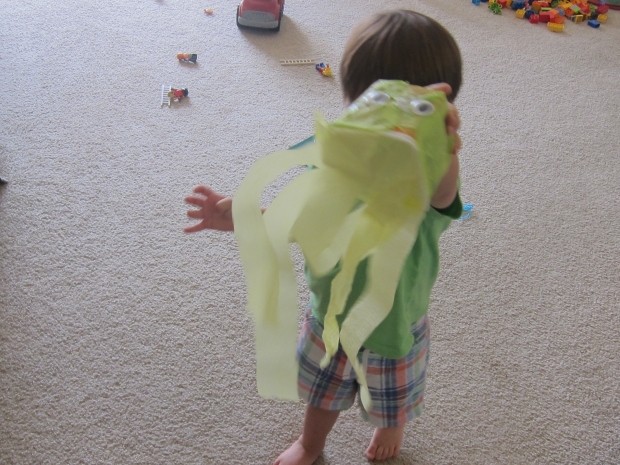
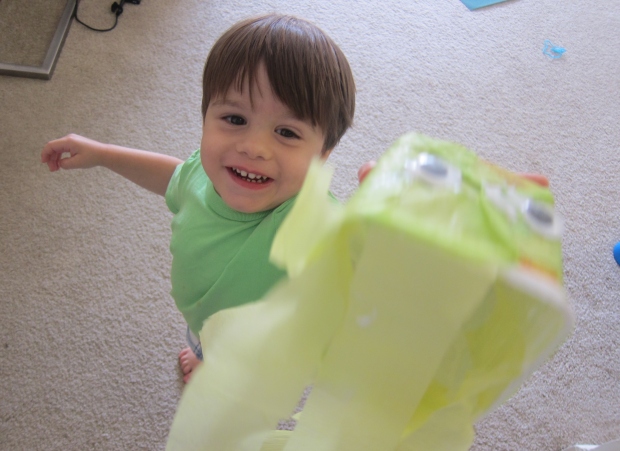
As a final touch, add too big dabs of glue on the outside and press on googly eyes. In an ideal world, you’ll let the jellyfish dry before your child takes it for a “swim” around the apartment – but I confess we were not ideal today! Travis couldn’t wait to play with our creation, a sure sign of a hit.

Jellyfish (5)

What story books have inspired you to create crafts at home? Please share in the comments!

Jellyfish (6)

Chia Seed Pudding

Chia Seed Pudding

Since we don’t eat fish, I make sure Travis eats ample amounts of ground flaxseed (perfect in a bowl of hot oatmeal) and chia seed to get his Omega-3s. One of his earliest favorite foods was the Chia Pods I ate daily while nursing. Because store-bought chia pudding can add up quickly at the register, I settled on this homemade version.

Ingredients:

  • 2 cups unsweetened almond milk
  • 1/4 cup agave nectar
  • 1/2 teaspoon ground cinnamon
  • 1/2 teaspoon vanilla extract
  • 1/2 cup chia seeds
  • Sliced almonds (optional)
  1. Whisk together the almond milk, agave, cinnamon, and vanilla in a large bowl.
  2. Add the chia seeds, stirring until combined; let stand for 15 minutes.
  3. Divide the mixture into 4 (6-ounce) ramekins, then cover and refrigerate at least 8 hours.
  4. For older children, sprinkle with the almonds before serving. Berries also make a nice topping!

Chia Seed maybe

Tea Party


tea (1)

I’ve joked in the past that tea parties are very gender-neutral affairs around here – trucks and cars have been distinguished “guests” in the past!

A rainy evening gave us the perfect opportunity to host another party, and Travis had fun mapping out the whole event. He started by writing “invitations” for the guests, after I showed him an example.

tea party (1)

Next up was making sure every guest had a party hat!

tea party (3)

I asked him what we should serve, and he enthusiastically decided, “Cookies!” Since I had none on hand, peanut butter crackers made a nice substitute.

As a special treat, we used “real tea” (i.e. water) in the teapot, and Travis was very careful pouring for his guests…

tea party (2)

…and making sure everyone had a sip!

tea party (4)

I love watching his imagination at work in games like this, and am reminded that tea parties are not just for little girls. What “guests” have been invited to food parties at your house? What did you serve? Please share in the comments!

Hearts of Palm Cakes

Hearts of Palm CakesCapture the summer taste and texture of crab cakes for kids – minus the crab  – by sneaking in hearts of palm instead!

Ingredients:

  • 1/2 cup crushed saltine crackers, divided
  • 1 Ener-G egg
  • 3 tablespoons vegan mayonnaise
  • 1 tablespoon minced red onion
  • 1 (14-ounce) drained and chopped can hearts of palm
  • 2 tablespoons canola oil
  1. In a bowl, combine 1/4 cup saltines, the Ener-G egg, mayo, red onion, and hearts of palm. Place the remaining saltines in a shallow bowl.
  2. Shape the mixture into 3 patties, and coat evenly in the crushed saltines.
  3. Heat the oil in a large skillet over medium heat. Add the patties and cook for 5 minutes on each side, until golden brown. Transfer to a paper-towel lined plate and let cool slightly before serving.

Snack in a Fox

Snack in a Fox (5)

You’ve heard of a Jack in the box – today we’re switching the rhyme around to a snack in a fox! I adapted this idea from our September issue of High Five, where it was intended as a lunch bag for bigger kids headed back to school. I have snack-size brown bags at home, which made our “fox” perfect to take along to the summer toddler workshop Travis and I have been attending.

The craft itself was mostly an adult project. Snip the corners from the top of the bag, and set aside (these will be the fox’s ears). Fold the top down, and tape place a cone-shaped coffee filter under the “nose.”

Snack in a Fox (1)

Tape the corner scraps to the back of the bag to make the ears, then decorate the fox’s face with markers.

Snack in a Fox (3)

I gave Travis a second set of all the materials – bag, coffee filter, markers – to play with while I made the real thing, and he loved helping out with the tape.

Snack in a Fox (4)

Then it was time to fill our fox with pretzels, resulting in one happy boy!

Snack in a Fox (6)

He also loved taking his snack to “work” at his new play desk.

Snack in a Fox (7)

Roll and Color

Roll and Color (3)

I had so much fun with this little project because it counts as Travis’s first “board game.” Although he didn’t quite understand the full concept, it was a nice way to introduce him to multi-player games, and I look forward to playing it with him as he gets older.

The big excitement for toddlers comes for the out-size die – made from an old tissue box! Cover the box with white paper, and color in one dot on each side, in 6 different colors.

Roll and Color (1)

Mark those same 6 colors on strips of paper – these are each player’s “score cards.”

Now give that big die a toss!

Roll and Color (2)

When it lands, have your toddler tell you what color he or she sees, then select a matching pom pom. A roll of green, for example, means you can place one green pom pom on your score card. The first player to collect all the colors “wins.”

Roll and Color (4)

Of course, Travis and I played a modified version, rolling and selecting pom poms, but we didn’t keep score. As mentioned, though, I liked introducing the idea of a board game to him.

Roll and Color (5)

If you try this with a preschooler, I’d love to hear how the game goes in the comments!

Grapes to Raisins

Grapes to Raisins (5)

Introduce the magic of chemistry with this easy at-home experiment. Does your toddler know that grapes can turn into… raisins?

When I presented this mystery to Travis and told him we needed heat in order to make them change, he immediately said, “We need an oven!” Chemistry 101, complete!

Grapes to Raisins (1)

Slice as many grapes as you like in half, keeping in mind that you’ll end up with a significantly reduced volume of raisins, then have your toddler helper assist you in sprinkling the grape halves evenly over a baking sheet.

Grapes to Raisins (2)

Or dumping them on:

Grapes to Raisins (3)

Place the grapes in the oven at 200 degrees F for 2 and 1/2 hours. Now we wait!

Grapes to Raisins (4)

To be honest, you can probably leave your grapes the oven in quite a bit longer (3 or 4 hours) for truly raisin-y raisins. Ours were a sublime mix that was half juicy grape, half condensed raisin, warm from the oven and very golden raisin-y in taste. Travis was thrilled with the result. The perfect dessert just before bed.

Grapes to Raisins (6)

If you’re even more ambitious, you can profit from the summer weather to make real sun-dried raisins. Place your grapes in a sunny spot for several days (yes, days!) covered with cheesecloth to prevent them from getting dirty. I hope to try this some day when we live in an area with less car traffic.

Corn and Mushroom Salad with Sesame Vinaigrette

Corn and Mushroom Salad with Sesame VInaigrette

This vibrant summer salad combines almost all of Travis’s favorite vegetables. Eating in season is a great way to show kids how vibrant fresh produce can be.

Ingredients:

  • 3 ears corn
  • 8 ounces button mushrooms, quartered
  • 2 teaspoons toasted sesame oil
  • 1 bunch cilantro, chopped
  • 1 and 1/2 cups grape tomatoes, quartered
  • 1/2 cup chopped radishes
  • 1/4 cup rice vinegar
  • 1/4 cup canola oil
  1. Shuck the corn and cut the kernels from the cob. Combine the kernels and mushrooms on a baking sheet and toss with the sesame oil. Broil for 5 minutes. Let cool slightly.
  2. In a large bowl, combine the cilantro, tomatoes, and radishes. Add the corn mixture and stir to combine.
  3. Whisk together the vinegar and canola oil. Pour of the salad, tossing to coat.

Frog’s Dinner

Frog's Dinner (3)

Here’s a silly and fun way to teach kids how very differently frogs eat from us – not just that they eat bugs, but that they use a long tongue to do it!

To set the scene, we gathered together all of Travis’s stuffed frogs, and said the frogs were very hungry!

Frog's Dinner (1)

Attach Velcro pieces to any plastic bugs you have (I love the Velcro strips sold with a sticky backing already, so you don’t need glue). Attach additional pieces of Velcro  to the ends of paper party blowers. Then, show your toddler how an elongated party blower latches right on to one of the bugs and slurps it up, just like a frog’s tongue!

Frog's Dinner (2)

Travis thought the game was an absolute delight. He didn’t want to try blowing a party blower himself, but loved watching mom and dad do it! I put a few pieces of Velcro directly over the stuffed frogs’ mouths so they could “slurp” up the bugs just by pressing onto the Velcro as well.

Frog's Dinner (5)

Party blowers were fascinating in and of themselves, and provided entertainment for a nice little while.

Frog's Dinner (6)