Markers + Paper = A Long Story

Long Story (5).JPG

Snow day here! The school snow day caught me unawares (I was sure they wouldn’t cancel!) which means we had to come up with lots to do indoors and quick! Enter this easy two ingredient game, and you have endless varieties of play.

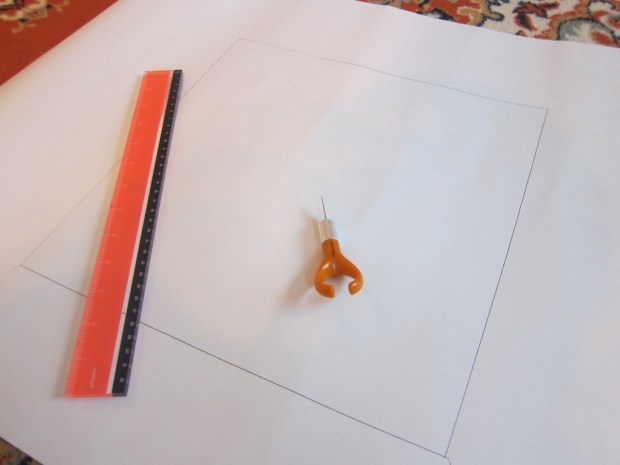
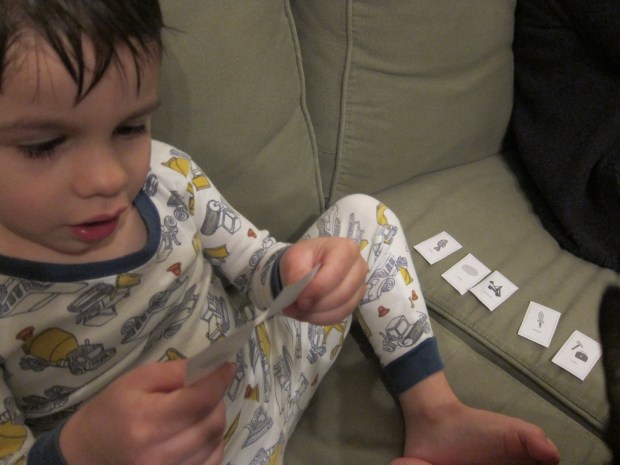
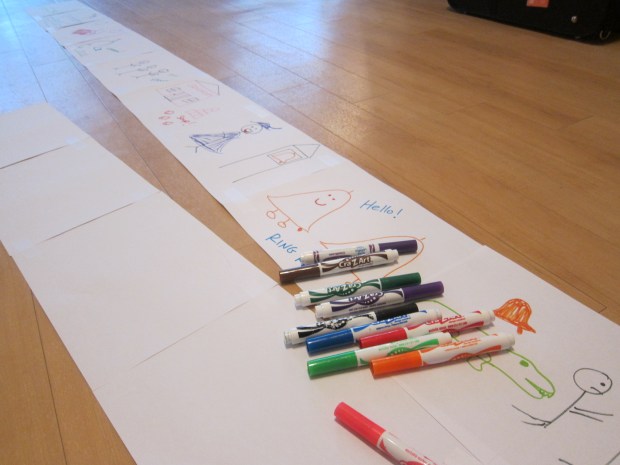
Travis was intrigued watching me set up. I laid down piece after piece after piece of white paper in a row, and taped them together, until we had a long scroll.

Long Story (1)

I told him it was for a story, and if he told me what was happening in each frame, I would draw it in. He ended up dictating a fantastic tale involving a crocodile on a boat, who likes to vacuum.

Long Story (3)

Later there were some bells with feet who come to the crocodile’s rescue.

Long Story (4)

I happily followed along with my limited art skills.

Long Story (2)

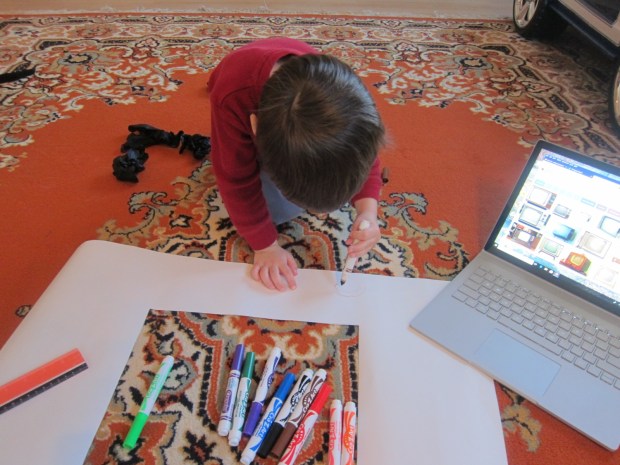
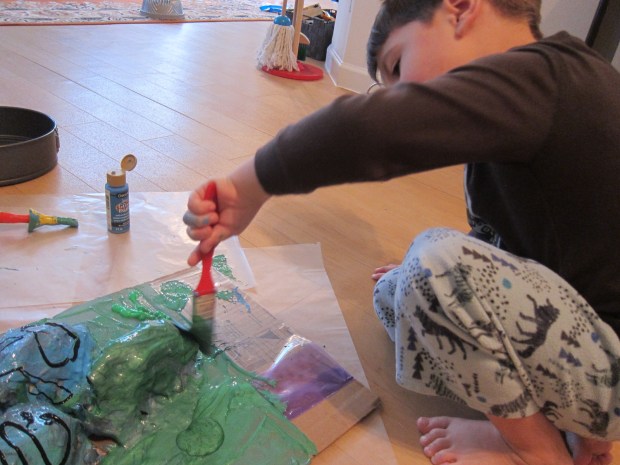
Once our scroll was filled, he immediately wanted another story. This time, I posed the challenge that he be the author and illustrator.

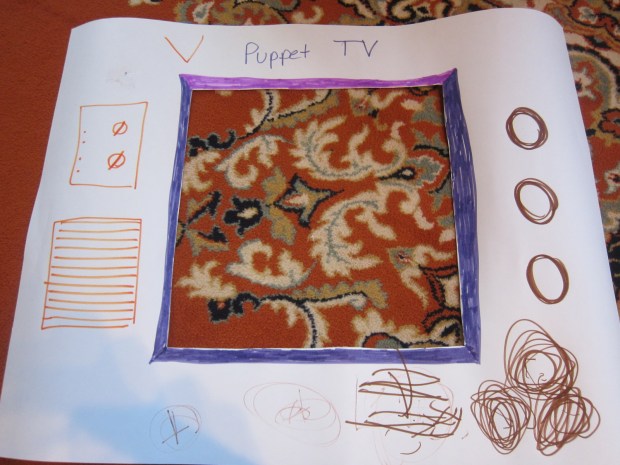
His story turned out to be all about bells (bells are big here, these days), who got progressively bigger, and had hair and large eyes to see bugs.

Long Story (7)

Even though the story was a bit nonsensical, I loved watching his artistic process, and seeing the way he used markers to capture what he was trying to say.

Long Story (8)

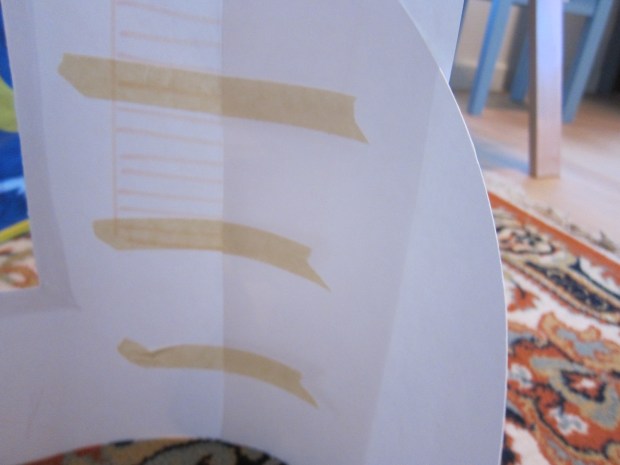
Using your same pictures, you can weave new tales with different words, or grab more paper and keep making up new stories. The only limit here is when you run out of paper or tape, whichever happens first.

Long Story (6)Happy snow day!

TV Puppet Theater

Puppet TV (9).JPG

When we first moved into our new home, we used a huge packing box to make a puppet theater… but it wasn’t very convenient to keep something so big around for long. This little version is much easier to keep and store, and is sure to delight!

We made ours from poster board, but if you use cardboard, your theater will be even sturdier. First, I used a ruler and x-acto knife to cut a square from the center of the poster board; this will be the TV “screen.”

Puppet TV (1)

Next, I showed Travis images of old-fashioned TVs online – he was instantly thrilled, and loved designing his own on our frame.

Puppet TV (2)

He made sure to add antennas and lots of dials and buttons.

Puppet TV (4)

To stand the TV upright, I cut the center piece of poster board in half, and affixed each piece with masking tape to the back of the TV. It was a bit wobbly, but it worked well enough!

Puppet TV (5)

Travis “turned” a dial, and the show was on!

Puppet TV (8)

He loved being behind the frame with silly puppet antics.

Puppet TV (6)

And was absolutely thrilled when mommy took a turn and put on a show.

Pretty soon he had a microphone” set up and singing puppets (even if they didn’t quite fit in the frame anymore).

Puppet TV (10)

Later I caught him playing at being a “repair man” who needed to come fix the TV. So all-in-all, endless good fun with this one!

Puppet TV (7)

Tasty Tacos


Tasty Tacos.JPG

French fries in tacos? Kids and adults alike will say, ‘Yes please!’ to this tasty twist on a weekday staple.

Ingredients:

  • 4 flour or corn tortillas
  • 1/2 cup refried beans
  • 1/2 cup shredded Daiya cheddar
  • 1/2 cup cooked corn kernels
  • 1 cup French fries
  1. Spread each tortilla with about 2 tablespoons beans, and sprinkle each with 2 tablespoons cheddar and 2 tablespoons corn.
  2. Top each serving with about 1/4 cup fries, then roll up burrito style or fold in half like tacos to serve.

Add toppings like salsa, non-dairy sour cream, or guacamole, if your family likes ’em.

Pressed Tiles

Pressed Tiles (13)

It’s rare that I can grab Travis’s interest for more than 30 minutes of crafting these days, so when this activity occupied us for nearly an hour, I knew we had a winner!

I came home with a new package of oven-bake clay, quite different from the white air-dry clay we normally use.

Pressed Tiles (1)

Travis was thrilled with all the colors, and in no time he had an assortment in front of him for chiseling, shaping, and rolling.

Pressed Tiles (7)

To make a lasting project, we used our collection of stamps – animal and pirate-themed sets worked perfectly – and pressed images into the clay. Once baked, I knew these tiles could be used for numerous games!

Pressed Tiles (2)

For the cleanest method, press the clay into a square, cover with plastic wrap, and press the stamp on top.

Pressed Tiles (6)

Travis didn’t always use the plastic wrap, which was just fine.

Pressed Tiles (5)

He mostly did his own thing with the stamps and clay while I made an actual set of tiles we could use in the future. I confess my fingers hurt by the end from warming up so many different colors and flattening to 1/4-inch thick! Travis meanwhile pretended he was baking some of his in an “oven.”

Pressed Tiles (10)

When it’s time to really bake the clay, arrange your tiles on a parchment paper-lined baking sheet and bake according to package instructions – ours went in at 275 degrees F for 30 minutes.

Pressed Tiles (8)

Now what to do with them! We decided we could use these as a more permanent version of our printable story cards.

Pressed Tiles (12)

You can also play games with the animals, assigning them by habitat or finding other ways to sort them.

Pressed Tiles (11)

If you want any of your tiles to be jewelry, make sure to poke a hole with a toothpick before baking. However you use them, these tiles are great for arts and crafts, fine motor skills, imagination, and more.

Power “Pancakes”

Power Pancakes (1)

It’s a bit of a stretch to call these pancakes; although they cook up the same way on a griddle, they are a bit too delicate to come off cleanly with a spatula, meaning you wind up with a fluffy yummy mound on your plate. Still, my son describes them as “much good” and they’re a great protein boost early in the morning!

Ingredients:

  • 2 large bananas
  • 1 cup silken tofu
  • 1/2 teaspoon baking powder
  • 2 teaspoons Earth Balance butter
  • 2 tablespoons mini non-dairy chocolate chips
  1. In a blender, combine the bananas and tofu; process until very smooth. Transfer to a bowl and stir in the baking powder.
  2. Melt the butter in a griddle over medium heat. Add half of the batter, to make 4 small pancakes. Sprinkle the tops evenly with 1 tablespoon chocolate chips. Cook for about 5 minutes, or until heated through, then very carefully transfer to plates.
  3. Repeat with the remaining batter and remaining chocolate chips.
  4. Drizzle with maple syrup to taste for serving!

Power Pancakes (2)

Papier-Mache Mountains

LP Habitats (13)

Papier-mâché projects are always such good goopy fun. It’s been ages since we last whipped up a batch of this simple flour-and-water paste, and this project was great for a cold afternoon.

First, find a cardboard base and grab a roll of aluminum foil, and enlist your kids into shaping the foil into mounds.

LP Habitats (7)

They don’t need to look like perfect mountains; any tall or humped shape will do! Glue down to the cardboard base and let dry.

A layer of masking tape will help the papier-mâché newspaper strips adhere better, and also further helps anchor the mountain range to the cardboard. After a quick glance, Travis decided this step was way too time-consuming, so mommy took over.

LP Habitats (8)

Next up: papier-mâché! We mixed 1 part water to 1 part flour for our goop, and ripped strips of newspaper.

LP Habitats (9)

Layer the newspapers all over your mountains and let dry.

Finally, the mountains received a coat of paint – Travis’s favorite part by far.

LP Habitats (10)

We ended up with very artistic mountains, including shades of blue and silver and black.

LP Habitats (12)

And of course puffy paint had to make an entrance, because no paint project is complete without puffy paint in our house these days.

LP Habitats (11)

Once the paint dried, we pulled out some animal toys from around the house.

LP Habitats (17)

Now our animals could traipse about the Himalayas (or Rockies, or Alps)!

LP Habitats (18)

White Bean Pasta Sauce

White Bean Sauce (1)

Here’s the easiest hack ever for sneaking more beans into your child’s diet. They’ll never know what makes this sauce so creamy and thick… and adults love it, too! For extra appeal, use a fun pasta shape like wagon wheels.

Ingredients:

  • 1/2 cup rinsed and drained canned cannellini beans
  • 3/4 cup jarred marinara sauce
  • 1 cup uncooked pasta
  1. Combine the beans and marinara sauce in a blender and process until smooth.
  2. Meanwhile, cook the pasta according to package directions; drain and set aside.
  3. Toss the pasta with the sauce, let cool slightly, and serve.

White Bean Sauce (2)

Printable Story Cards

Story Cards (7)

Following on the heels of great exploration with our Koala Storytime kit, we used templates from the company’s blog for even more fun making up stories.

Simply print the story card templates, and cut out along the dotted lines. If you want to get a little fancier, print on heavy paper and in color.

Story Cards (2)

At storytime, I told Travis we’d be doing something a little different; instead of reading a book, we’d write our own story!

Story Cards (5)

Have someone in the family select a few cards from the top of the pile, and begin the narrative. (Alternately, you can arrange all of the cards face up and take turns selecting what comes next).

“Once upon a time…” Travis began. He loved it so much that we made up three stories before turning to regular books.

Story Cards (4)

He’s still getting the hang of narrative (“There was a balloon and jeep who wouldn’t share their milk…”) but the basic ideas are setting in!

Story Cards (6)

These cards also make great flashcards for word recognition. For variation, they are also useful for sorting.

Story Cards (1)

Try sorting them into piles like ‘things with wheels,’ or things that are a certain color, or any other category that your preschooler comes up with. What else can you do with these story cards? Share ideas in the comments!

Story Cards (8)