What’s That Smell?

What's That Smell (2)

For some olfactory fun today, I presented Veronika with smells from around the house and we had fun naming each item as we smelled it. Unlike when she was little, now she can parrot these words back to me, hold the items herself, make yummy noises of delight, and more.

I wanted to clearly differentiate between edible and non-edible items in the game, so we started with the latter. I laid out a flower, tea bags, spice jars, and three different scents of soap.

What's That Smell (1)

One by one, I held them to my nose, then showed her how to do the same. For breakable items, like the spice jars, I waved the item under her nose. But she got the hang of it solo with the soap!

What's That Smell (4)

The tea bags were a big hit, so much so that I got out a bag of coffee and let her inhale that one deeply, too.

What's That Smell (5)

She looked so pleased when she smelled the cinnamon sticks, but she pulled back quickly from curry and a few other spices.

What's That Smell (3)

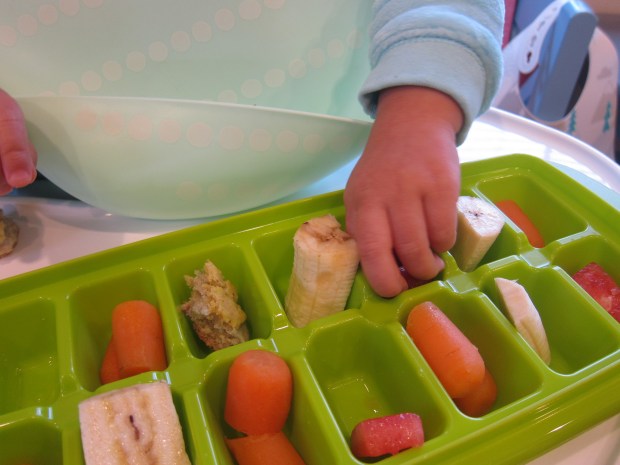
Next we moved on to items she could smell and eat. I set out a few pungent foods, like cooked vegan sausage and yogurt. Berries would be good, too. Or berry yogurt!

What's That Smell (6)

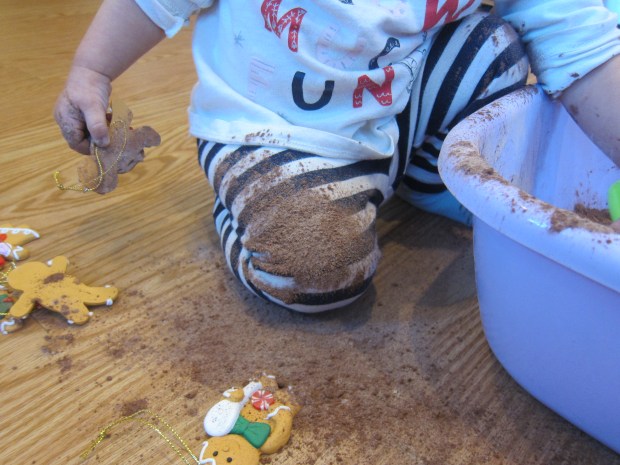
Veronika then found other fun ways to play with the items, and I was more than happy to watch her toddler brain explore. The cinnamon sticks were fun to take in and out of the jar, and the yogurt was fun to spoon through.

What's That Smell (7)

Finally, I made her a chart with a smiley face for the scents she had liked and a sad frown for ones she did not. Older toddlers will get a kick out of this part of the lesson, and may want to add to it on occasion.

What's That Smell (8)

Have fun continuing this kind of play no matter what room of the house you’re in, whether the bathroom or even outside.

Erupting Chocolate Ooblek

Chocolate Ooblek (3)

Today I made Veronika a new version of ooblek. Wanting to make this one stand out from the crowd, not only did this version feature chocolate, but it could explode! And yes this activity is toddler safe.

As a reminder ooblek is about 2 parts cornstarch to 1 part water. From there, there are so many ways to fancy it up. Unfortunately I messed up the texture of our ooblek from the get-go because I thought I had a full box of cornstarch in the pantry. It turned out I only had less than 1 cup left, and I’d already poured in over 1 cup of water to a plastic tub. So our mixture was on the watery side, not true ooblek.

But that’s okay, because there was more for Veronika to play with here! First, we sprinkled on cocoa powder in addition to the cornstarch. This was purely for the heavenly smell. Yum!

Chocolate Ooblek (1)

We also added 2 tablespoons baking soda because we wanted our ooblek to erupt. (Note: Be careful, because the baking soda will offset the now-solid-now-liquid property of ooblek, as it will dissolve in the water).

To make the explosions, add white vinegar to squeeze bottles and squirt in a bit at a time. This is great for exercising those little fingers.

Chocolate Ooblek (4)

Veronika almost couldn’t believe it when the first bubbles appeared. I had to help out with lots of the squeezing, but she was transfixed watching the eruptions every time the vinegar hit the baking soda.

Chocolate Ooblek (6)

The resulting bubbles are really neat ones, too, almost like honeycomb, but with a quasi-solid texture. They won’t pop until you pop them!

Chocolate Ooblek (7)

This made for lots of fun poking and prodding. Veronika was a little hesitant to get her hands messy, but adding a spoon helped her get in there.

Chocolate Ooblek (9)

There also was also an added auditory component to the fun, thanks to the hissing sound whenever baking soda mixed with the vinegar.

Chocolate Ooblek (11)

In sum, this project made for one happy girl!

Chocolate Ooblek (10)


Rainbow Jello Sensory Play

Rainbow Jello (5)

I originally intended this as a sensory project for Veronika, but it turned out that my kindergartner loved it just as much; it was a nice reminder that even though he’s into battling Star Wars Lego figures, he’s still a little boy at heart.

First you’ll need to make jel dessert in all colors of the rainbow. Regular jell-o is available in every color, but not the vegan brands. I can find vegan jel dessert in red, orange, and yellow, but for the other colors, I use clear jel dessert and add food coloring.

Rainbow Jello (1)

Prepare all the colors, then set in the fridge until firm. (Note: the green never did firm up, which may have been because I used too much food coloring and made it too watery. As a result, our sensory play had a variety of textures).

Rainbow Jello (2)

Spoon the jel desserts onto a tray in rainbow order. It won’t stay this way for long…

Rainbow Jello (4)

I placed the tray over a few towels and stripped Veronika down to a diaper – no worry about sticky clothes here – then let her loose with spoons and spatulas. She immediately got started!

Rainbow Jello (8)

As mentioned, big brother Travis wanted an equal share of this project. He couldn’t wait for a jello snack.

Rainbow Jello (7)

And just to play!

Rainbow Jello (6)

Soon the kids were scooping and stirring and mushing. They layered rainbow “cakes” and stirred up rainbow “soup”. “Soup!” Veronika proudly repeated back when Travis used the word.  There were lots of fun vocab words to use, like soupy and lumpy and blobby and wobbly.

Rainbow Jello (9)

Plus: “Yummy!” she said, whenever she got a little taste. A perfect way to fill over 30 minutes of play.

Rainbow Jello (10)

Glowing Creepy Crawly Sensory Bag

Glow Bag (4)

I used a black light and glow-in-the-dark spiders for this novel sensory bag. I thought Veronika would be very into the glowing bugs, but it turns out the black light was too interesting and distracting! I had read online that tonic water glows under black light. It was hard to tell if this was actually true, but the project was still fun!

To set up, combine 1 bottle of hair gel (use clear or yellow) and about 1/4 cup tonic water in a large zip-top bag.

Glow Bag (1)

Seal and mix, then open the bag back up to add your “creepy” stuff. I had glow-in-the-dark spiders, as well as a few googly eyes from the craft bin.

Glow Bag (2)

Seal the bag, then place on the ground and turn out the lights. Turn on your black light and watch it glow!

Glow Bag (3)

When the black light was on, the hair gel mixture was most evident. If we turned it off, the glow of the spiders became more apparent.

Glow Bag (6)

Veronika loved poking at the eyes and bugs with a finger, and generally just squishing her hands all over it.

Glow Bag (5)

But as mentioned, the black light was very distracting, so I’m going to think of ways to make a glowing sensory bag that doesn’t involve the light. Stay tuned!

Glitter Water Blob Sensory Bags

Glitter Blob Bag (3)

Veronika has been having so much fun with sensory bags lately. What’s better than a rainbow array of bags to play with? Rainbow bags with glitter and bubbles inside!

To make these glittery bags, fill sandwich-sized zip-top bags about one-third of the way with water. Now add food coloring and glitter.

Glitter Blob Bag (1)

They will look best if the glitter and food color are in the same family; so for example I used a purplish glitter in the red bag, gold in the yellow bag, and silver for the blue and green.

Glitter Blob Bag (2)

Seal the bags (tightly!) and place where your toddler can come discover them.

Glitter Blob Bag (5)

Veronika first just loved squishing her hands on them and watching all that glitter and water move about.  She seemed especially intrigued by the red one.

Glitter Blob Bag (7)

Then we stood them upright so she could lift the bags and grip in two hands, which was good glittery fun. We talked about how sparkly they were!

Glitter Blob Bag (10)

If you lay one bag over the other, as with blue and yellow, you get a color-mixing effect, too, although this was a bit lost on her.

Glitter Blob Bag (4)

The most fun was when we shook the bags and produced bubbles inside – sometimes huge! – which she then chased around with a finger.

Glitter Blob Bag (11)

These easily kept her busy for about a half hour, a big hit.

Glitter Blob Bag (12)


Cream of Wheat Imagination Bowl

Cream of Wheat (2)

One of Veronika’s latest words is “truck” and she has a set of construction trucks that she loves to play with, just right for toddler-sized hands. Today, I engaged her imagination by making an indoor “construction site”. Cream of wheat made the perfect base for this easy sensory play; it’s simple to clean up from floors or wipe off of clothing, and it also makes it okay if a toddler decides to taste the “sand”, resulting in a much more pleasant experience than an outdoor sandbox!

Once I demonstrated how she could drive her trucks through the pretend construction zone, she jumped right to it. I showed her how she could use the bulldozer blade to push through the cream of wheat, which was a big hit.

Cream of Wheat (3)

I loved watching her concentration as she carefully sprinkled “sand” into the dump truck.

Cream of Wheat (5)

She also loved just vrooming the various trucks, which made fun tracks in the “sand”.

Cream of Wheat (4)

Trucks lend themselves naturally to lots of onomatopoeia as you play. Be sure to make  beeps and vrooms and other car noises, and your toddler is sure to join in!

Cream of Wheat (6)

What a great way to get the imagination going and have hands-on sensory play.

Cream of Wheat (7)

Hot Cocoa Sensory Tub

Hot Cocoa Sensory (4)

Disclaimer: This is by far the messiest sensory play I’ve undertaken with either of my children, and that’s saying a lot. But it’s worth it!

In retrospect, I would have done this activity around Christmas. Something about it felt very seasonal, perfect for the holidays, although technically it is still winter which means hot cocoa season. The original version of this game called for a container of hot cocoa mix, but it’s very hard to find a brand with no milk powder. Instead, I mixed together a tub of cocoa powder but added about 1/2 cup vanilla-flavored protein powder. This meant the mix wouldn’t be too bitter if Veronika happened to lick her fingers (which she did!). Straight cocoa powder probably won’t appeal to your little one.

To complete the set-up, I added a few gingerbread people ornaments. in keeping with the cocoa theme. If you want to keep the bin fully edible, use mini Dandies marshmallows instead. Or try gingerbread men cookies, if in stock around the holidays.

I added a funnel and a few scoops and rakes, and Veronika went to town!

Hot Cocoa Sensory (5)

This was like indoor dirt, except it smelled divine. I held the scoop up to her nose a few times to fully enjoy that chocolate-y scent, which prompted little “mmm’s” of delight.

Hot Cocoa Sensory (8)

Mostly she loved scooping through it.

Hot Cocoa Sensory (2)

Once I showed he how to fill up the funnel, she became an expert at that.

Hot Cocoa Sensory (9)

The gingerbread men were fun to put in the cocoa and bury, then dig up again. Again, I wish I’d thought to use edible marshmallows, though!

Hot Cocoa Sensory (3)

By now she had completely spooned cocoa powder all over her pants and socks. Another mea culpa: wear only a diaper next time!

Hot Cocoa Sensory (7)

Well, since we were already this messy, I figured why not take our sensory bowl from indoor “dirt” to “mud”. I poured in a little oat milk, which made the whole thing smell even better. She loved stirring and watching the powder dissolve in big bubbles.

Hot Cocoa Sensory (10)

Okay, playtime complete; now it was immediately upstairs for a wash and a change!

Rainbow Rice Sensory Bags

Rainbow Rice (7)

These easy sensory bags kept my toddler busy for ages… and they look so pretty, too!

If you are playing this game with preschoolers, definitely enlist their help when putting the rice bags together since it’s great scooping practice.

Rainbow Rice (1)

With my 16 month old, though, I did the set-up solo. Here’s my little helper standing by:

Rainbow Rice (3)

Scoop 2 cups rice into each of 6 sandwich-size zip-top bags. Pour a little paint into each in all the colors of the rainbow, using red, orange, yellow, green, blue, and purple. Seal the bag and shake until the rice is completely covered in the paint.

Rainbow Rice (2)

It’s then helpful to open back up and squeeze out as much air as possible before resealing. Now you have a sort of rice “brick” for your child to play with. Repeat for the remaining colors.

Veronika couldn’t wait to come see what it was all about. She stacked them…

Rainbow Rice (10)

…threw them…

Rainbow Rice (9)

…squeezed them…

Rainbow Rice (5)

…and of course tried to open them up (phew, with no success!). In other words, they kept her very busy. There was lots of talking to herself as she played, so she must have had some game going in her head.

Rainbow Rice (4)

For a little learning, I briefly lined the bags up in rainbow order and took the opportunity to sing The Rainbow Song.

Rainbow Rice (6)

You can also pile them in rainbow order, although don’t expect the pile to stay neat for long with a toddler around!

Touch Adventure

Touch Adventure (1)

Veronika makes it quite clear when we’re out and about these days that she’s no longer a baby, content to sit and watch the world. She wants to touch and explore! This “touch adventure” game is one you can play anywhere – a restaurant, a waiting room, a playground – and will hopefully help pass the time with a curious toddler. For the sake of photographs, we also played a round at home today!

The idea is just to look around you, select and object, and put your toddler’s hand on it. Describe everything he or she is feeling, and invite them to hold the object. Some children may just want to look at first, which is just fine, but Veronika definitely wanted to hold.

A stuffed animal was soft and fluffy.

Touch Adventure (2)

A ball was hard and smooth. Duplo blocks were bumpy.

Touch Adventure (3)

A tea cup was cold and metallic.

Touch Adventure (4)

Now that she had the idea, we could play out and about! At the library, a pom pom was crinkly and scratchy.

Touch Adventure var

A toy pirate was plastic and hard.

Touch Adventure alt
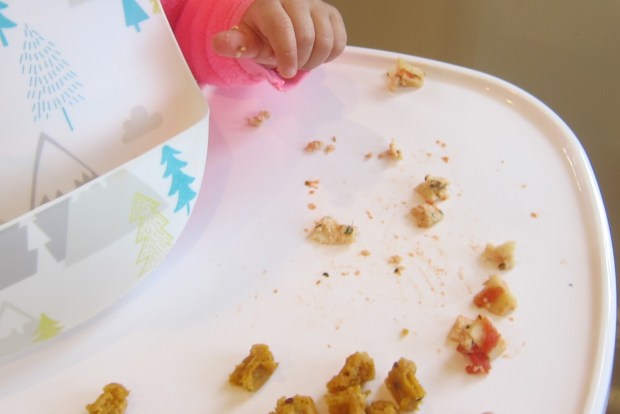
At a restaurant, ravioli was soft, warm and squishy.

Touch Adventure (6)

You get the idea! You can literally play this game anywhere, so let the touch adventures begin.

Food Exploration Station

Food Explore Station (3)

The compartments of an ice cube tray are just the right size for setting up a station that allows your toddler to touch, taste, poke at, and other wise explore food! This game is great for soon after a meal so that the emphasis is on all the senses, not just on eating.

I wanted to fill the tray with a variety, but not an overwhelming amount of different objects for Veronika. I included warm cooked carrots, chilled slices of watermelon just out of the fridge, soft chunks of room temperature banana, and a crumbly cookie.

Food Explore Station (2)

Veronika wasted no time getting her hands in there! “Hot!” she said to me, feeling the carrot, quickly follow by a surprised, “Cold!” to the watermelon. She smooshed one of the banana pieces in her hand, but mostly passed that over in favor of the watermelon.

Food Explore Station (4)

The cookie certainly got a few nibbles, too. You can use any fruits or veggies (or cookies!) for this activity, or play multiple times with seasonal fruits at different times of the year. Because all of the foods were about the same size, they are fun for stacking, too.

For some slipperier tactile play, I cooked up green linguine noodles. These were great both for the texture (somewhat slimy, which can take toddlers a while to get used to) and for the color.

Food Explore Station (5)

I thought she might hesitate, but she loved mushing through the noodles with her fingers. Once she took a nibble, she looked at me with recognition. “Pasta!” she said.

Food Explore Station (6)

Don’t forget, toddlers learn about food when exploring like this. So the next time this happens…

Food Explore Station (1)

…don’t scold. It’s all about the process! And kind of like an art project, too.