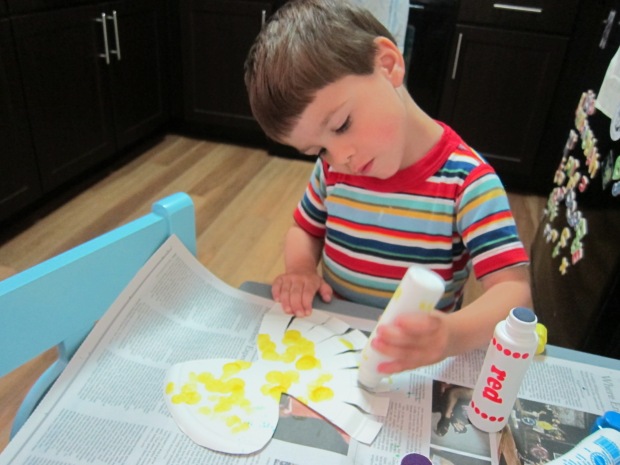
Travis has just started camp, and every day the teacher gathers everyone together for craft time. It has renewed his interest in simple hands-on activities – painting, gluing – which lately he seemed to have tired of when it was just mom in charge! Now he comes home and wants to play camp, so we threw together this easy frog with items we had on hand.
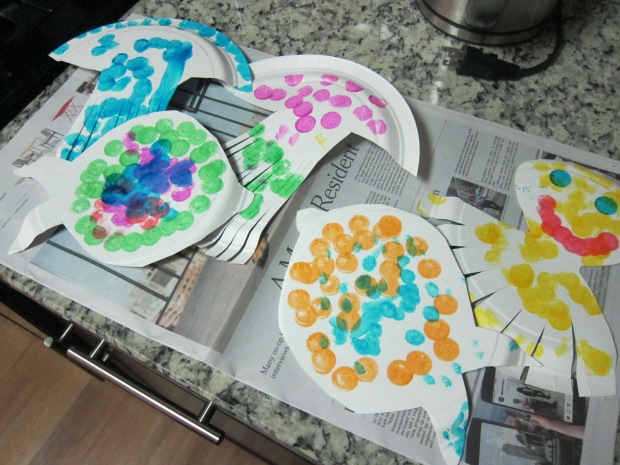
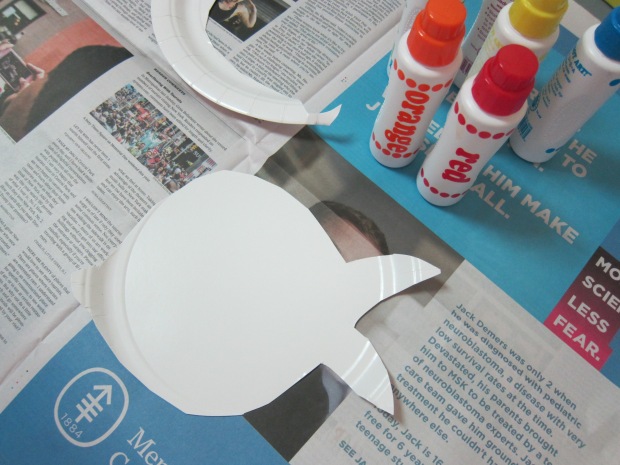
For the mouth, fold a paper plate in half; paint the outside green, and the inside black. Travis didn’t even want my help making sure the paint got all the way to the edges.

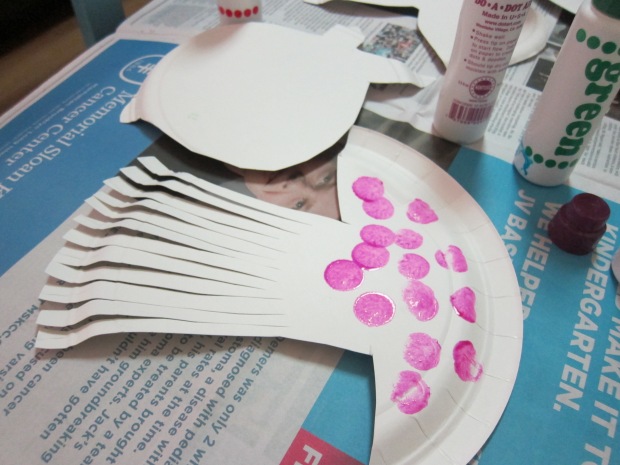
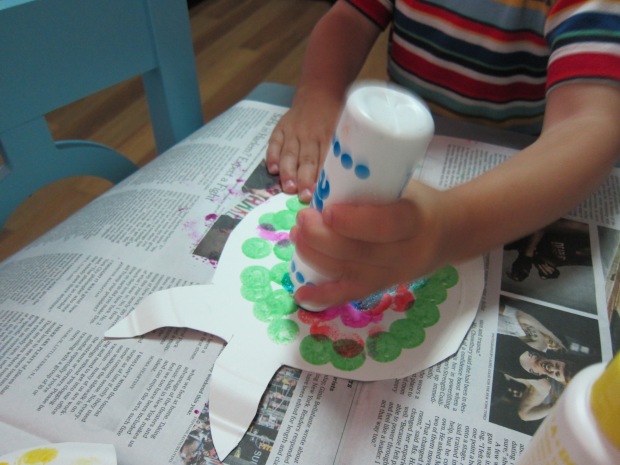
For the legs and arms, I drew simple outlines on green craft foam and cut them out.

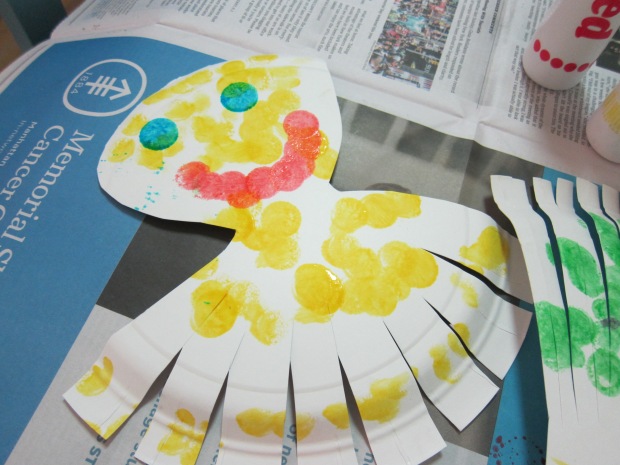
Travis was a big helper putting on globs of glue so we could set the legs and arms in the right place once the paint was dry. A pink construction paper tongue was added as well.

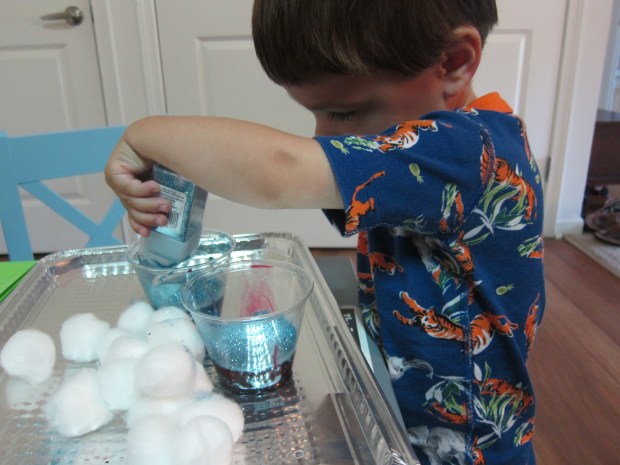
I glued on googly eyes as the final touch. When the frog was ready, Travis decided all on his own that we needed to make flies to feed it. “Let’s paint them white!” White flies? Why not!

A hoppin’ good time.


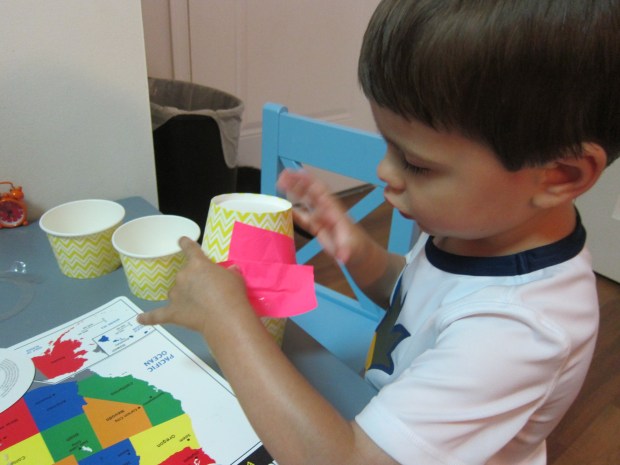


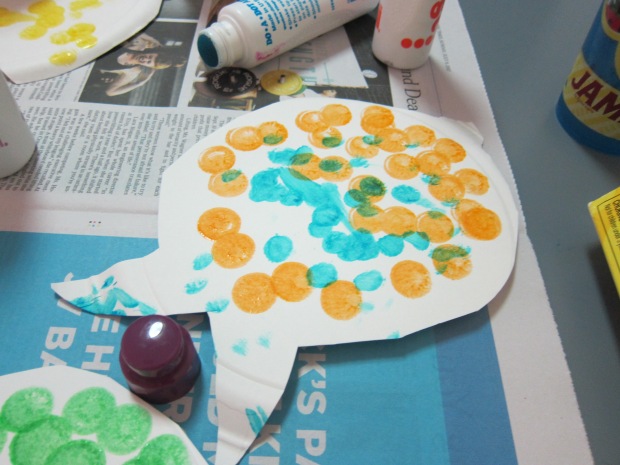


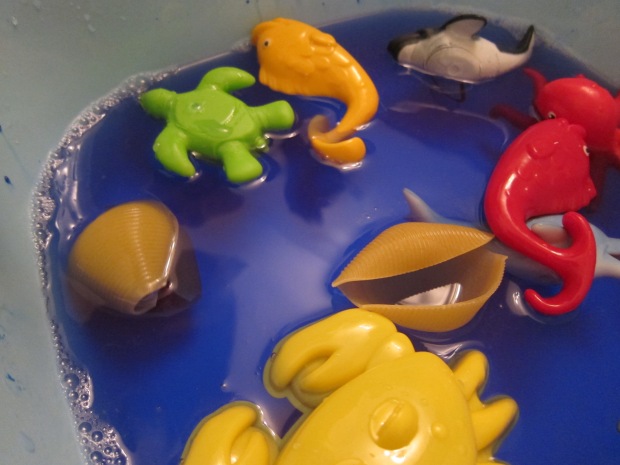
 We added blue for water and brown for sand for a beachy scene!


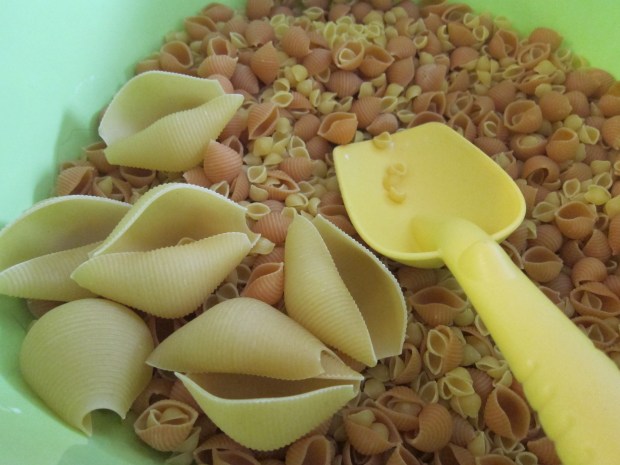
 We also traced a
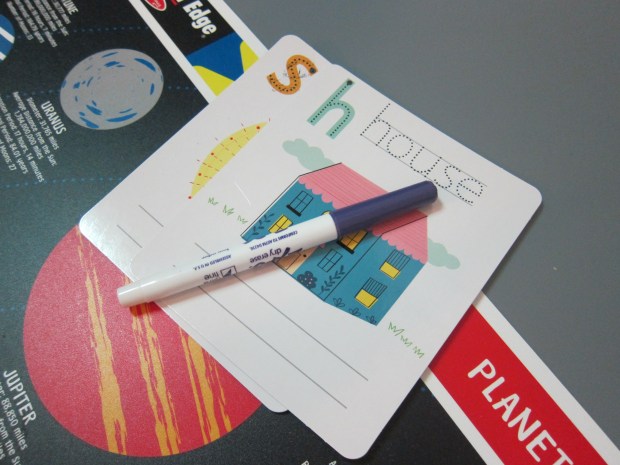
 Or hermit crabs in SHells.
 Although recommended for ages 4 and up, Travis had no trouble at all with a little guidance, and was thrilled with each creation! Then it was time to craft a
  We finished with a real pirate ship adventure – thank you summer vacation!

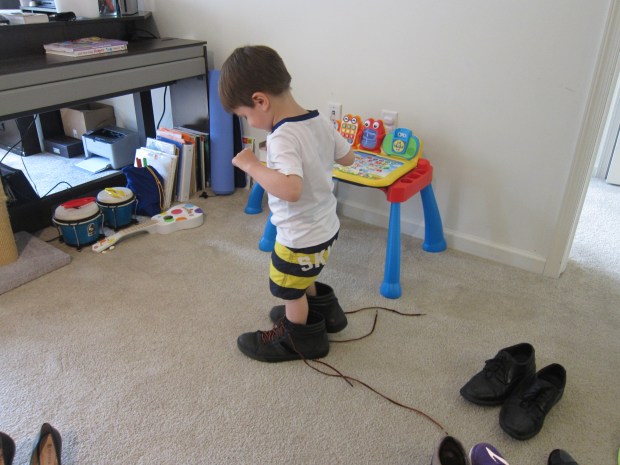
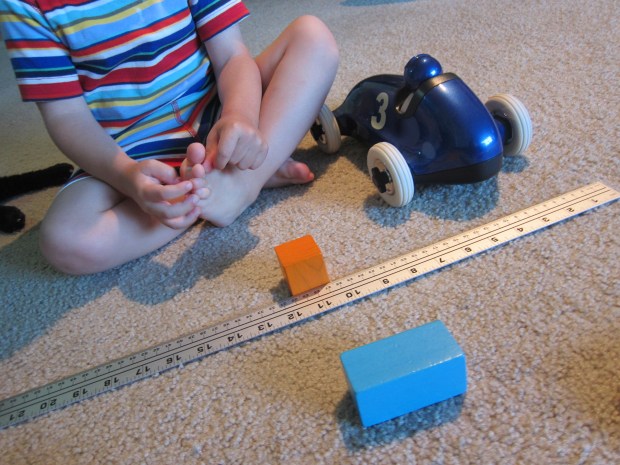
 Dad’s boots are so fun!