Strawberry Applesauce

Strawberry Applesauce (2)

This chunky applesauce is a great homemade alternative to store-bought pouches, and a nice way to introduce berry flavor to toddlers.

Ingredients:

  • 1 cup peeled and chopped apple
  • 1 cup chopped strawberries
  • 1/4 cup apple juice
  1. Combine all the ingredients in a saucepan. Bring to a simmer and continue to cook for 12 minutes, until the fruit is very tender.
  2. Mash with a potato masher and cool before serving.

Strawberry Applesauce (1).JPG

Stack Attack

Stack Attack (5)

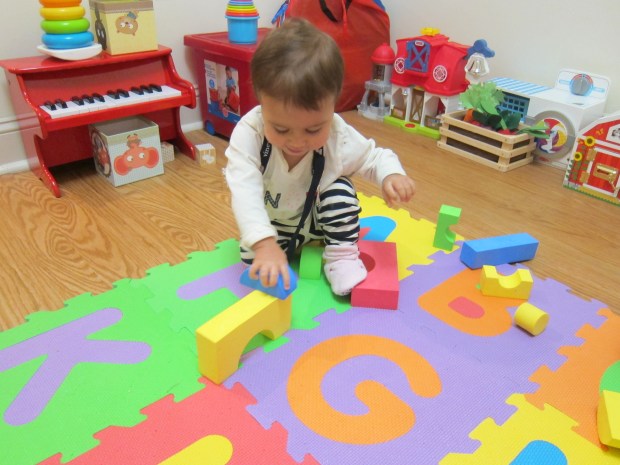
Veronika is old enough that today I thought I’d test if she was ready to build blocks up, not focus on knocking them down.

Whether you have a classic wooden set of blocks or foam ones, or something in between, blocks are a toy that never goes out of style, and they are so fantastic for children’s development. Today we mixed her foam set (consisting of multiple shapes) and added in a few wooden square blocks.

Stack Attack (1)

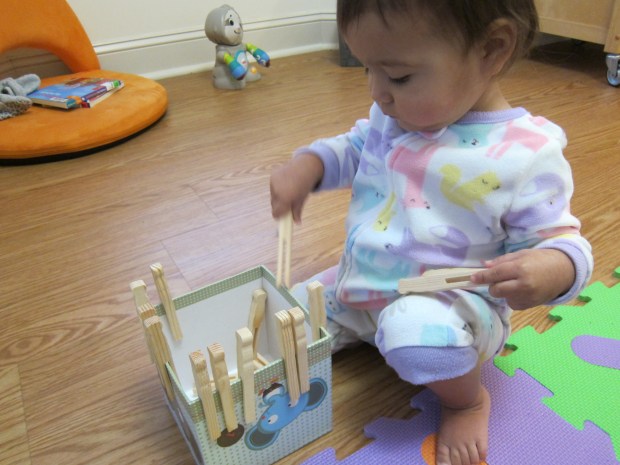
I handed her a block and mimicked placing it on top of another to start a tower. To my delight, she was game to build!

Stack Attack (6)

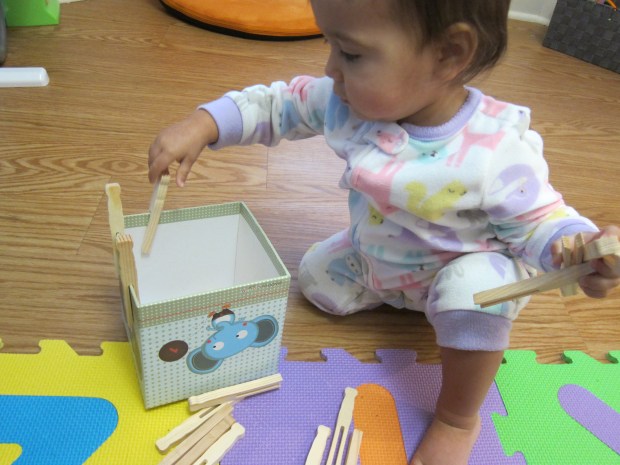
Her towers never made it more than three high before the temptation to knock over was too great, but any building at all was a definite first.

Stack Attack (8)

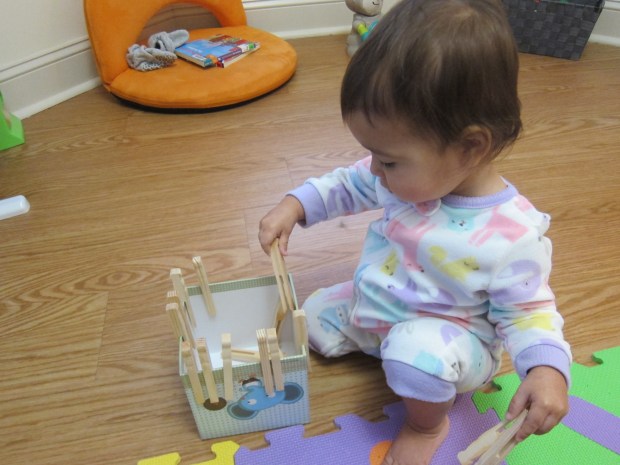
Since she’s older, we also worked on some learning concepts with the blocks. First I sorted them by color…

Stack Attack (3)

…and then by shape.

Stack Attack (7)

You can add in new vocab, too, perhaps “straight” or “pointy”.

Stack Attack (2)

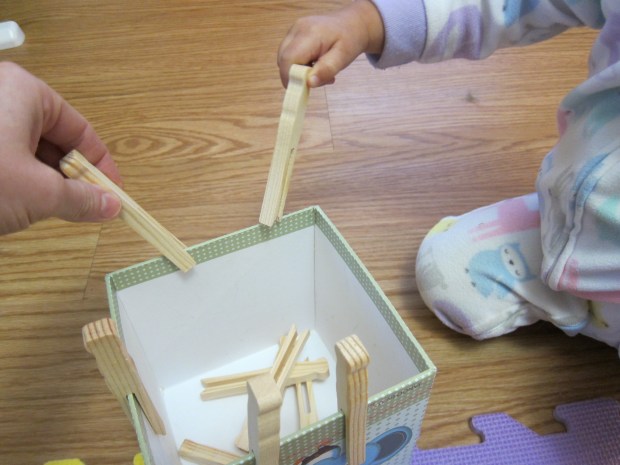
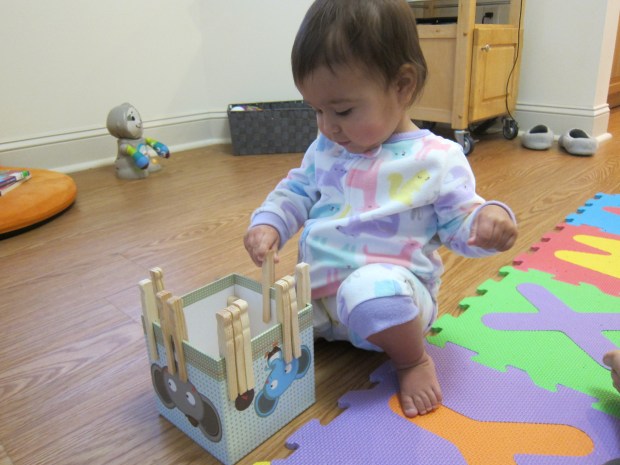
She really loved inserting circular blocks into the holes of square ones, which I loved watching.

Stack Attack (4)

As a final element to today’s play, I introduced the notion of imagination. What if our blocks weren’t blocks but… cars? I made one go “vroom vroom” along her play mat and she immediately took me up on the idea, running a block back and forth.

Stack Attack (9)

How about a choo choo train? She loved this version, too.

Stack Attack (10)

I can’t wait to see what she builds or imagines in the future, whether her blocks become mountains or castles, animals in a pen or something else entirely.

Stack Attack alt.JPG

How To… Help Yourself Feel Better

Keep Calm (2)

Highlights magazine appears to have a new feature, a “How To…” page each month explaining how to do anything ranging from the fun (snow forts!) to the practical. I loved this month’s tips on how kids can make themselves feel better, which made for a nice pause with Travis.

We ran through three techniques kids can use to calm down. First up: Bubble Breaths. The idea here is breathe in through your nose, then out as if blowing a big bubble. He loved practicing this one!

Keep Calm (1)

Next we practiced The Squeezer (as seen at the top of this post). Clench fists for a count of 10, then release and count to 10. Repeat as needed.

Finally, we discussed the tactic of Watch It Go, which involves imagining a cloud full of upset feelings. The cloud fades away as you count backwards from 10, until at 0 it disappears.

As an added bonus, we made a list of things Travis likes about himself or is good at.

Keep Calm (3)

What a nice self-esteem booster for him! He and I brainstormed ways he can help friends feel better, too. Overall, this activity was quite the mental health break. Thanks Highlights!

Fairy Bread

Fairy Bread (2).JPG

If children could invent a snack, Fairy Bread would probably be it. This treat, apparently popular at birthday parties in Australia, sure made our after-school snack feel like a treat!

Spread Earth Balance butter on slices of white bread. Trim off the crusts.

Fairy Bread (1)

Sprinkle with rainbow sprinkles to taste, then cut into triangles. I prepared the first slice for Travis, but let him be in charge of the sprinkles for the second.

Fairy Bread (3)

Clearly this indulgence is meant to be a once-in-a-while treat, but it sure put a big smile on his face today!

Magnetic Letters & Play Doh

Magnet Playdough (5)

I’ve hesitated to give Veronika play doh until now, full knowing she would do a taste test. But we received mini containers of it as a birthday party favor so we had some (very!) supervised play doh play today. Note: I highly recommend the all-natural eco-dough as an alternative or a homemade batch in a pinch!

Today, I pressed the vivid play doh colors into flat pancakes on her high chair tray, and showed her how she could smoosh magnetic letters down into the pile.

Magnet Playdough (1)

She tried this a few times, but then was far more into the little play doh containers themselves!

Magnet Playdough (4)

She did indeed reach her little fingers in and give it a taste, which earned a quick firm “no”.

There was lots of opportunity to talk about colors here, both in the play doh and the letters, as well as to have fun with the letter prints that appeared when we lifted a letter up.

Magnet Playdough (3)

This was a nice first intro to the material, which I know she’ll play with lots more as childhood continues! Don’t have play doh at home? Here’s another way to play with those magnetic letters!

Magnet Playdough (2)

Split Pea Curry

Split Pea Curry alt.JPG

This protein-packed vegan curry introduces your toddler to new flavors and spice without overwhelming little taste buds.

Ingredients:

  • 1 cup split peas
  • 2 baking potatoes, peeled and cubed
  • 1/2 cup carrot, chopped
  • 1 cup cauliflower, chopped
  • 1 garlic clove, minced
  • 4 cups water
  • 1/2 cup tomato sauce
  • 1 and 1/2 teaspoons curry powder
  1. In a large pot, combine the split peas, potatoes, carrot, cauliflower, and garlic.
  2. Add the water, tomato sauce, and curry powder, stirring to combine.
  3. Bring the mixture to a simmer, then continue to cook for 1 hour, or until the split peas are very tender. Let cool before serving.

Split Pea Curry

Knight Light

Knight Light (4).JPG

Travis still complains of bad dreams, though we’ve tried everything from worry dolls to dream catchers to fancy night lights to make his room feel safe and cozy at night. The fun play on words earned a laugh when we spotted this craft in Highlights magazine, so it was worth a try to see if Sir Lights-a-Lot can guard against bad dreams!

Cut gray cardstock to size so that it fits around an empty oatmeal container. Glue on and let dry. Cut a hole through the paper and container once the glue is set.

Knight Light (2)

Cut a visor shape and a feather plume shape from additional cardstock. We used a fun bright orange for the feather! Glue these onto the container. (Alternatively, poke two brads through the visor to attach over the hole).

Knight Light (1)

Attach wiggle eyes to the ends of curled black pipe cleaners and glue on so they dangle down and show through the visor. This step was a bit tricky, and I found it was easiest to use hot glue.

Knight Light (3)

We added a few lines of blue washi tape for a decorative finish. What a brave knight!

Come nighttime, we inserted a tea light and set him to keep watch.

Clothespins + Empty Box

Clothespin Box (6)

This is one of those classic games for toddlers that checks all the boxes: only two supplies needed, great for fine motor skills, and endlessly entertaining.

For Veronika at 14-months-old, I used clothespins that simply slot on (without a hinge). Older toddlers can definitely work their pincher grip here with the kind that pinch open and shut!

I set a few of the clothespins along the rim of an empty stacking box, and she immediately began pulling them off and dumping them into the box. This was great fun!

Clothespin Box (2)

Soon she wanted to imitate my ability to hook the clothespins on. This took a bit more coordination, turning until the slot lined up just the right way. She was so proud when she made it work!

Clothespin Box (3)

It kept her busy and concentrating for quite some time.

Clothespin Box (5)

Another fantastic toddler activity that you can put together in a, well, pinch!

Clothespin Box (7)

Toddler Chick’n Dinners


Chickn Pea Potato (1)

Here are two ways I love to serve vegan chick’n strips to my Baby Led Weaning toddler for a full meal.

Parsnip & Chicken Dinner

Chicken Parsnip (1)

Peel and chop 4 small parsnips. Cover with water and bring to a boil; continue to cook for 20 minutes, until very soft.

Drain and return to the pan, then add 1 teaspoon Earth balance butter and mash until smooth. Serve with finely chopped Gardein chick’n strips.

Chicken, Sweet Pea, & Sweet Potato Dinner

Chickn Pea Potato (2).JPG

Microwave 1 sweet potato for about 6 minutes, or until very tender. Let cool slightly, then scoop the flesh from the peel and mash to desired consistency.

Serve with finely chopped Gardein chick’n strips and cooked green peas.


Animal Puppet Craft Challenge

Animal Puppet (6).JPG

More and more I’m watching Travis take the lead when it comes to the monthly craft challenge in his Highlights magazine. This morning, I presented him with an empty paper towel tube, a few craft sticks, and construction paper, with the challenge to make an animal puppet. It didn’t take him long to get creative!

Animal Puppet (1)

He could immediately see how the tube would work as the body. Whereas I had envisioned the sticks only as a handle for a puppet, Travis figured his animal would need arms. As soon as he held the sticks out to the side of the tube, he declared, “A bird!”

Animal Puppet (2)

Now we knew we needed construction paper “feathers” for the wings.

Animal Puppet (4)

I helped him cut these out, along with a head and beak.

Animal Puppet (5)

A second little winged creature looked a bit different without the circle face. Travis declared this one was a bat! He couldn’t wait for them to dry so he could flap his puppets around.


Animal Puppet (3)

What animal will your kid come up with using only these materials? Please share in the comments!