Getting Dressed

Getting Dressed (5)

This cute activity is a hands-on way to build your toddler’s clothing vocabulary. Veronika’s earliest words were clothing items (“socks!”), and whenever we come in from outside, she runs through the litany of things to remove: “Coat, hat, mittens…” So I knew she would love this interactive version of getting dressed.

First, I laid her down on a big sheet of craft paper and traced her outline (which turned out a bit wiggly; she’s a toddler after all!).

Getting Dressed (1)

Then I filled in the basic outline of a person.

Getting Dressed (2)

I had brought down several articles of her clothing and took turns lying these near the person we’d drawn. “What are these called?” I asked. “Pants!” she responded. Then I positioned the item where they should go on the body.

Getting Dressed (3)

Shirt, hat, socks, and mittens soon followed.

Getting Dressed (4)

Of course your toddler won’t always leave things in the “right” place, but Veronika sure loved playing with all the clothing.

Getting Dressed (6)

A great way to keep a little sibling busy!

Getting Dressed (7)

Kindergarten Home School Day 1

Home School 1 b

Friends! I have always considered myself a hands-on mom and a crafty mom, but to all you home school moms out there: RESPECT. I find myself now in this position due to COVID-19, so… here goes nothing!

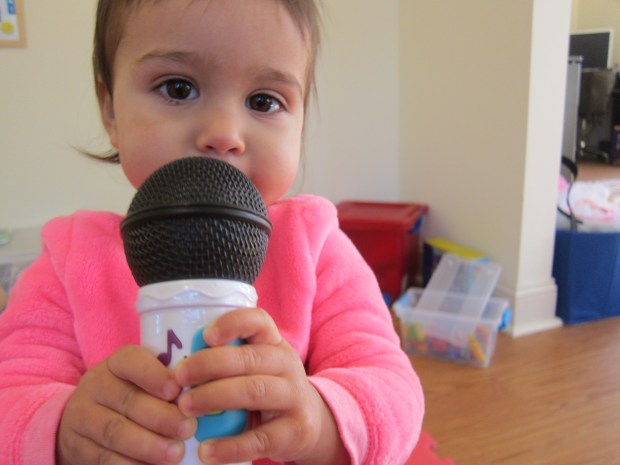
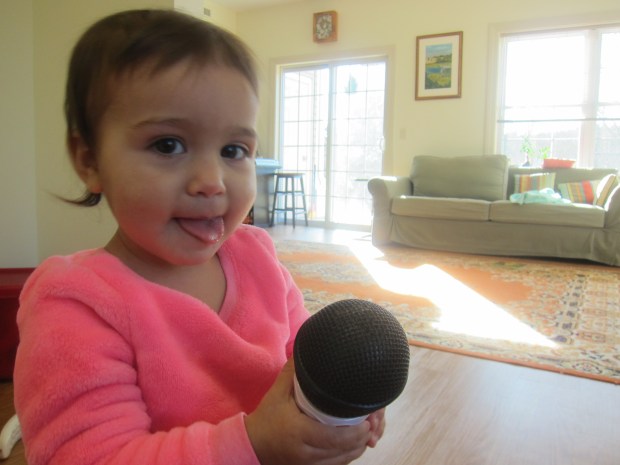
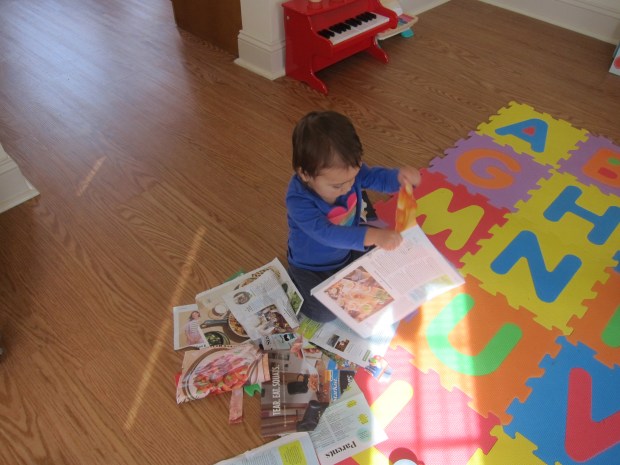
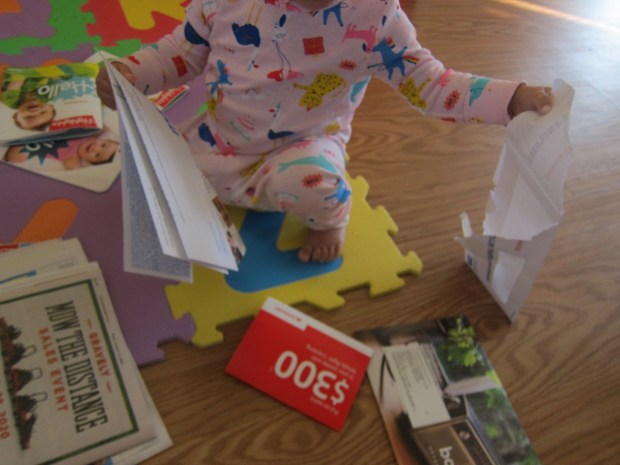
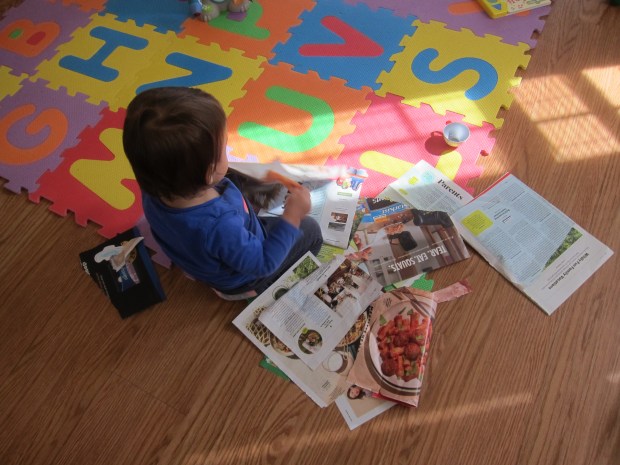
What were the biggest challenges I discovered in Day 1? Simultaneously caring for a 16 month old, and keeping Travis focused. To that end, I sprinkled in a few projects to keep Veronika busy, and used her nap strategically for when Travis needed me by his side the most.

Biggest takeaway from Day 1? Tomorrow we’ll have a firm policy of home toys packed away when school is in “session”, to avoid distraction. Also, it was clear that my kids perform best early in the day. Front-loading activities meant that I could dole out afternoon lessons with a little more space in between, which definitely suited the rhythm of our household.

Without further ado, here’s how our day went!

6.30-8.30: Breakfast, get dressed, free play.

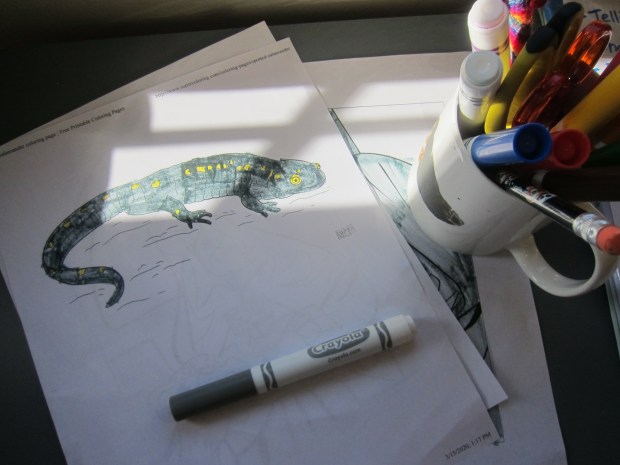
8.30-9: Circle Time and Spanish. Sticking with his normal routine, we sat down and went through the calendar, the weather, and the day of the week. Then we sang along to a Spanish song from his teacher on You Tube, and he worked on a Spanish coloring page. (Lil sis played with big swings!)

Home School 1 a

9-10: ELA. We “tapped out” his four words of the day on our fingers, then read a story (The Name Jar), focusing on what happened at the beginning, middle, and end. Then he did 20 minutes on the Lexia website (I stole a moment to bake bread!).

10-10.15: Snack time.

10.15-10.45: Recess! Get outside and dig in the dirt.

Home School 1 g

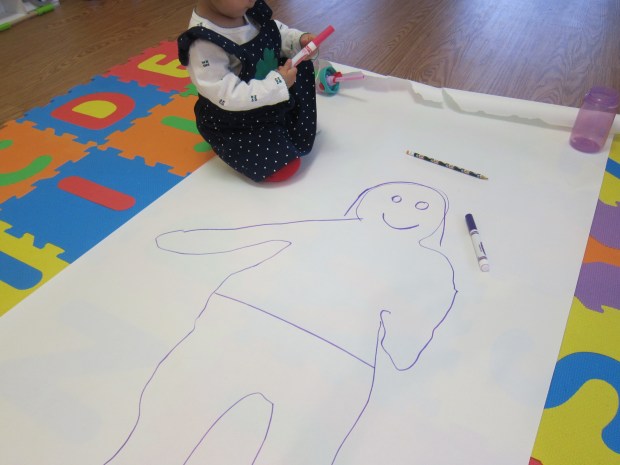
10.45-12: Math/quiet time. Travis worked on his school’s math website for a dot matching game that emphasized the concepts of “more than”, “less than”, and “equal to”. He loved the game! We also tackled the problems on one page of How High Can a Dinosaur Count, a fantastic book we already have at home. Baby sister now needed me, so it was a good time for quiet activities like drawing a picture of his favorite thing and working on tangram puzzles.

Home School 1 d

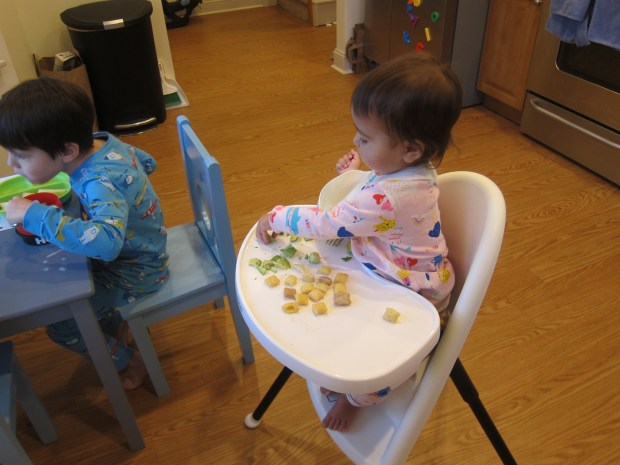
12-1: Lunch/free play. It was nice to give him some downtime!

1-1.30 – PE! This would have been his “special” today, so we juggled with socks, then had a family dance party to Can’t Stop the Feeling. We finished up with a few dances from Go Noodle that really got us moving and had both kids laughing!

Home School 1 e

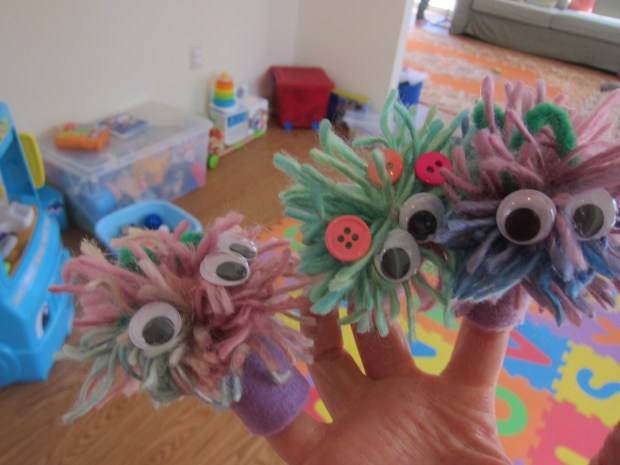
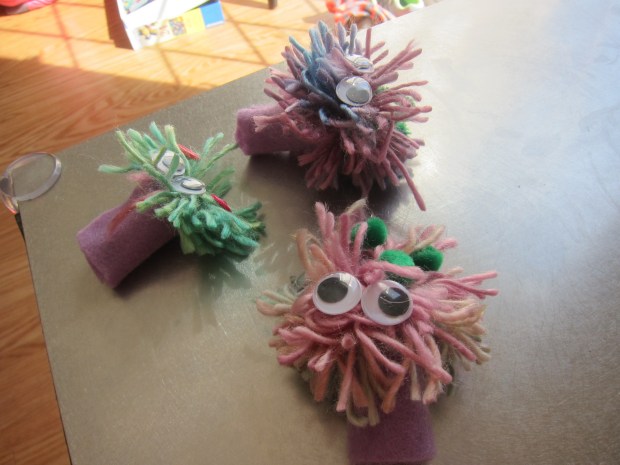
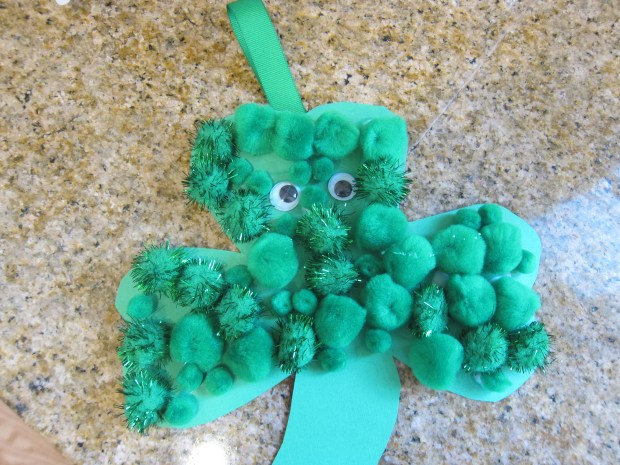
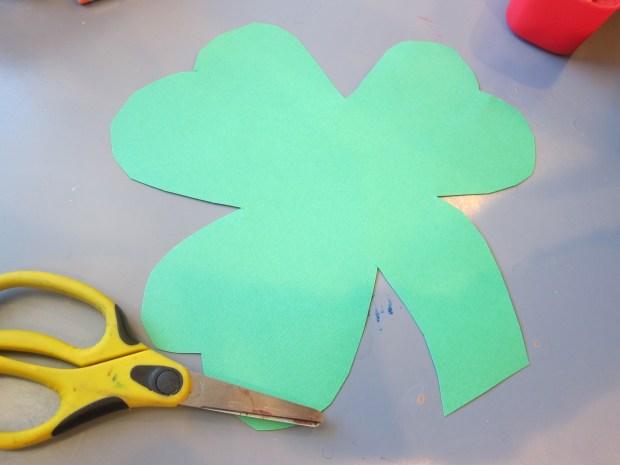
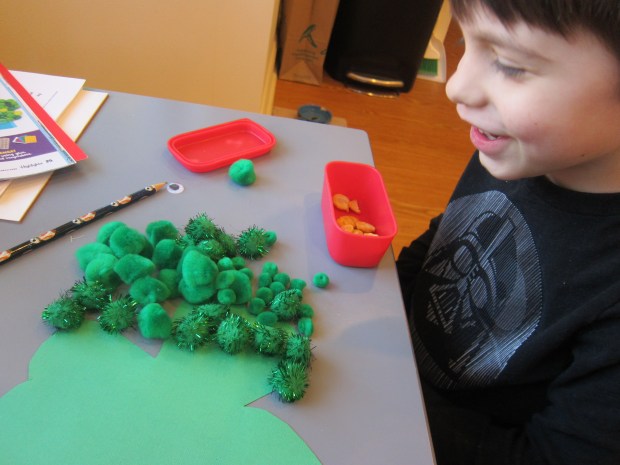
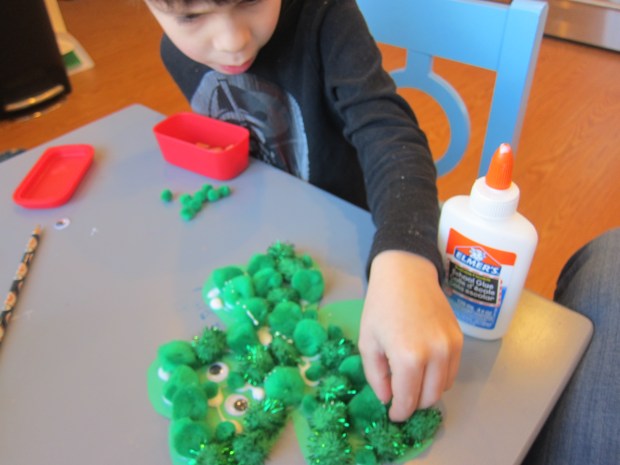
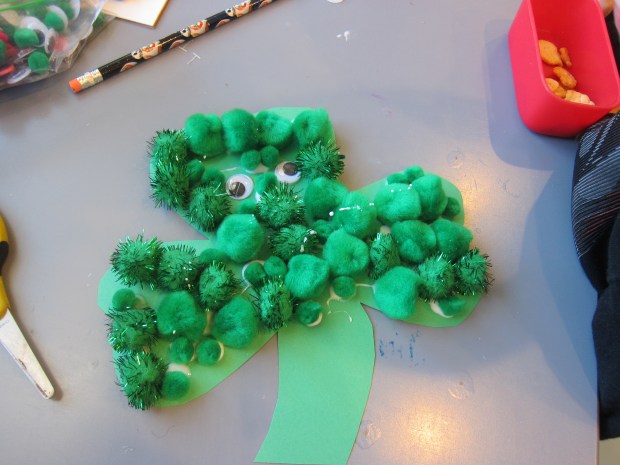
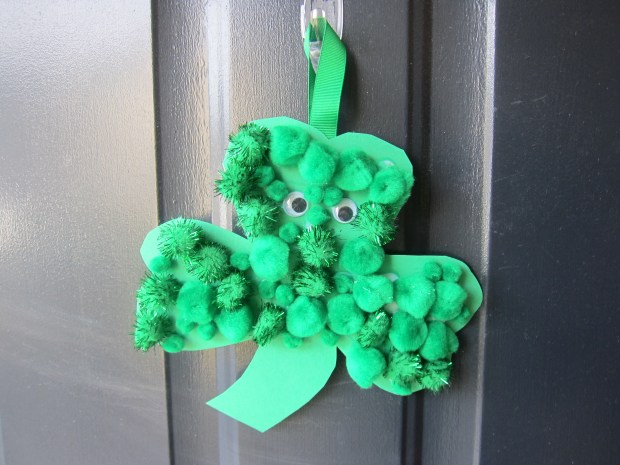
1.30-2: Arts and Crafts. We made pompom puppets.

2-2.30: Pulling from books we already have at home, today we read Usborne’s Big Book of Stars and Planets.

2.30-3: Board game. We finished off the day with some group fun, and today Travis selected Animal Bingo. You can see the kids were silly by this point!

Home School 1 f
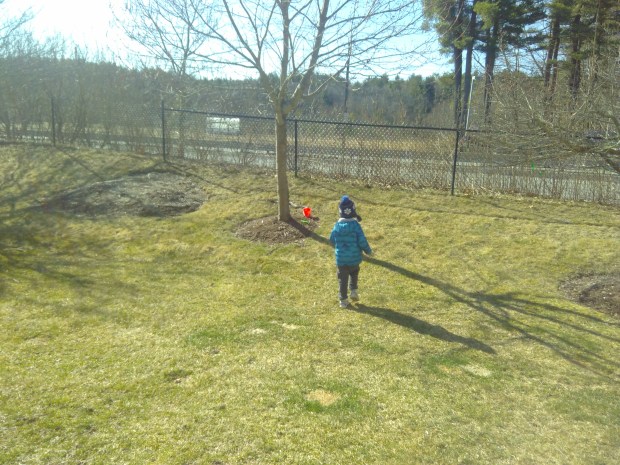
Class dismissed! We headed out for a family walk and some fresh air, which turned into fantastic fun with Travis “racing” me and the stroller to each mailbox. We returned full of vigor and ready for an afternoon snack.

Yikes, I am exhausted but ready for tomorrow. How is your family faring under social distancing? Please share in the comments; let’s all unite virtually in this unprecedented time!

Pompom Puppets

Pompom Puppets (6)

Travis needed an art project for the first day of “home school”, so I turned to Highlights magazine for inspiration. It turned out the pompom puppets we tackled were a bit advanced for a kindergartner, but we sure got silly and had fun making them.

The method looked simple enough: Wind colorful yarn around the tines of a fork to make the body of a pompom.

Pompom Puppets (1)

Tie with a small piece of yarn in the center, making sure to tightly double-knot, then slide off the fork and snip the loops on either end so you have the frills of a pompom.

Pompom Puppets (2)

This sounded good in theory! But we quickly found out that the fork resulted in very small pom poms and they unraveled into pieces when we tried to cut the loops. Thinking quickly, we wound around mommy’s fingers instead! This resulted in workable pompoms.

Pompom Puppets (3)

To turn them into puppets, wrap colored felt around your child’s finger until it is the right size, then use glue to secure.

Travis helped pick out decorations for his silly creatures, but once again the project was a bit hard for small hands. I jumped in with a little hot glue to secure pipe cleaner antennae, wiggle eyes, and button decor according to his wishes.

Pompom Puppets (4)

What silly creatures!

Pompom Puppets (7)

Travis loved waving them on his fingers. Soon they even had little space pods to travel around in.

Pompom Puppets (9)

Plus he even had fun playing with the extra yarn from our failed attempts, in what turned into a very creative game. So these turned out to be great for imaginative play, even if the crafting was too advanced for him.

Pompom Puppets (8)


Little Performer

Little Performer (2)

When my eldest was little, the instructor in his baby music class always encouraged the kids to echo syllables into a toy microphone, as in “ba ba ba” or “la la la”. Inevitably it took forever to go around the circle, and inevitably the kids clammed up when it was their turn, rendering the whole thing a big waste of time.

But the activity is not without its merits; the idea is to encourage mimicking, work on learning favorite sounds (like animal noises), and building the muscles needed for language development. I had a hunch that the privacy of the home would be a better spot for this activity, so today, Veronika was the star of the show!

I made a big deal of it to set the scene, of course. “Announcing, today’s performer, Miss Veronika!” She looked so pleased with the microphone in her hand.

Little Performer (3)

I started out with syllables. “Ba ba ba,” I said. She did it right back!

“Ma ma ma.” She echoed me again! I knew she was really in to it when she went three for three, using “la la la” on the third round.

Little Performer (1)

Then we got into animal sounds. Here’s quick clip including a “meow” for one of her favorite animals.

I stepped away for a quick chore, and returned a few minutes later to find her humming into the microphone.

Surely it will be no time at all before she’s belting out tunes into the mic. A little performer indeed!

Little Performer (4)

Big Swings

Big Swings (5)

Veronika got a little indoor batting practice this morning with a toddler version of T-ball!

For set up, you’ll first need to tie a length of ribbon to any child-sized ball. I liked using her sensory balls with holes in them, since the ribbon looped through easily, but you could also just tape ribbon to a solid ball.

Big Swings (1)

Now tape the other end of the ribbon above an open doorway. Make sure to use lots of tape so these are secure. Veronika reached up immediately, quite intrigued.

Big Swings (2)

I handed her a wooden spoon and showed her how to bat at the balls. She was a quick study!

Big Swings (3)

Whether using her hands or the spoon, it delighted her to see the balls make big swings back and forth.

Big Swings (4)

She also loved walking through the dangling balls.

Big Swings (6)

Or holding on to one as she spun and twirled and walked back and forth.

Big Swings (7)

An alternate title for this post could very well have been “How to entertain your toddler while homeschooling a big sibling”, ha. It kept her so busy while big brother tackled his morning Spanish and English Language Arts!

I Spy

I Spy (4)

“I spy” is such a classic children’s game that it’s easy to overlook it. But don’t! And yes, you can play it even with children who are just beginning to speak.

Here are a few ways Veronika and I already play the game, at sixteen months old. First, I use pages of her Hello magazines as “I spy” prompts. “I spy a duck,” I might say simply, and ask her to point to the duck on the page. The magazine’s “Find It” page is particularly great for this activity.

I Spy (3)

It’s a nice way to reiterate vocabulary she already possesses. She sometimes signs the word proudly, or sometimes says it orally back. “I spy a fish!”

I Spy (5)

It’s also a great way to build on existing vocabulary, so I might instead say, “I spy something fast and red. The red car!” This is closer to the classic version you can play with older children (“I spy something red…”) and helps add colors, adjectives, and nouns into her repertoire.

I Spy (1)

Then we take the game along in the car. If she has an issue of Hello open on her lap, I’ll make a mental note of what’s on the page. As we drive, I can say, “I spy a tree.” She’ll look up with a smile when she spots it.

I spy (7)

We also talk about what’s out the windows, though this can be harder for a toddler to grasp with so many items whizzing by. But big siblings will love jumping in on the game. Travis gave Veronika helpful clues like, “I spy an animal that’s furry and says woof,” just as we drove by a dog. What will she spy next? So many possibilities!

I Spy (6)

Junk Mailman

Junk Mailman (1)

If you ever feel like you can’t open the bills or get through the mail with a toddler in the house, this game is for you!

For a few days running, I set aside the junk mail that arrived and kept a collection in a paper bag. When I needed to sit down and peruse the items that mattered, I presented Veronika with this bag.

Junk Mailman (2)

She thought she’d hit the jackpot! There was paper to rip…

Junk Mail (2)

…and envelopes to open. This last part is still tricky for her, but if I start a corner, she proudly pulls the document the rest of the way out.

Junk Mailman (3)

Inevitably there are lots of pictures and pages to flip through, especially if you save up catalogs.

Junk Mail (1)

At one point, she needed a pen just like mommy and I could tell she felt very important!

Junk Mailman (4)

The game was such a hit that I’m going to make it a regular occurrence around here.

Do Nothing Day

Do Nothing (1)

Like many of you, we now find ourselves in a period of “social distancing”; school is closed for 3 weeks and we’re limiting our exposure to the rest of the world. Places that are familiar to the kids like libraries, museums, and local classes are shut down. So I pondered how to approach this period without scaring the kids. One idea? Turn the ability to do nothing into a game, at least for one day. As in: have a do nothing day!

The idea of no chores and no appointments and no assignments is sure to appeal to kids, turning what might otherwise feel like a strange break into a fun adventure. We almost always have at least one outing or activity daily, so today when the kids woke up I declared it a “Do Nothing Day”. We even could stay in our pajamas as long as we wanted!

Do Nothing (3)

Beds could go unmade.

Do Nothing (9)

Chores could be skipped and playtime was a must. The kids could lounge together on the couch eating snacks and watching a Disney movie.

Do Nothing (2)

Other perfect ways to pass the day? Building with Legos…

Do Nothing (4)

….coloring pages…

Do Nothing (8)

…and getting silly while cooking a recipe all fit the bill.

Do Nothing (6)

Obviously we won’t keep this up every day (home school for Travis starts tomorrow!) but it set things off on a playful, joyful note instead of a scary one.

A few other helpful tips to “social distance” without alarming the kids.

  • Get outside every day. Even a small patio or lawn will give your kids fresh air and a daily dose of nature, even when you avoid playgrounds and group areas.
  • Use Facetime and Skype. Stay in touch with older relatives or others you might not be able to see in person now.
  • Order groceries online. Though this is something I’ve skipped in the past, you’ll have peace of mind if you check out an online service instead of bringing kids to a crowded store.
  • Build your mom community: Set up a group text list, and you’ll keep each other sane virtually, answer one another’s questions, and get through this time “together apart”.
  • Have a routine every day. Kids thrive on routine. Now that our Do Nothing Day is done, each day will have scheduled time for reading, math work, quiet coloring or puzzles, crafts, and more.
  • But finally, a little extra screen time can’t hurt. And will help you keep your sanity.

Do Nothing (10)

Please stay tuned. I’ll have lots of activities and crafts in the days and weeks ahead. Wishing health to all.

Puffy Shamrock

Puffy Shamrock (6)

This easy shamrock makes the perfect good luck charm for your front door this St. Patrick’s Day!

Older kids can trace a shamrock shape themselves on green cardstock, but I took care of that part for Travis and helped him cut out along any tricky curves.

Puffy Shamrock (1)

Originally the plan was just to cover it with green pom poms and we had quite an assortment: small ones, medium ones, and sparkly ones!

Puffy Shamrock (2)

As soon as Travis saw some wiggle eyes in our craft bin, though, he knew our shamroock needed them, so those got glued on first.

Puffy Shamrock (3)

He began adding drops of glue and filled in all the remaining space of the shamrock with pom poms, sometimes having fun with a pattern (“3 sparkly, 1 plain!”), and sometimes just in random order.

Puffy Shamrock (4)

He was very precise about filling in any tiny gaps with the small pom poms near the end.

Puffy Shamrock (5)

Once the glue dried, I added a loop of green ribbon on the back so we could hang it from the doorway. Here’s hoping for the luck of the Irish!

Puffy Shamrock (7)

Ice Sun Catchers

Ice Suncatcher (5)

We’re in the very last days of winter here, so Travis and I wanted to try one last icy project! To start, he ventured outside to collect a few late winter/early spring nature finds, including old pine boughs, pine cones, and the first of the tulip petals!

Inside, we arranged these in the lids of Tupperware containers, along with a loop of ribbon for each. Travis was very deliberate about placing the items.

Ice Suncatcher (2)

If it’s still icy winter where you live, set them outside to freeze. We cheated a bit and used the freezer!

Ice Suncatcher (4)

Once completely frozen, run a little warm water around the edges of the lids and the sun catchers should release easily. Now hang them to sparkle in the sun!

Ice Suncatcher (6)

As a bonus, the nature items will simply fall back to earth once these melt, and all you have to do is collect the ribbons.

Ice Suncatcher (7)