Intro to Entrepreneurship: Apple Cider Stands & Donut Shops

Apple Cider Stand (5)

Raddish Kids changed their lesson plan format recently, from one lesson to correspond with each recipe into more of an overarching theme for each month’s package.

The change hasn’t worked well for Travis. The scope of the lesson now seems aimed at older kids, and it’s difficult to engage a first grader in the activities. This month’s theme was: what is an entrepreneur and how do you turn an idea into a business. Here’s I engaged Travis in that!

As a warm up, I asked him to imagine his favorite restaurant and describe what he liked best about it. But since we don’t go out often, he couldn’t come up with much more than that it was fancy. The idea is that kids now take their answers and design a donut shop, in conjunction with the Apple Cider Donut recipe.

We watched an online read of The Donut Chef, a cute book, but Travis couldn’t really translate that into creating a shop or flavors of donuts. Older kids can use the provided Brainstorm Bubble Map (in the shape of a donut of course) to write out ideas for a store name, logo, menu, and more.

Donut Shop (2)

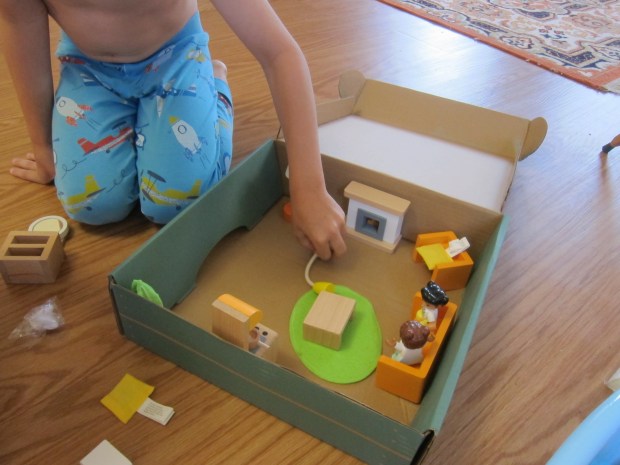
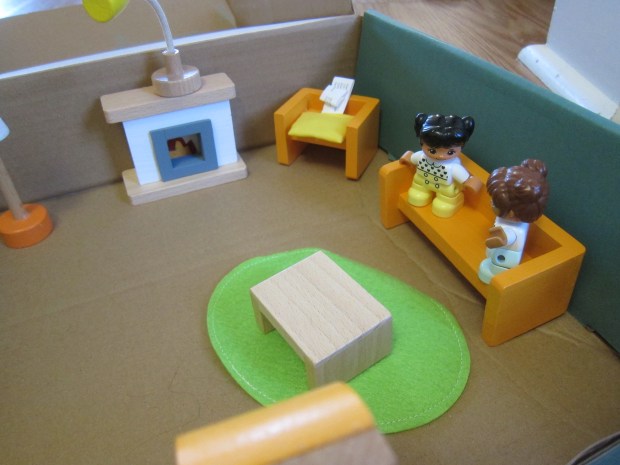
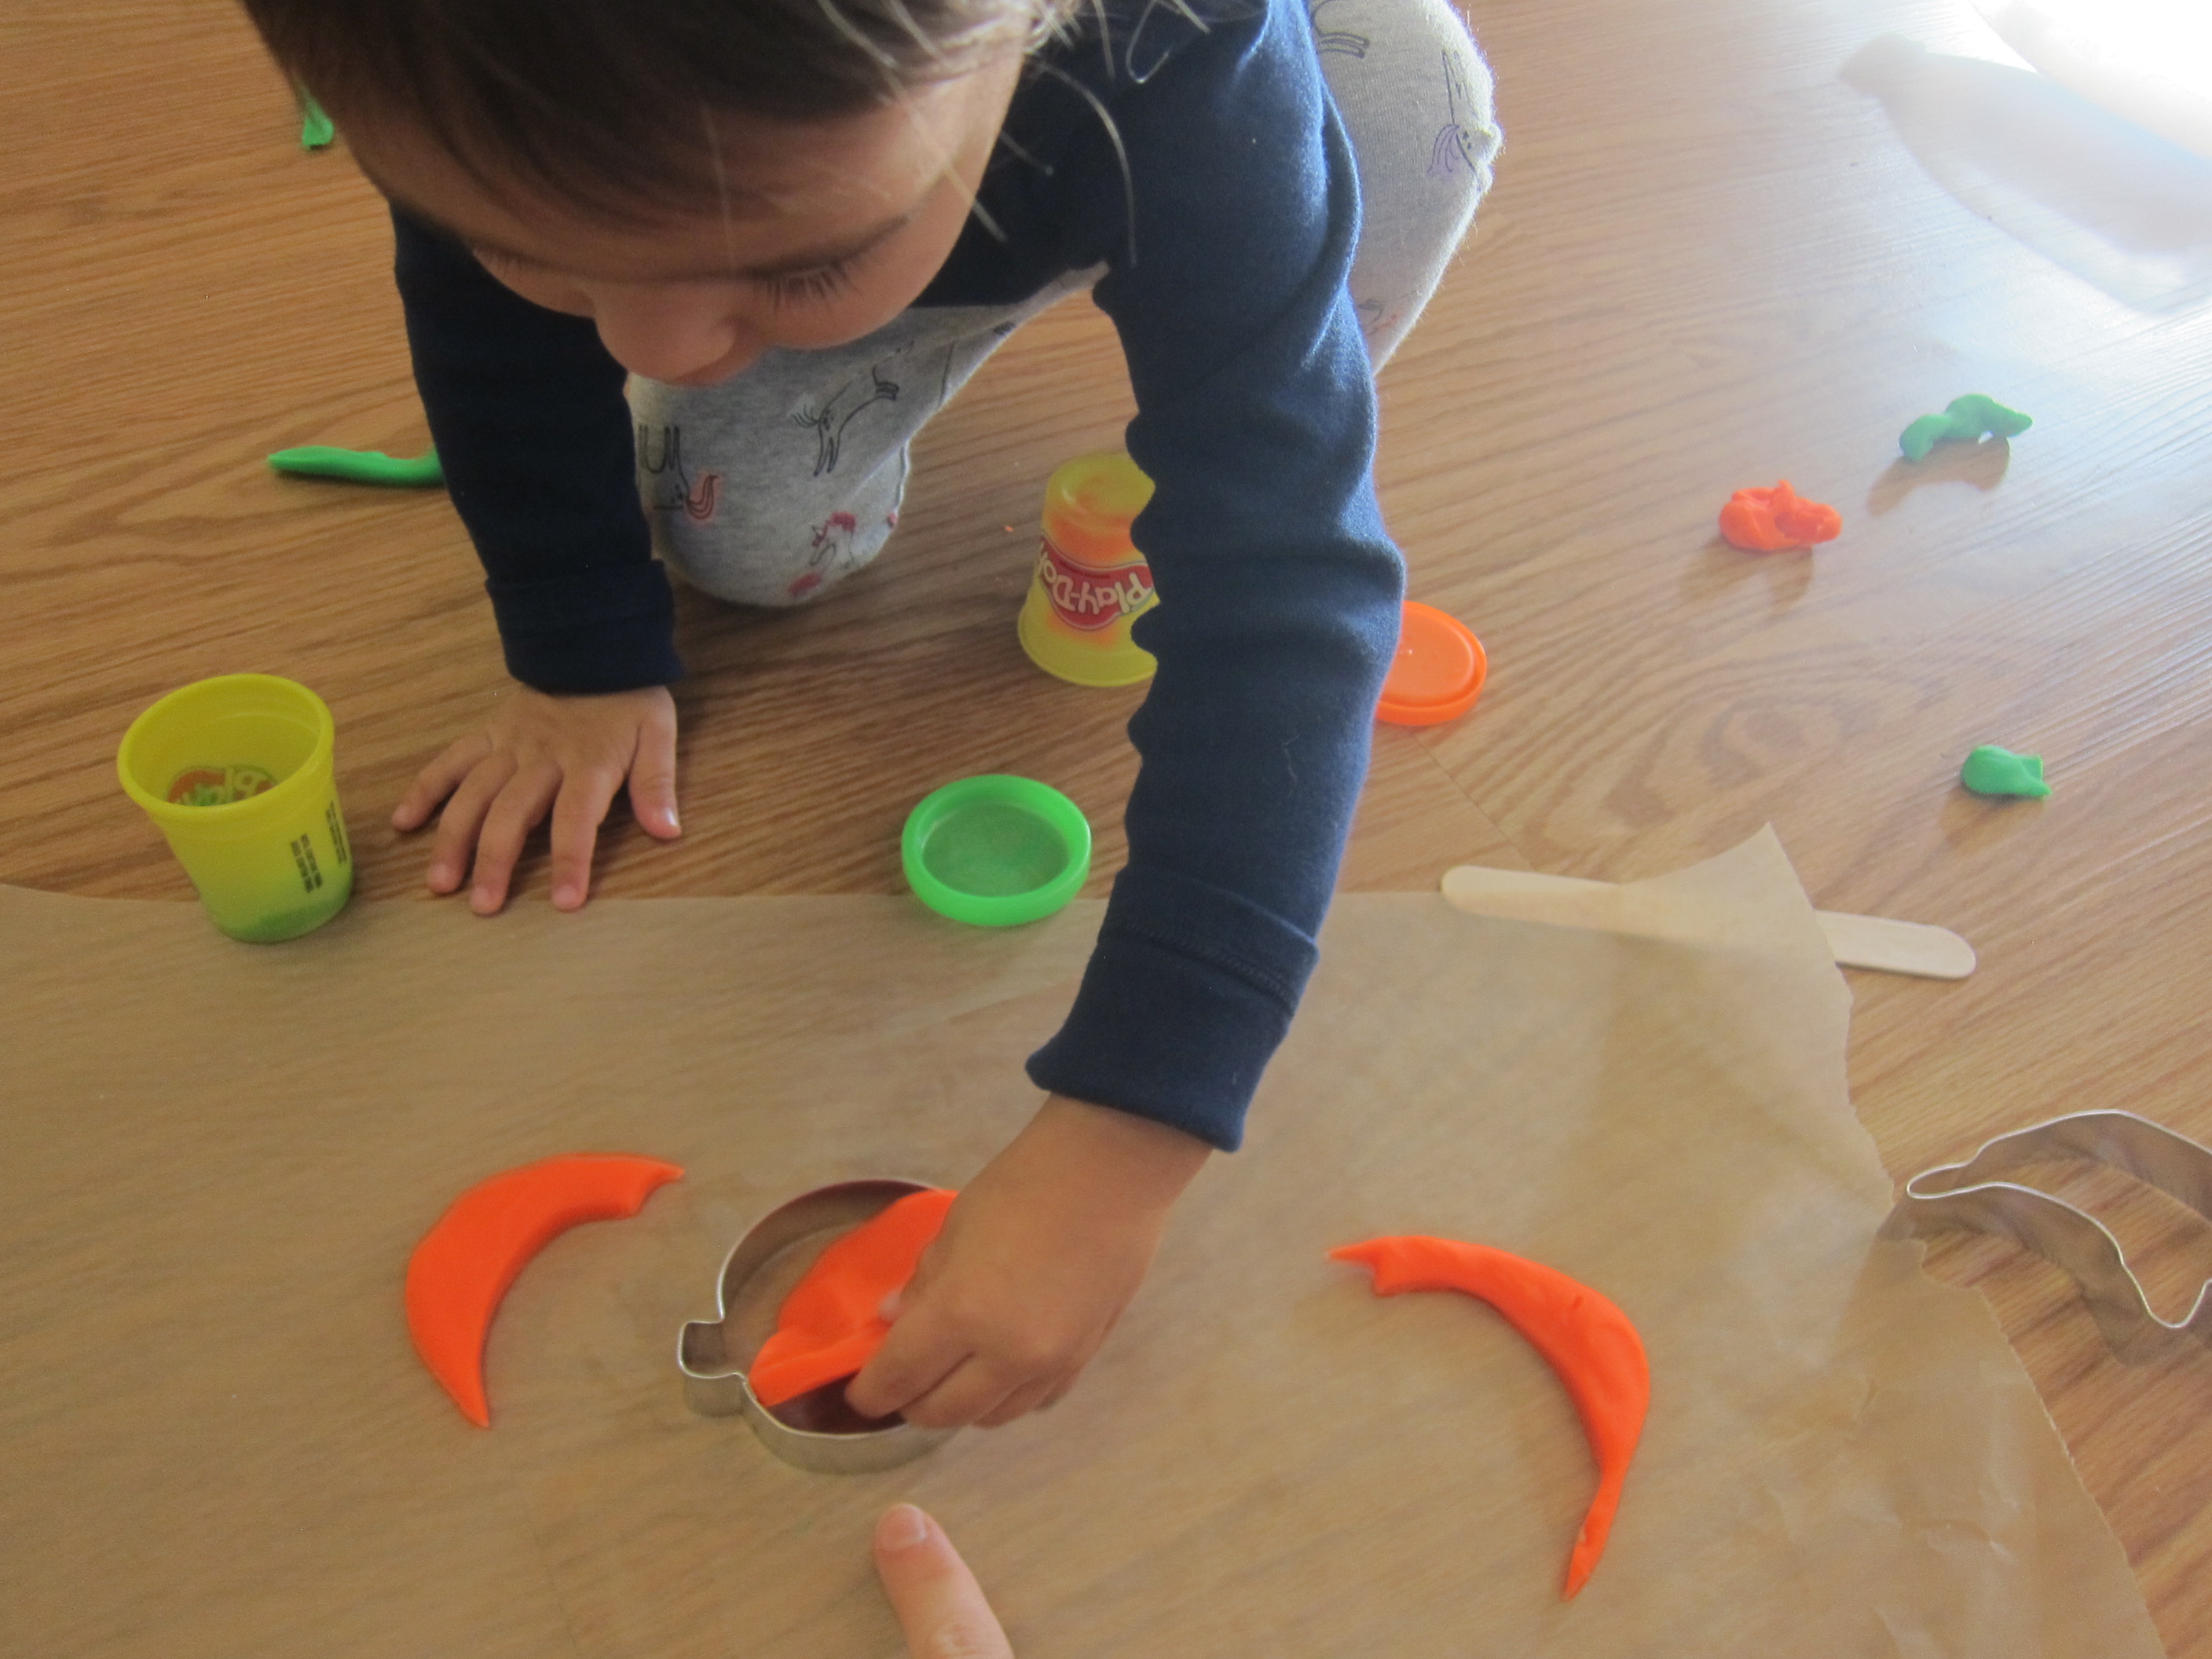
Kids can also lay out the shape of their store using tangrams on grid paper. I simply had Travis use dollhouse furniture to create a little restaurant diorama.

Donut Shop (3)

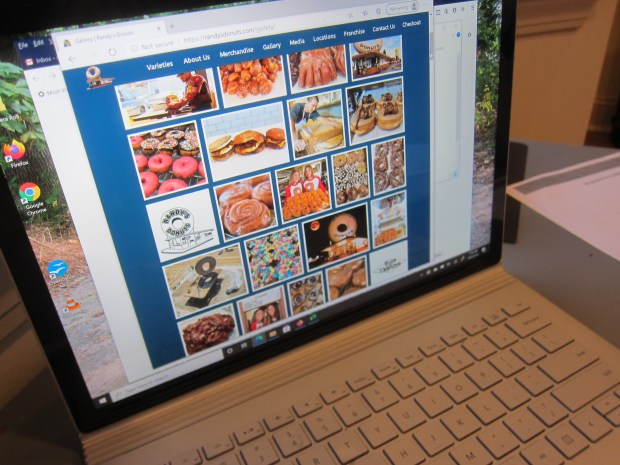
We also watched a quick clip on the history of the donut, and scrolled through images of successful donut chains around the country. Big kids can learn about innovations in donuts (the cronut!), or imagine a “donut of the future”.

Donut Shop (1)

But I knew Travis needed something more hands on. So… we decided to open up an apple cider stand and put entrepreneurship into action.

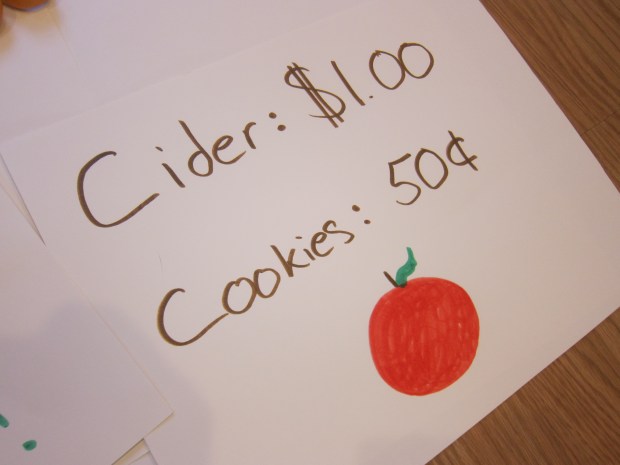
Once we had the idea, Travis couldn’t wait for the big day. First we talked about a logo, and came up with a shiny red apple. This went on all of our cider stand materials, including an announcement poster, a price poster, and the jug we’d use to pour the cider. His color scheme was red, green, and brown.

He also watched Raddish’s provided clip of a child entrepreneur to get fired up for his own “business”.

Apple Cider Stand (3)

Kids can brainstorm what snacks to sell, or even invent one. We kept it simple with store-bought packets of candy corn. Time to open up shop!

Apple Cider Stand (6)

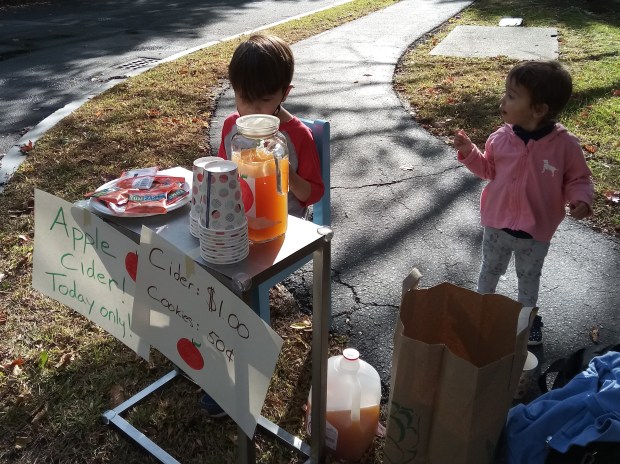
To put it simply, this was amazing. Travis was dismayed when the first few cars drove by without stopping. But once he had his first customer, the floodgates opened up. Within one hour he’d served ten customers, and we’d sold nearly all the cider.

Apple Cider Stand (2)

He loved waving down cars. And little sister Veronika helped!

Apple Cider Stand (7)

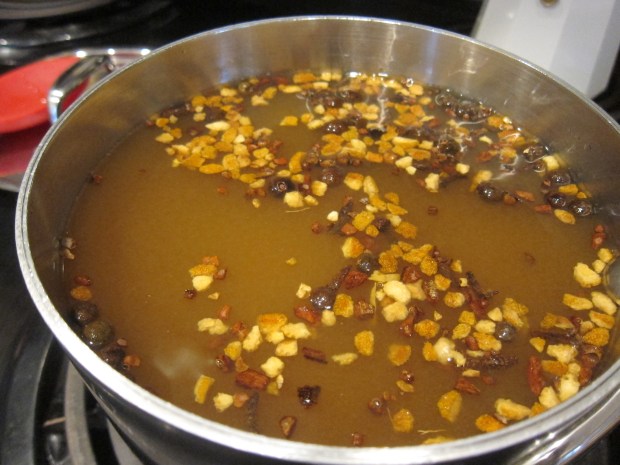
We finished with apple cider at home, warm with mulled spices. The perfect reward.

Mulled Cider (1)

Chick’n & Udon Noodles

Chicken and Udon Noodles (1)

This recipe will introduce kids to new flavor combos in a familiar way. It’s a great way to mix up a regular chick’n and pasta night!

Ingredients:

  • 1 (9-ounce) package Gardein chick’n strips
  • 1 cup teriyaki sauce
  • 1 (20-ounce) can crushed pineapple
  • 1 (9-ounce) package udon noodles
  • 3/4 cup sunflower seed butter
  • 1/2 cup light coconut milk
  • 1/2 cup vegetable broth
  • 2 tablespoons carrot puree
  • 1/2 teaspoon ground ginger
  • 2 teaspoons minced garlic
  • 2 tablespoons fresh-squeezed lime juice
  1. To prepare the chick’n, combine the chick’n strips, teriyaki sauce, and juice from the pineapple can in an 8×8-inch baking dish. Bake at 350 degrees for 18 minutes.
  2. Meanwhile, cook the udon noodles according to package directions; drain and return to the pot.
  3. While the noodles cook, combine the sunflower seed butter, coconut milk, broth, carrot puree, ginger, garlic, and lime juice in a blender; process until smooth.
  4. Add the sunflower sauce to the noodles, tossing to coat.
  5. To serve, chop the chick’n according to your child’s preference, and serve alongside the noodles and some of the crushed pineapple.

CHicken and Udon Noodles (2)

Halloween Countdown Day 11: Orange Playdough Pumpkins

Halloween 11 Playdough Pumpkins (2)

Playdough is always fun, but even more so if you connect it to the season or a holiday for your kids. Today, we specifically decided to have Halloween playdough fun.

First I pulled out only orange and green playdough, and showed Veronika how to roll little balls of the orange into pumpkins.

Halloween 11 Playdough Pumpkins (5)

Green made cute stems! We then used craft sticks as our “carving knives” to make features in the pumpkins. Veronika thought this was great fun, even though she was mostly just mashing at them while I carved more deliberate triangles and toothy smiles.

Halloween 11 Playdough Pumpkins (1)

We could also roll out long ropes of green playdough to be the pumpkin patch vines.

Next, I pulled out a few Halloween-themed cookie cutters. Now we could make flatter versions of pumpkins and ghosts.

Halloween 11 Playdough Pumpkins (6)

Soon we had little ghosts flying through the air.

Halloween 11 Playdough Pumpkins (8)

Big brother Travis wanted in on the action!

Halloween 11 Playdough Pumpkins (11)

He came over to make lots of pumpkin and ghost shapes, and then used the craft sticks to carve into them.

Halloween 11 Playdough Pumpkins (9)

Pretty soon, the kids were just having wild playdough fun. They were so busy with this step in our countdown to Halloween that I could declare it a mission accomplished.

Halloween 11 Playdough Pumpkins (12)


Pom Pom Planets

Pom Pom Planets (7)
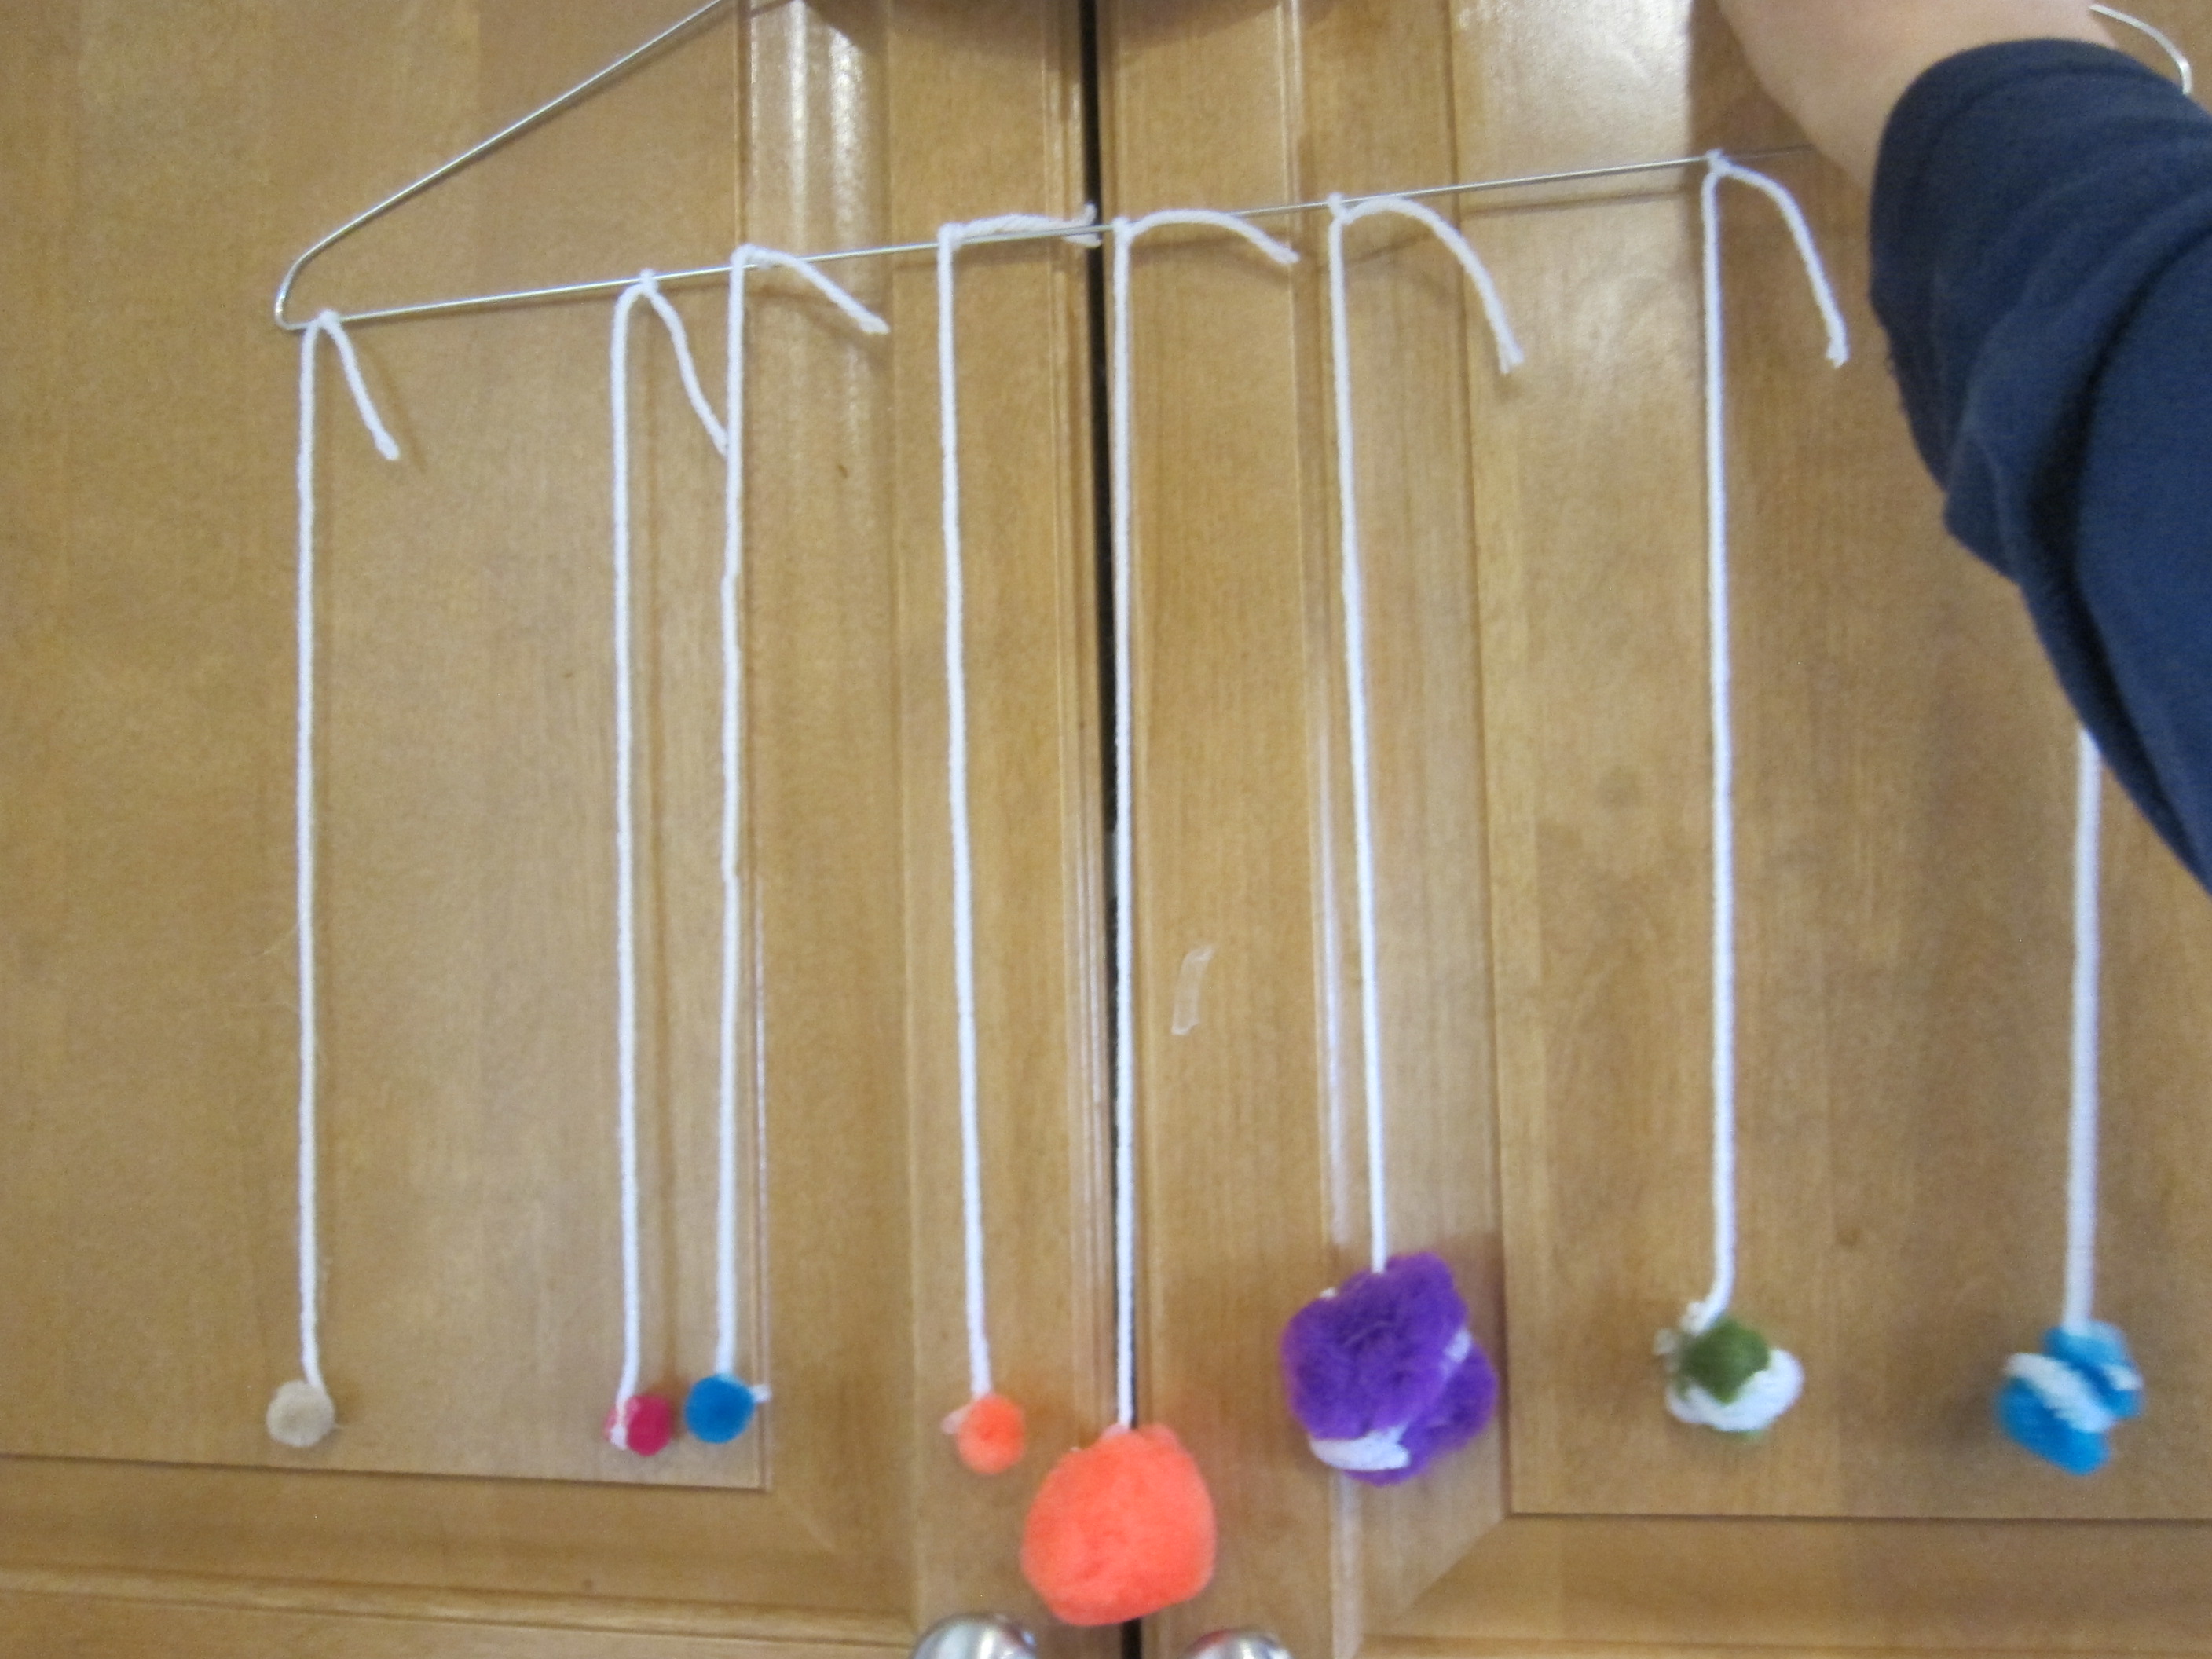
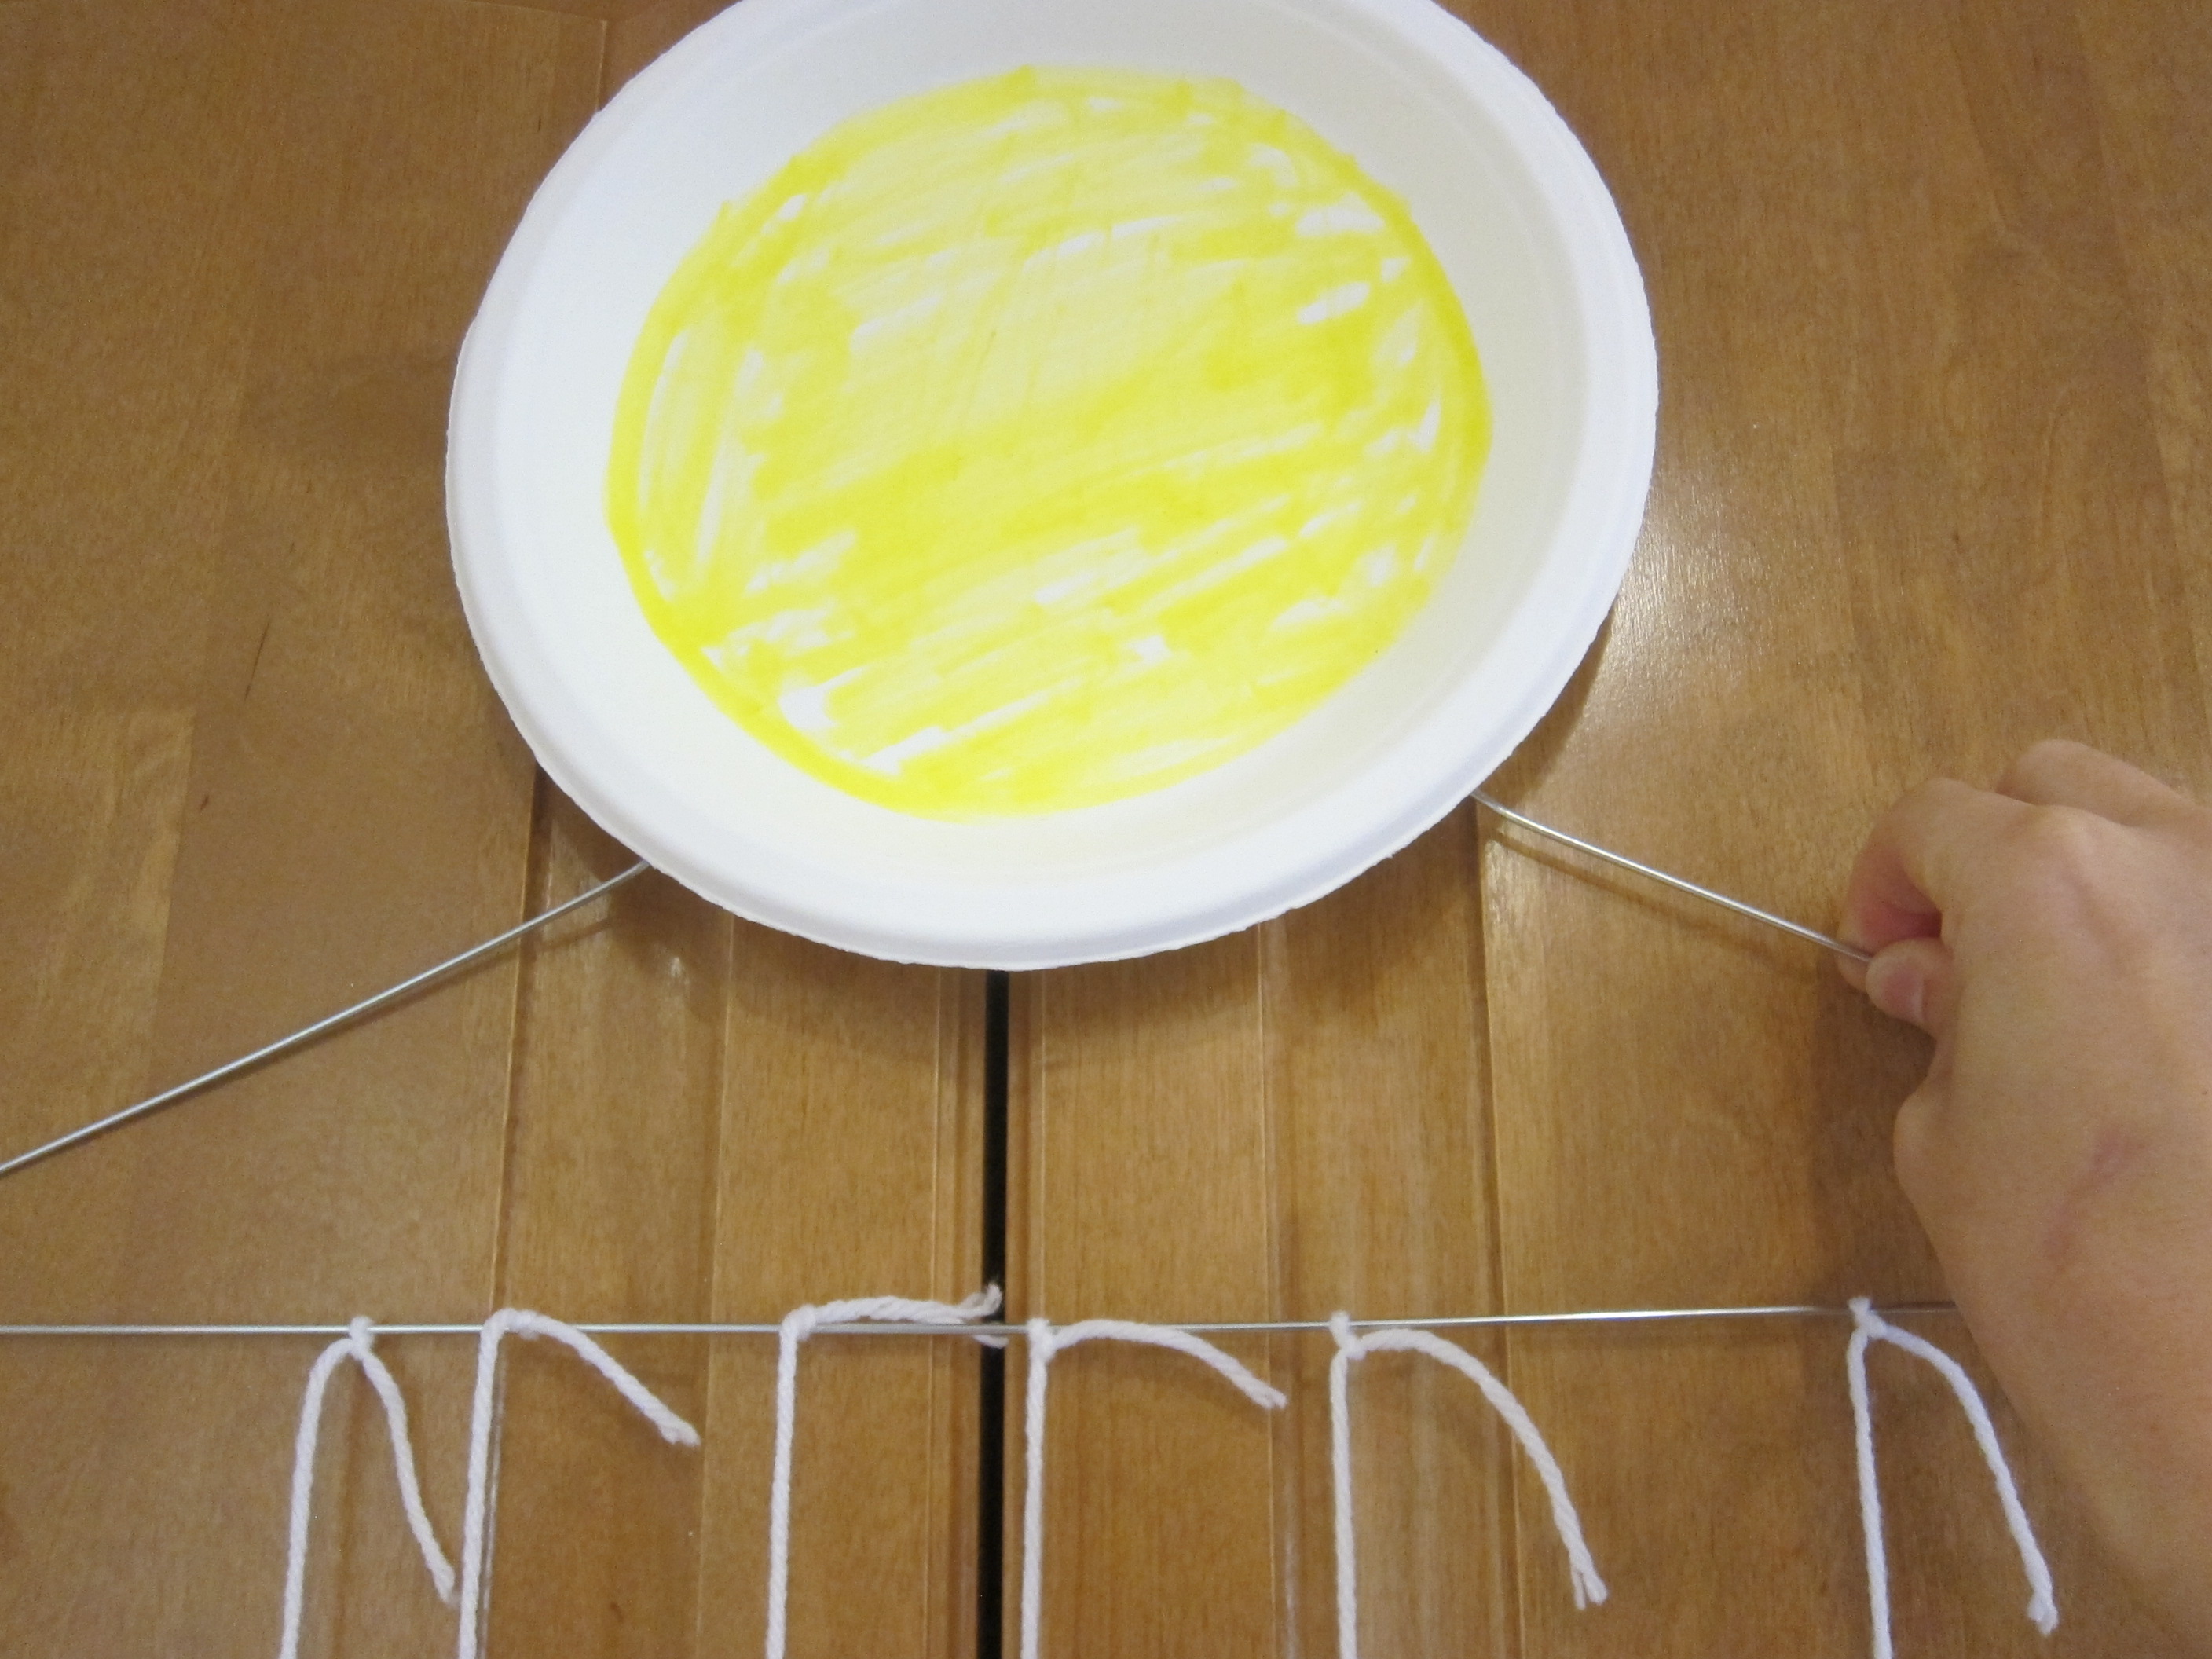
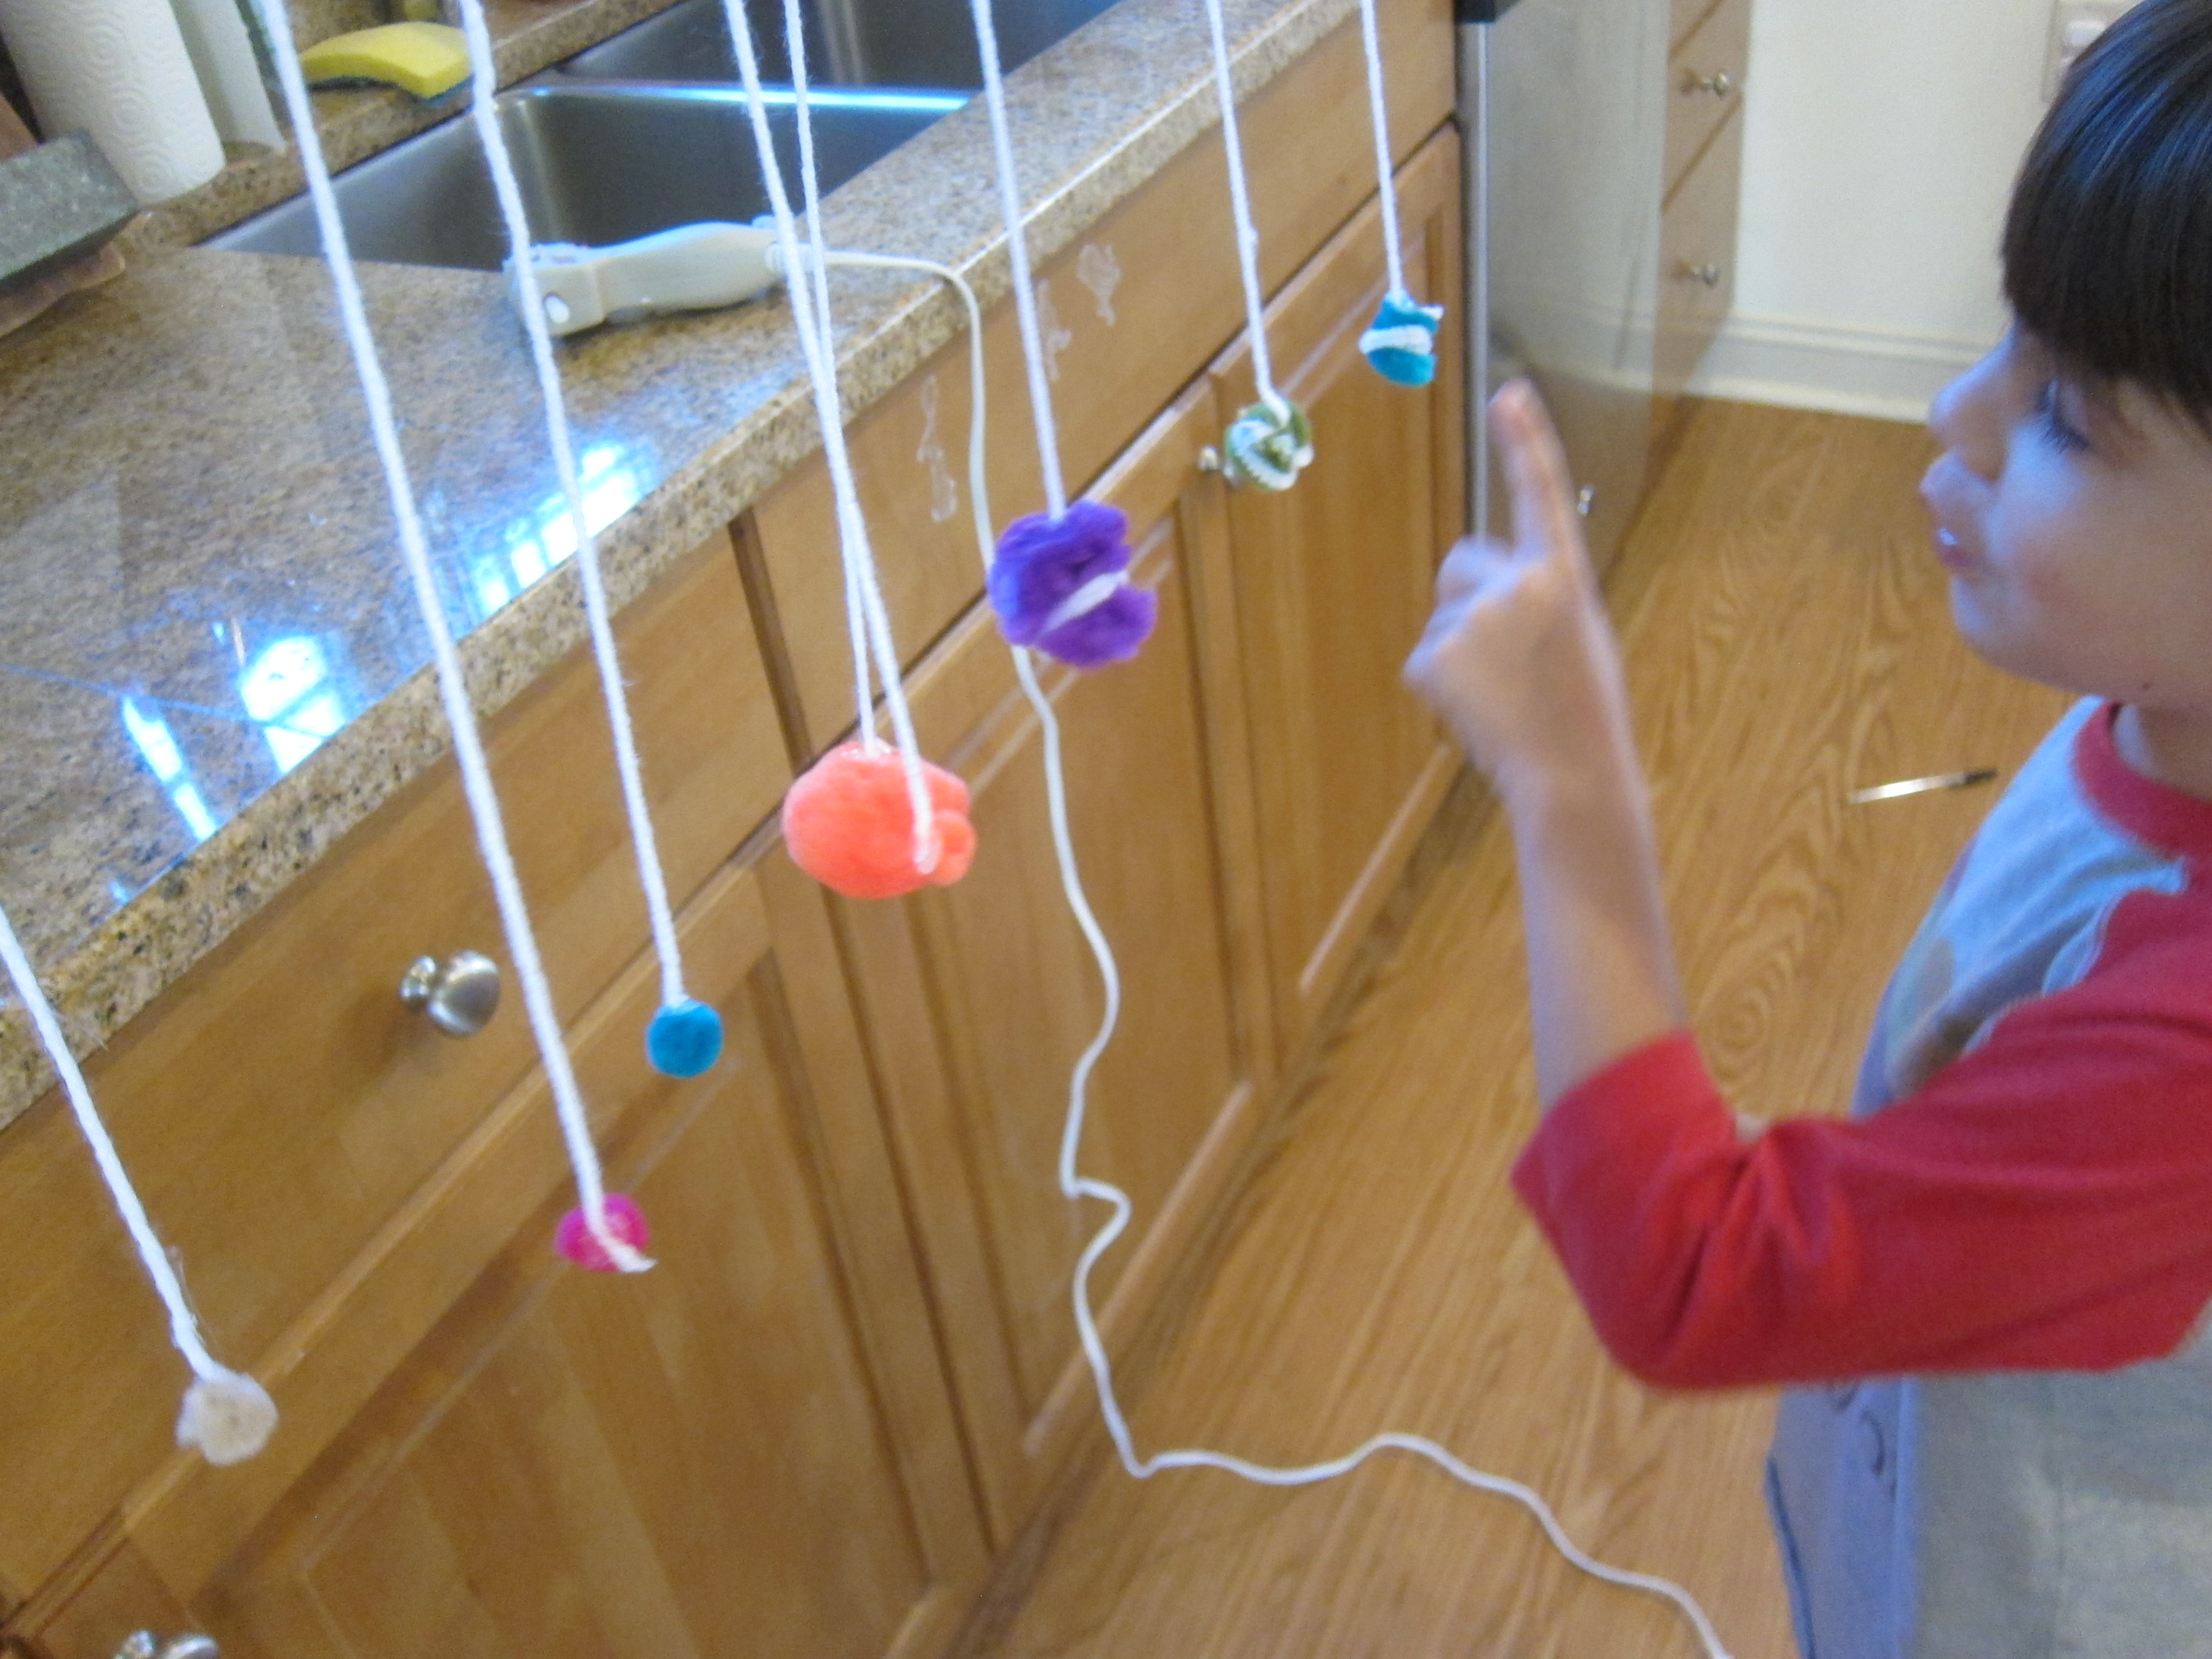
Here’s a quick and cute way to show the scale of the planets (roughly speaking) for kids who are learning about the solar system. Set out an assortment of pom poms in as many sizes and colors as you have, and find the perfect one to represent each of our 8 planets!

I dumped a big bag of pom poms into a craft tray, which immediately created excitement.

Pom Pom Planets (1)

Travis loved searching through this “universe” for each planet. One by one, he located the following:

A small tan one for Mercury

A small pink one for Venus

A small blue one for Earth

A small orange one for Mars

A large orange one for Jupiter

A large purple one for Saturn

A medium green one for Uranus

A medium blue one for Neptune

Note: Your colors and sizes might be slightly different, depending what you have on hand. Gray works equally well for Mercury, and yellow equally well for Saturn. Obviously we wished we had a red one for Mars, but our pack didn’t contain small red.

Pom Pom Planets (2)

We then wrapped Saturn, Uranus, and Neptune with belts of pipe cleaners to make the rings.

Next we cut 8 pieces of yarn, making sure they were roughly the same length. Tie or glue these onto each pom pom.

Pom Pom Planets (4)

It was time to build the solar system. As I tied each one to a wire hanger, I had Travis tell me which planet should come next, working from Mercury to Neptune. This was great review for a topic we haven’t covered in a while!

Pom Pom Planets (5)

I had originally intended to make a star decoration along the top of the hanger, but Travis was adamant that we couldn’t have a solar system without the sun. He colored in a paper plate with yellow marker, and it was soon proudly affixed atop the hanger.

Pom Pom Planets (6)

It looked perfect against his star lamp!

IMG_0001

Drawing on Pumpkins with Markers

Super Simple Pumpkin (2)

Veronika has loved decorating our pumpkins in the run-up to the big carving day, so I needed another version to keep her happy. This one has the added bonus because kids can draw, wipe clean, and then repeat the process as many times as they like!

I set out two of our medium-sized pumpkins, along with lots of washable markers. The naturally waxy surface of a pumpkin is perfect for markers, so your little one can draw as easily as if it’s paper.

Super Simple Pumpkin (1)

Veronika just scribbled of course, but I made a few jack o’ lantern features on the pumpkin next to her.

Super Simple Pumpkin (3)

Then I showed her the secret: one swipe of a wet wipe and her drawings were magically erased!

Super Simple Pumpkin (7)

She loved giving her pumpkins a ‘bath’ in this way. “He’s all clean,” she told me proudly. And then she could start the process again.

Super Simple Pumpkin (5)

Because you don’t have to worry about a mess, this craft is also a perfect toddler solo activity while you get other things done around the house.

Super Simple Pumpkin (9)

Halloween Sensory Bottle

October Sensory Bottle (6)

Veronika recently enjoyed a few autumnal sensory bottles, so today I made another version, this one specifically with a Halloween theme. The items inside include both “tricks” and “treats”!

I first filled an empty bottle about three-quarters of the way with water. Next I added faux candy corn. (Note: In a pinch you can add real candy corn, just be aware that it will dissolve over time). These were the treats of course.

Then I added a few spider rings. These were the tricks!

October Sensory Bottle (2)

A little bit of orange-red glitter topped things off. Because Veronika had attempted to unscrew the caps from her fall sensory bottles, this time I judiciously used hot glue on the cap before handing it over.

Knowing she couldn’t open it, she was much more focused on what was inside. She loved shaking it!

October Sensory Bottle (4)

And rolling it. The candy corn and spiders would sort of float to the surface and then settle back to disappear again. Perfectly Halloween spooky!

October Sensory Bottle (5)

She also thought it was a delight to throw it on the floor, and although I wasn’t as big a fan of this version, she was having so much fun that I let it be.

October Sensory Bottle (8)

This sensory bottle is enjoyable for young toddlers or even for babies doing tummy time. Perfect for a first Halloween, in sum.

October Sensory Bottle (9)

Sparkly and Googly Eyed Pumpkins

Sparkly Googly Pumpkins (8)

We had three mini pumpkins that were just begging to be decorated. And this craft will cater perfectly to your toddler’s messy instincts!

I set out little cups of glue and a few filled with large sequins and wiggle eyes, and placed these all on a craft tray. The idea was that the tray would contain most of the mess.

Sparkly Googly Pumpkins (1)

Well, Veronika had other ideas. Before we even started, she began transferring sequins from cup to cup and then dumped them all over the floor. (“Well, that’s a mess,” said big brother Travis!).

Sparkly Googly Pumpkins (3)

This didn’t deter us one bit! I showed her how to spread glue on the pumpkins with a paintbrush. Once they were good and sticky, we could liberally apply the sequins.

Sparkly Googly Pumpkins (6)

I thought she might want to dump them on, but Veronika loved carefully applying one at a time!

Sparkly Googly Pumpkins (4)

The wiggle eyes added fun and slightly kooky character.

Sparkly Googly Pumpkins (5)

Needless to say, we made a mess, but we had a blast.

Sparkly Googly Pumpkins (7)

Note: Because the sequins could be a hazard for wildlife, I recommend displaying these particular no-carve pumpkins indoors.

Sparkly Googly Pumpkins (9)

Halloween Countdown Day 10: Haunted Snacks

Jack O Orange (5)

Halloween lends itself so easily to food play, transforming simple fruits and veggies into haunted treats with just a few tricks. To wit, today the kids enjoyed banana ghosts and jack o’ lantern clementines as part of our countdown to the big shindig.

For the “Casper Ghosts”, peel a banana and carefully cut in half lengthwise. Curvier bananas are better for this, because you’ll get that perfect curled ghost tail.

Halloween 10 Casper Banana

Add three chocolate chips: two for eyes, and one for the round O of a mouth.

Halloween 10 Casper Banana (2)

Now it was the kids’ job to make the ghosts “disappear”, a task they were happily up to. Starting with the eyes of course!

For a Jack-o’-Orange, first draw jack o’ lantern features on the skin of a clementine. Show your kids how to poke whole cloves in along the lines.

Jack O Orange (1)

This was tricky for Veronika, but I helped her poke cloves straight in, or she simply enjoyed sprinkling them on top as I worked.

Jack O Orange (2)

She was delighted by her end result!

Jack O Orange (4)

Travis, meanwhile, took the task so seriously and concentrated hard as he worked his way around the lines I’d drawn.

Jack O Orange (6)

He loved it so much he wanted to make another as a present for his great-grandmother!

Jack O Orange (8)

These oranges really are more potpourri decor than a snack (they’ll make your kitchen smell amazing!), so make sure there are extra clementines on hand to satisfy your little beasties.

Jack O Orange (3)

Spaghetti Mobiles

Spaghetti Mobile (11)

We started the day with some messy food fun! This activity makes for great sensory play, plus nets you a cool piece of artwork at the end.

I cooked up a big batch of spaghetti (although in retrospect I didn’t need a full package), and set it out in front of Veronika. She was immediately thrilled to dip her hands in.

Spaghetti Mobile (1)

She was even more excited when I set out three paper plates and poured a little glue in each. We tinted them red, blue, and green with all-natural food coloring.

Spaghetti Mobile (2)

I showed her how to dip a few strands of the spaghetti in one of the colors, then transfer to a foam tray (like the kind some vegetables are sold in at the supermarket).

Spaghetti Mobile (3)

Continue to dip and layer, helping your artist “arrange” the strands of spaghetti. Veronika loved talking about the colors as she worked!

Spaghetti Mobile (4)

When she started tossing big piles of spaghetti that weren’t covered in colored glue on top, I knew it was time to set the mobile safely aside to dry. But she wasn’t done yet!

Spaghetti Mobile (5)

She loved picking up big handfuls of the spaghetti and making them go “splat!” At one point I saw her trotting off toward the playroom with a huge handful, and quickly redirected her to the kitchen.

Spaghetti Mobile (7)

We were out of glue, but we could still add more food coloring to the spaghetti on each paper plate. “It’s pink-y! It’s blue-y!” she said of each pile with delight.

Spaghetti Mobile (9)

Meanwhile, back to the glued spaghetti:

Spaghetti Mobile (10)

As long as your child hasn’t piled it on too thickly to dry properly, you’ll be able to stretch it up off the tray once the glue has dried, thread yarn through, and suspend it from a hook. A rather novel piece of modern art!

Pesto Penne Salad

Penne Pasta Salad
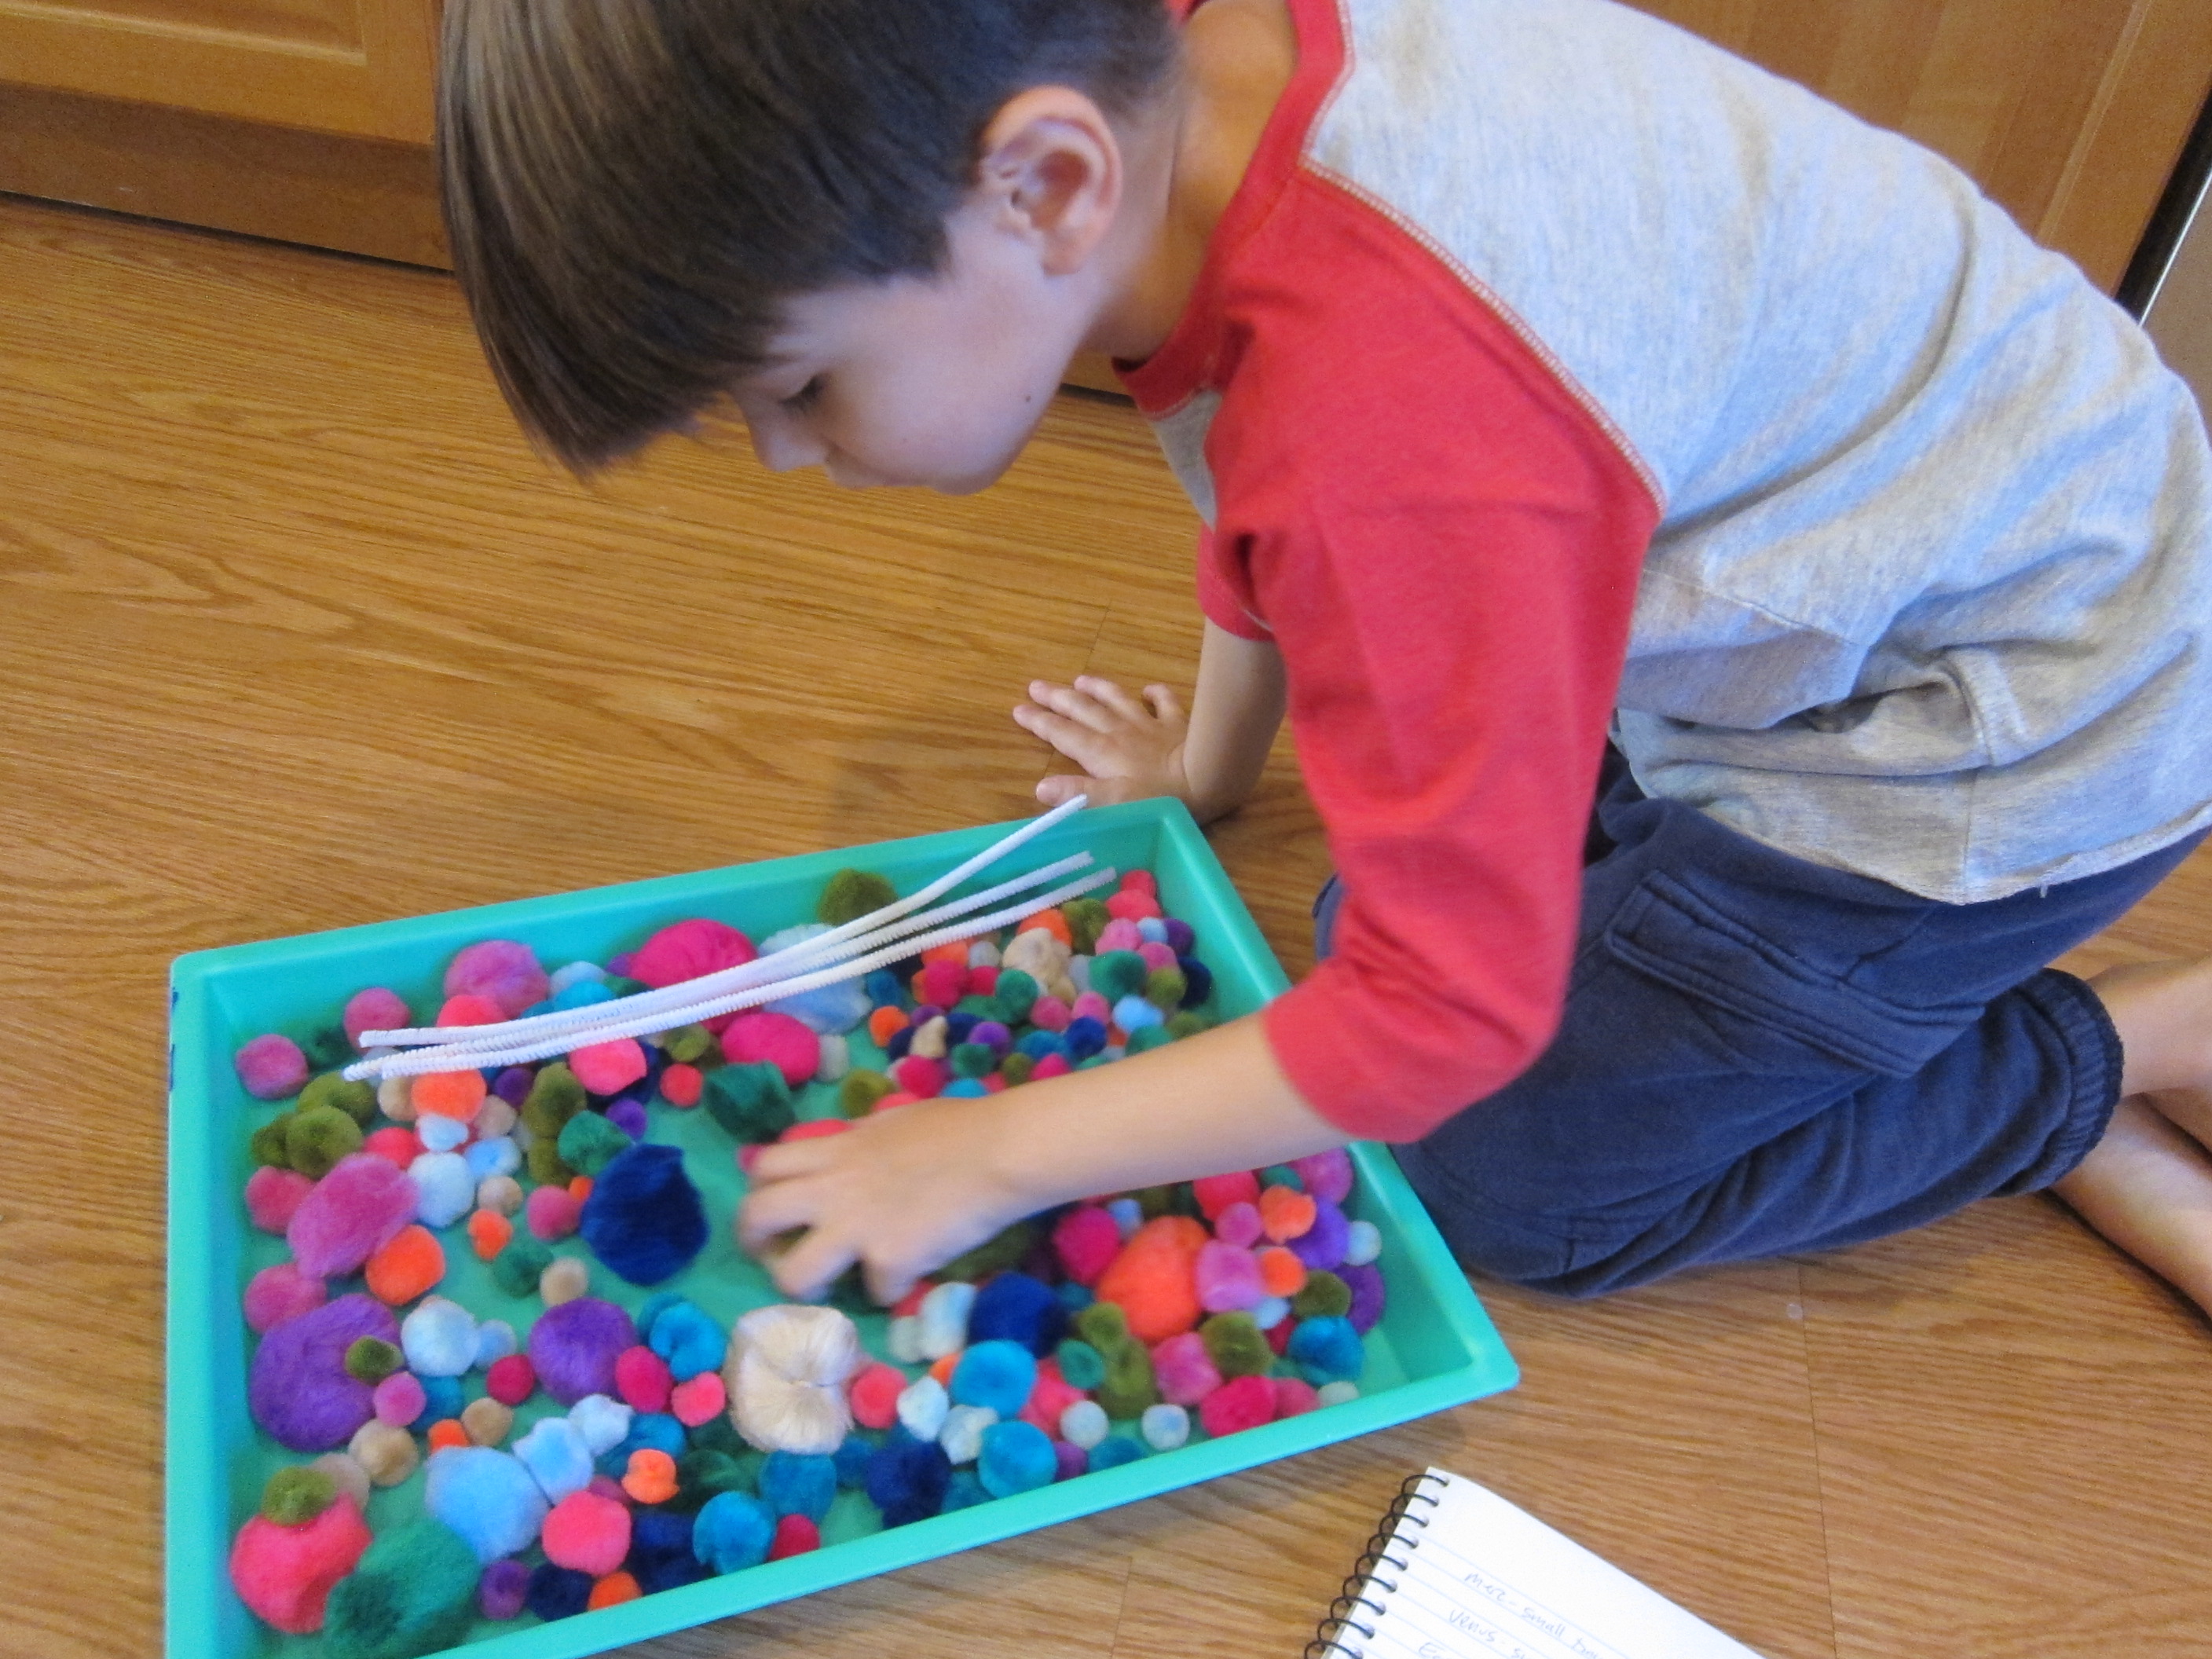
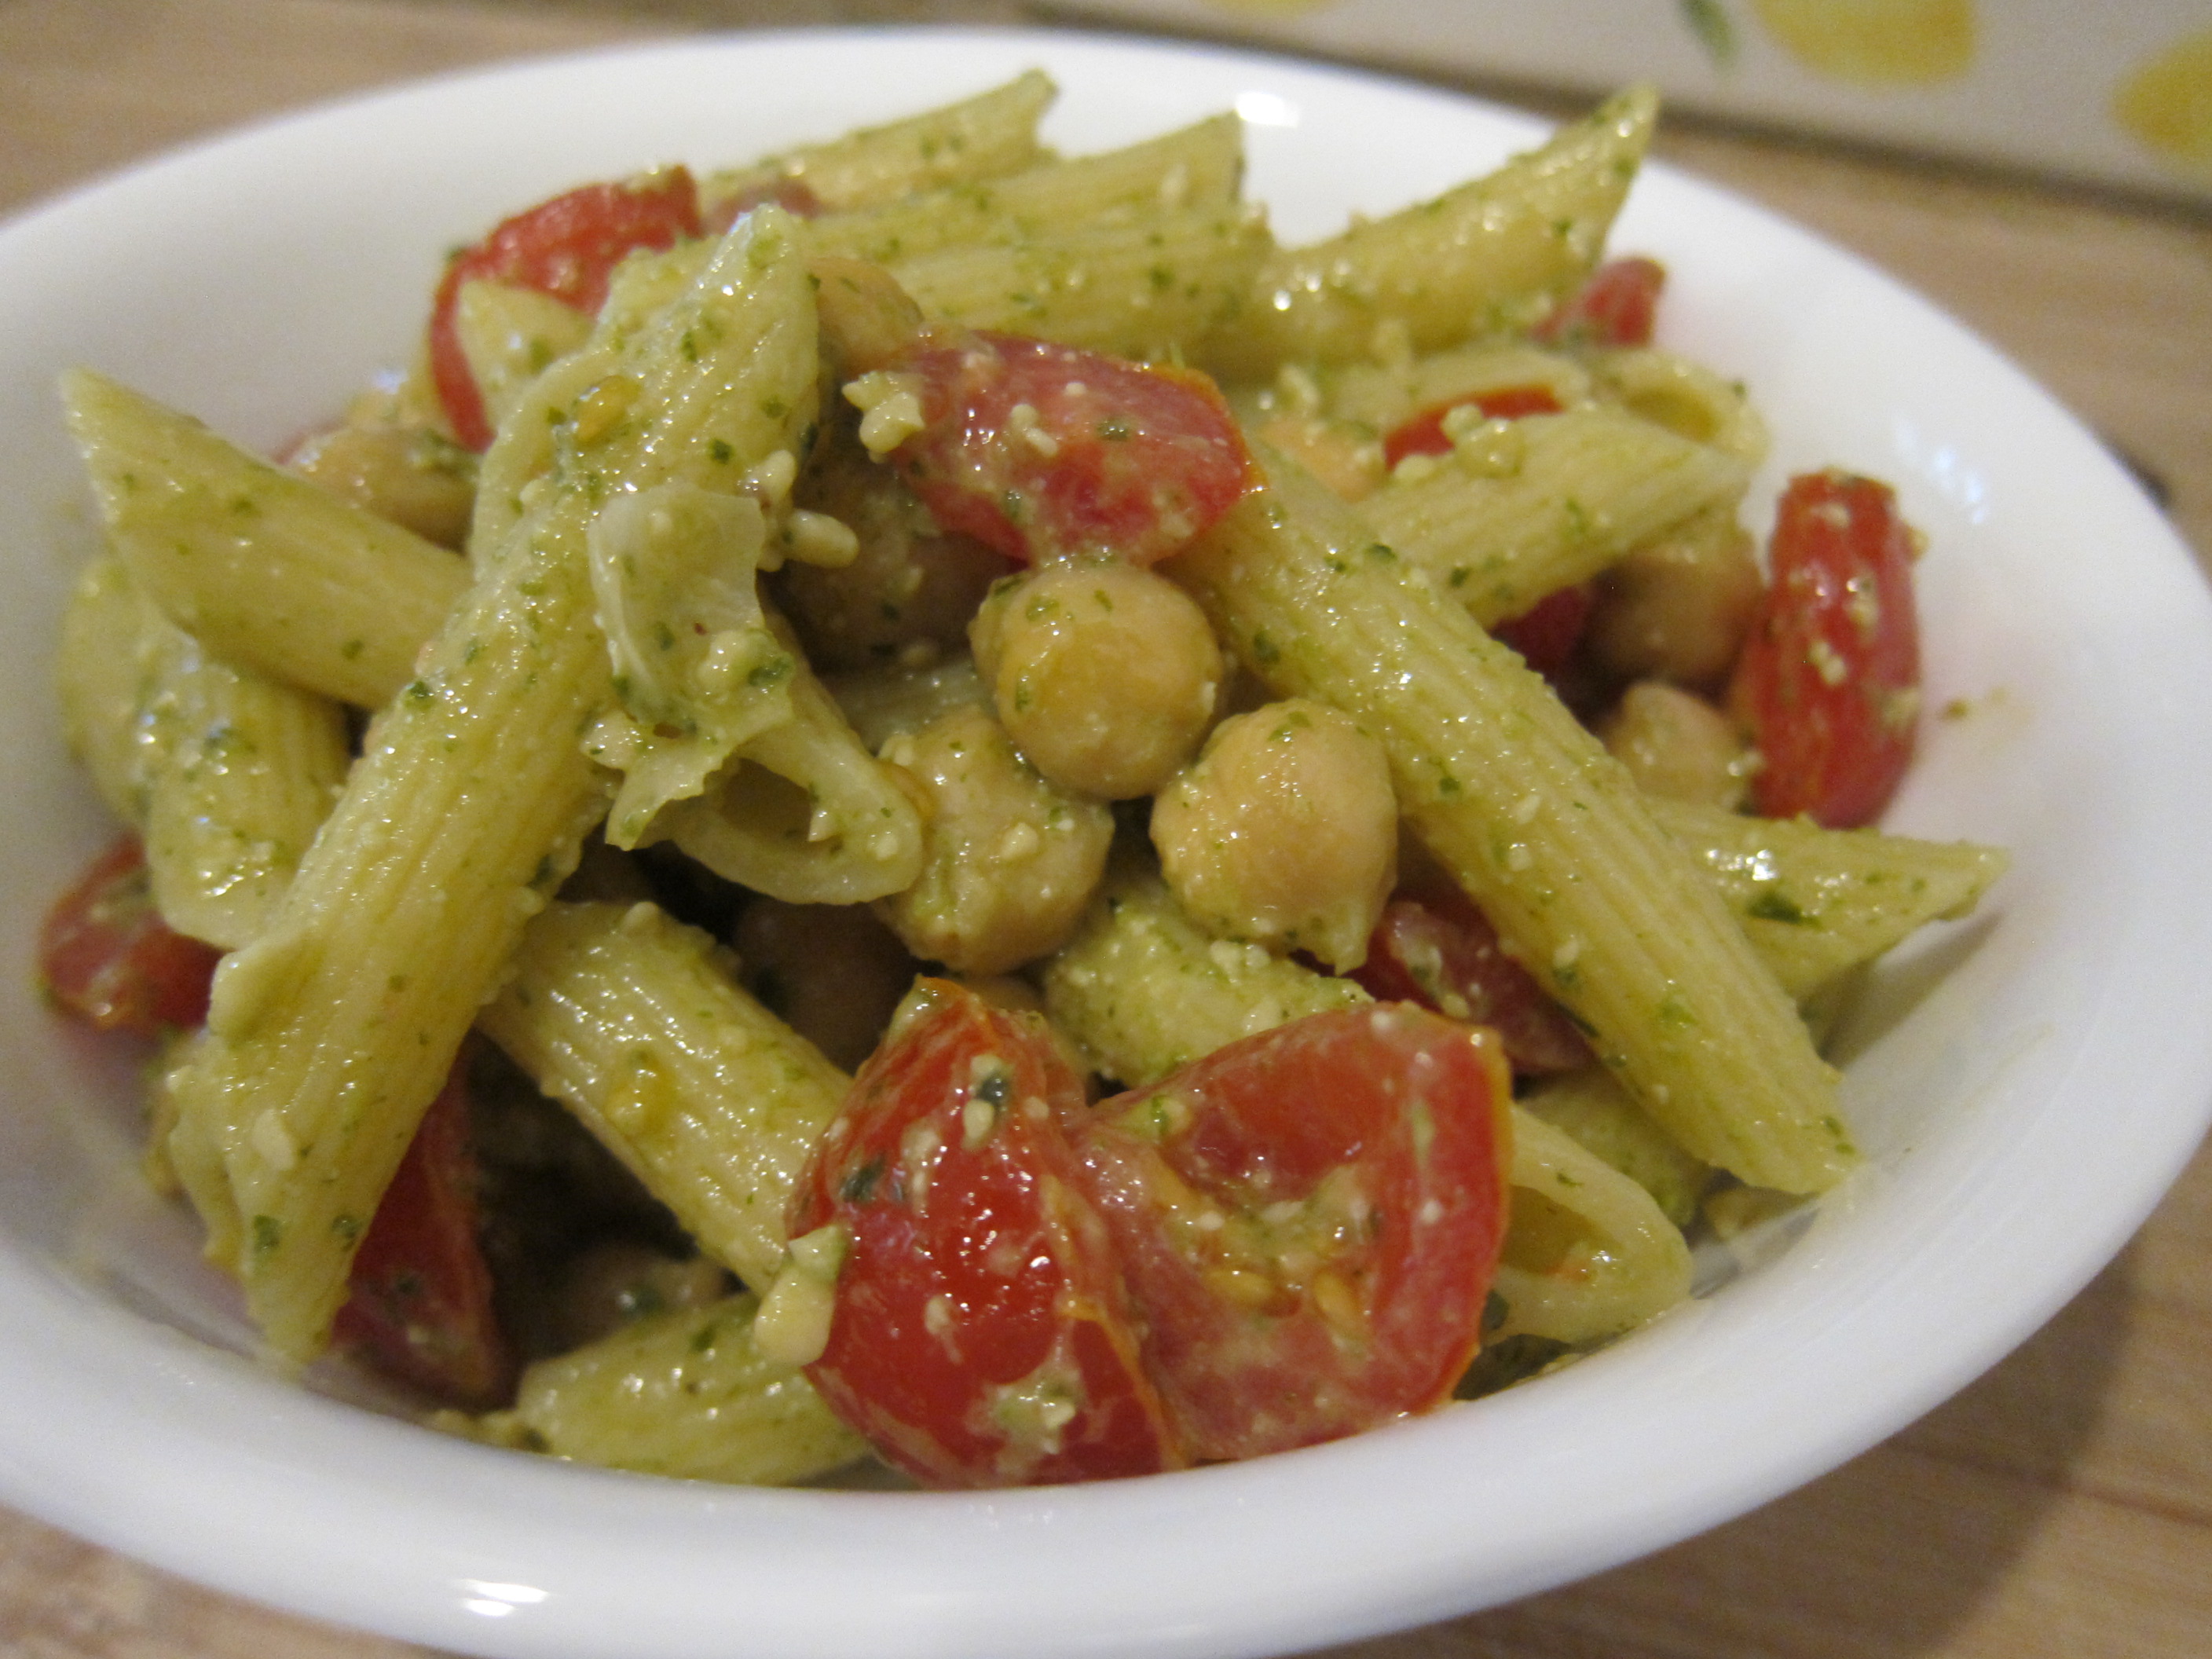
File this recipe under quick and easy. It’s equally delicious served warm, cold, or at room temperature!

Ingredients:

  • 8 ounces penne pasta
  • 1 pint cherry tomatoes
  • 1 (12-ounce) can chickpeas, drained
  • 1/3 cup vegan pesto
  1. Cook the pasta according to package directions; drain and transfer to a large bowl.
  2. Stir in the tomatoes, chickpeas, and pesto, tossing to coat.