Krispie Christmas Treats

Krispie Christmas Treat (5)

The combination of gooey marshmallows, crisp rice cereal, and holiday shapes means this quick cooking project is a toddler’s kitchen dream come true.

First, melt 1/4 cup Earth Balance butter in a large saucepan over low heat. Add 4 cups mini Dandies marshmallows; continue to cook until gooey and melted.

At this point we stirred in green food coloring. Veronika loved watching the white turn to green! You could also use red food coloring, or a mix of the two if you divide the marshmallow mixture in half at this point.

Krispie Christmas Treat (1)

Next, we added 5 cups rice crisp cereal, stirring until coated. Pat the mixture into an even layer on a baking tray.

Krispie Christmas Treat (2)

I made sure to let the mixture cool slightly so it wouldn’t burn tiny hands, and then showed Veronika how she could press our Christmas-themed cookie cutters into the mixture. She loved pressing these down as hard as she could!

Krispie Christmas Treat (3)

I lifted the cookie cutters out and showed her that we now had Christmas shaped treats to eat. She loved selecting which shape to press onto the mixture, especially the candy cane (“minty!”) and the gingerbread men.

Krispie Christmas Treat (4)

You can’t exactly gather the scraps and re-roll this mixture as you could with sugar cookie dough, but you can pat the mixture back together and get a few more rounds of cookie cutter shapes done.

Krispie Christmas Treat (7)

Meanwhile Veronika didn’t waste a moment before starting to snack! She pretty much took a bite in between each cookie cutter we pressed down.

Krispie Christmas Treat (6)

Whether you devour them all at home or share these Christmas treats with friends and family, they’re a great cooking project for the holiday season.

Krispie Christmas Treat (8)

Advertisement

Little Passports: Russia

LP Russia alt

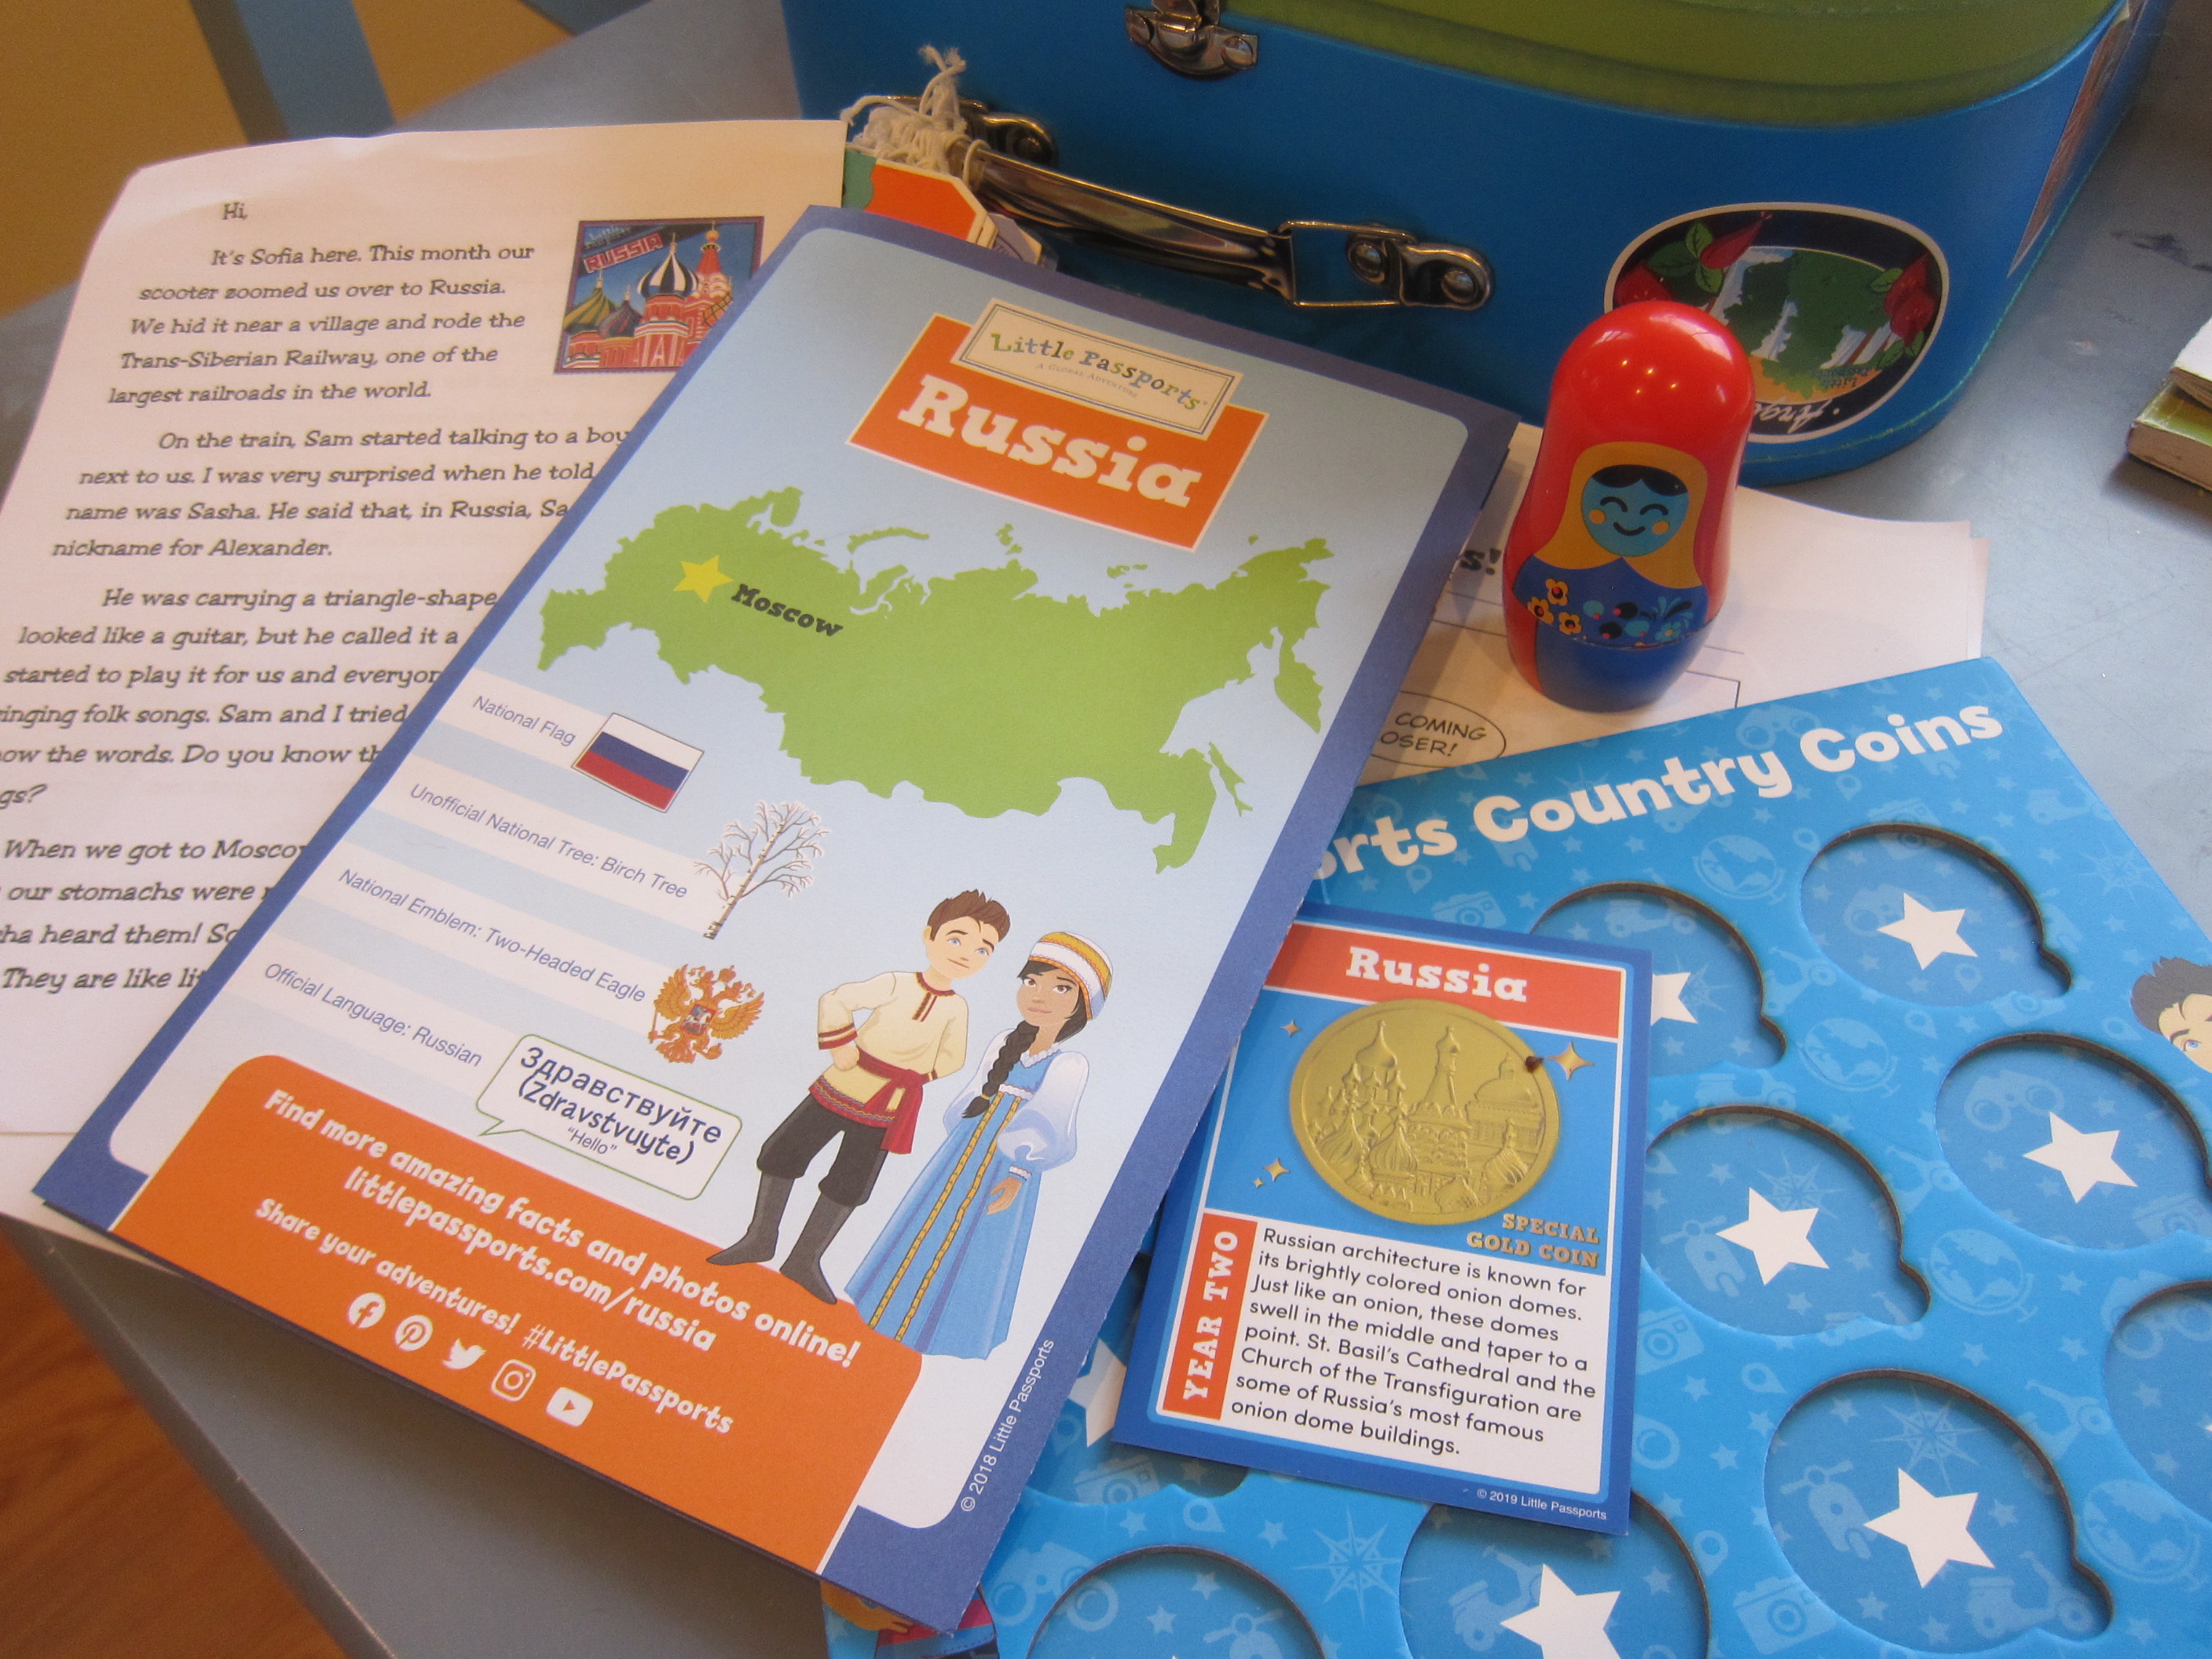
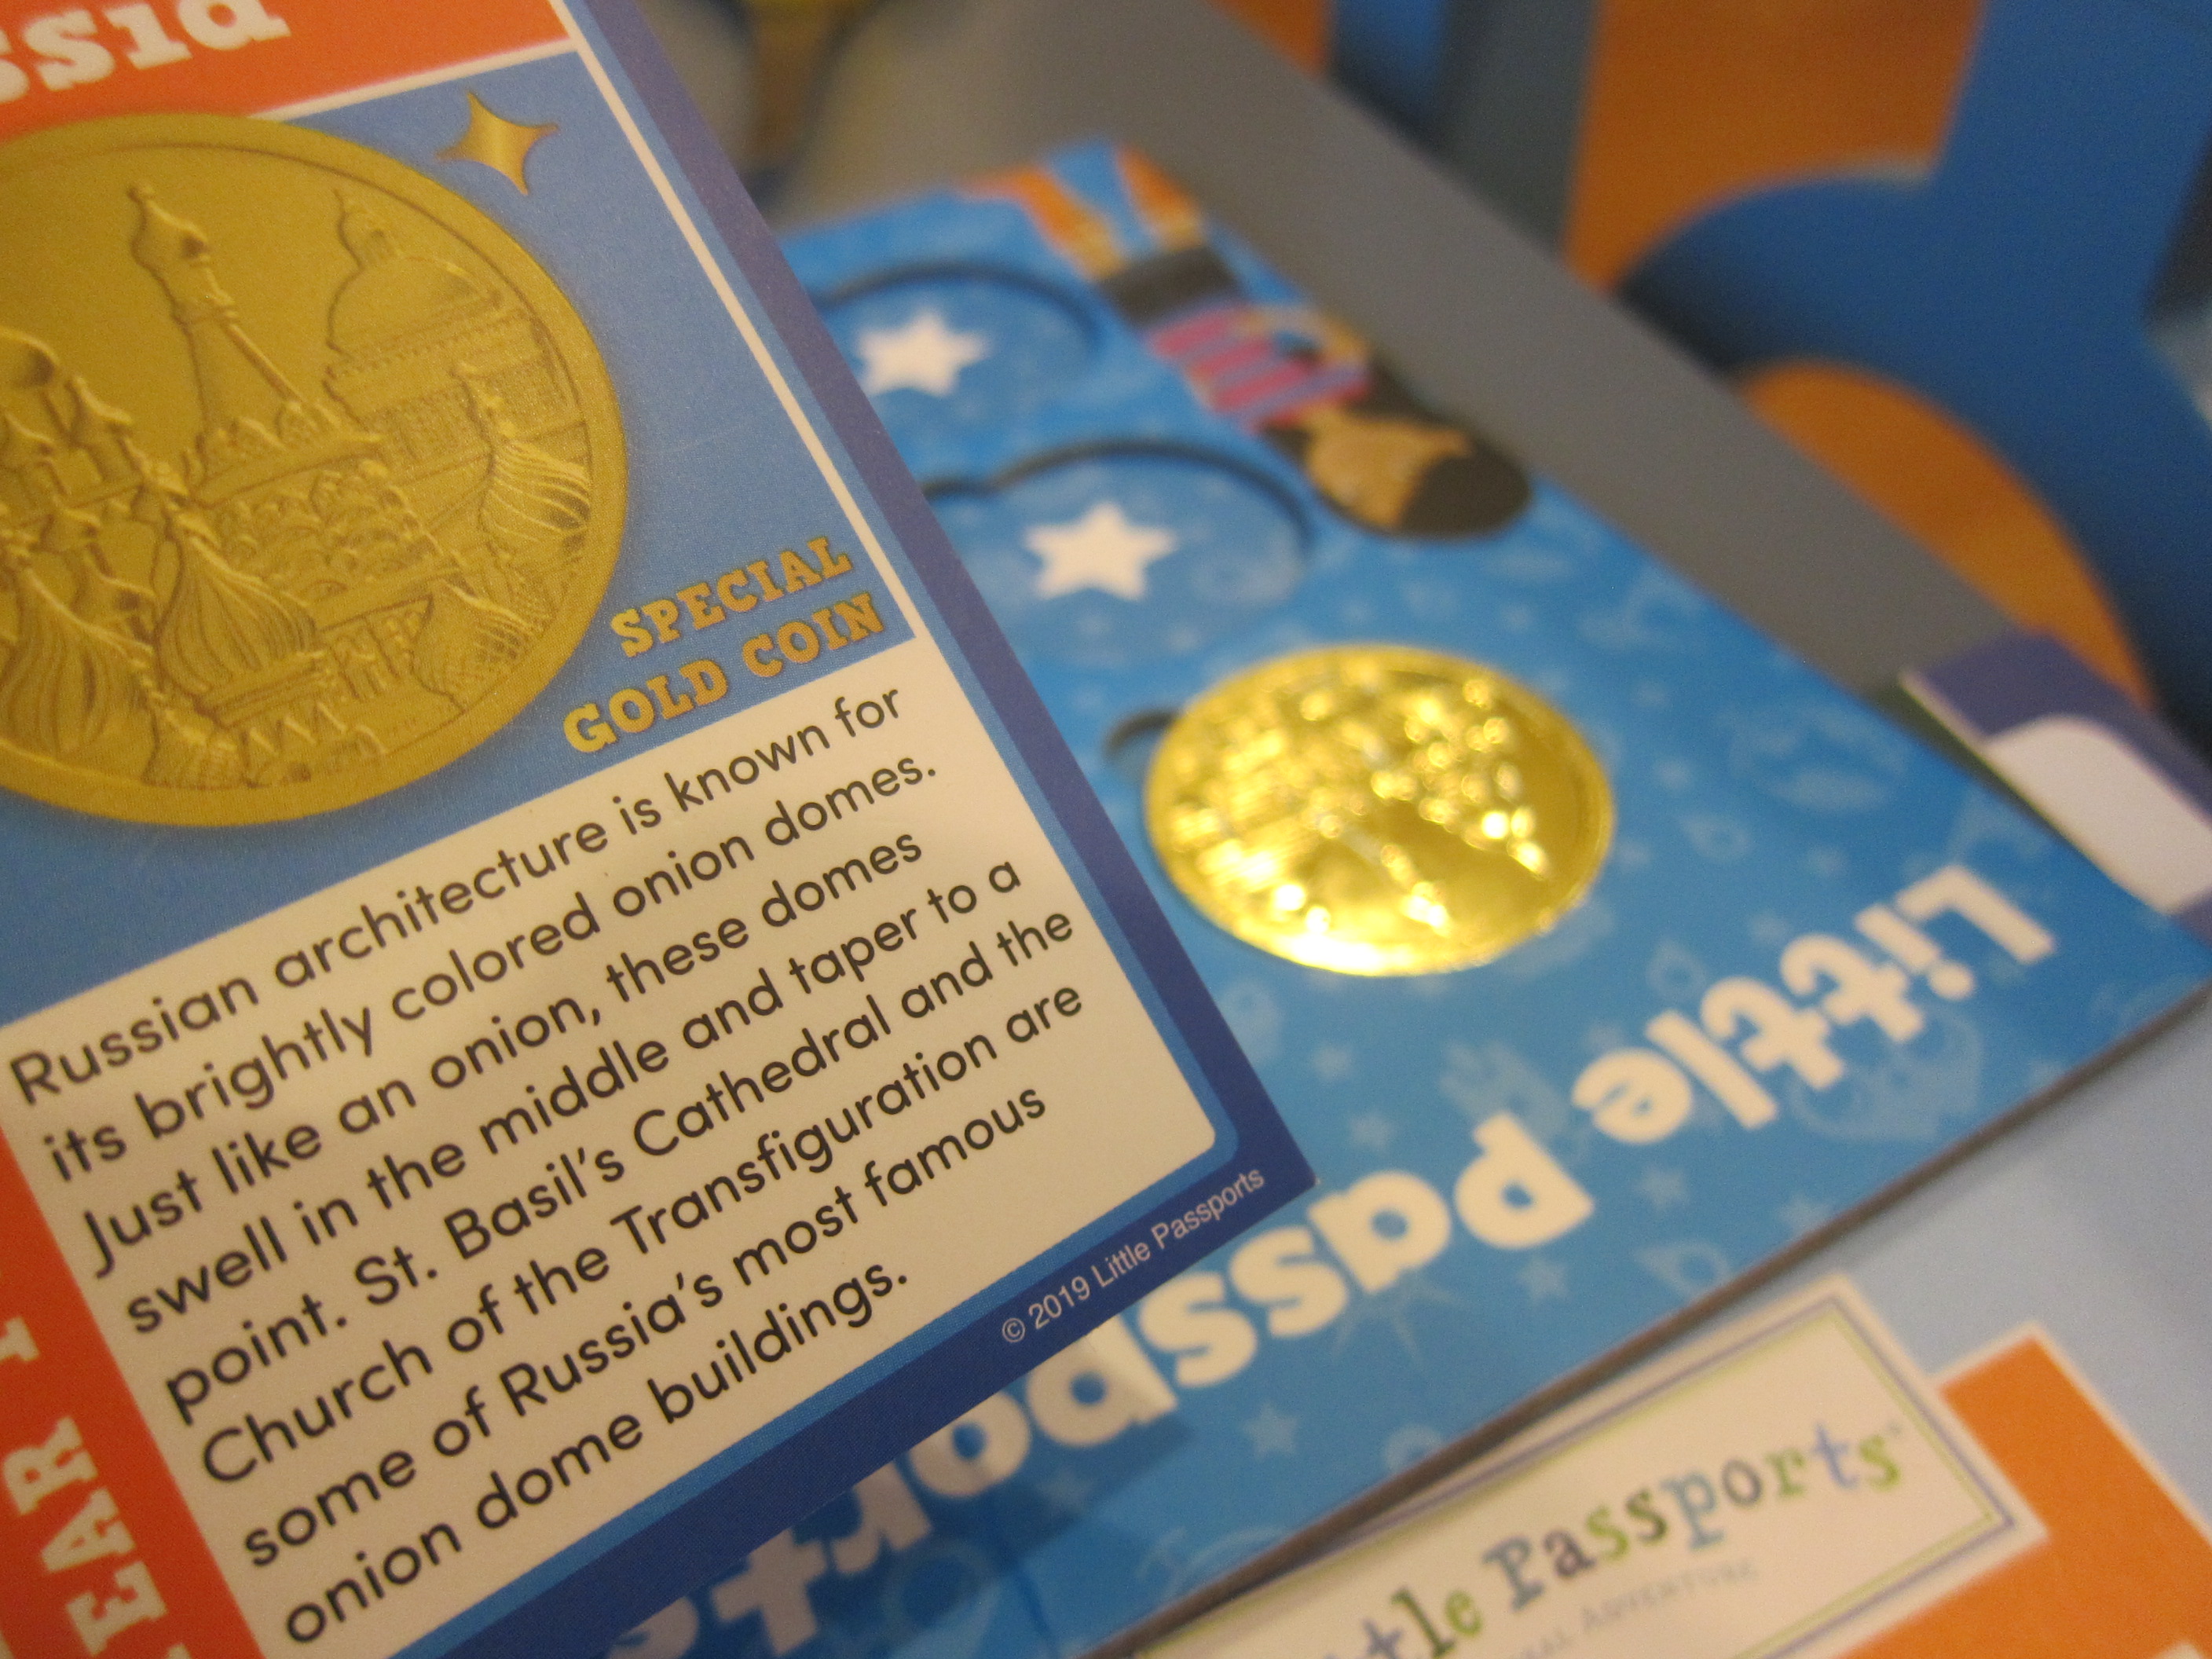
Just in time for wintry weather here at home, Travis’s package from Little Passports was about cold and snowy Russia this month. Travis has been receiving Little Passports for a full year now, so the kit came with a country coin chart with 12 new empty spaces to fill.

LP Russia (2)

He added the sticker to his suitcase and proudly located Russia on the map (“Just look the for the biggest country!” I prompted him). The booklet featured fun activities with Russian history thrown into each, including a Faberge egg riddle to solve. The only one too advanced for my first grader was a word search based on the names of Russian towns.

LP Russia (4)

Souvenir:

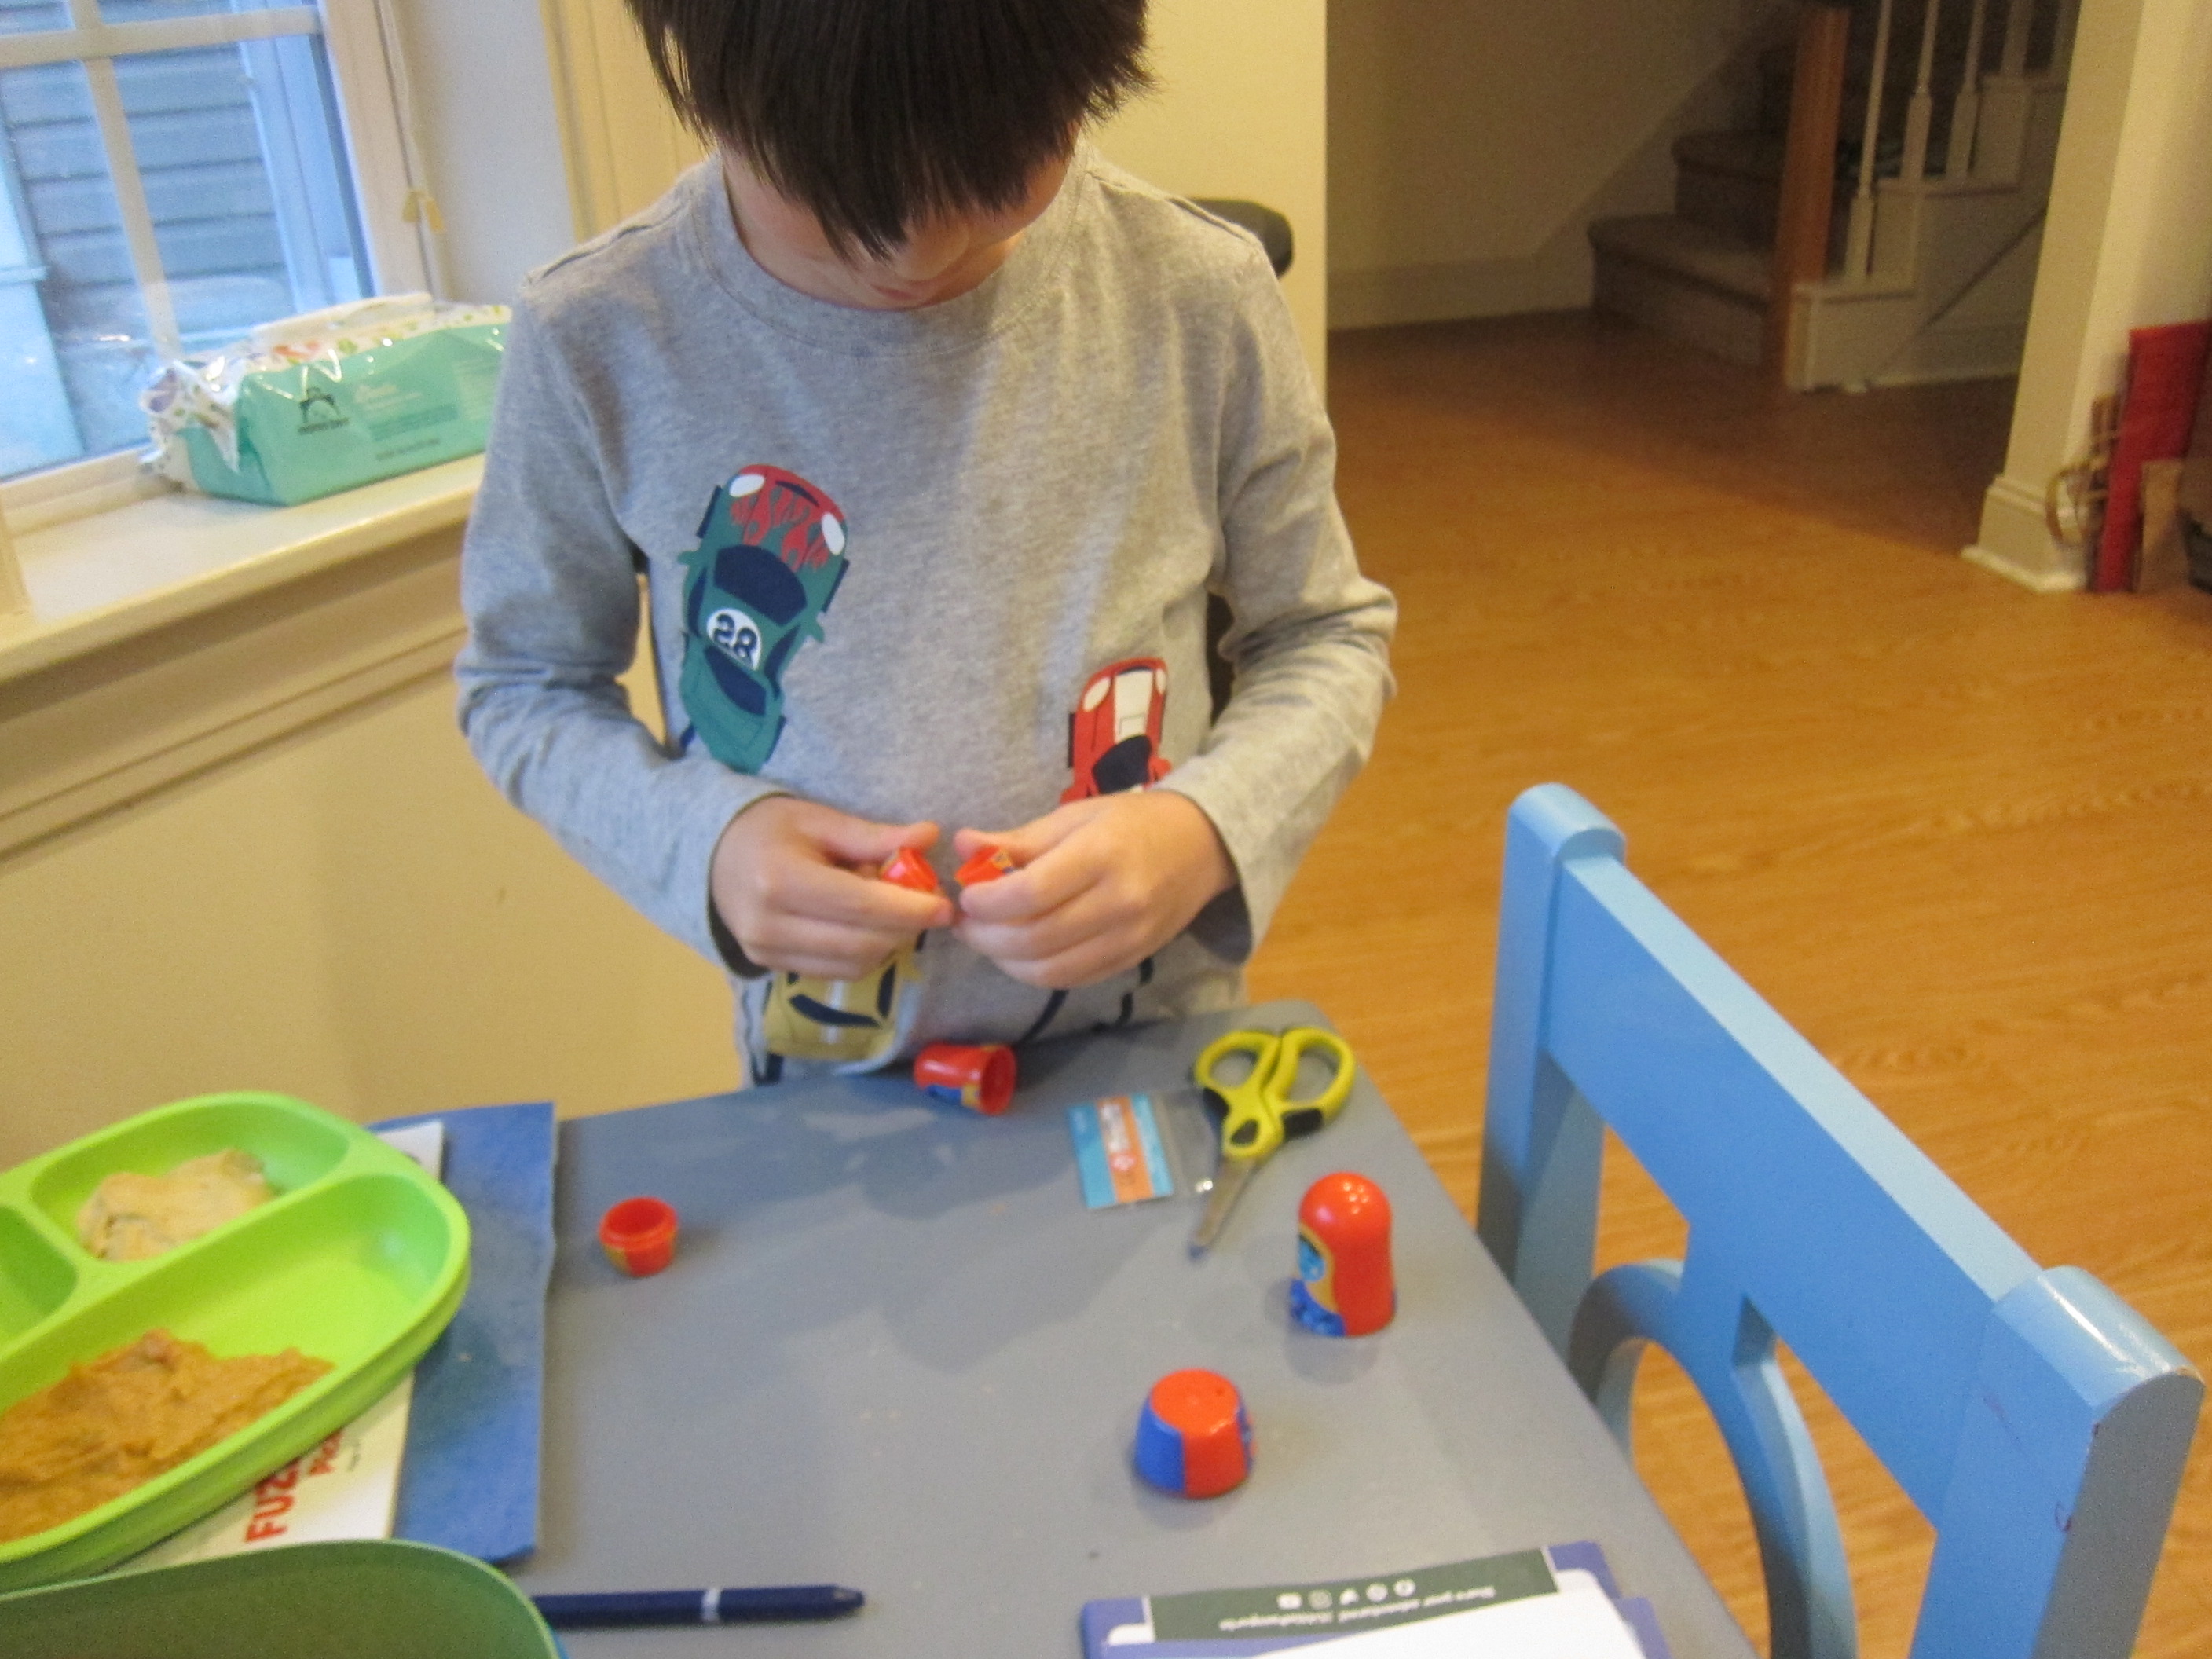
Travis absolutely adored the small matryoshka doll that came with the package, his first time seeing one of these classic nesting dolls. Needless to say he needed to take it apart and put it back together many times.

LP Russia (1)

Further Activities:

This kit featured disappointingly few additional activities compared to previous packages. Travis did enjoy the template to make his own Space Comic, though, based on the history of space dogs Belka and Strelka.

LP Russia (5)

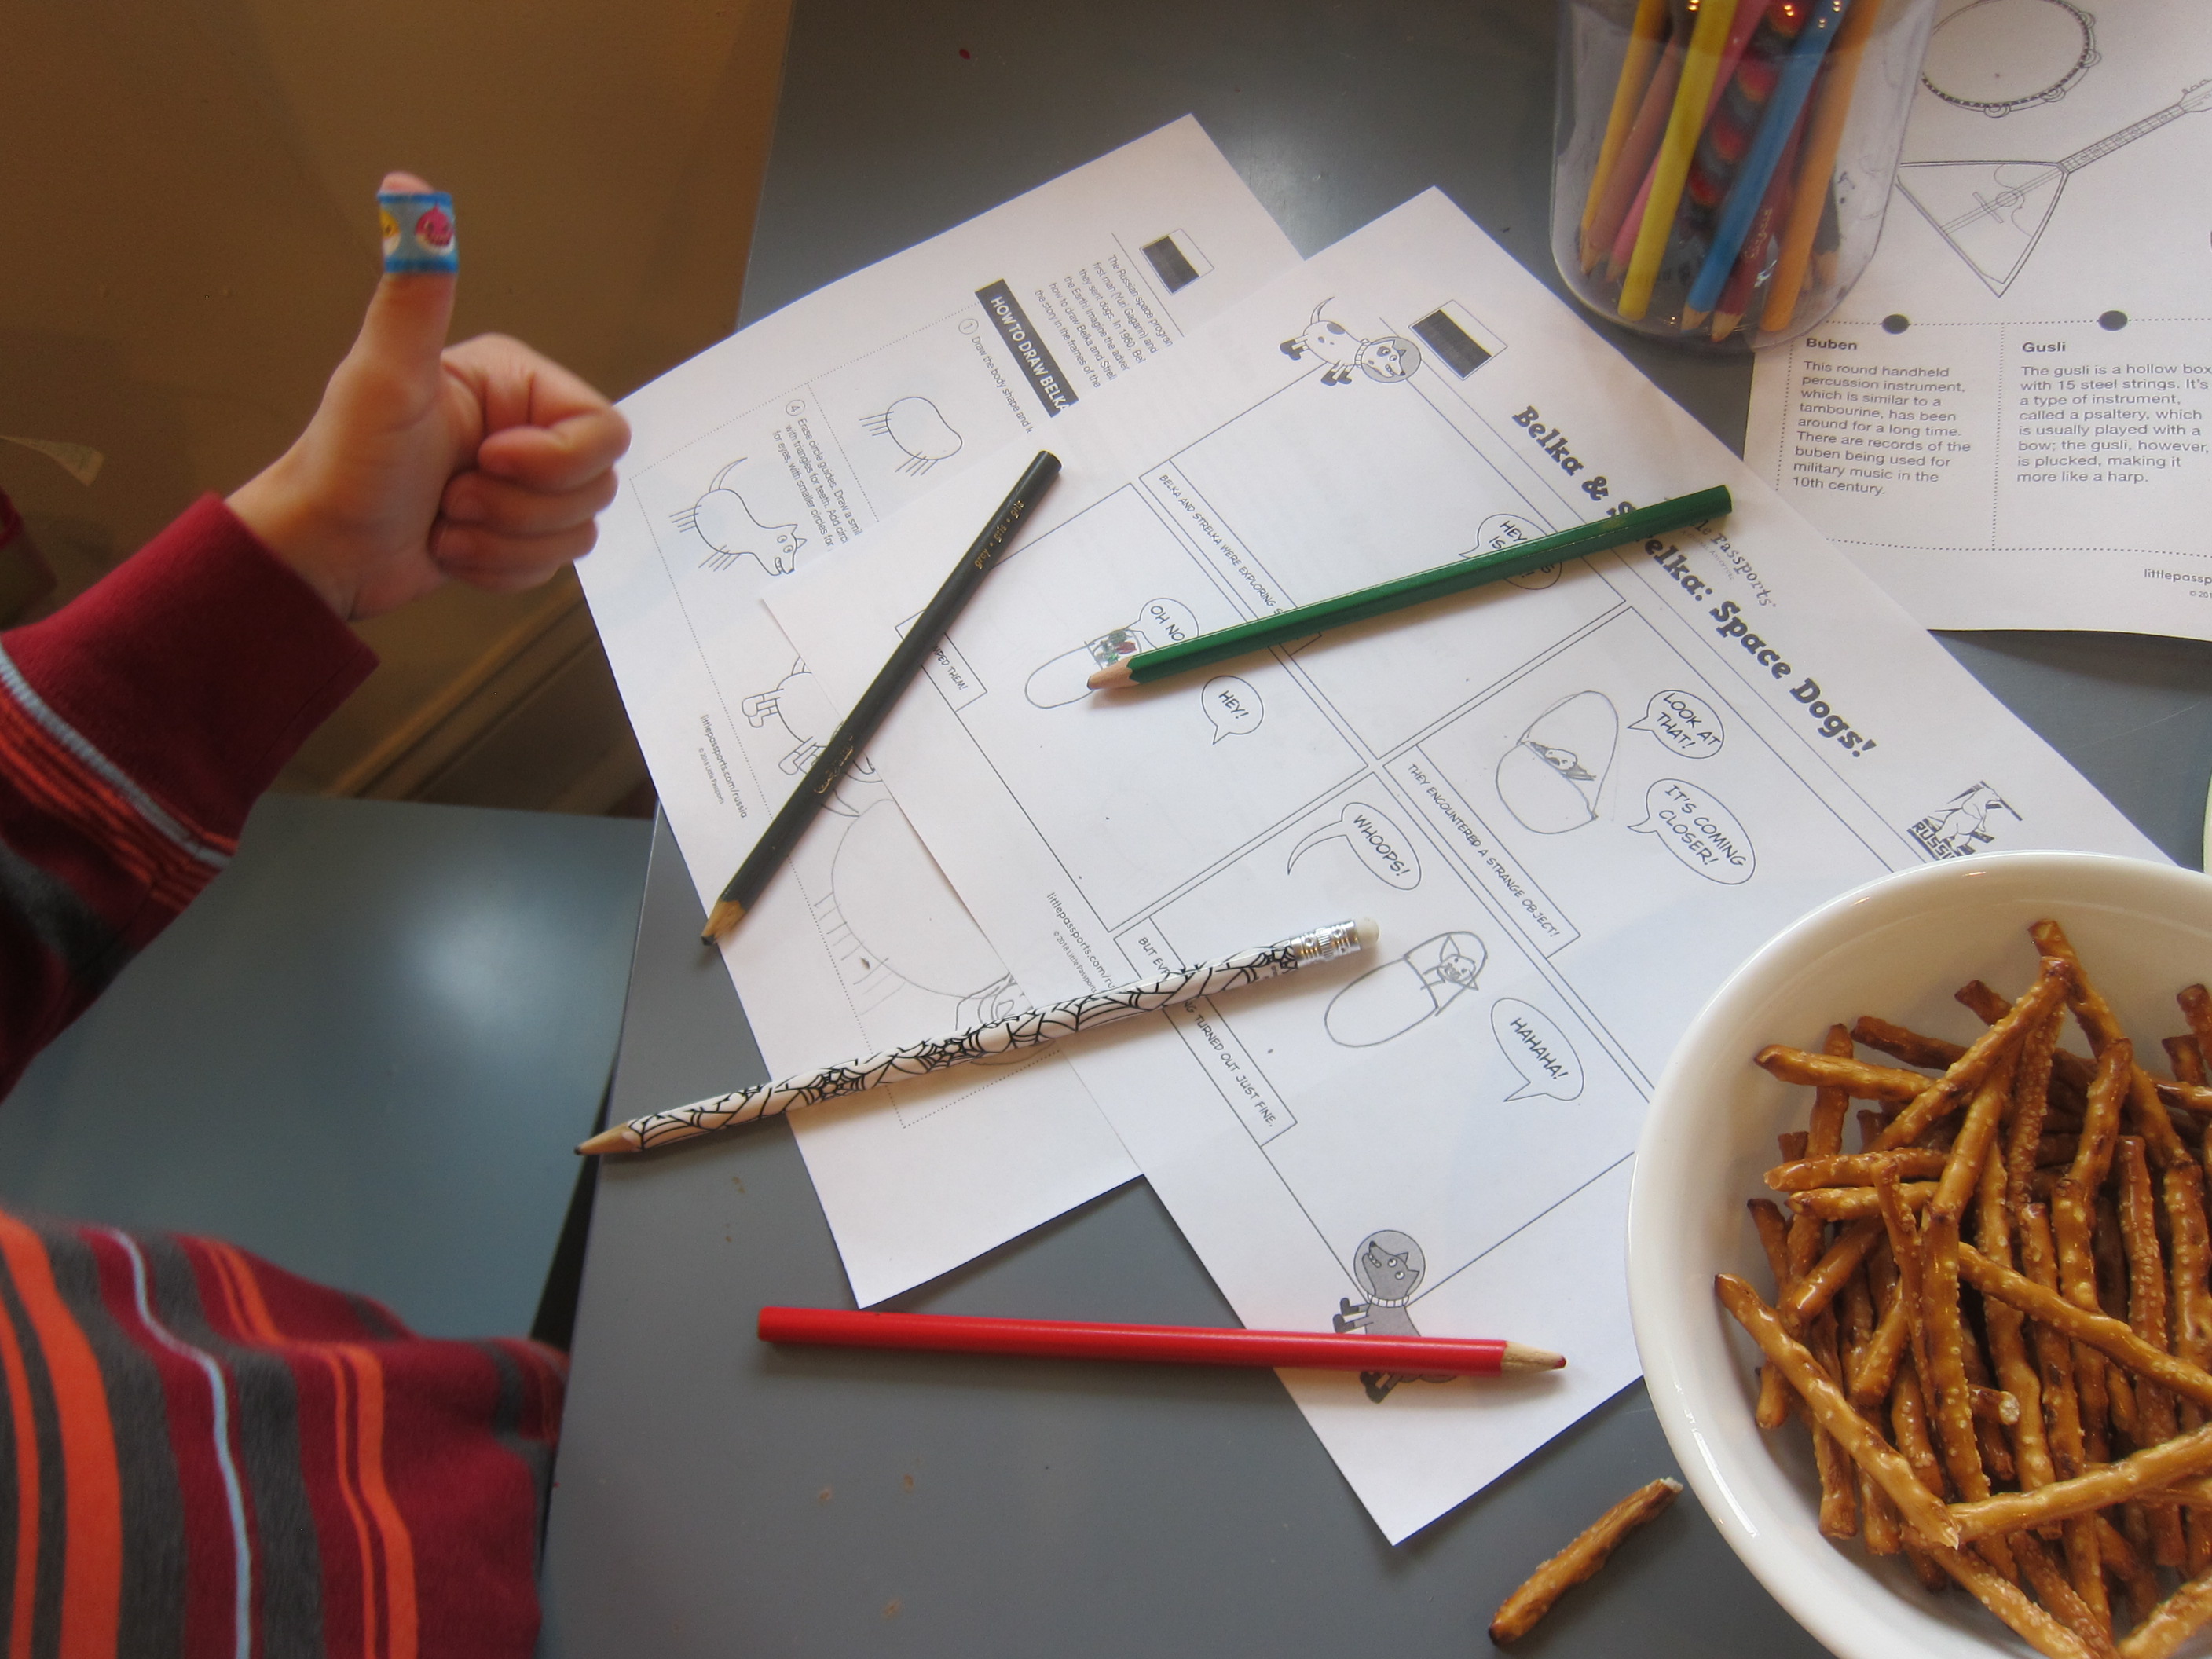
This was a great STEAM activity for kids! He was less interested in a Russian folk instrument coloring page, but did enjoy the additional photos and facts posted online.

LP Russia (6)

Finally, we read about Russian holiday traditions, particularly that New Year’s Day is a bigger celebration and time for presents in the country than Christmas morning. Perhaps we’ll have to save one present for under the tree on January 1 from “Father Frost”.

Recipe:

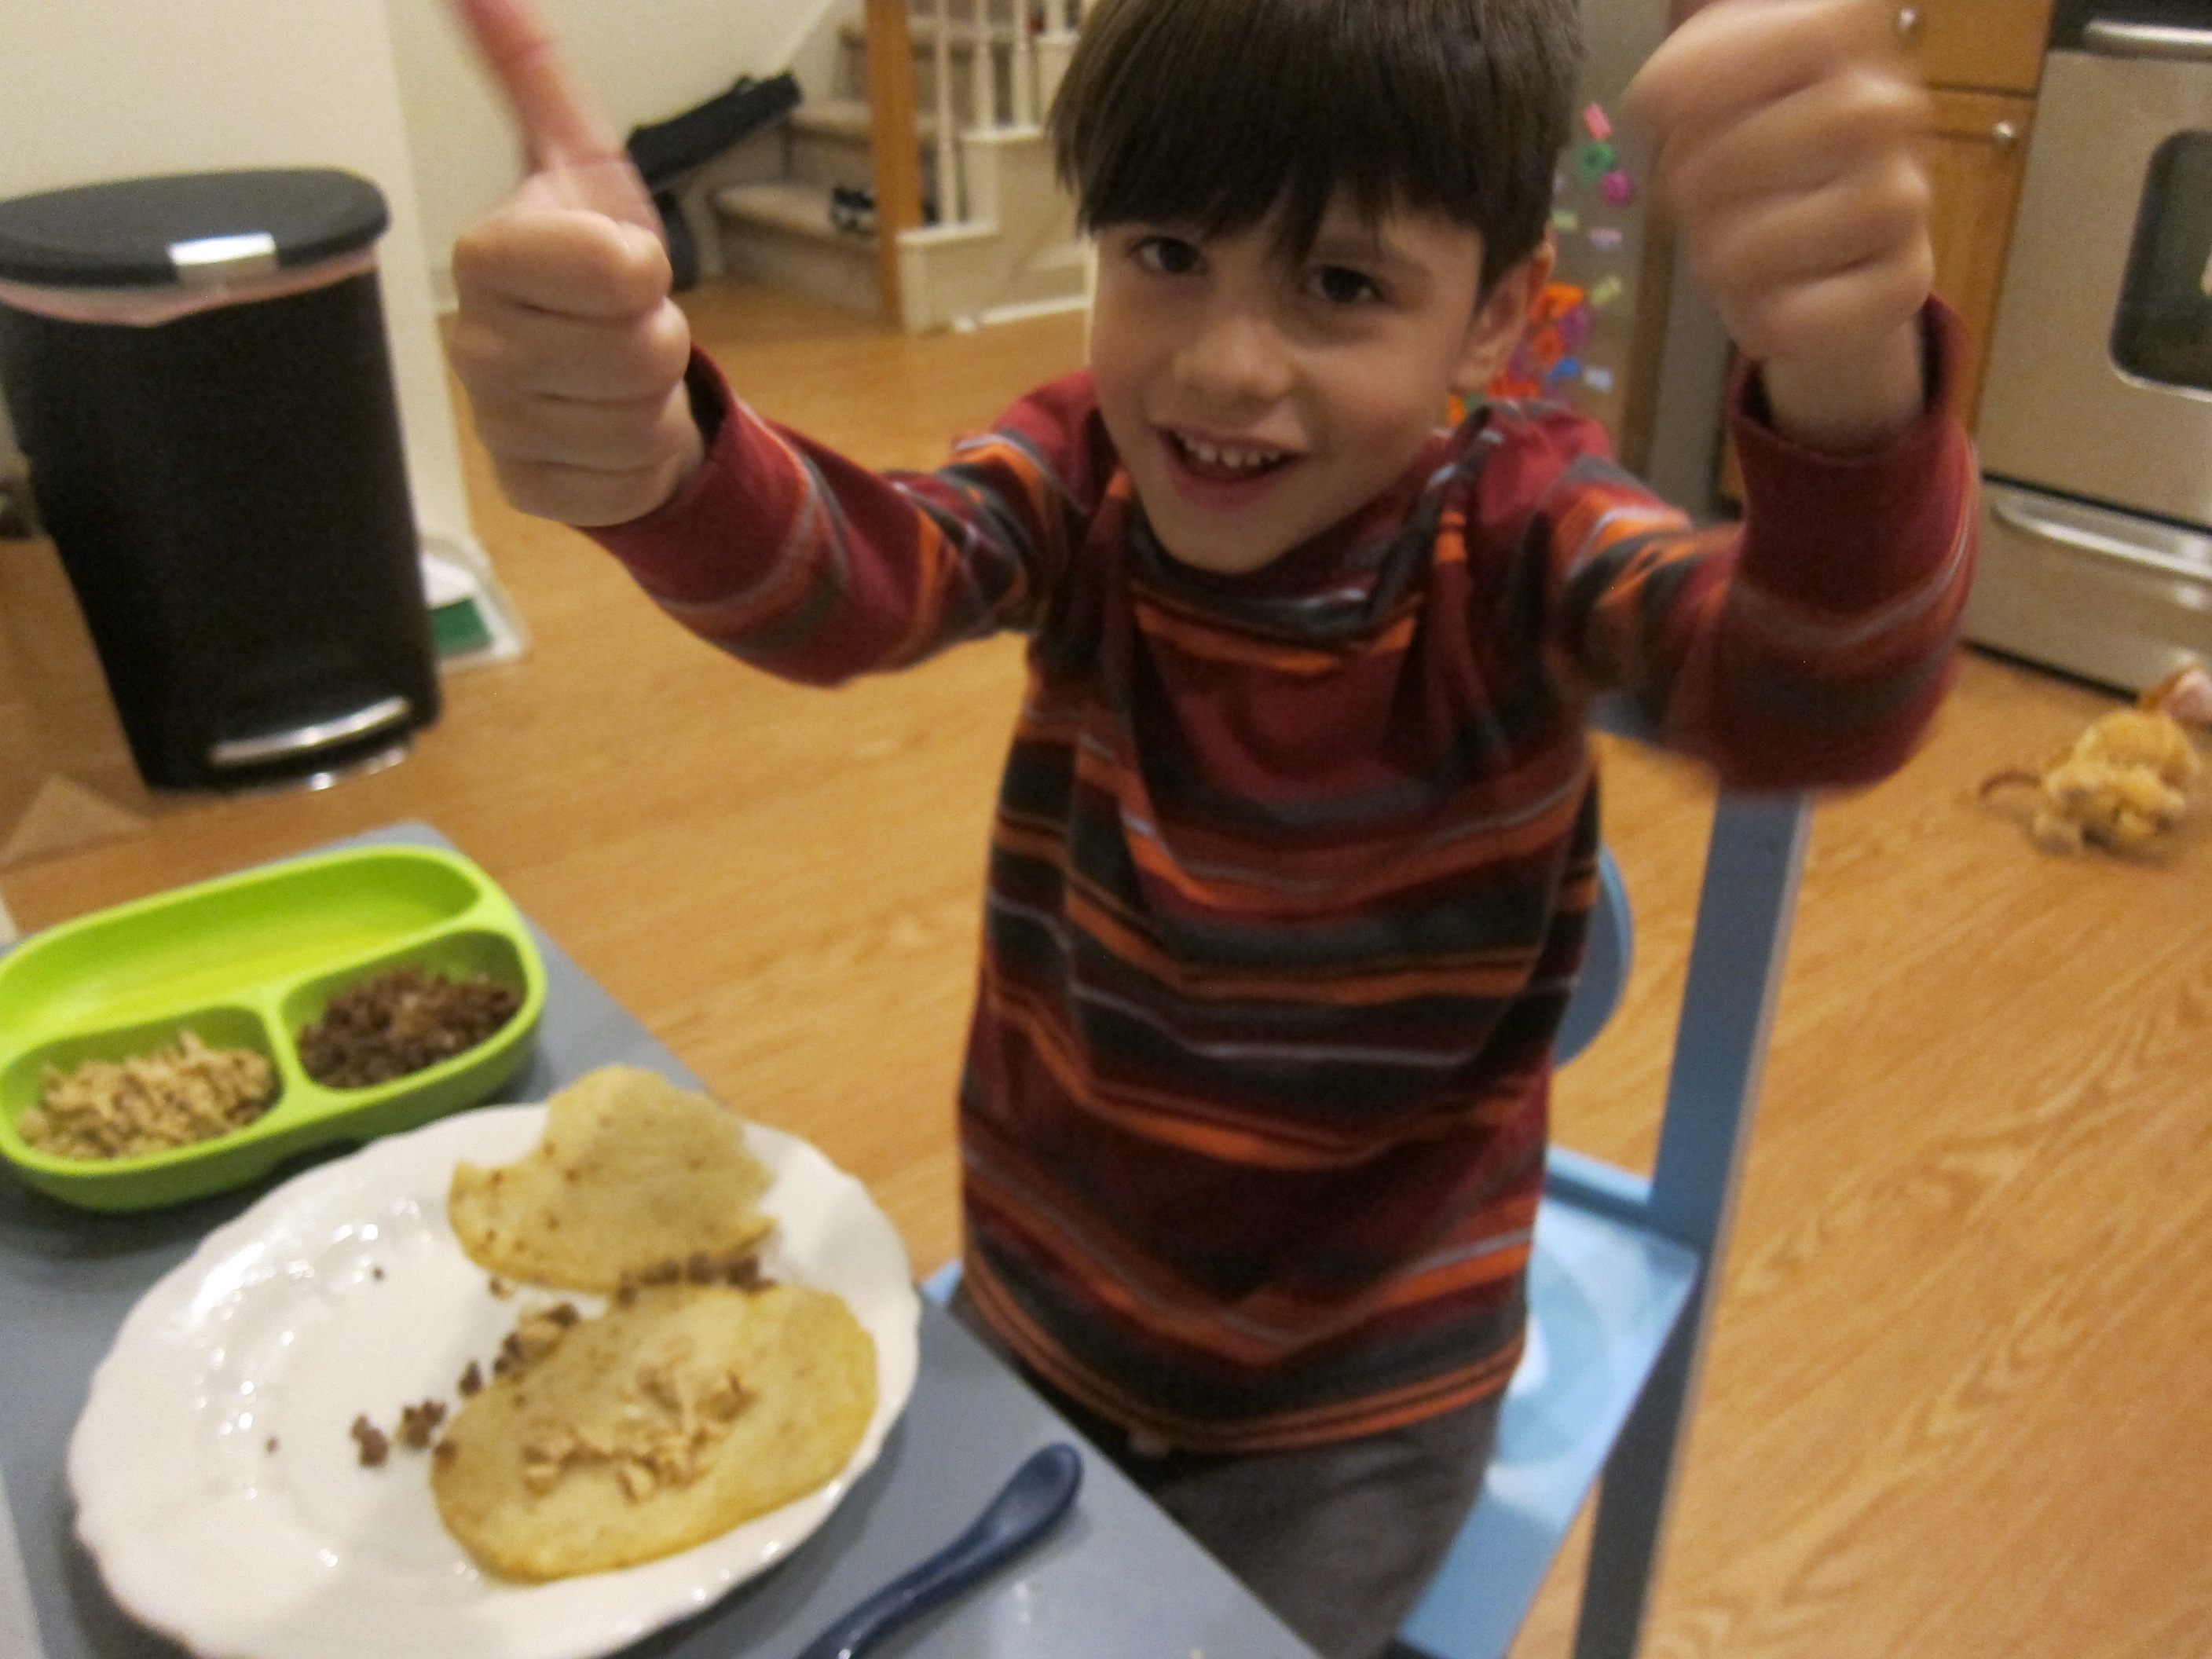
As always, we finished by bringing the country into our kitchen. The recipe for oladushki (thin pancakes) was complicated and messy, but I had happy little diners pretending they were in Russia at the end!

Oladushki (3)

Ingredients:

  • 1 tablespoon apple cider vinegar
  • Scant 1 and 3/4 cups plain non-dairy milk
  • 1 tablespoon flaxseed
  • 3 tablespoons cold water
  • 1/4 teaspoon salt
  • 1 teaspoon baking soda
  • 2 and 3/4 cups flour
  • 1 and 3/4 cups boiling water
  • 1/2 cup canola oil + more for frying
  1. To prepare the pancake batter, pour the cider vinegar into a liquid measuring cup. Add non-dairy milk to equal 1 and 3/4 cups, then let stand for 5 minutes.
  2. Meanwhile, whisk together the flaxseed and cold water to make a flax egg; let stand for 5 minutes.
  3. Combine the milk mixture and flaxseed mixture in a small saucepan, along with the salt and baking soda. Heat over medium heat for about 2 minutes. Transfer to a large bowl.
  4. Add the flour, 1 cup at a time, stirring after each addition. The batter should be quite thick at this point.
  5. Pour in the boiling water and 1/2 cup oil; whisk until combined.
  6. Heat an additional tablespoon or so of oil in a skillet over medium-high heat. Add 1/4 cup batter and tilt the pan to spread toward the edges. Cook for 45 seconds, then flip and cook for about 30 seconds on the other side.
  7. Repeat with the remaining batter to make 16 pancakes.

We served these pancakes in two ways. The first night, they were savory for dinner, topped with either chopped and cooked chick’n…

Oladushki (2)

…or with a mixture of sauteed meatless crumbles and onion.

Oladushki (1)

In the morning, the leftovers became sweet for breakfast! The kids tried them with jam and agave nectar…

Oladushki (6)

…or with a little sweetened non-dairy sour cream (stir about 1/2 teaspoon sugar into each tablespoon sour cream).

Oladushki (5)

Christmas Tree & Presents Matching

Christmas Tree and Presents Matching (9)

Here’s a fantastic way to get a little learning out of those scraps of leftover holiday wrapping paper you surely have at this time of year: turn them into a matching activity for toddlers!

I started by cutting a Christmas tree shape from each of three different wrapping paper patterns and taped these to a larger piece of craft paper on our floor.

Christmas Tree and Presents Matching (2)

I then cut additional squares and rectangles from each pattern to be little “presents”. Now it was Veronika’s job to match each gift to the corresponding tree!

Christmas Tree and Presents Matching (3)

I showed her how the game worked for the first few examples. “The peppermint-print present goes under the peppermint-print tree!” I told her with excitement. She quickly understood that she was looking for a match.

Christmas Tree and Presents Matching (5)

Still, she simultaneously understood the game and had her own agenda. She loved using a glue stick to attach the wrapping paper squares down anywhere she pleased, which of course was just fine.

Christmas Tree and Presents Matching (4)

But if I prompted her directly, she could place a square under the “correct” tree.

Christmas Tree and Presents Matching (8)

This activity was a nice mix of learning and just letting her play her own way.

Palm Puppets

Palm Puppets (6)

These quick puppets are easy to put together and can be decorated to look like just about any character your child desires!

They’re called ‘palm’ puppets not in reference to the palm of your hand, but because puppets like these were originally made from palm fronds in countries like India. You can replicate the idea with thick paper.

Both kids had high enthusiasm when I suggested the craft to fill a winter afternoon, and they were soon busily drawing their characters. To make sure your puppet has a front and back, fold a piece of construction paper in half and draw the head where the paper is creased.

Palm Puppets (1)

Travis proudly drew a favorite Star Wars character, while Veronika was happy just to scribble at his side!

Palm Puppets (2)

Cut out the bodies and then tape onto straws. (Note: You could also staple the bodies to the straws or use glue, but tape was quickest). I then cut 4 rectangles for each puppet to be the arms and legs. Poke a small hole in each rectangle, as well as in the body of the puppet where the limbs will attach, then insert a brad at each joint.

Palm Puppets (3)

The puppets arms and legs will flap about if your child rubs the straw briskly between their palms. If the limbs aren’t moving, check that your brads aren’t too tight.

Palm Puppets (5)

Obi-Wan Kenobi soon had a blue light saber!

Palm Puppets (4)

Meanwhile Veronika loved the Baby Yoda we made.

Palm Puppets (7)

Whether spinning them or just waving these puppets around for make-believe play, this was a great craft for a cold afternoon.