Chocolate Pomegranate Dip

Chocolate Pomegranate Dip (2)

Sneak a little pomegranate into your family’s repertoire with this yummy snack dip!

Ingredients:

  • 1 package dairy-free chocolate pudding mix
  • 1 and 1/2 cups oat milk
  • 1 cup non-dairy sour cream
  • 1/3 cup pomegranate juice
  • 1/2 teaspoon orange zest
  1. Combine the pudding mix and oat milk in the bowl of a stand mixer and beat until blended.
  2. Add the remaining ingredients and beat to combine. Transfer to a bowl, cover, and chill for 1 hour.

Chocolate Pomegranate Dip (1)

We love this served with fresh fruit like orange segments for dipping! You can also dunk in slices of pound cake. Or just eat it up with a spoon!

Chocolate Pomegranate Dip (3)

Advertisement

Kwanzaa Decorations

Kwanzaa Chain (9)

Travis learned about winter festivals of lights in school this month, including those we don’t celebrate like Diwali and Kwanzaa. I thought it would be fun for Veronika to jump in on the lesson, and the most age-appropriate way to do so for a toddler is to introduce a holiday’s colors or themes. These two easy Kwanzaa decorations fit the bill.

For the first, I cut shapes from black construction paper. For extra sparkle, we used construction paper that already had glitter on it, which Veronika loved! She helped dot glue all over the paper.

Kwanzaa Shapes (1)

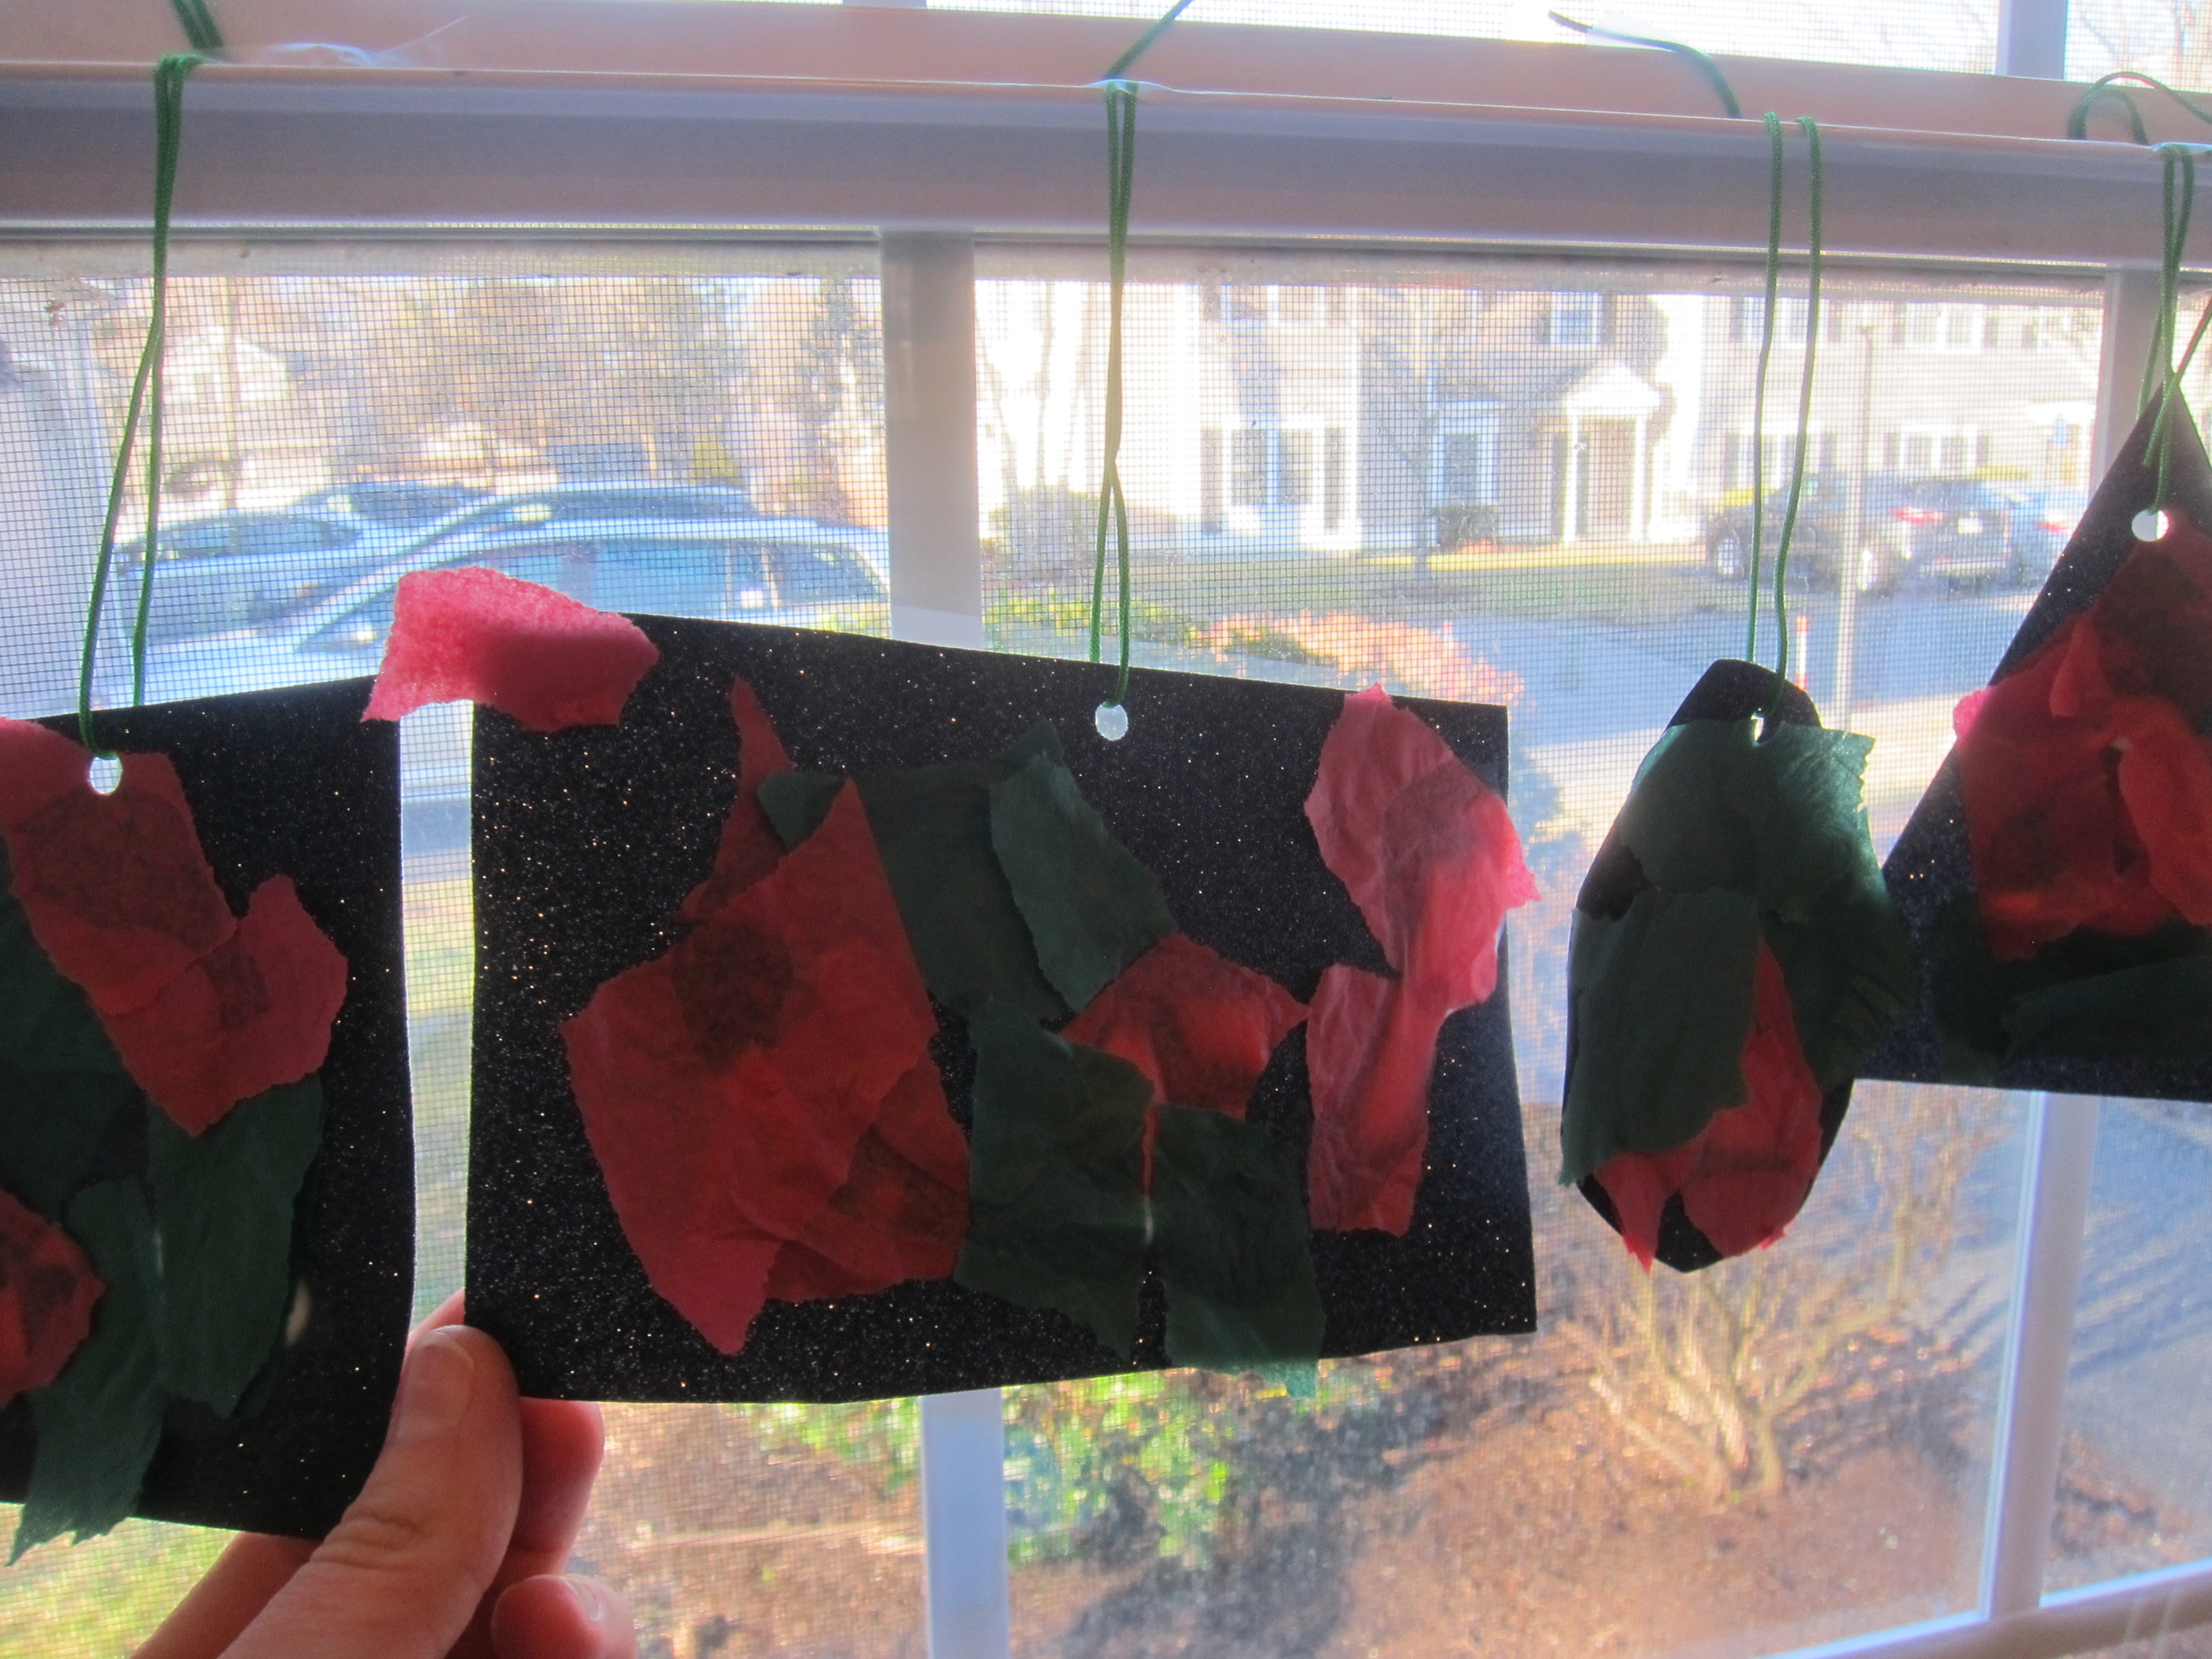
Next, we ripped up tissue paper in traditional Kwanzaa colors of green and red, and I showed her how to stick these onto the glue.

Kwanzaa Shapes (3)

Once the glue dries, punch a hole in the top of each shape and hang up for a sparkly decoration. If your family celebrates the holiday, these would be perfect to give as gifts, too, since handmade gifts are another Kwanzaa tradition.

Kwanzaa Shapes (4)

When she saw the shapes dangling, Veronika was thrilled. “It’s the shapes! Look at the circle! And the rectangle!”

Kwanzaa Shapes (6)

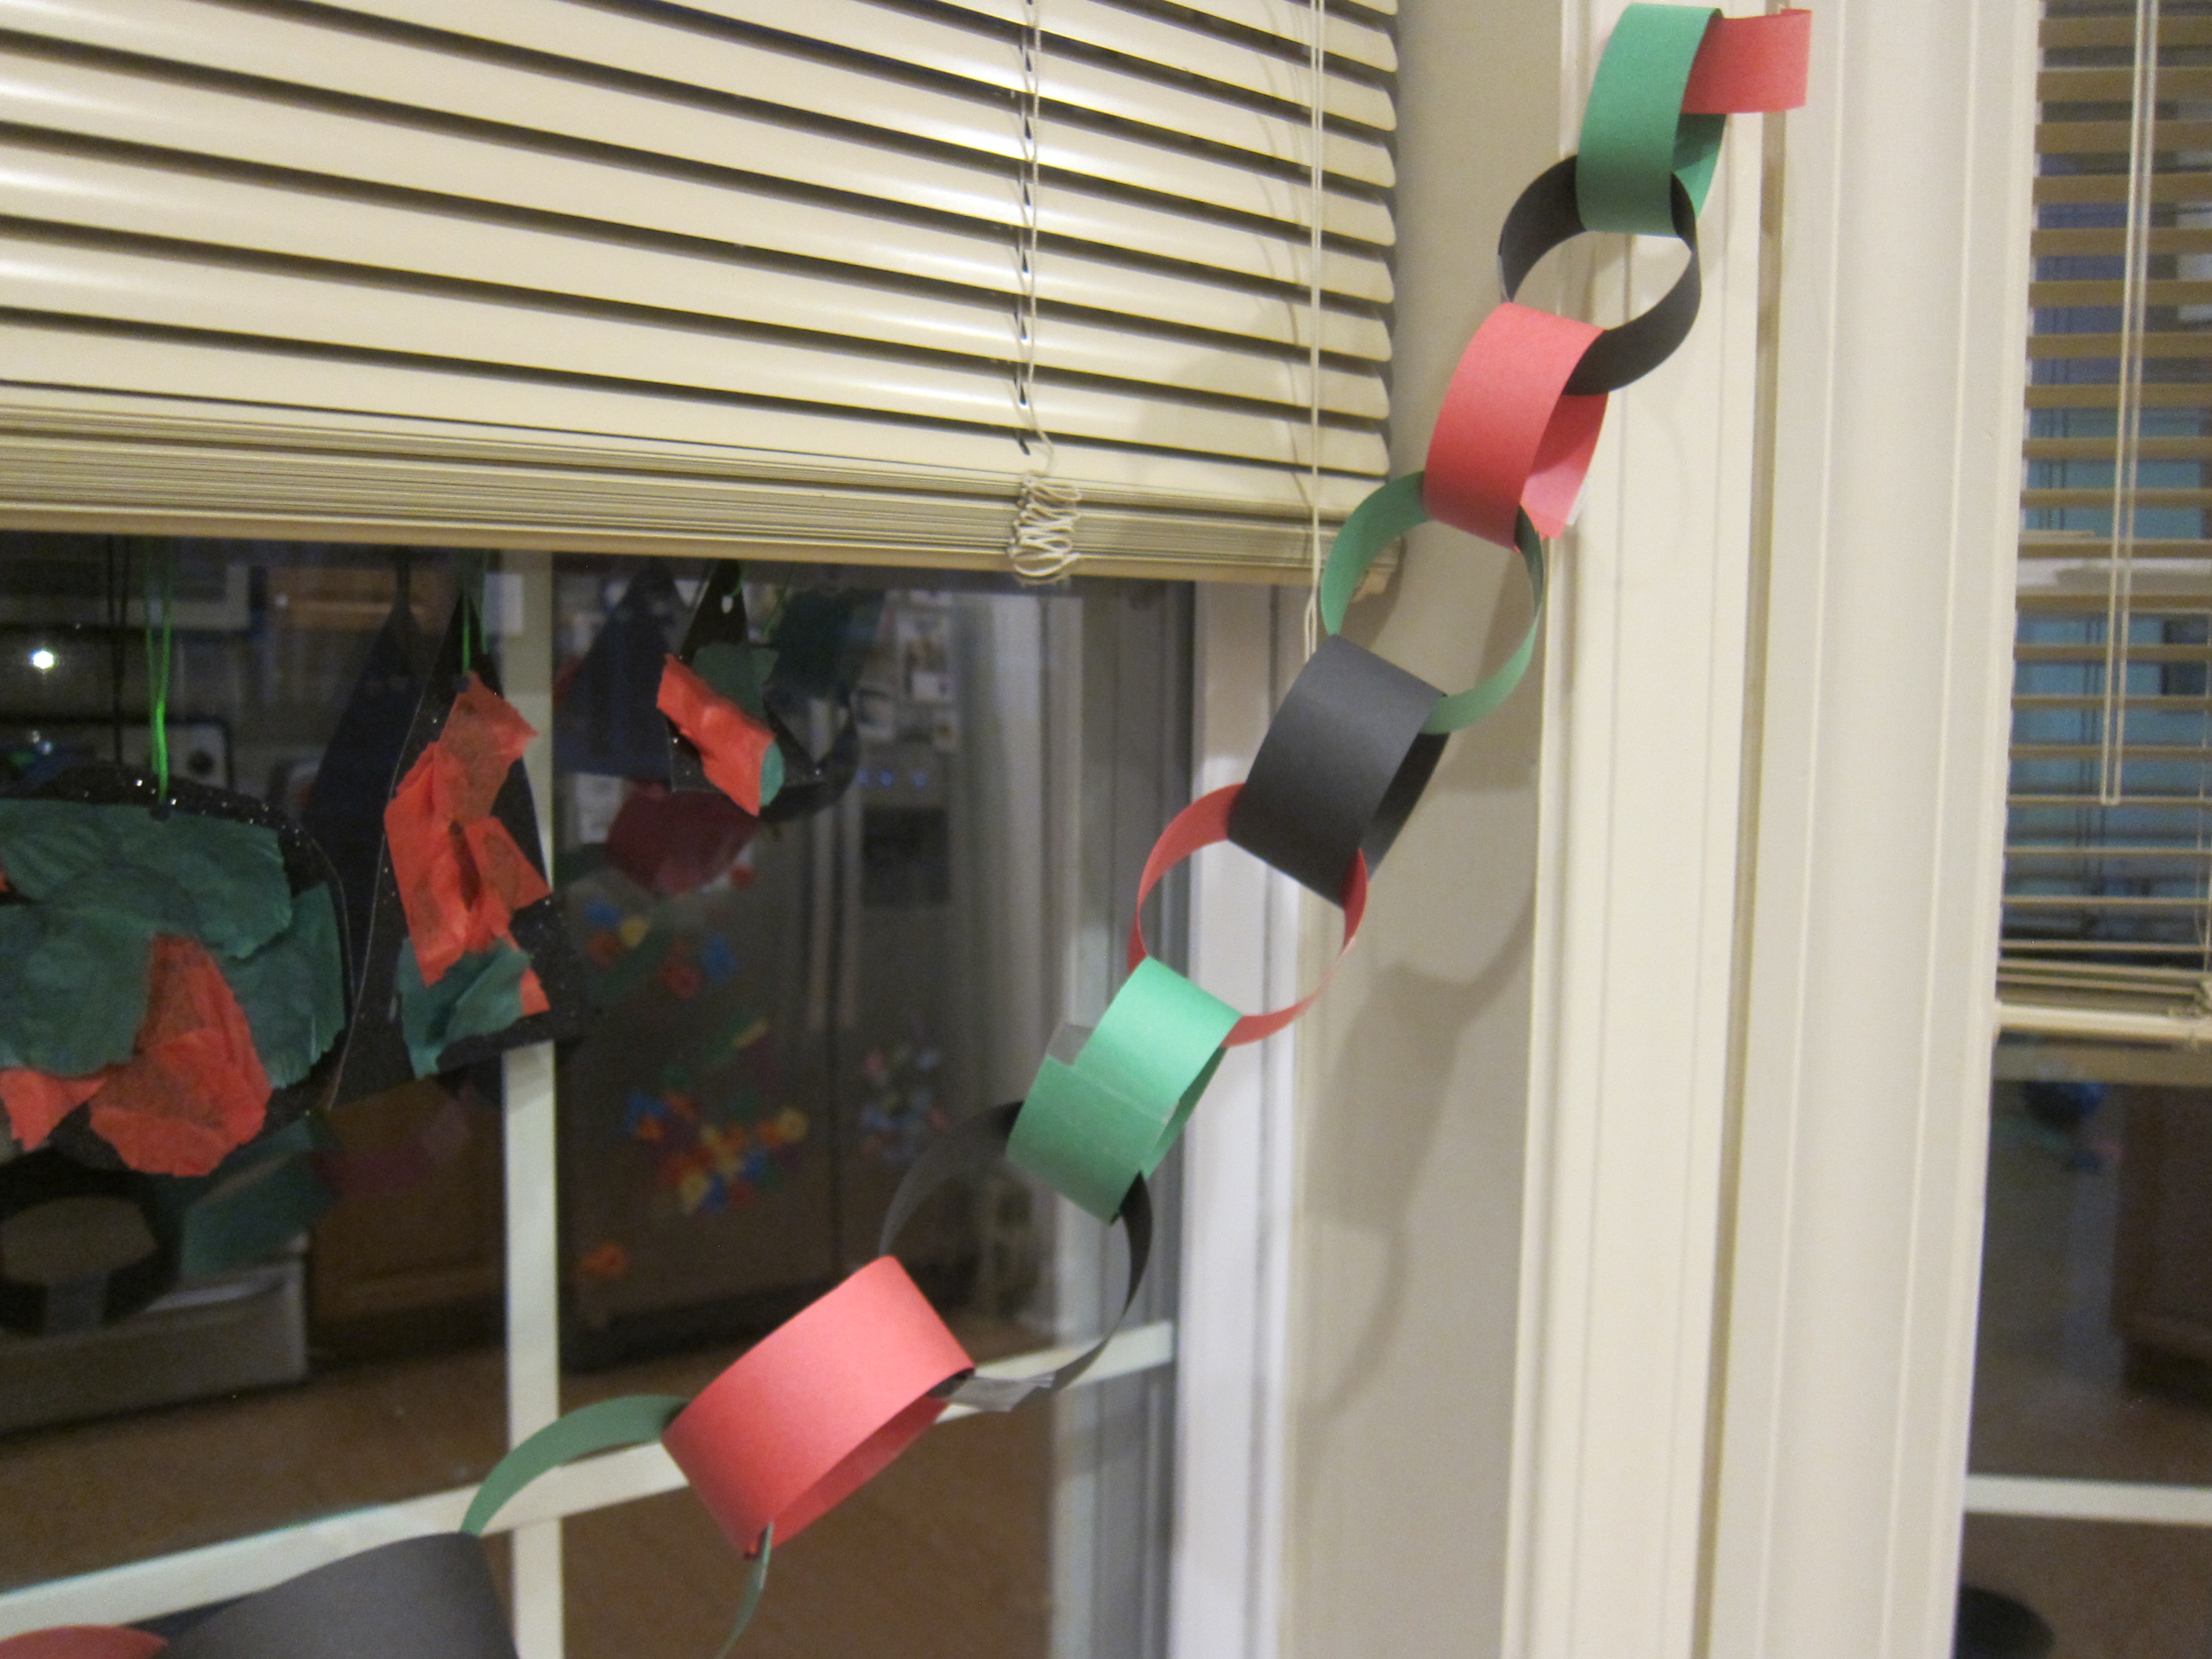
For the second craft, we once again used the traditional Kwanzaa colors, but this time to make a paper chain garland. I cut strips of red, green, and black construction paper, then looped a red piece into a circle and taped it shut. (Note: You can also staple or use glue for this step).

Kwanzaa Chain (1)

I showed Veronika how to thread a second strip through the first, and loop that one into a circle. She loved helping with this step.

Kwanzaa Chain (3)

For an early pattern lesson, I helped her arrange them in order: red, green, black, repeat! She named all the colors as we worked, and loved that we were making circles.

Kwanzaa Chain (4)

She also was a big helper with the tape!

Kwanzaa Chain (7)

Make as many of these garlands as your family likes, and hang up as decoration!

Kwanzaa Chain (6)

Happy Kwanzaa to those who celebrate!

Kwanzaa Chain (8)

Corn Husk Dolls

Corn Husk Dolls (9)

All you need to make these adorable dolls is a package of corn husks from the international aisle of the supermarket. They’re easy to make and turn out so cute!

To start, Travis helped layer four husks for each doll. Secure near the top with a rubber band.

Corn Husk Dolls (2)

Now fold the husks over so they hide this first rubber band. Attach a second rubber band near the top, so the doll is now divided into a head and a skirt.

Corn Husk Dolls (3)

For the arms, the kids helped roll up one husk tightly. Secure with three rubber bands: one in the middle and one near either end to form two “hands”.

Corn Husk Dolls (4)

Slot this arm piece up the middle of the doll’s body. Add a final rubber band under the arms, delineating where the waist would be.

Corn Husk Dolls (5)

Time to decorate! Veronika loved coloring a rainbow shirt on hers, while I drew eyes and a mouth on the face.

Corn Husk Dolls (7)

Travis turned his into Baby Yoda with some green marker and black eyes! The dolls were soon involved in inventive games for the kids, meaning this project was fun both as a craft and for the imagination.

Corn Husk Dolls (8)