Dancing Puppets

Dancing Puppet (8)

After engineering puppets for his latest Kiwi Crate, Travis had fun making this super-simple version from supplies we had around the house.

Dancing Puppet (1)

To start, all he needed was an empty toilet paper tube. Punch two holes near the top; they’ll look almost like eyes at this point, but aren’t for that purpose.

Dancing Puppet (2)

For the arms, cut two strips of construction paper that are the same length as the tube. Punch two holes near one end of each strip, and attach a paper clip to the other end.

Line up the bottom hole of each arm with the holes in the tube; insert a brad, and fasten. Loop string through the top hole of each arm, and secure at the top with a knot.

Dancing Puppet (4)

Now all Travis had to do was pull down on the string to make the arms rise!

Dancing Puppet (5)

This made a funny, wobbly puppet, and Travis knew exactly how he wanted to decorate the face: as a “Shadowtrooper” from Star Wars.

Dancing Puppet (7)

No wonder he chose black paper for the arms! Your kids can have fun making a whole bunch of these simple puppets and decorating any way they choose.

Dancing Puppet (6)

Advertisement

Snowman Craft from Tin Cans

Snowman from Tin Cans (11)

Many years ago I tried to make a tin can wind chime with Travis that failed spectacularly because I didn’t have a proper way to string them together. This was an update on that idea for Veronika, with a winter snowman twist!

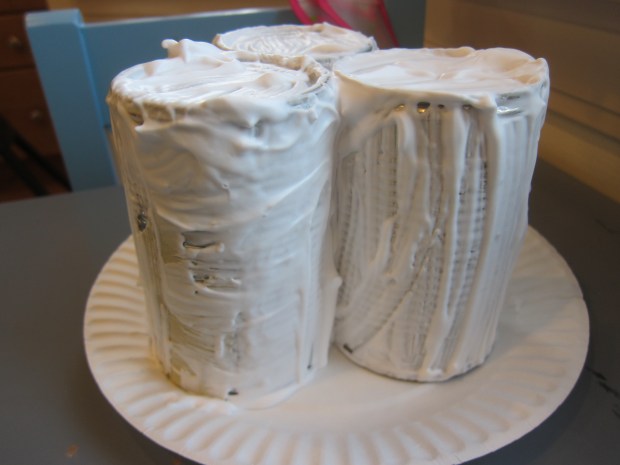
I set out three cleaned and dried cans on a tray, and told Veronika we needed to cover them with white paint. Even more fun, we used homemade puffy paint!

Snowman from Tin Cans (1)

I squirted a puddle of white glue onto our craft tray, then covered that with a layer of shaving cream. Mix it all up with a paint brush and start to paint the cans. Note: This is also a fantastic hack any time you need lots of white paint but don’t have much on hand.

Snowman from Tin Cans (2)

Veronika absolutely loved this paint and was quite serious about applying it to one of the cans while I worked on the other two.

Snowman from Tin Cans (8)

Once painted, we wanted to make them sparkly, so added some fake snowflake glitter. At this point I confess I questioned my sanity a little, because sticky puffy paint + fake snow sparkles = a spectacular mess. But she was having so much fun it was worth it!

Snowman from Tin Cans (5)

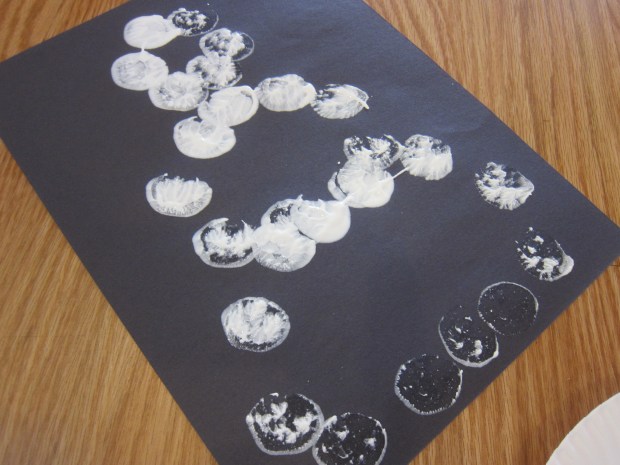
While I set the cans aside to dry, she kept playing with leftover snow sparkles, puffy paint, and a spare can on the tray for a while.

Snowman from Tin Cans (6)

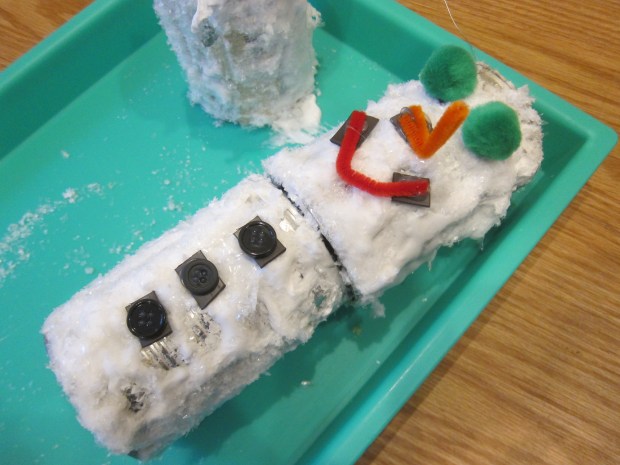
I was pleasantly surprised with how fast the puffy paint dried. By the time she woke up from her nap, the cans were dry and it was time to turn them into a snowman.

Snowman from Tin Cans (4)

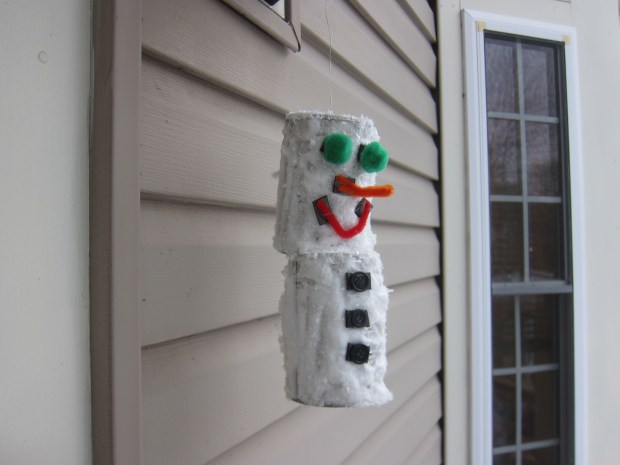
I used hot glue to add tidbits from our craft bin onto pieces of magnet tape. We used pom poms for eyes, black buttons for, well, buttons, and pipe cleaner pieces in red and orange for the mouth and carrot nose, respectively. You’ll need two magnets to make the red pipe cleaner piece curve into a smile.

Snowman from Tin Cans (7)

To attach the cans, I first made a hole in each with a hammer and nail. This isn’t difficult, but definitely a grown-up step.

Snowman from Tin Cans (9)

Next, I used a length of floral wire, inserting down through one can, then through a second, and then looping it so it wouldn’t come back up out of the hole. This was a touch tricky, so we decided to call it a win and have a two can snowman instead of a three can one.

Snowman from Tin Cans (10)

Now the magnet pieces will adhere right onto the tin cans, yes even through the puffy paint! As a final step, I twisted the top length of floral wire around our porch lamp outside so the tin snowman can dangle in the winter wind.

Snowman from Tin Cans (12)

Marshmallow Snowman Stamping

Marshmallow Snowman Stampers (7)

If your toddler loves dot markers, then edible dot markers are even better! To wit, all you need to make this craft are large marshmallows. We love the vegan ones from Dandies.

Marshmallow Snowman Stampers (1)

I set out a plate of the marshmallows along with a dish of white paint and black construction paper. I showed Veronika how to dip one end of a marshmallow in the paint and then onto the paper. It made a perfect circle!

Marshmallow Snowman Stampers (2)

Indeed, this craft was all about circles. The marshmallows make little circle prints, and if you help your toddler slightly, you’ll end up with three circles for a snowman: small, medium, and large. I highly recommend having a few marshmallows on the side just for eating so you can avoid paint on little tongues. Veronika loved snacking while we crafted!

Marshmallow Snowman Stampers (5)

The craft was easiest for her if I stamped an outline of the snowman first, which she then could fill in with her marshmallow stamp.

Marshmallow Snowman Stampers (3)

Once the paint dried, I cut out a few features from construction paper to glue down, like top hats, carrot noses, and tree branch arms. Add any final details with marker.

Marshmallow Snowman Stampers (6)

Why did we paint our snowmen on a black background? Because we finished the day with a read of Snowmen at Night, a book about all the silly things snowmen might get up to after dark. Hot cocoa and snowball fights? Yes please!

Marshmallow Snowman Stampers (8)