Star of David

Star of David (6)

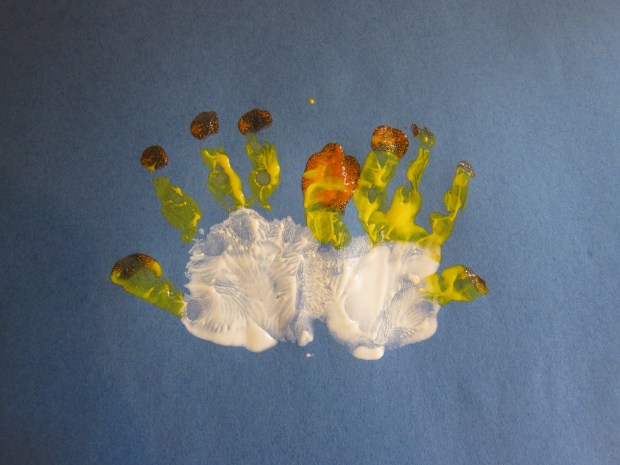
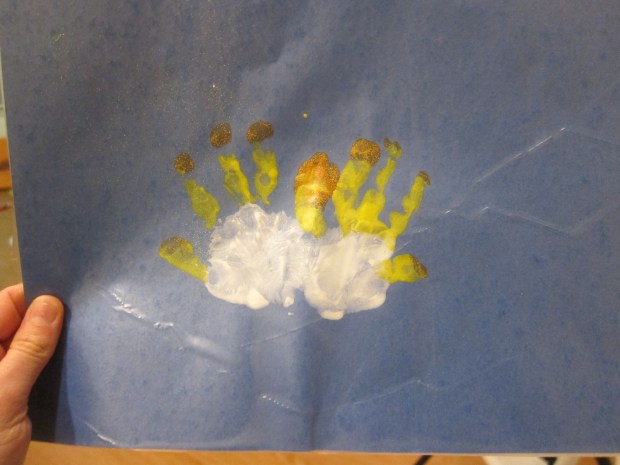
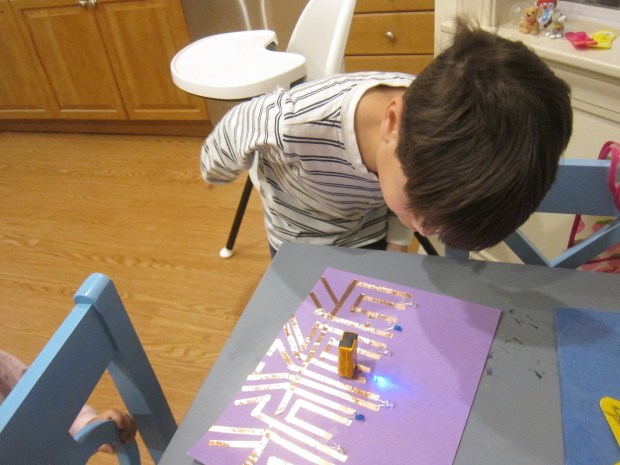
Travis has been learning about different winter festivals at school, so today we made two versions of the iconic Star of David to celebrate the start of Hanukkah. These crafts turned out quite pretty, and are easy enough even for younger siblings to join in.

For the first version, we twisted two yellow pipe cleaners into triangles and then glued them one atop the other. Drizzle with extra glue and sprinkle with glitter!

Star of David (1)

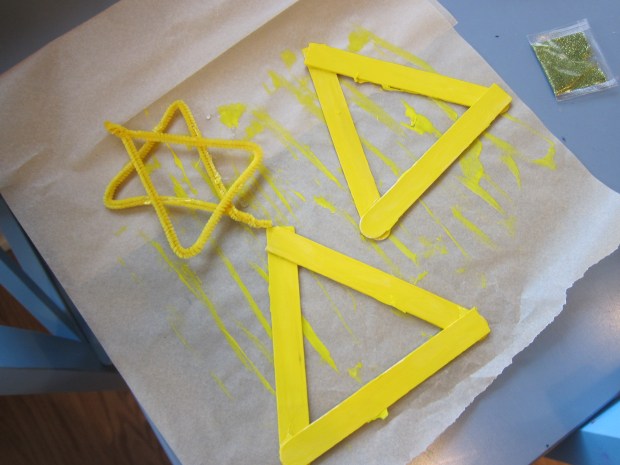
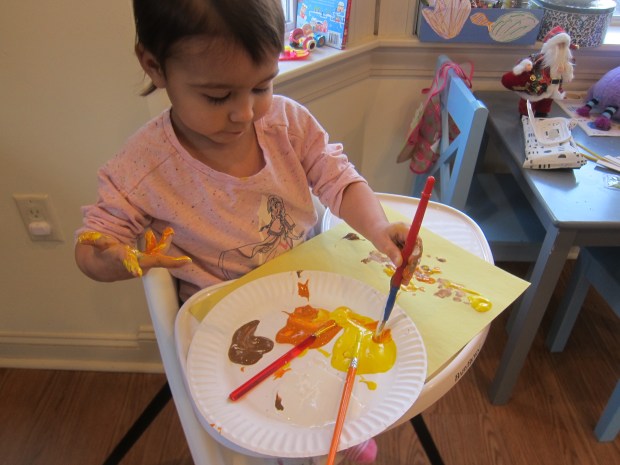
For the second version, we painted 6 craft sticks yellow and then glued them into 2 triangles. Glue one triangle on top of the other, drizzle with extra glue and add more glitter. The glitter was definitely Veronika’s favorite part!

Star of David (2)

Note: Next time I would use blue glitter for a better final result. The gold glitter we tried didn’t look as nice as we hoped against the yellow background. They were still pretty, though!

Star of David (4)

Advertisement

Holiday Cookie Magic

Holiday Sugar Cookies (8)

There’s a lot to be said for beautiful and complicated holiday cookies (and we’ve baked some of those this holiday season!), but there’s also a lot to be said for slice-and-bake cookies. To wit, Travis and I had fun baking some today (thanks to the vegan sugar cookie dough from Sweet Loren’s). We then talked about the symbolism behind some of December’s holiday cookies before adding the following decorations.

Holiday Sugar Cookies (1)

Christmas:

Chewy Chunks: Who knew? Dried fruits and nuts (traditionally numbering up to 13 ingredients) originally represented Jesus and the Apostles, hence the ubiquitous holiday fruit cake. We didn’t use quite that many different dried fruits, but we did chop up raisins, prunes, dried apricots, and dried cranberries, then pressed into the top of the dough before baking.

Holiday Sugar Cookies (3)

Festive Fruit Strips: Fruit leather cut into strips makes candy cane stripes on a round cookie. Here was another “who knew” moment: the shape of a traditional candy cane is meant to represent a shepherd’s crook!

Holiday Sugar Cookies (4)

Hanukkah:

Jelly Doughnuts: Fried treats like jelly doughnuts represent the oil that lasted for 8 days during the miracle of Hanukkah. To turn them into cookie form, we pressed our thumbs into the center, filled each with about 1/4 teaspoon jelly, and sprinkled with powdered sugar.

Holiday Sugar Cookies (7)

Latke Cookies: Likewise representing the oil, here was a way to turn potato latkes into cookie form! Travis helped smash potato chips with mallet, then we dipped the top of the sugar cookie dough into the crushed cookies before baking.

Holiday Sugar Cookies (6)

These were all so easy and yet so delicious!

Handprint Menorah

Handprint Menorrah (6)

We don’t celebrate Hanukkah, but we have family and friends who do and wanted to mark the occasion with a few crafts. This keepsake handprint menorah is perfect to send to relatives!

To start, I needed to paint Veronika’s hands with three colors of washable paint, which I worried would be a wriggly and messy affair. But she held absolutely still, fascinated. White went on her palm, yellow on her fingers, and orange at the tips to be the candle flames.

Handprint Menorrah (3)

Cross your child’s hands so the left is on the right side of the paper and the right on the left. The pinkies should overlap, or you’ll have one candle too many!

Handprint Menorrah (2)

Her print was complete and I let it dry before covering with contact paper. It makes a lovely, durable card this way!

Handprint Menorrah (8)

Meanwhile, she loved having her hand painted so much that she wanted to do it herself a few times. I left her quite happy with extra paint and a spare piece of paper.

Handprint Menorrah (4)

Happy Hanukkah to those who celebrate!

Handprint Menorrah (7)

Paper Circuit Menorah

Paper Circuit Menorrah (7)

Travis has been wanting to do this activity since we made other circuit crafts earlier this year, but it felt only right to wait on this one until Hanukkah.

First, you’ll need to map out a menorah shape with copper tape. I simply copied from an online example freehand, so you’ll notice my spacing wasn’t always right.

Paper Circuit Menorrah (2)

If you’re going to be more exact, you’ll definitely want a ruler. You’ll also need to make sure that the gap between any two vertical tape lines isn’t wider than the width of a 9V battery. Meanwhile, Travis was fascinated with the thin copper tape, and couldn’t believe it was a metal!

Paper Circuit Menorrah (1)

Once the tape was all laid out, I taped an LED light in the top center as the shamash candle. Hold a 9V battery over the two halves of the copper tape below this, and it will turn on!

Paper Circuit Menorrah (6)

Tape 8 additional LED lights over the other points of the menorah. We alternated white and blue, for an appropriately holiday-themed effect.

Paper CIrcuit Menorrah (8)

If you want to rig this up so that you can actually light a new LED each night, you’ll need five 9V batteries.

Paper Circuit Menorrah (3)

You’ll also need extra strips of copper tape to interrupt the circuit in 4 places, and then attach them on the second night of each interval. We didn’t make things that complicated, nor did we use the suggested ohm resisters, but Travis just loved marveling at how he could light each “candle”.

Paper CIrcuit Menorrah (10)

We moved the 9V battery around to light each LED in turn. He especially loved the blue ones!