All you need to make these adorable dolls is a package of corn husks from the international aisle of the supermarket. They’re easy to make and turn out so cute!
To start, Travis helped layer four husks for each doll. Secure near the top with a rubber band.

Now fold the husks over so they hide this first rubber band. Attach a second rubber band near the top, so the doll is now divided into a head and a skirt.

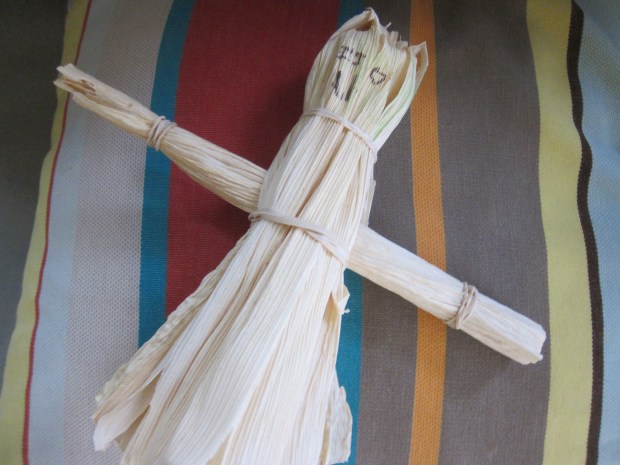
For the arms, the kids helped roll up one husk tightly. Secure with three rubber bands: one in the middle and one near either end to form two “hands”.

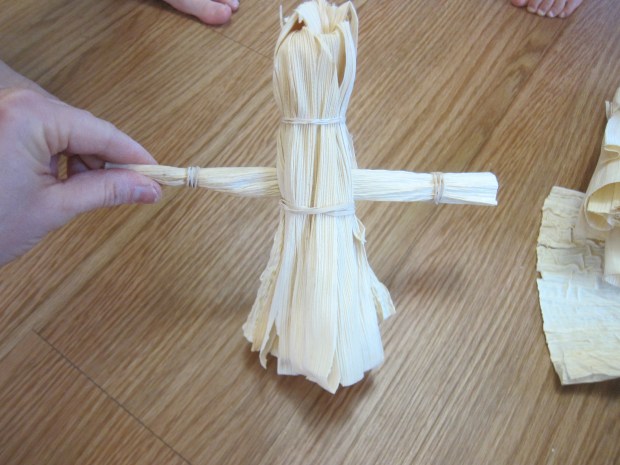
Slot this arm piece up the middle of the doll’s body. Add a final rubber band under the arms, delineating where the waist would be.
Time to decorate! Veronika loved coloring a rainbow shirt on hers, while I drew eyes and a mouth on the face.
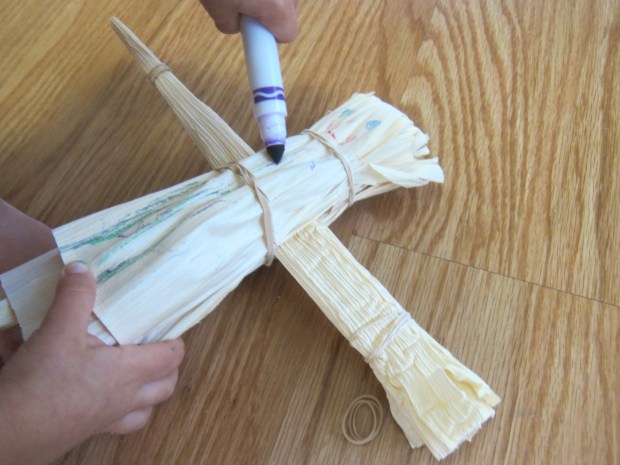
Travis turned his into Baby Yoda with some green marker and black eyes! The dolls were soon involved in inventive games for the kids, meaning this project was fun both as a craft and for the imagination.