Tape Town

Tape City (8)

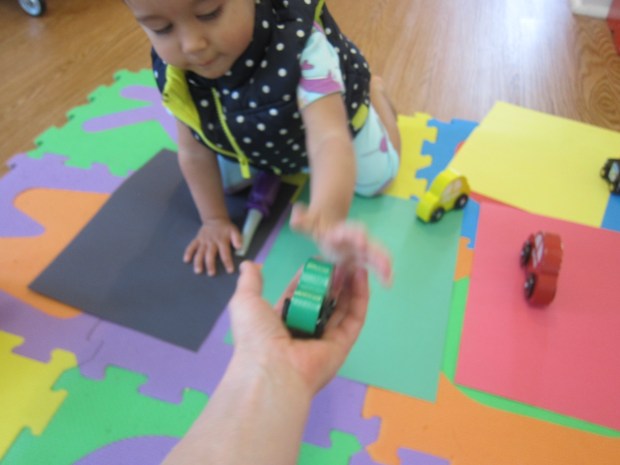
Here’s a classic activity I did with Travis as a toddler, and today it was Veronika’s turn!

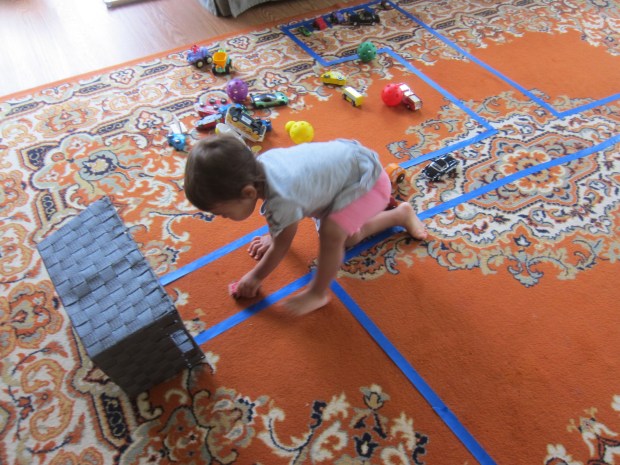
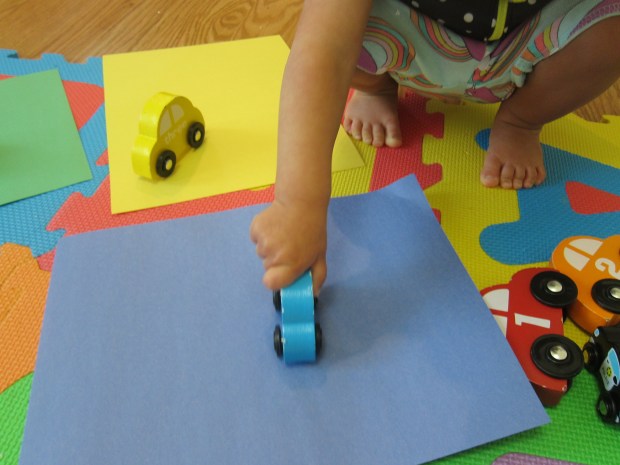
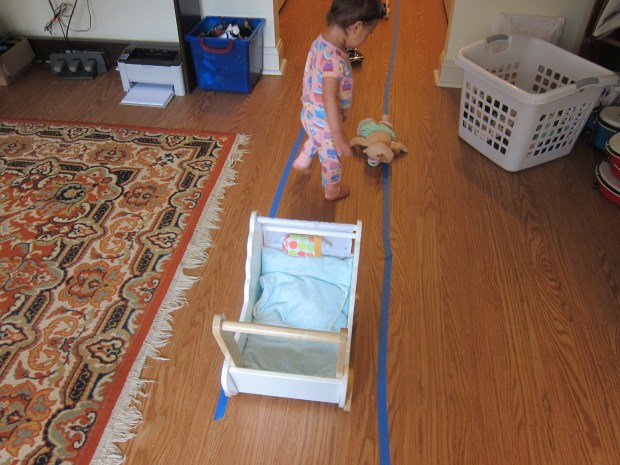
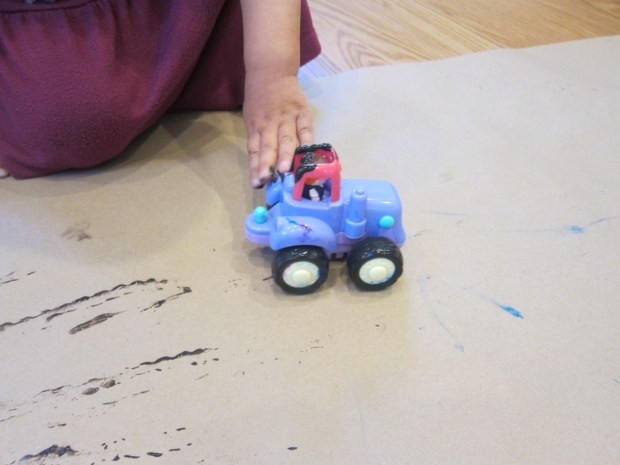
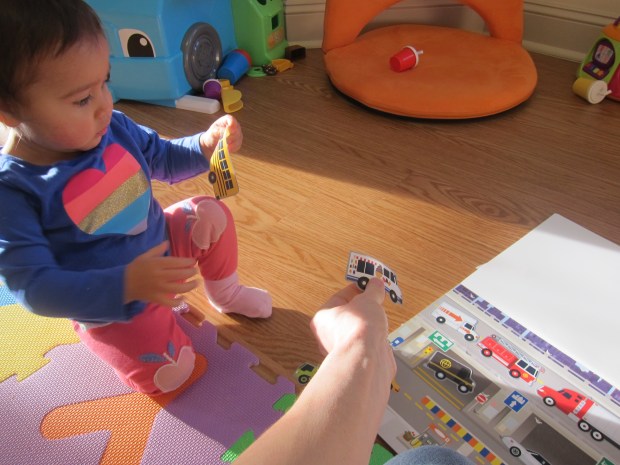
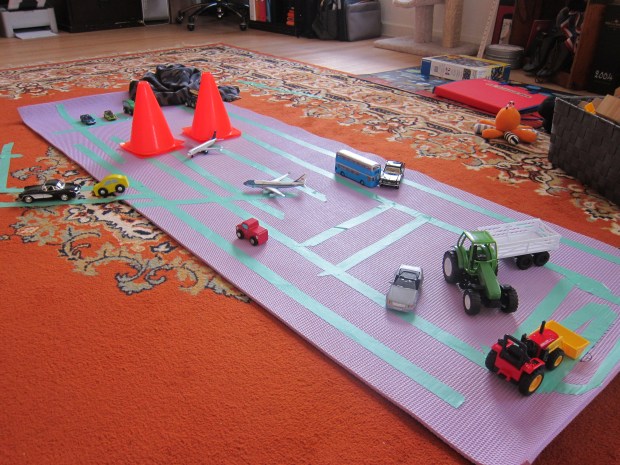
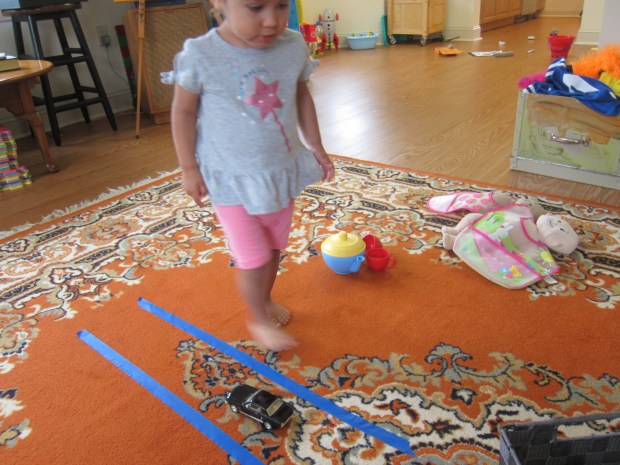
All you need to create your town is colored painter’s tape and whatever toy cars you have in the house. I laid down two strips of tape and told Veronika it was a road. She very excitedly came to see. “Black car is driving!” she said.

Tape City (1)

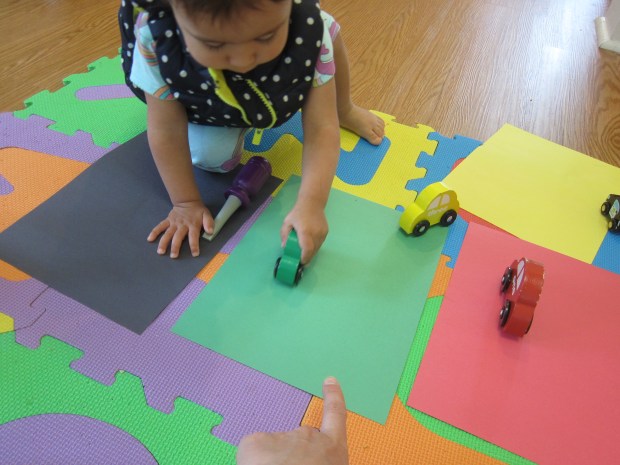
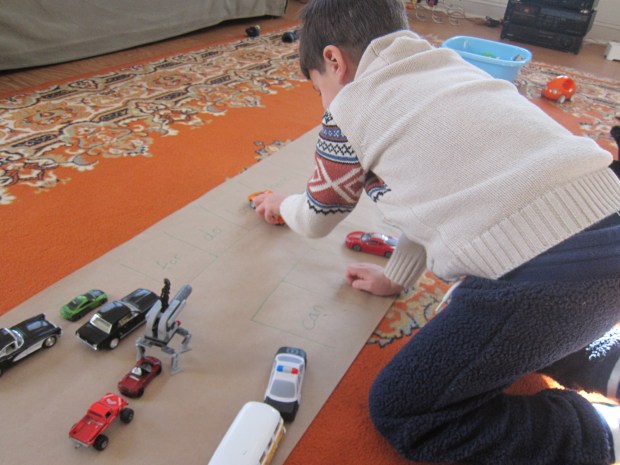
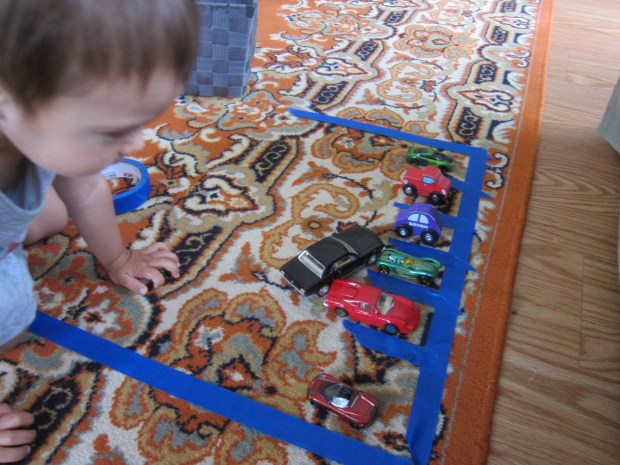
The next thing we added was a parking lot. I designated little spaces with more strips of tape and she drove the cars in and out of the lot. 

Tape City (2)

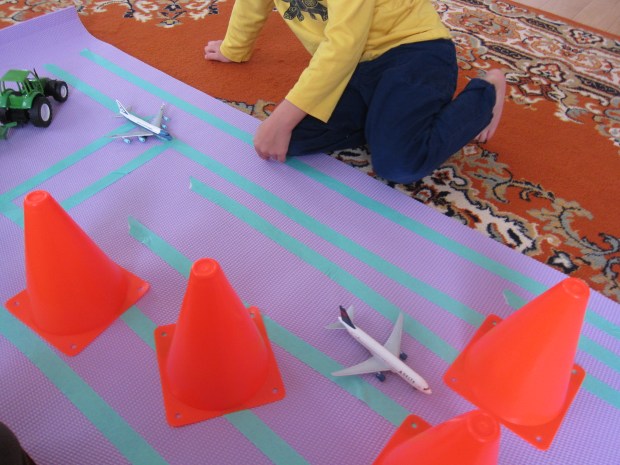
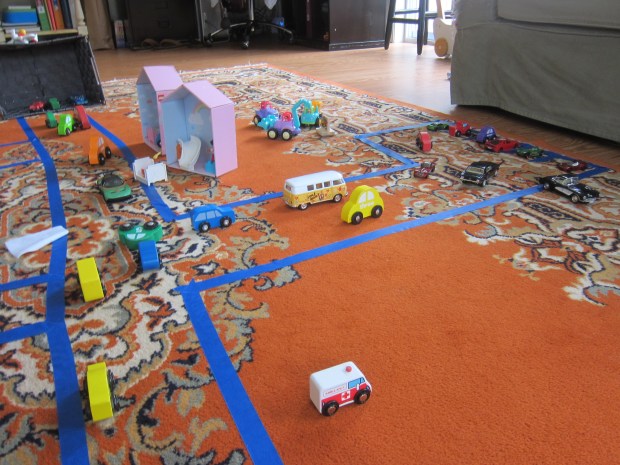
From there it was fun to expand the town. Soon we had a parking garage…

Tape City (4)

…and a special spot for all her firetrucks.

Tape City (9)

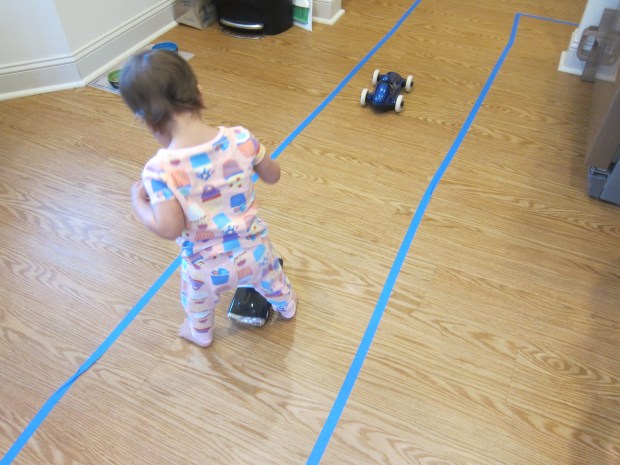
There was quite a lot of traffic in town today!

Tape City (10)

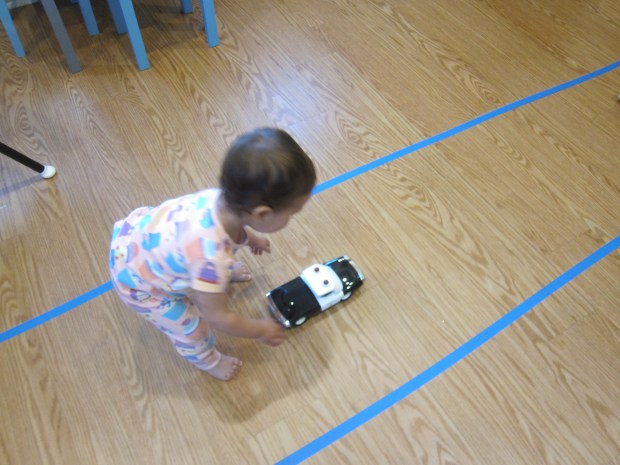
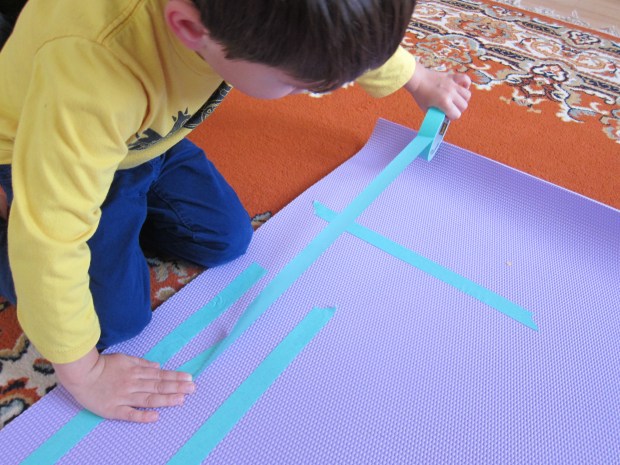
At a certain point, she wanted to try making “roads” herself, so she became my helper with the tape.

Tape City (6)

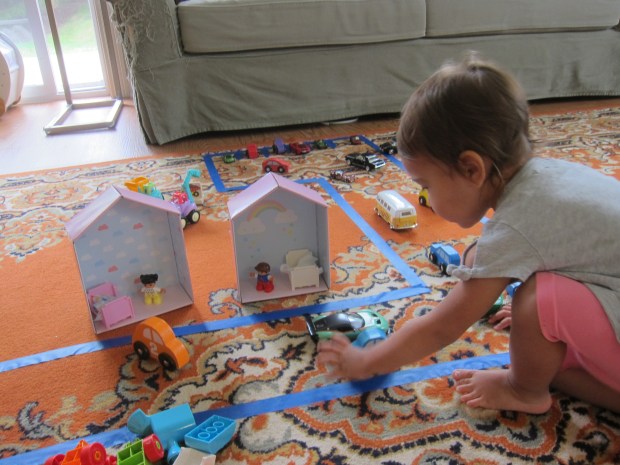
We decided that the town needed people, too, so we added Duplo houses and figures. I loved the way that this extended her imaginative play and kept her busy for quite some time.

Tape City (7)

What would go in your toddler’s Tape Town? Please share in the comments!

Tape City (3)

Car Book

Car Book (8)

Veronika is obsessed with cars and trucks right now, so today I made her a picture book about cars of her very own!

First, we sat down to go through an old car magazine together, which was half the fun, talking about each vehicle as we came to it. I then tore out pages with clear, complete pictures of cars and trucks. You can also add pictures of tractors, motorcycles, or other favorite vehicles, if you find them in a magazine’s pages.

Car Book (2)

Glue each picture onto a square of poster board. Line up the pages and punch holes, then secure with two pieces of string.

Car Book (3)

Veronika instantly loved flipping through it at home…

Car Book (5)

…but of course there’s no better place to read her car book than in the car!

Car Book (7)

I love that I catch her “reading” this book to herself in the backseat. “There’s truck! There’s green car!” We’ll get a lot of mileage out of this one.

Craft-Stick Cars

Race Cars (5)

These little race cars the perfect old-school camp activity for a summer morning at home!

For the base of each car, line up 3 jumbo craft sticks. Trim two paper straws by about one-third, and line up perpendicular to the craft sticks an inch from each end. Use hot glue to attach.

Race Cars (1)

Hot glue the cap of a food pouch to a wooden skewer; let dry. Thread the skewer through one of the straws, trim the end, and hot glue another food cap.

Race Cars (2)

All of this hot glue work meant the set up was largely a grown-up project, but then Travis was in charge of designing the top of the car, adding a nice STEM element to the craft. Once he’d arranged the sticks as he wanted them, I hot glued them on.

Race Cars (4)

Time for a test drive!

Race Cars (6)

After the designing was done, it turned out that little sister Veronika enjoyed zooming the car around even more. So the whole family got to enjoy this one.

Cars and Colors

Cars and Colors (7)

Veronika loves to drive around her little cars, so today I turned it into a color game. Each car had a corresponding “garage” of the same color to drive into.

Okay, so these weren’t really garages, just flat pieces of construction paper. But Veronika immediately took to vrooming the cars onto them.

Cars and Colors (1)

I started out making things very easy for her, just two different color cars and their corresponding paper. “Can you drive the orange car onto the orange paper?” I asked her.

Cars and Colors (2)

Success! So we made it harder. I added a third color, and then a fourth, and so on.

Cars and Colors (6)

Each time she vroomed the right car. Some of this might have been coincidence of course, since I laid down the correct piece of paper directly in front of her. But it’s all about reinforcement and repetition at this age!

Cars and Colors (4)

Throughout the day, I kept up the line of “Can you…?” questioning with regards to color. “Can you hand me the green car?” I asked her.

Cars and Colors (5)

“Can you pull on the red ribbon?”

Color Game (1)

“Can you point to the yellow sticker?”

Color Game (3)

This is such an easy way to reinforce colors throughout the day. You can even make it more of a Simon Says game: “If you’re wearing pink, clap your hands!”

Color Cards (3)

Want more color learning ideas? Try picking a color of the day the next time you take a trip out of the house.

A Tape Road

A Tape Road (3)

I’ve designed lots of little roads made from tape for the kids before, but this one was different: one big tape road that inspired all sorts of different ways to play!

For starters, Veronika loved watching me lay down long strips of tape, and loved running along them as I did so!

A Tape Road (1)

Now she had a grand avenue that was just begging for our biggest toy cars to drive along it.

A Tape Road (2)

Although smaller cars were fun, too!

A Tape Road (8)

I added two stop signs at one “intersection” for a little early learning about road safety, though of course I didn’t expect Veronika to understand this part.

A Tape Road (9)

These wide boulevards were also fantastic just for running along, a me-sized road!

A Tape Road (4)

She then was busy driving her dolly stroller down it. It would be the perfect size for any ride-on kid cars, too. In sum, an easy and fun way to play indoors.

A Tape Road (6)

Fun with Toilet Paper Rolls

Fun with Toilet Tubes (2)

After building towers with toilet paper tubes, I helped Veronika discover another fun way to upcycle rolls today. I originally planned to tape together toilet paper tubes, but decided longer paper towel rolls were sturdier for this particular activity. Duct-tape as many as you like (or have stockpiled!) together securely in a long line.

Fun with Toilet Tubes (1)

I placed the tube line about midway up our stairs, aiming the bottom into an empty toy bin.

Fun with Toilet Tubes (4)

Depending how old your kids are, you can make this chain even longer and go all the way to the top of the stairs. But I was worried about Veronika’s safety, so we kept ours shorter. I showed her how to put a toy car into the tube, and then whee!

Fun with Toilet Tubes (3)

It landed in the bin at the bottom. As soon as she realized the cause-and-effect, she loved slotting the cars in and waiting for them to land.

Fun with Toilet Tubes (6)

What a delight!

Fun with Toilet Tubes (5)

The bucket was angled in such a way that we couldn’t see them land very well, so I rotated the tube and the cars drove out directly at the bottom of the stairs. Arguably this was even more enjoyable!

Fun with Toilet Tubes (8)

I also made a short, hand-held version that was easier for her to slot a car in and instantly see it drop through.

Fun with Toilet Tubes (9)

She loved doing this on the floor for a while, with lots of vrooming noises to go along of course. Thank goodness for upcycled tubes!

Fun with Toilet Tubes (11)

Painting with Trucks

Painting with Trucks (12)

Veronika loves her little set of construction trucks, and she loves paint, so today I thought we’d combine the two. It turns out she was more into finger painting than truck painting, but at least we had good fun.

I started out by taping two pieces of construction paper in a shallow craft bin, and setting out her trucks. Add blobs of paint directly on the paper and show your toddler how to roll cars or trucks through.

Painting with Trucks (1)

Tire tracks!

Painting with Trucks (2)

I thought Veronika would be fascinated, but the paint blobs themselves were just too enticing. Soon we just had two very blue hands (“Hello fingers!” she said).

Painting with Trucks (5)

I did get her to drive the trucks back and forth a few times, but it was always quickly back to smearing her hands right through all those tire tracks.

Painting with Trucks (3)

I thought she might get more into the tire tracks if she had a bigger surface to drive along. So we cleaned up the first version and set up a second. I taped a long piece of craft paper to the floor, and this time I only dabbed down a little black paint, just enough to drive through.

Painting with Trucks (8)

This time she did maneuver the cars for a few passes, and did seem to notice the tracks.

Painting with Trucks (10)

But even the little blobs of paint were irresistible for her fingers.

Painting with Trucks (9)

Soon we had smeary black hands!

Painting with Trucks (11)

Well, she had a blast, and of course half the fun is the “car wash” at the end. We put the trucks in soapy water and I gave her a few rags. This was arguably even more enjoyable than the painting itself!

Painting with Trucks (14)

So start to finish, it made for a great project.

Painting with Trucks (15)

Drive Home Reading

Drive to Reading (5)

This activity is the advanced version of an alphabet parking lot I made for Travis back when he was in pre-school! Now he’s fast learning his sight words in Kindergarten, and I was so proud watching him drive up to the “parking spaces” I created today.

Lay out a long sheet of craft paper and draw rectangular parking spaces. I filled the spaces with common sight words, using only about ten words to start. I set out an assortment of Travis’s cars and called him over.

Drive to Reading (1)

“I love this game!” he said, remembering the alphabet version. I took over as the announcer, asking, “Can the orange car drive to the parking spot that says ‘in’ please,” and so on.

Drive to Reading (4)

It only took him a moment to scan through and find each word, which showed me he’s growing quite comfortable with these sight words.

Drive to Reading (2)

Of course we needed to park a silly Lego in the final space.

Drive to Reading (6)

He loved it so much, he immediately asked, “Can we play again!” So I quickly created a second parking lot adjacent to our first.

Drive to Reading (7)

He very seriously drove all the cars over. I added a few slightly tougher words, now, including “down” and “here”. That didn’t slow Travis down here in the slightest!

Drive to Reading (9)

Soon every car was parked. He even wanted a third round, which I didn’t have time for! I promised him a new lot, soon.

Learning Things That Go

Stamps (4)

There are so many ways to teach toddlers about the various vehicles in the world, whether that means cars and trucks, or boats, or planes, or everything in between. Most obviously you can point these things out in the real world or read about them in books. But toddlers are so tactile, so consider hands-on learning with stamps or stickers that depict things that go!

First up: stickers. Veronika is currently obsessed with stickers, so we had lots of fun with a reusable sticker book from Melissa & Doug. She was a little frustrated that the big planes and trucks wouldn’t stick to her belly…

Stickers (5)

…but loved that she could lift them off the page over and over.

Stamps (5)

Next up: stamps! I purchased a stamp set with big chunky ones just right for toddler-sized hands.

Stamps (1)

We talked about the image on each stamp before I pulled out the ink pads. Of course the ink itself was more fascinating for a while!

Stamps (2)

But soon I showed her how to press a stamp down into the ink, which then appears like magic when pressed on paper. She was a little young for this activity, impishly trying to eat the stamps, so we tucked the ink pad away. But I loved that this was both a vocab lesson and an “art” activity.

Stamps (3)

One final option: felt pieces featuring things that go. Veronika loves her set with cut-outs of planes, trains, and more.

Things That Go alt

Little felt shapes like this of things that go are great for, well, when you’re on the go!

Things That Go var

Whichever medium you choose, there’s lots of hands-on learning and fun to be had!

Tape City

Tape CIty (8).JPG

Tape + cars is one of those classic games that never goes out of style. Simply grab a roll of painter’s tape, and turn your floor or carpet into roads and cities. I used to make these roads for Travis when he was a toddler, but this was the first time I put him in charge, and the results were fantastic!

For starters, we decided to lay our city out on mommy’s yoga mat, which added a new feel to the game. Travis began with long roads, and loved unrolling the tape.

Tape City (1)

Then he decided the road ended at a restaurant, so we needed a parking lot.

Tape City (6)

From there, his imagination was off and running! Soon we had an airport runway marked by cones…

Tape City (3)

A farm…

Tape City (4)

And he even decided we needed a swamp! Uh oh, hope the cars don’t drive in.

Tape City (5)

He had fun making side streets (venturing boldly off the yoga mat!), which then turned into roads that were blocked off for construction.

Tape City (7)

The tape might not have been as neat or precise as a grown-up’s lay out would be, but I loved seeing his engineering and creativity at work.

Tape City (2)

What will your child add to their tape city? Please share in the comments!