Sibling Picture Book

Sibling Picture Book (5)

Here’s an adorable activity that can make older siblings feel important and special, as they craft a book just for a little brother or sister.

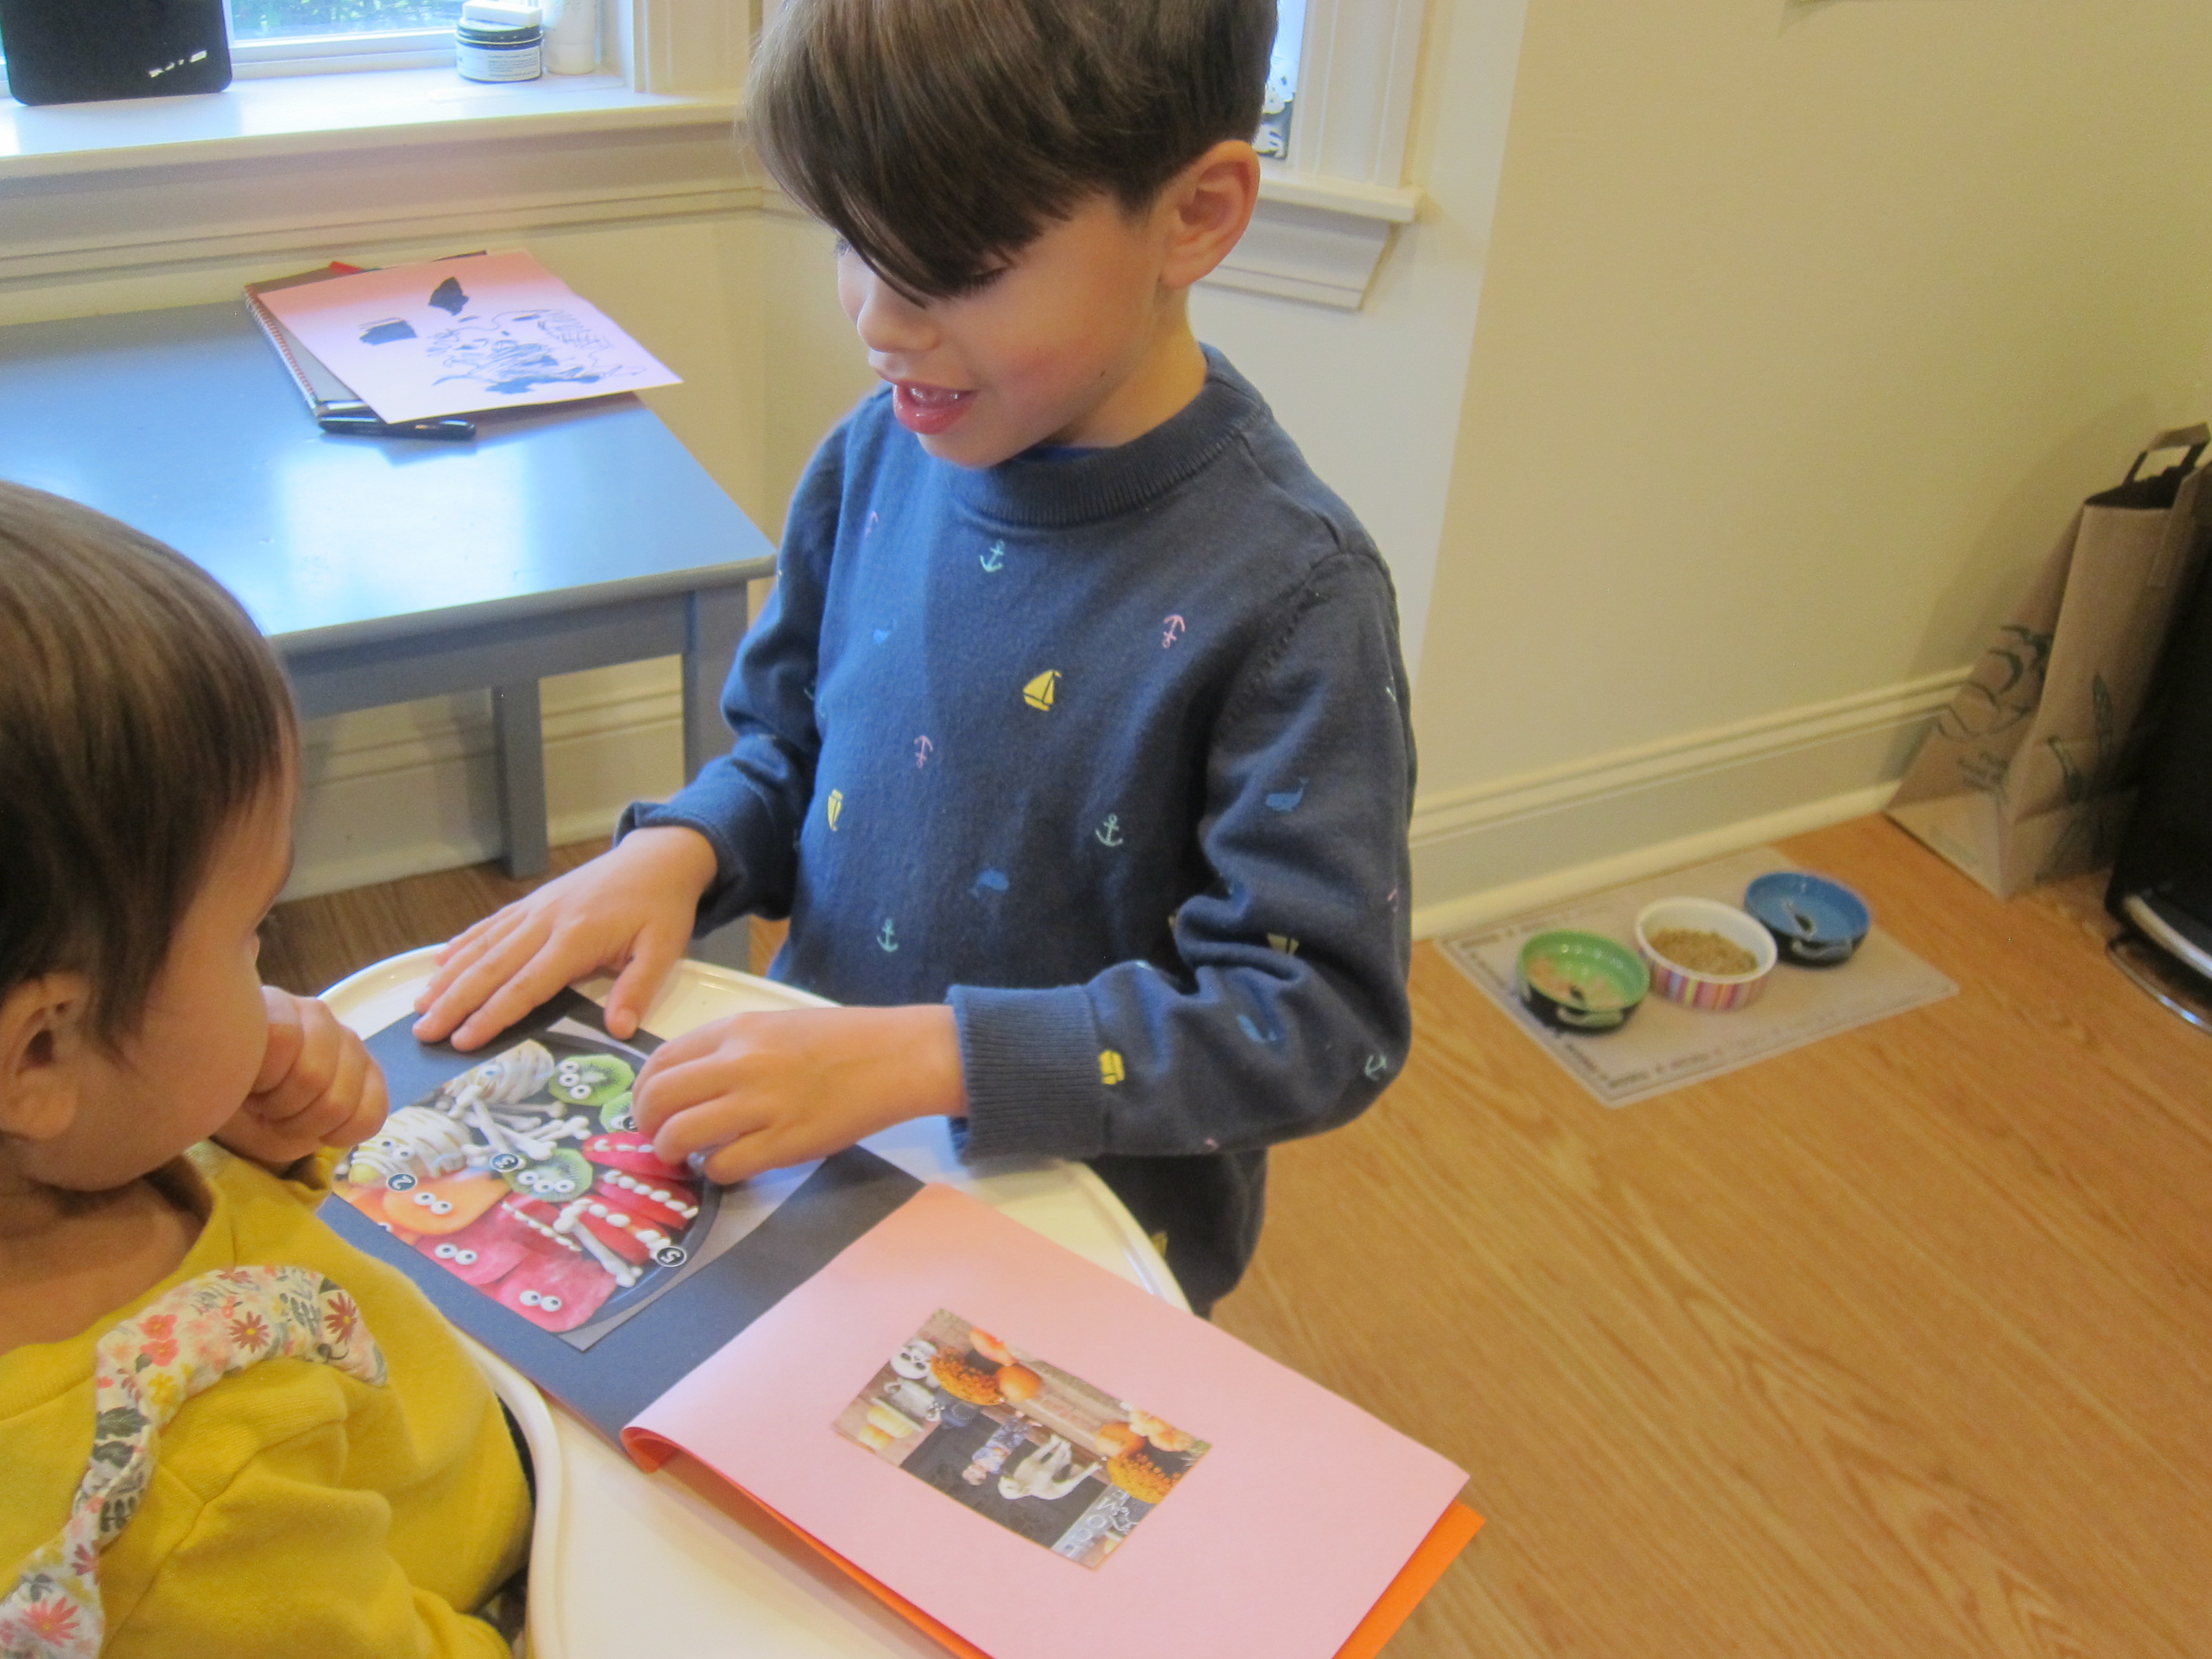
Travis and I sat down to look through magazines and I encouraged him to find pictures that would appeal to little sister Veronika. He was most interested in a Halloween magazine, so picked out lots of frightfully spooky images, like carved pumpkins, silly witches, and snacks in the shape of ghosts and goblins.

Sibling Picture Book (1)

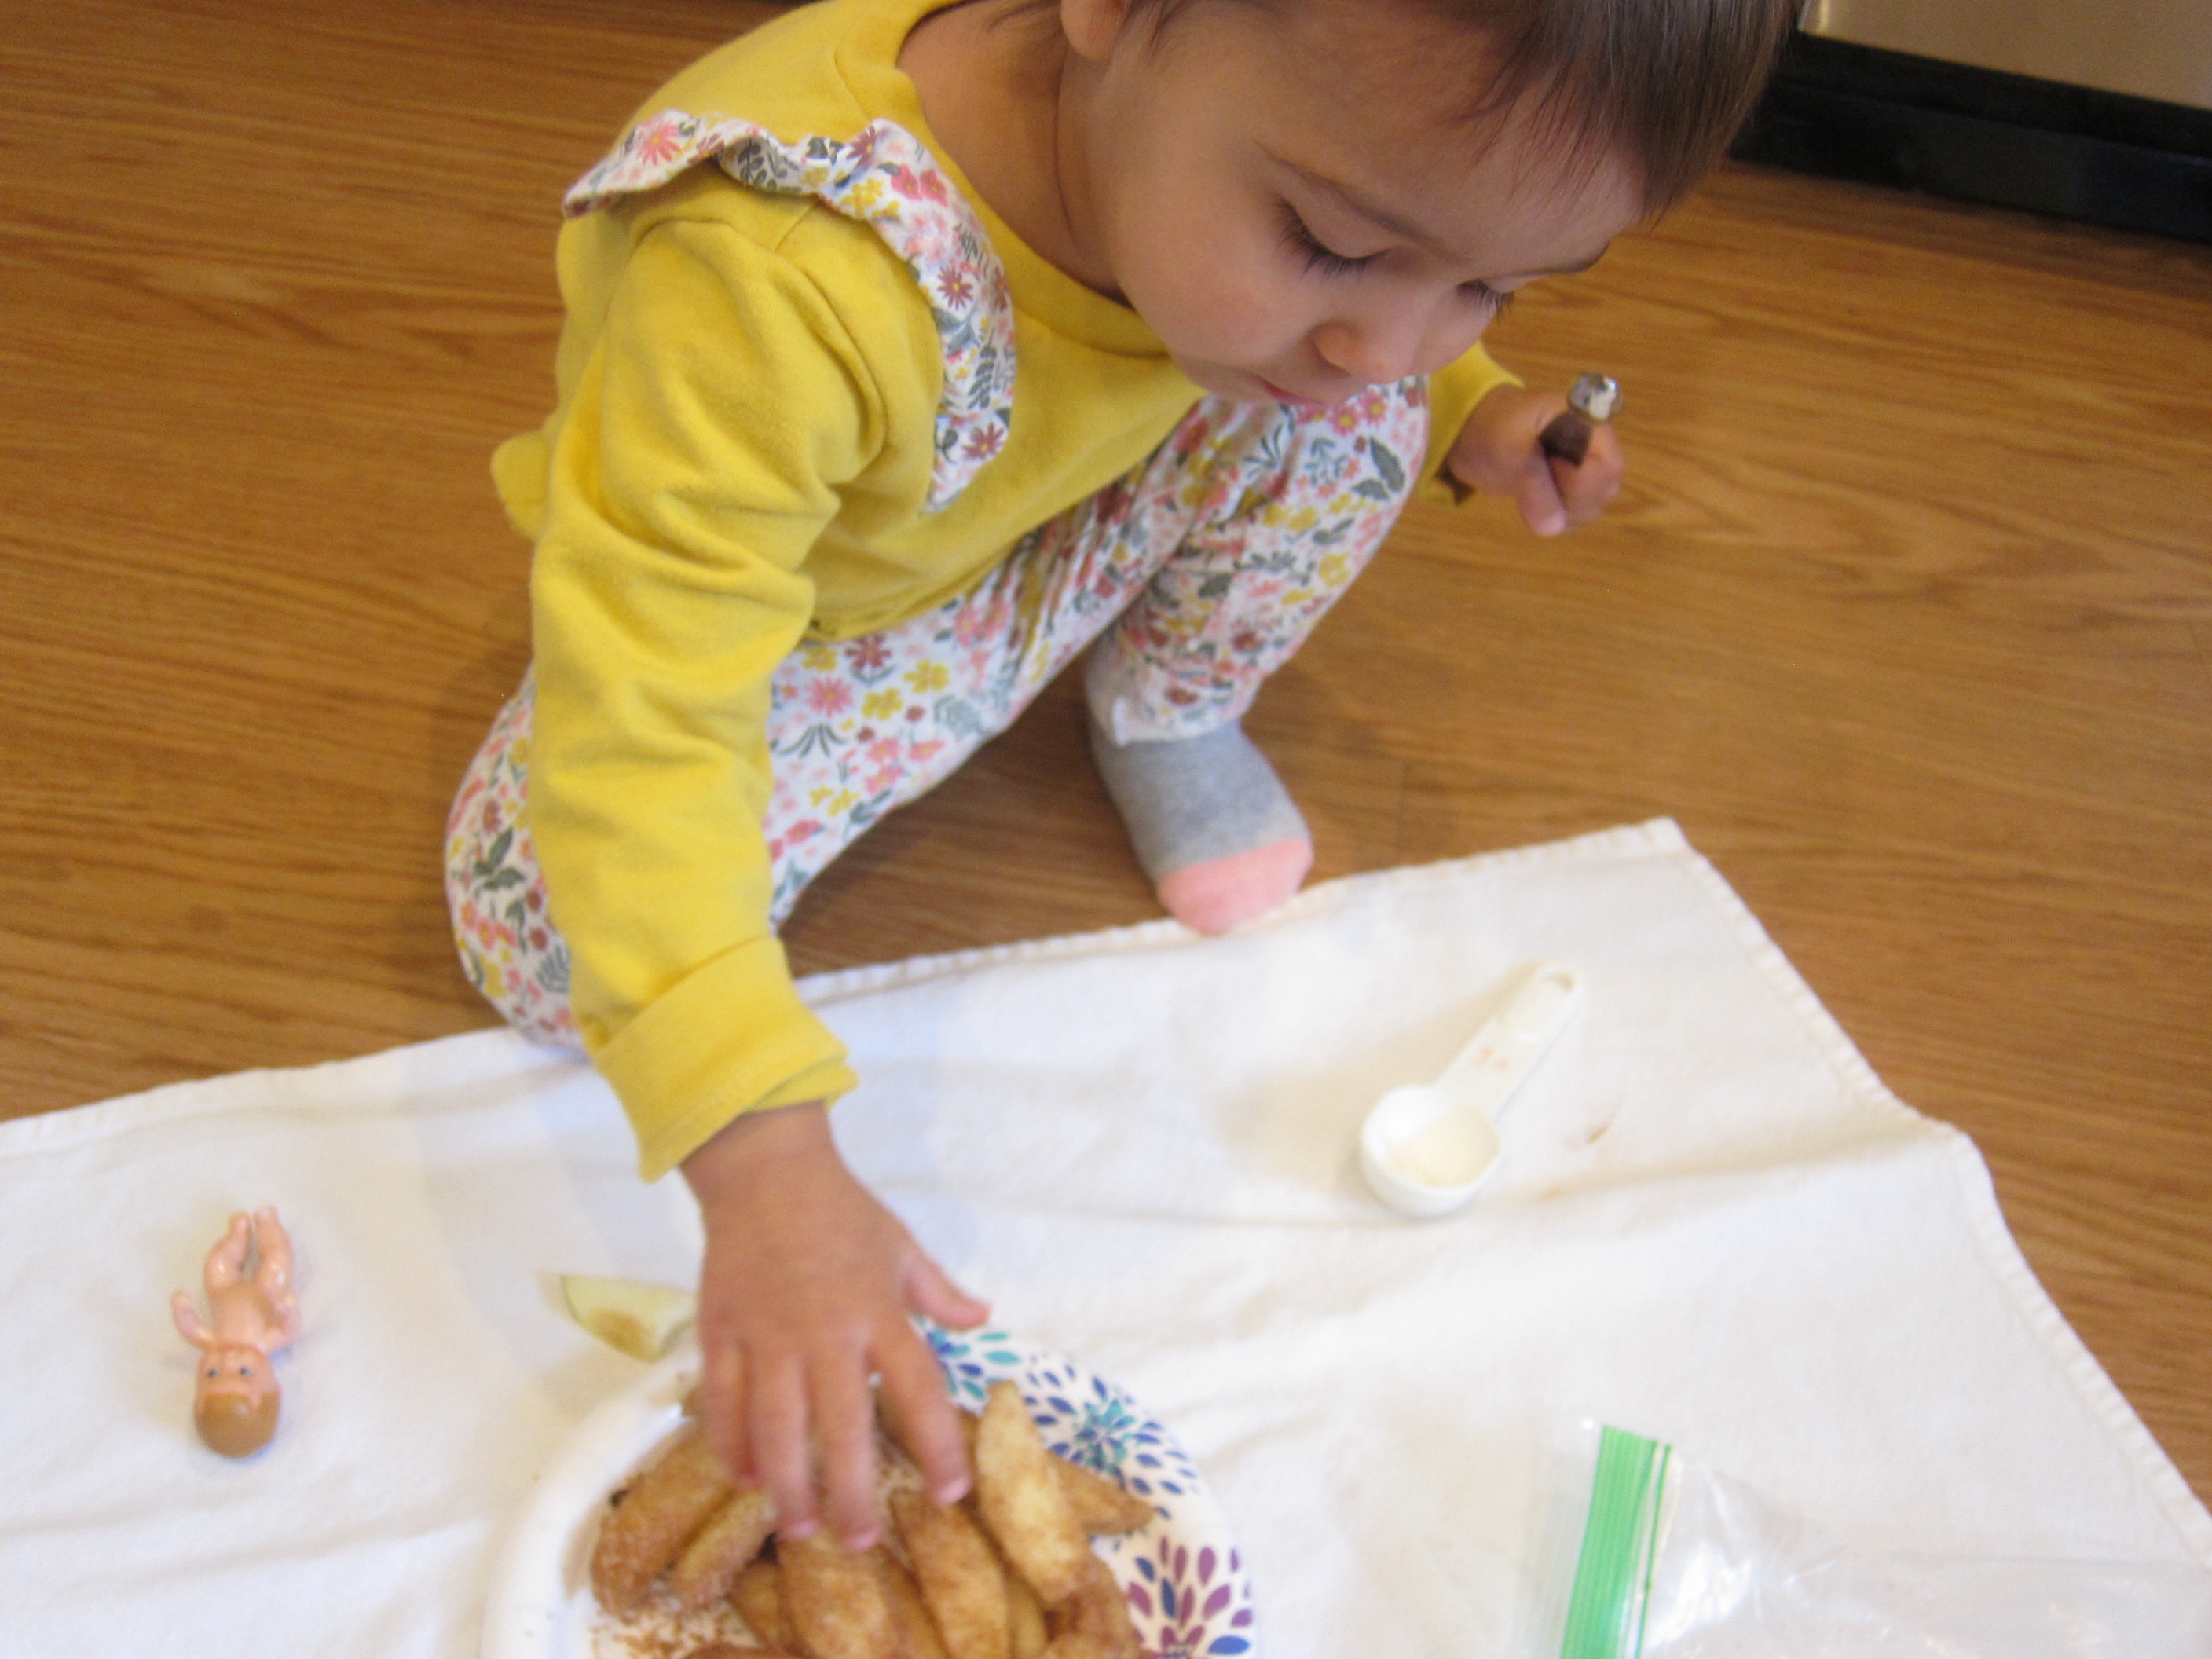
Veronika wanted to help go through the magazines too!

Sibling Picture Book (2)

Travis cut out the images, and we used a glue stick to attach one picture per piece of construction paper. I cut the construction paper in half so the book would easily fit into little hands. Staple your pages together, and then it’s story time!

Sibling Picture Book (3)

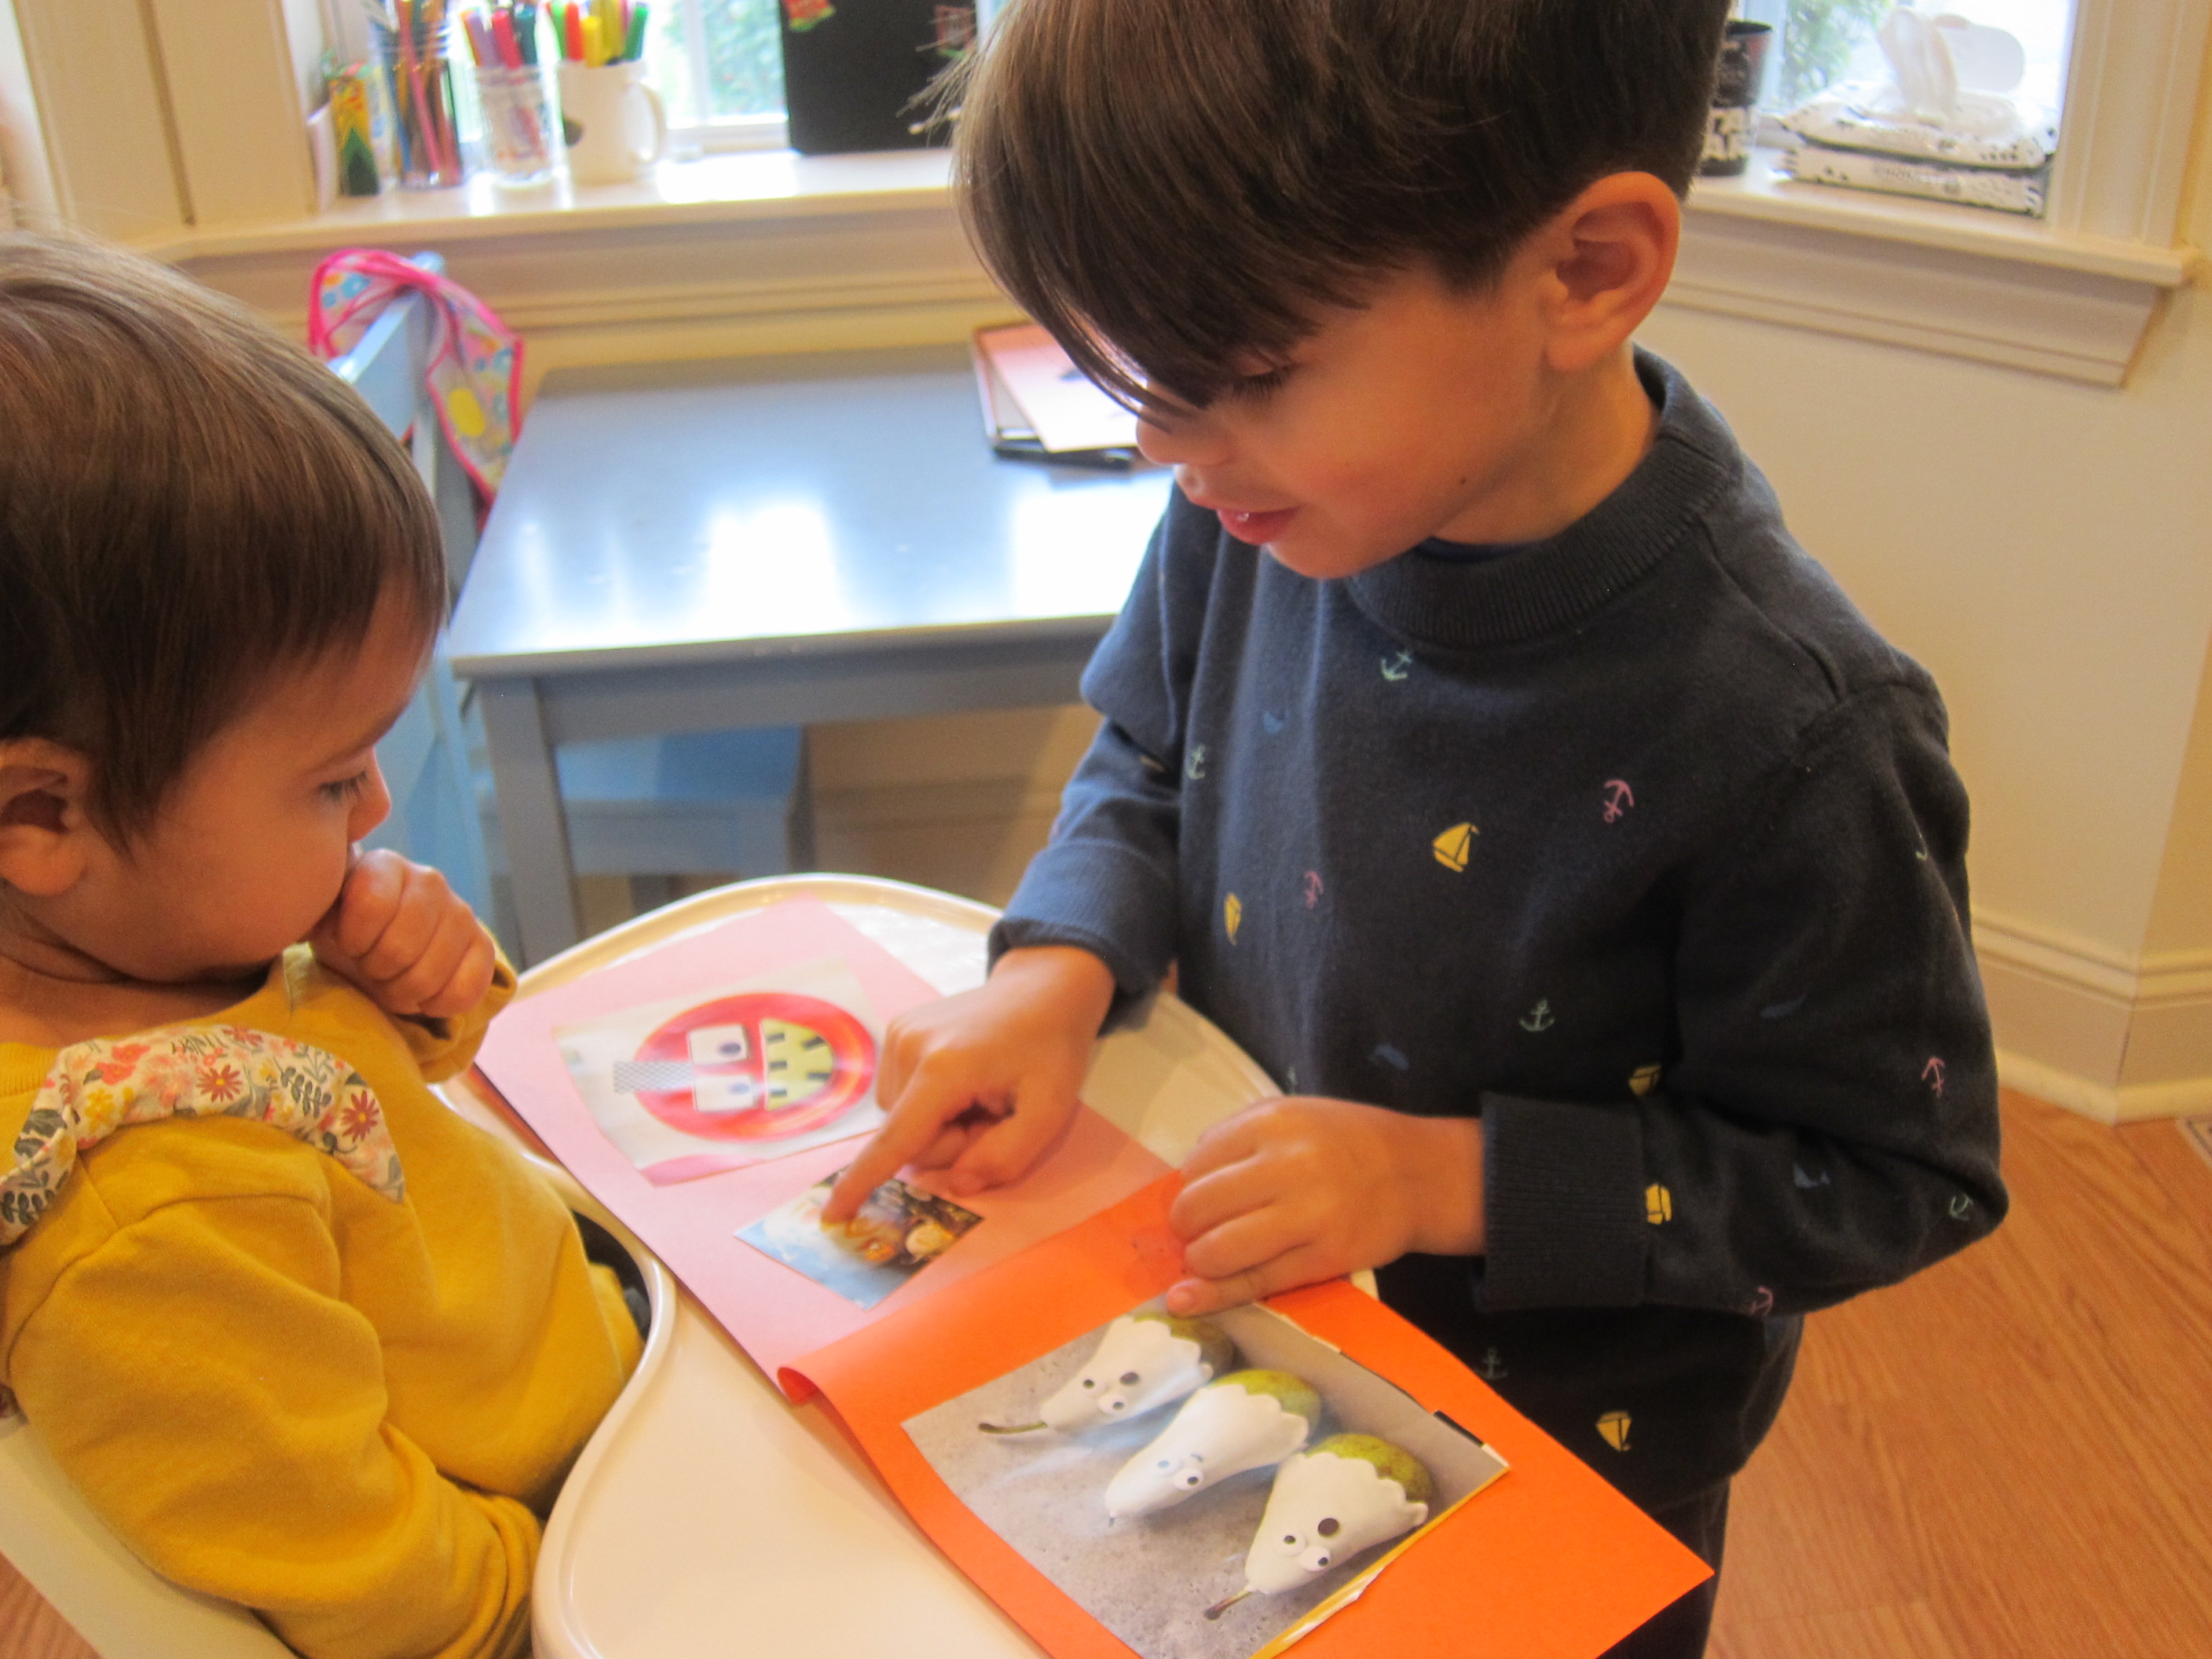
I absolutely loved watching Travis “read” this to Veronika. Older kids might want to craft a careful narrative, or write words below the images. Travis just loved flipping through the pages for her and making up a silly story based on what he saw, sillier each time the kids looked at it.

Sibling Picture Book (6)

Veronika clearly adored being the center of his attention.

Sibling Picture Book (4)

This was a beautiful bonding activity, and one we can repeat the next time we have a batch of magazines on hand.

Sibling Picture Book (7)

Mixed-Vegetable Stir-Fry

Mixed Vegetable Stir-Fry (2)

Serve this dish with sesame tofu and brown rice for a well-rounded meal.

Ingredients:

  • 1 cup water
  • 1 tablespoon cornstarch
  • 1 tablespoon soy sauce
  • 1 tablespoon rice vinegar
  • 2 tablespoons canola oil
  • 2 minced garlic cloves
  • 1-inch piece fresh ginger, minced
  • 1/2 onion, chopped
  • 2 carrots, chopped
  • 2 cups broccoli florets
  • 1 cup thinly sliced bok choy
  • 1 cup thinly sliced cabbage
  1. In a small bowl, whisk together the water and cornstarch. Add the soy sauce and rice vinegar; set aside.
  2. Meanwhile, heat the canola oil in a large skillet over medium-high heat. Add the garlic and ginger; cook for 30 seconds.
  3. Add the onions, carrot, and broccoli; cook for about 2 minutes.
  4. Add the bok choy and cabbage; cook for 2 minutes.
  5. Stir in the cornstarch mixture and continue to cook until the vegetables reach desired tenderness for your child.

The kids love this directly over brown rice!

Mixed Vegetable Stir-Fry (3)

Apple Seeds and Shake-Ups

Apple Seed Count (4)

Fall is my favorite season and I’m so excited to share it with Veronika this year, the first year that she’s really aware of the change in seasons. Today we celebrated the first day of fall with the season’s most iconic fruit: apples!

First, we sat down together with an apple that I’d cut into quarters and took out all the seeds, counting them onto a paper plate.

Apple Seed Count (1)

In addition to being simple math, this will show your toddler how a new baby apple tree starts!

Apple Seed Count (2)

As she plinked the apple seeds into a little paper cup, I peeled the apple and thinly sliced it. Fill a small plastic bag with 2 tablespoons sugar and 1/2 teaspoon cinnamon. Add the apple slices, seal, and encourage your toddler to shake it.

Apple Shake-Ups (1)

Ta da! An instant autumn snack: Apple Shake-Ups.

Apple Shake-Ups (3)

Veronika ate almost the whole apple she loved it so much!

Apple Shake-Ups (4)

We had one more apple sitting on the cutting board, but instead of eating that one, we dipped the slices in paint.

Apple Seed Count (3)

I gave her red and yellow paint, in keeping with our autumnal theme, with the bonus we got orange prints, too, once the paints mixed. She wasn’t as interested in this part of the craft, but overall we had apple-tastic fun.

Apple Seed Count (5)

Nature Bracelet

Nature Bracelet (2)

Turn any nature walk into a hunt for treasure with this toddler craft!

Nature Bracelet (6)

As we headed off on a nature trail through a meadow, I wrapped a length of masking tape around Veronika’s sleeve, sticky side out. While we walked, I started adding small flower petals and leaves to the bracelet, and remarked how beautiful the items were.

Nature Bracelet (1)

She very quickly got the idea and soon started gathering finds of her own, which I helped her attach to her “bracelet”.

Nature Bracelet (5)

Big brother Travis thought it looked so fun that he wanted an armband of his own to decorate.

Nature Bracelet (8)

And he was a big helper adding finds to his sister’s arm!

Nature Bracelet (3)

The activity led to beautiful moments on our walk, like pausing by the strands from a milkweed pod, which looked like silk on her bracelet.

Nature Bracelet (4)

Once home, I cut the masking tape from her sleeve and we mounted it on the wall as a gorgeous memento.

Nature Bracelet (7)

Homemade Limeade

Homemade Limeade

This toddler-friendly version of limeade has just the tiniest bite from sour lime, and no added sugars. You can use the same method to make lemonade, too! Add 1 teaspoon agave nectar if your kids do want a little extra sweetener.

Ingredients:

  • 1/4 cup fresh-squeezed lime juice
  • 2 cups white grape juice
  1. Stir together the ingredients in a pitcher, and serve over ice.

BBQ Chick’n Wrap

BBQ Chickn Wrap (2)

My kids devour this savory sandwich wrap. In other words, it’s the perfect way to refuel between in-person school mornings and remote afternoon learning sessions!

Ingredients:

  • 1 flour tortilla
  • 4 Gardein chick’n strips, cooked and sliced
  • 1 tablespoon BBQ sauce
  • 1/4 cup shredded cabbage mix
  • 1 tablespoon vegan ranch dressing
  1. Arrange the chick’n strips down the center of the tortilla, and drizzle with the BBQ sauce.
  2. In a small bowl, toss together the cabbage mix with the dressing. Sprinkle over the chick’n, then roll up tightly and cut in half to serve.

BBQ Chickn Wrap (1)

Nursery Rhyme Fun

Nursery Rhyme Fun (3)

No doubt your toddler has favorite nursery rhymes by about age 2, and probably knows a few of them by heart. Play this game to help with memorization, rhyming, and language learning. It’s perfect for car rides because it’s hands-free and requires no props. Though of course you can play at home, too.

Start a favorite nursery rhyme, but stop before the rhyming word at the end of a sentence. So for example, “Five little monkeys jumping on the bed, one fell off and bumped his…” It was her turn to chime in with, “Head!”

We played with other ditties too, “Hickory Dickory Dock.”

Nursery Rhyme Fun (1)

She also loves a song about a little red car, so we recited that one with props to help her chime in with the right word.

Nursery Rhyme Fun (2)

This game can easily be tailored to become more silly. Throw in a few fake verses and see if your toddler catches on to the error, e.g. “Hickory Dickory Dock, the mouse ran up the chimney”. One word of caution: whenever I do this, it makes Veronika cry! So skip it if your toddler prefers the true version.

Parking Game

Parking Game (10)

Here’s a fancier spin on a cars and colors game I played with Veronika as she was just starting to learn her colors. Now that she knows them well, this version involved more of a craft, and had an imaginative component, too.

For each garage, you’ll need a thin cardboard box. Big cereal boxes are perfect, but Veronika loved the game so much that I had to raid the pantry for cracker boxes and oatmeal boxes to add to her little town.

For each parking garage, use a craft knife to cut an opening for toy cars to drive into. Use masking tape to close any loose flaps on the boxes.

Parking Game (1)

Cover each with a different color of construction paper. Originally I intended just to make a blue garage and red garage for her. “What color is it?” I asked, holding up the paper. “Blue!” she said with delight.

Parking Game (2)

I used double-sided tape to make quick work of covering each box instead of waiting for glue to dry.

Parking Game (3)

In short order, Veronika could drive in her cars.

Parking Game (5)

We sorted the toy cars by color, and I parked them relatively near the corresponding garage before asking prompts like, “Can the red cars drive into the red garage?”

Parking Game (7)

Sometimes I tried to trick her with a car pulling up to the “wrong” spot. She quickly spotted it each time!

Parking Game (6)

She had so much fun driving the cars in and then dumping them out, too.

Parking Game (9)

Pretty soon we had a whole little town. Between making the craft, playing with it, and returning to it over the course of a few hours, this made for a wonderful morning activity.

Parking Game (8)

Bendy Straw Experiments

Floating Ball (4)

I have a pack of bendy straws at home, and this morning Travis and I used them in 3 experiments! Try one or all three, and see which is your family’s favorite.

Pom-Pom Popper:

For the first, poke a small hole in a dixie cup. If your cup is paper, kids can punch through with a pencil tip. We had plastic cups so I used a craft knife to make the slit.

Pom Pom Popper (1)

Cut the tip from a bendy straw just before the bend. Insert the bent end into the cup’s hole and tape on.

Pom Pom Popper (2)

Place a pom-pom in the cup and blow. Some good lung power can really make these jump!

Pom Pom Popper (5)

Travis was so proud when he was able to do it.

Floating Ball:

The next experiment was similar, but we got a little craftier. Cut circles from colored construction paper, and cut a slit in each to the center. Fold up into cones, securing with tape.

Floating Ball (2)

Snip a small hole in the tip of each cone and insert the bent part of a bendy straw; tape on for extra security.

For extra fun, make them monster mouth cones! We cut out teeth and eyes from additional colored paper and taped on the features. If you want a cleaner look, use glue to attach, but Travis was eager to get to the next step of making the monster eat a silver ball!

Floating Ball (3)

Crumple up a small piece of aluminum foil and place just over the opening of the straw. Huff into the other end and your ball will pop and spin and dance just where the monster can’t eat it.

Floating Ball (5)

Bubble Valve:

The final experiment was the simplest, but still fun. Cut a tiny slit in the top of an uninflated balloon, just large enough for a straw to fit. Insert the bottom end of a bendy straw. If your hole is a little too large, ideally get a new balloon and start again. This was the last balloon in the house, though, so I taped over a small gap between balloon and straw.

Balloon Valve (1)

Insert into a clear glass of water, then blow into the straw to make bubbles. Try and suck up to get a drink through the straw, too, which is much harder!

Balloon Valve (3)

Travis loved that he was able to do this one, too.

Balloon Valve (2)

Make Your Own Oat Milk

Homemade Oat Milk (6)

As an extension to his Lunchtime Love recipes from Raddish Kids, Travis was excited to learn how to make his own oat milk today!

The idea here was to show a child how food goes from raw ingredients to finished product. Of course we had to skip the growing and harvesting of the oats, but we came home from the store with a bag of organic rolled oats that certainly didn’t look like milk yet.

Homemade Oat Milk (1)

We first watched a few how-tos online to see if we could make the best oat milk possible. Tips include using the coldest water possible and blending for the least amount of time possible. Armed with that knowledge, Travis combined the following in a blender:

4 cups cold water

1 cup rolled oats

1 teaspoon vanilla extract

Skip the vanilla if you don’t want the milk sweetened. We ran the blender for about 30 seconds.

Homemade Oat Milk (2)

Travis was ecstatic that now it was white like milk!

Homemade Oat Milk (3)

I don’t have cheesecloth, so the best we could do was strain it through a fine-mesh sieve. He immediately needed a big glass and a straw. Little sister wanted a taste, too!

Homemade Oat Milk (5)

Well, he turned to me and said, “Actually… it’s not that good.”

Homemade Oat Milk (4)

Bonus points for honesty! I guess we’ll stick to almond milk as a family. But now Travis is determined that we should make a homemade batch. Thanks Raddish!