Galactic Art

Galactic Art (7)

Travis isn’t as interested in simple arts and crafts as when he was younger. So I love when I can still find ways to pique his interest, and I thought this quick craft might fit the bill. It involved a novel tool to paint billions of stars in a made-up galaxy: an old toothbrush!

I showed him how to dip the toothbrush in a plate filled with white paint, then scrape his finger along the bristles so little speckles of white jet out.

Galactic Art (1)

Pretty soon we had a whole Milky Way!

Galactic Art (2)

Next we needed to add planets to our galaxy. We definitely weren’t going for an exact replica of the Solar System here, but did have fun rounding up a pile of items that were circular to trace, aiming for a variety of different size circles.

Galactic Art (3)

One of those items happened to be a glitter jar, so then Travis insisted our galaxy needed glitter! Once the planets had all been glued down, we made a thick stream of white glue and sprinkled the glitter over this. Tap off any excess into the trash.

Galactic Art (6)

The glitter sort of eclipsed those original speckles of white “stars” we’d made with the toothbrush. But oh well, Travis was so engaged and happy with the process that I was happy, too.

Galactic Art (8)

Toddler Color Chart with Colorful Fall Leaves

Toddler Fall Leaf Chart (6)

We turned a beautiful stroll among the leaves into a chance for a little color review this morning.

And I mean stroll literally. Veronika was determined to push her doll around in a stroller “all by self”, crunching through autumn leaves. As we walked, we started a little collection of the most vibrant ones we could find.

Toddler Fall Leaf Chart (2)

Once home, I set up a quick “chart” for her. Divide a baking sheet into a 3×3 grid with masking tape. In the first column, I taped down three leaves: red, orange, and yellow.

Toddler Fall Leaf Chart (1)

In the second column, I had blank white squares of paper for Veronika to fill in with colors. I asked her what color each leaf was and then to find the matching crayon. To simplify this for a two year old, I only had out the three crayons we needed. You can make this more of a hunt through the whole pack for preschoolers!

Toddler Fall Leaf Chart (4)

She scribbled on the white squares for each. I also thought it was adorable that she wanted to use crayon directly on the leaves, for example, applying yellow crayon to yellow leaf.

Toddler Fall Leaf Chart (7)

Just for some extra early learning, I wrote the name of each color in the final column. Of course, she’s a long way off from sight reading, but it never hurts to start early!

Toddler Fall Leaf Chart (3)

This was a great project for extending a morning excursion into learning and play.

Beef and Gnocchi Stew

Beef Gnocchi Stew (1)

A rainy day off from school called for stew! Luckily I had all the ingredients for this one in the freezer and pantry.

Ingredients:

  • 2 tablespoons olive oil
  • 1 (9-ounce) package Gardein beefless tips
  • 1 onion, hopped
  • 32 ounces vegetable broth
  • 2 (14.5-ounce) cans diced tomatoes with garlic, oregano, and basil
  • 1 pkg. frozen or refrigerated gnocchi
  • Chopped parsley (for garnish)
  1. Heat the olive oil in a Dutch oven over medium-high heat. Add the beefless tips and onion; cook for 10 minutes.
  2. Stir in the broth, canned tomatoes, and gnocchi. Bring to a boil, then reduce heat and simmer for about 15 minutes.
  3. Garnish with the parsley just before serving.

Comfort in a bowl!

Beef Gnocchi Stew (2)

Spider’s Web Discovery Basket

Spider Web Discovery (8)

This activity for toddlers isn’t technically Halloween-themed, but certainly there’s a connection between spiders and the spooky holiday so it felt like the right time of year to play! Of course you could also do this activity any time of year.

To set up, I wound long strands of white yarn in and out of the holes of the laundry basket until they made a messy crisscross web shape.

Spider Web Discovery (2)

I originally considered adding only bug stuffed animals, but decided this might hit too close to home (Veronika is sometimes scared of webs). Instead, I added lots of small stuffed animals of every variety, including forest creatures like foxes and chipmunks, as well as a puppy and kitty.

Spider Web Discovery (5)

She discovered the web first thing in the morning!

Spider Web Discovery (4)

Could she figure out how to reach in and free the stuffed animals? After a little demonstration and some trial and error, she soon had a knack for it.

Spider Web Discovery (6)

She also loved putting animals back in the web!

Spider Web Discovery (10)

I’m not sure she entirely understood that the yarn was meant to look like a spider’s web, but either way, she enjoyed the challenge and the play.

Spider Web Discovery (12)

Rubber Band Racer

Rubber Band Rover (3)

This project unfortunately didn’t work as hoped for Travis, namely because we didn’t have a drill bit small enough to make the necessary tiny holes. But we decided to go ahead with the craft because it made the perfect “barge” in his make-believe games.

The idea is to make a racing car that can wind up on rubber bands, similar to the Mars Rover from his recent Kiwi Crate.

This time we needed to prep all the materials ourselves! Cut the tip from a wooden skewer to measure .75 inch. Cut two additional skewers into 4 inch pieces, and cut 2 lollipop sticks into 2 and 1/2 inch pieces.

Rubber Band Rover (1)

Well already we were in trouble! We didn’t have lollipop sticks. Instead, we thought straws might work, but soon realized this was going to be our first hurdle.

Rubber Band Rover (2)

Take 2 additional decorative straws and mark with a pen 1 inch and 2 inches in from each end (so 4 pen marks per straw). This is where ideally you’ll use a drill to make tiny holes. I tried poking with a straight pin, but this warped the straws. I was able to thread through our first axle (the first 4 inch skewer piece) but not the second.

Thinking quick, we turned to hot glue. We could put the racer together, but the glue meant our wheels wouldn’t turn.

If you have a drill, here’s what you’ll do: thread the skewers through the holes that are 1 inch in, and thread the lollipop sticks through the holes that are 2 inches in. Next use the drill to make a hole in the center of two large round plastic lids and two small round plastic lids (we used the tops from juice and almond milk cartons). Use hot glue to add the .75 inch skewer tip off the center of the back axle.

Since ours was now just a hot glue project, of course this meant that our wheels wouldn’t roll, so we skipped the step entirely of looping a rubber band around the front lollipop stock, to then stretch around the back skewer tip. Need a visual for all that? Check here.

But as you can see, Travis’s vehicle now was Jabba the Hutt’s barge!

Rubber Band Rover (5)

Can your child get the rubber band racer to truly race? Please share in the comments!

Rubber Band Rover (4)

Halloween Countdown Day 13: Monster Sensory Tub

Monster Sensory Tub (1)

This activity doubled as the day’s sensory play and a way to tick off a box on our countdown to Halloween. And it couldn’t have been easier!

I filled a tub with purple water beads and water so the beads could grow to full size. The kids were so impatient to play, though, that I handed over the bin when the beads were only half as big as they could eventually get. To add spooky monsters, all we needed were large wiggle eyes.

Monster Sensory Tub (2)

At first the eyes were floating on the surface. But Travis loved burying them as deep under the water beads as he could, and then unearthing the “monsters”.

Monster Sensory Tub (4)

They were so eerie swimming to the surface. Veronika jumped right in to copy him!

Monster Sensory Tub (5)

She also loved scooping up handfuls of the water beads and then letting them trickle back down.

Monster Sensory Tub (6)

Before I knew it, the game changed slightly. Star Wars Stormtroopers needed to escape from the monsters!

Monster Sensory Tub (9)

This kept the kids so busy and happy the entire time I was prepping dinner. A definite spooky win.

Monster Sensory Tub (8)

Black Bean Roll-Ups

Black Bean Roll Ups (2)

Kids will love the fun pinwheel shape of this sandwich. And grown-ups will love the nutrition packed inside it!

Ingredients:

  • 1 teaspoon olive oil
  • 1/4 cup minced onion
  • 1 teaspoon minced garlic
  • 1 (15-ounce) can black beans, drained and rinsed
  • 8 ounces carrot puree
  • 1 teaspoon cumin
  • 4 whole wheat tortillas
  • 4 tablespoons mashed avocado
  1. Heat the olive oil in a saucepan over medium-high heat. Add the onion and garlic; saute for about 3 minutes.
  2. Stir in the beans, carrot puree, and cumin. Mash with a potato masher to desired consistency; set aside.
  3. Meanwhile, warm the tortillas in the microwave for about 30 seconds.
  4. Spread each tortilla with about 1/4 cup bean mixture and 1 tablespoon avocado. Roll up, then cut into slices to serve.

Black Bean Roll Ups (1)

Slimy Spaghetti Sensory Activity

Spaghetti Potion (6)

Veronika enjoyed a recent craft with spaghetti so much that I thought we’d do a repeat today, this time with more of a Halloween theme!

Spaghetti Potion (1)

I cooked a package of spaghetti and divided it in half. My intention was to tint one half orange and one half black with food coloring. Because I had to mix colors to achieve black, it was more of a deep bluish purple, but that was just as eerie and witchy in its own way!

Spaghetti Potion (2)

That was it! I set the two big bowls (er, cauldrons) of spaghetti “slime” in front of Veronika, along with a few other kitchen tools like colanders and sieves.

Spaghetti Potion (3)

She immediately was busy ladling, scooping, and transferring.

Spaghetti Potion (5)

Spaghetti bubbling up from the steamer basket looked like little worms!

Spaghetti Potion (7)

She kept the colors together for a while, but soon was mixing and matching.

Spaghetti Potion (8)

I knew Veronika would love this, but I hadn’t counted on big brother Travis wanting to get involved! He immediately wanted his own ladle and whisk and began making batches of witch’s brew.

Spaghetti Potion (4)

I had put newspaper on the floor, so believe it or not, clean-up was a breeze.

Spaghetti Potion (9)

Luckily our all-natural food coloring washes off hands easily, too, so a quick wash and the fun was done.

Halloween Countdown Day 12: Scavenger Hunt

Halloween 12 Scavenger Hunt (1)

Part of the reason we started our countdown to Halloween this year is that some traditions just can’t happen safely while social distancing (we’re looking at you, trunk-or-treating).

Instead, I pitched the idea of a town window scavenger hunt to a local family group. Within a week it was organized and ready to go!

The goal was for kids to spot 8 Halloween images in the windows of 8 stores along our town’s main street. No need to go in the stores (although patronizing local businesses safely is also an excellent goal right now).

The scavenger hunt was set up with various degrees of difficulty for different ages. Young toddlers like Veronika could circle each image.

Halloween 12 Scavenger Hunt (4)

Elementary school kids could draw a line from each shop name to the proper image, or write the name of the store in a provided space. The kids loved spotting silly spiders and ghosts!

Halloween 12 Scavenger Hunt (3)

At the end, they turned in their score cards for a free scoop of sorbet at a local shop.

Scavenger Hunt alt

A rather sweet treat, no tricks!

Halloween 12 Scavenger Hunt (2)

How is your town organizing Halloween for kids this year? Please share in the comments !

Experience the Harvest

Verrill (3)

With beautiful fall recipes that celebrate the harvest in Travis’s latest Raddish Kids, we wanted to make sure we ticked all the boxes for fall family fun. All of the following activities are ones we try to do every year. Start now and make them a tradition for your family, too!

Go Through a Corn Maze

Hansons (7)

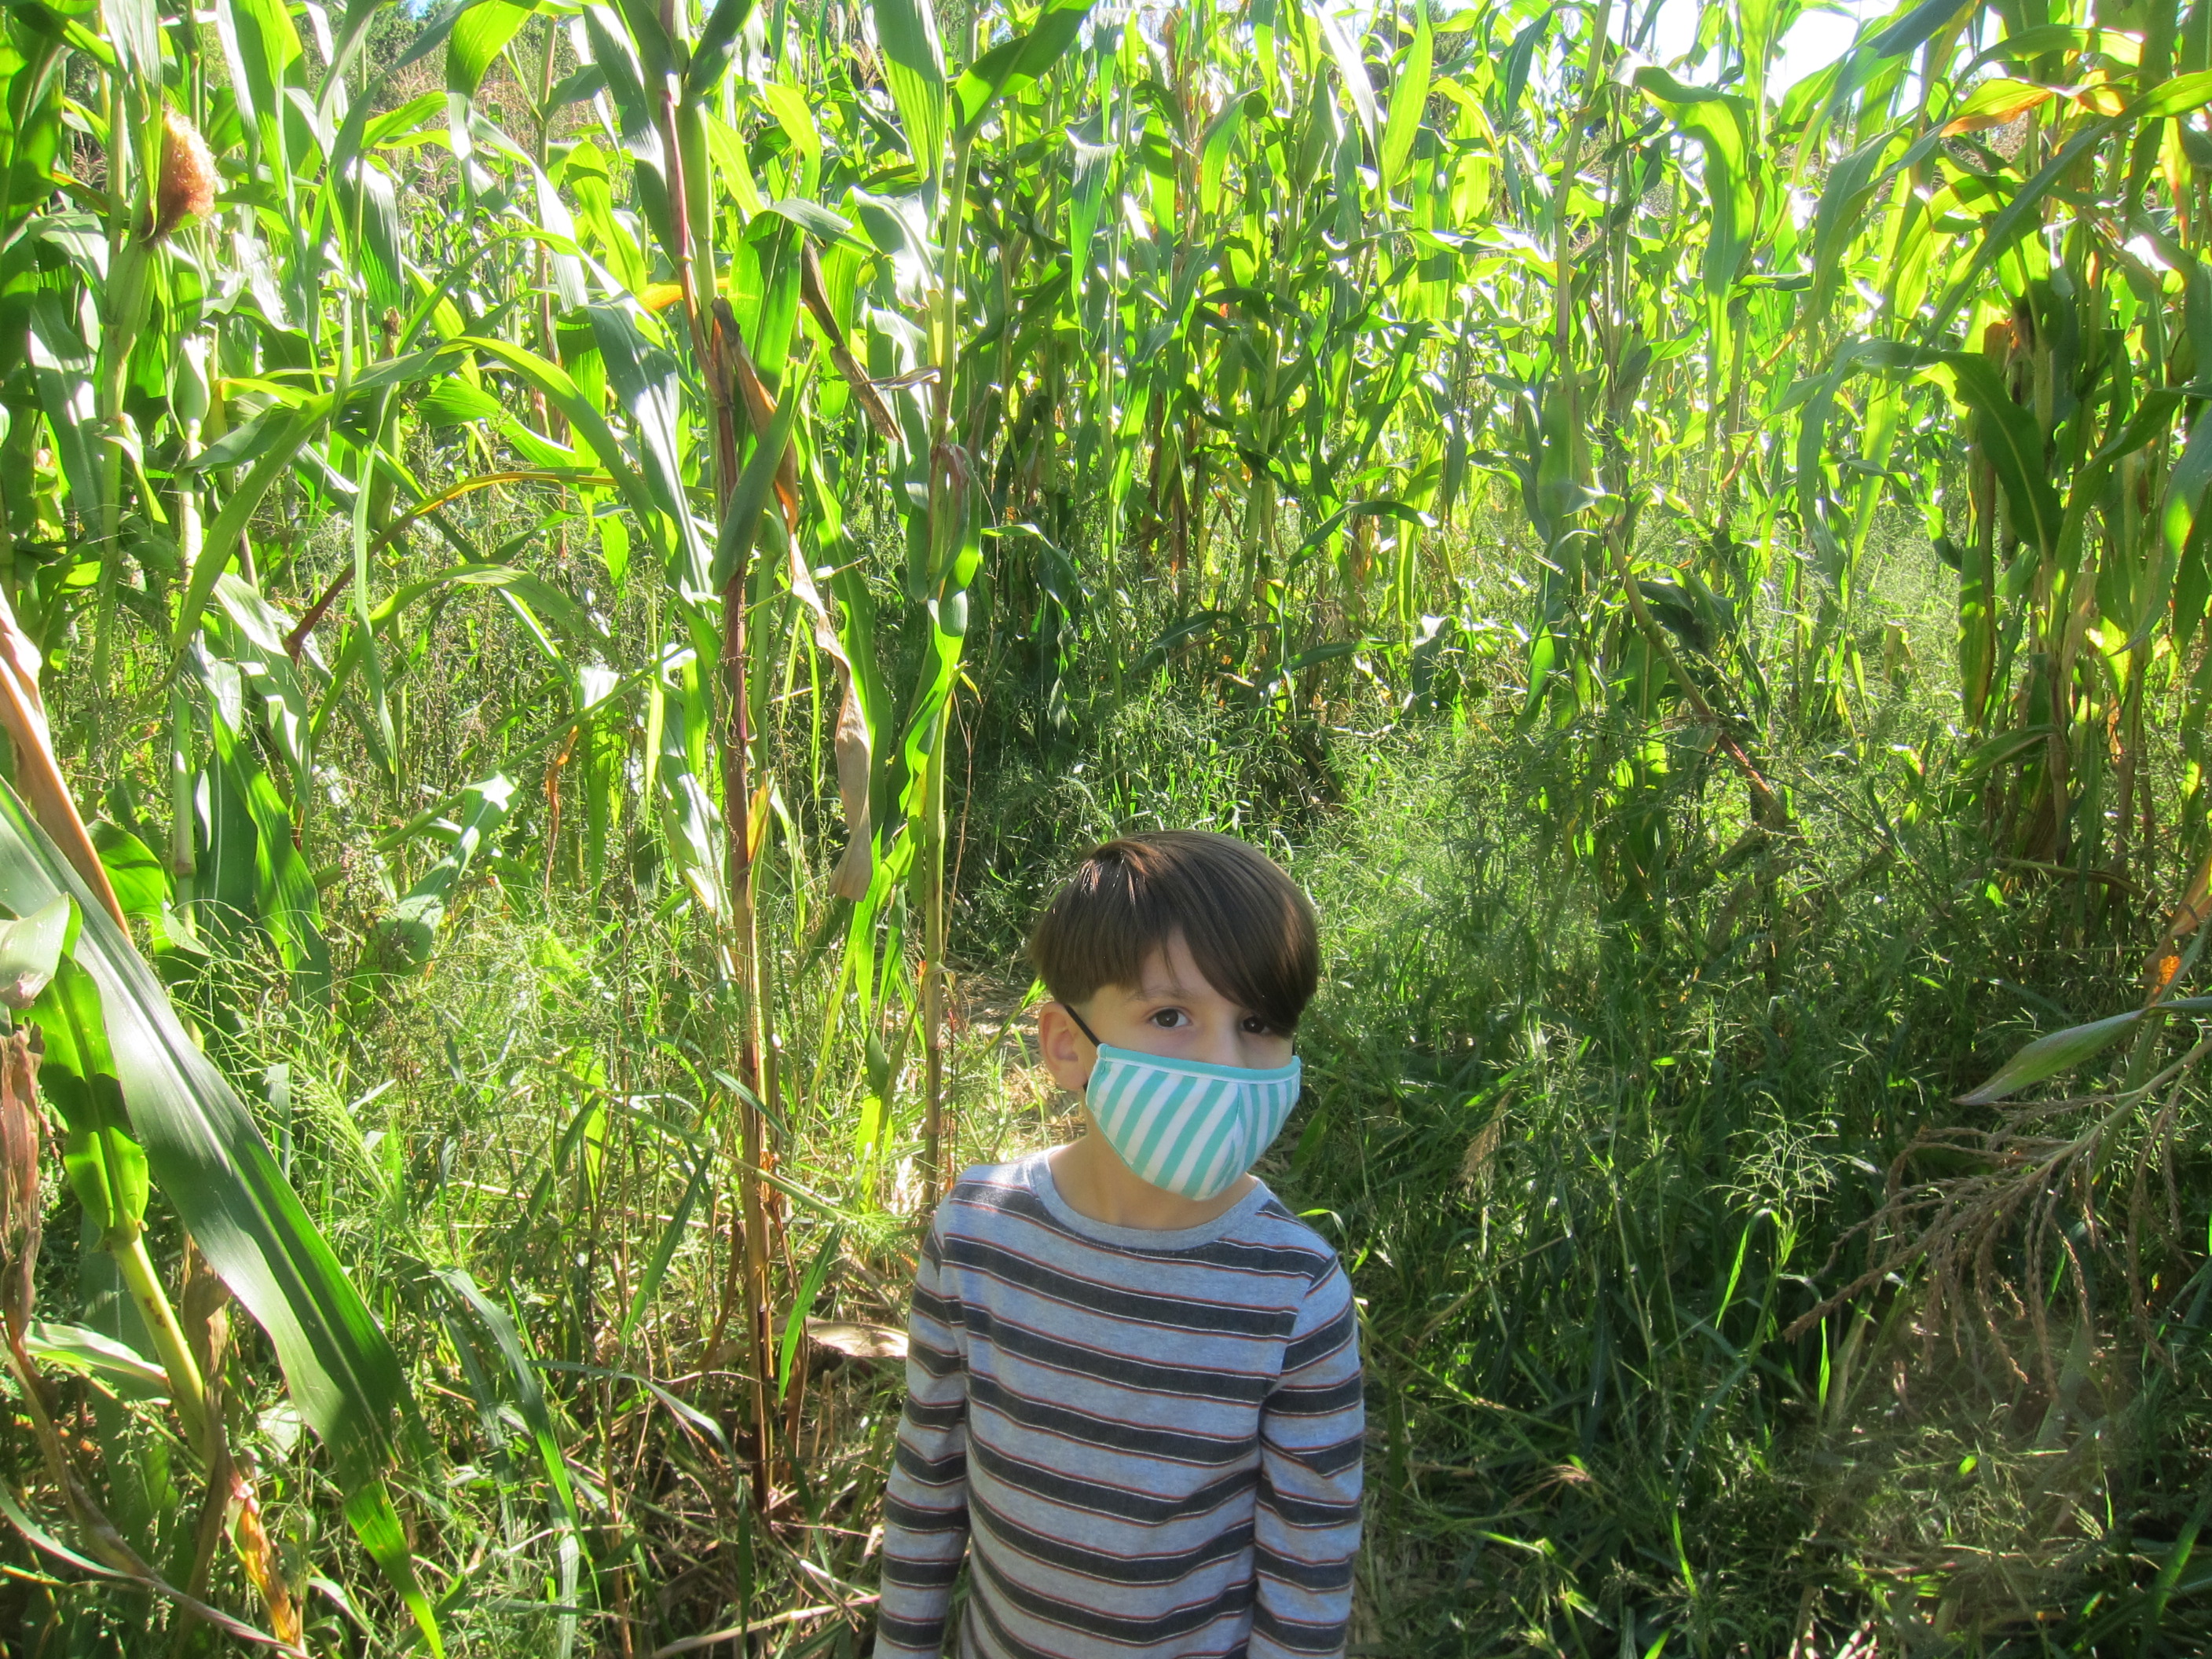
Corn mazes range from the easy to the truly harrowing. Aim for one-acre or less if your kids are young like mine. Meanwhile, big kids can tackle the biggies… Or the haunted ones!

Attend a Local Harvest Festival

Davis (4)

This was harder this year, under COVID-19 regulations. But we did go to a local farm, where the kids got to see animals like goats and sheep, and help feed them, too!

Pick Pumpkins at a Patch

Hansons (15)

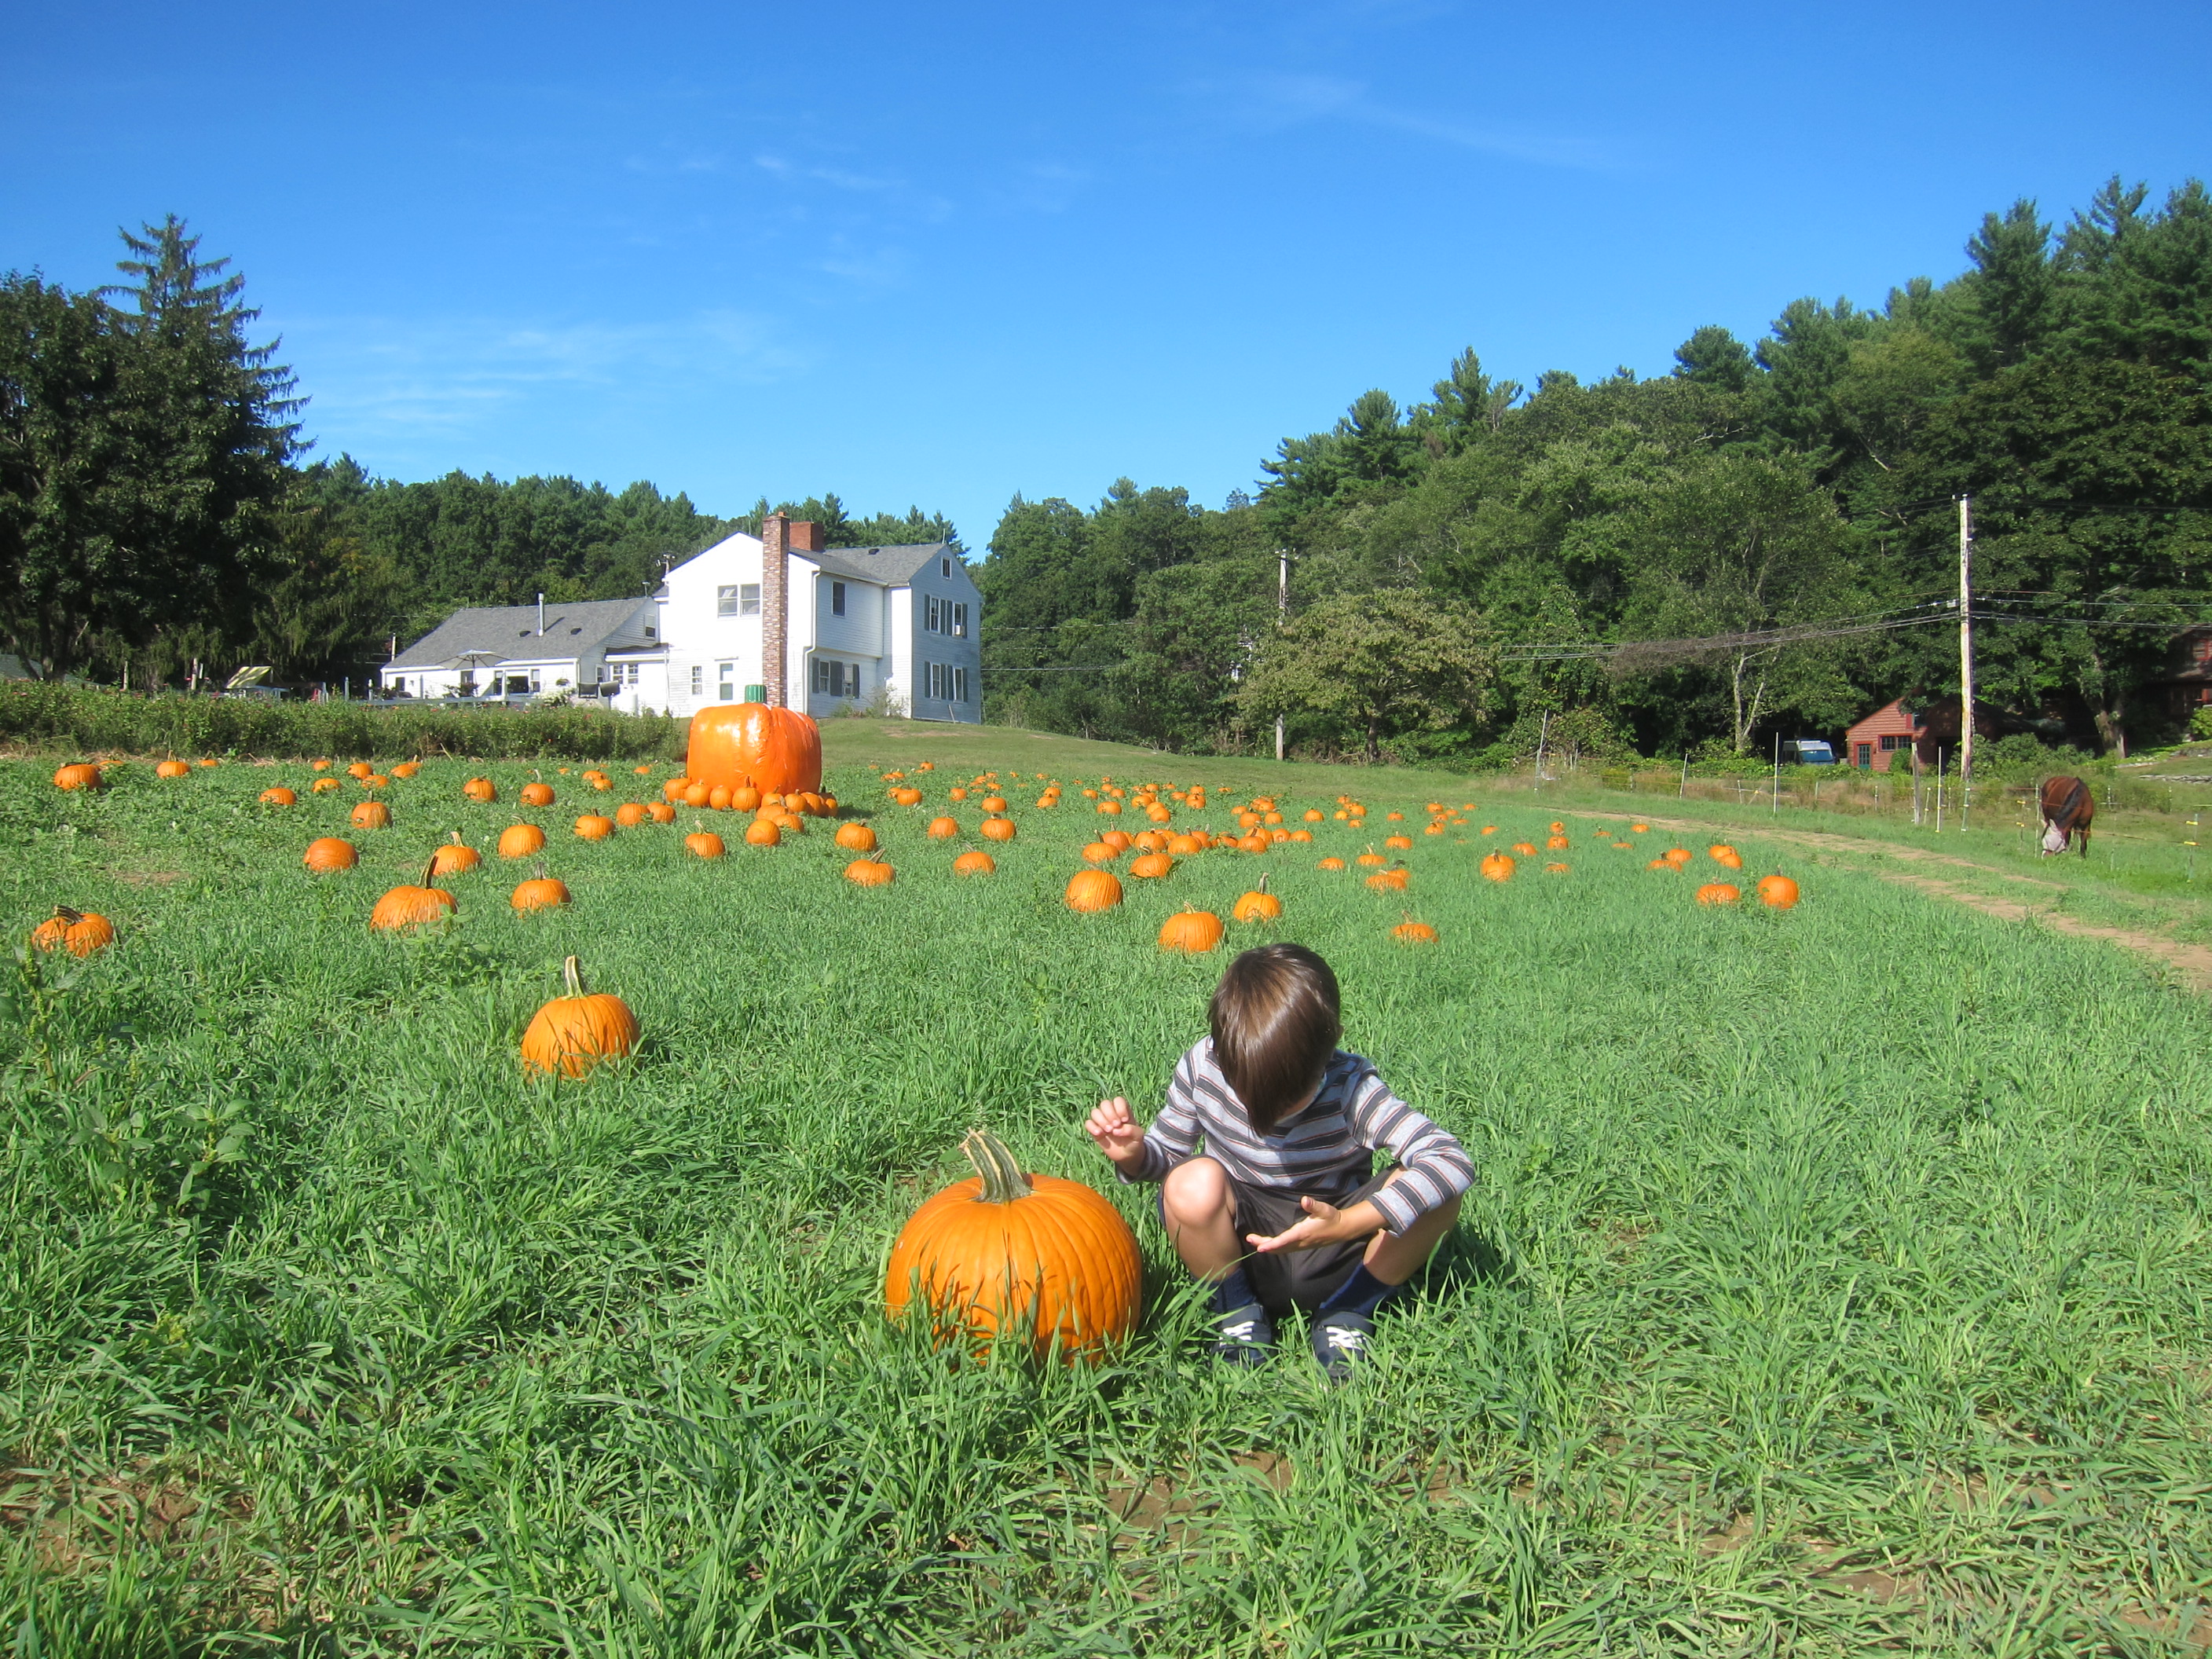
We headed to the pumpkin patch on a day where proceeds benefited the pediatrics department of our local hospital. The kids got to take home goodie bags, and three proudly picked pumpkins.

Hop a Tractor for a Hay Ride

Hansons (2)

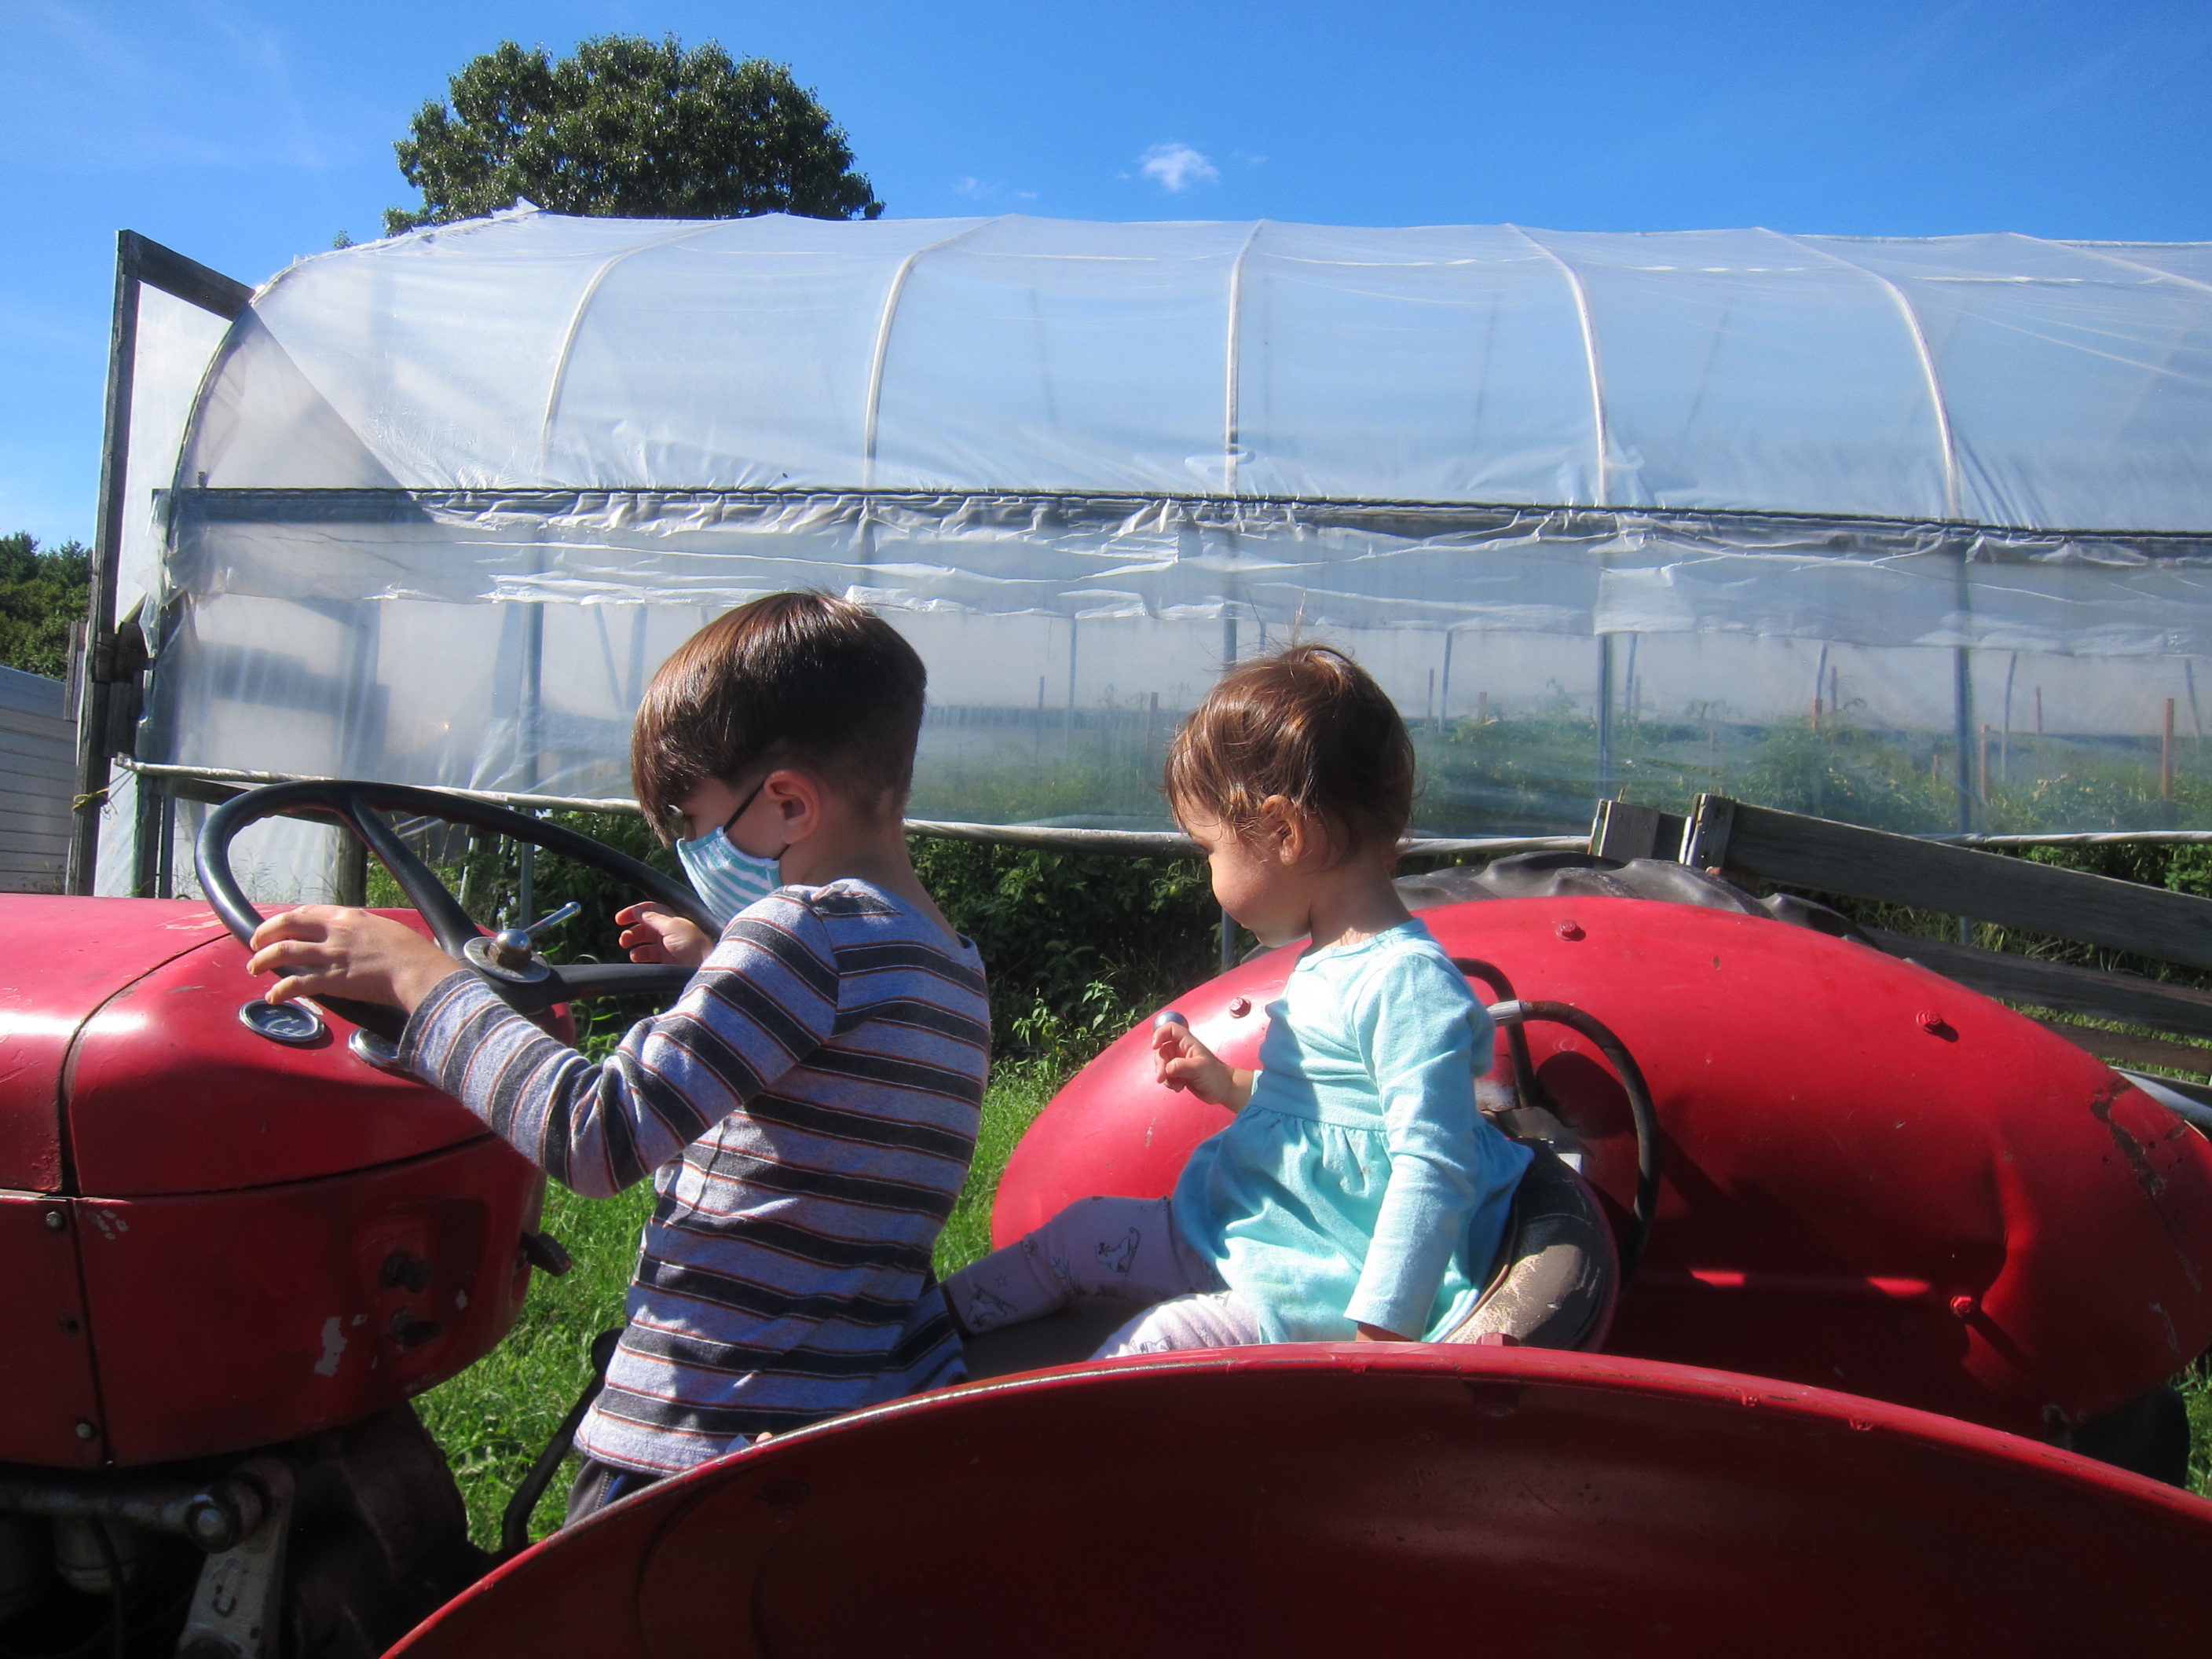
Bummer, the hay rides are closed this year, too. But the kids can still sit in the tractors at least. Vroom, vroom!

Drink Hot Apple Cider

Mulled Cider (2)

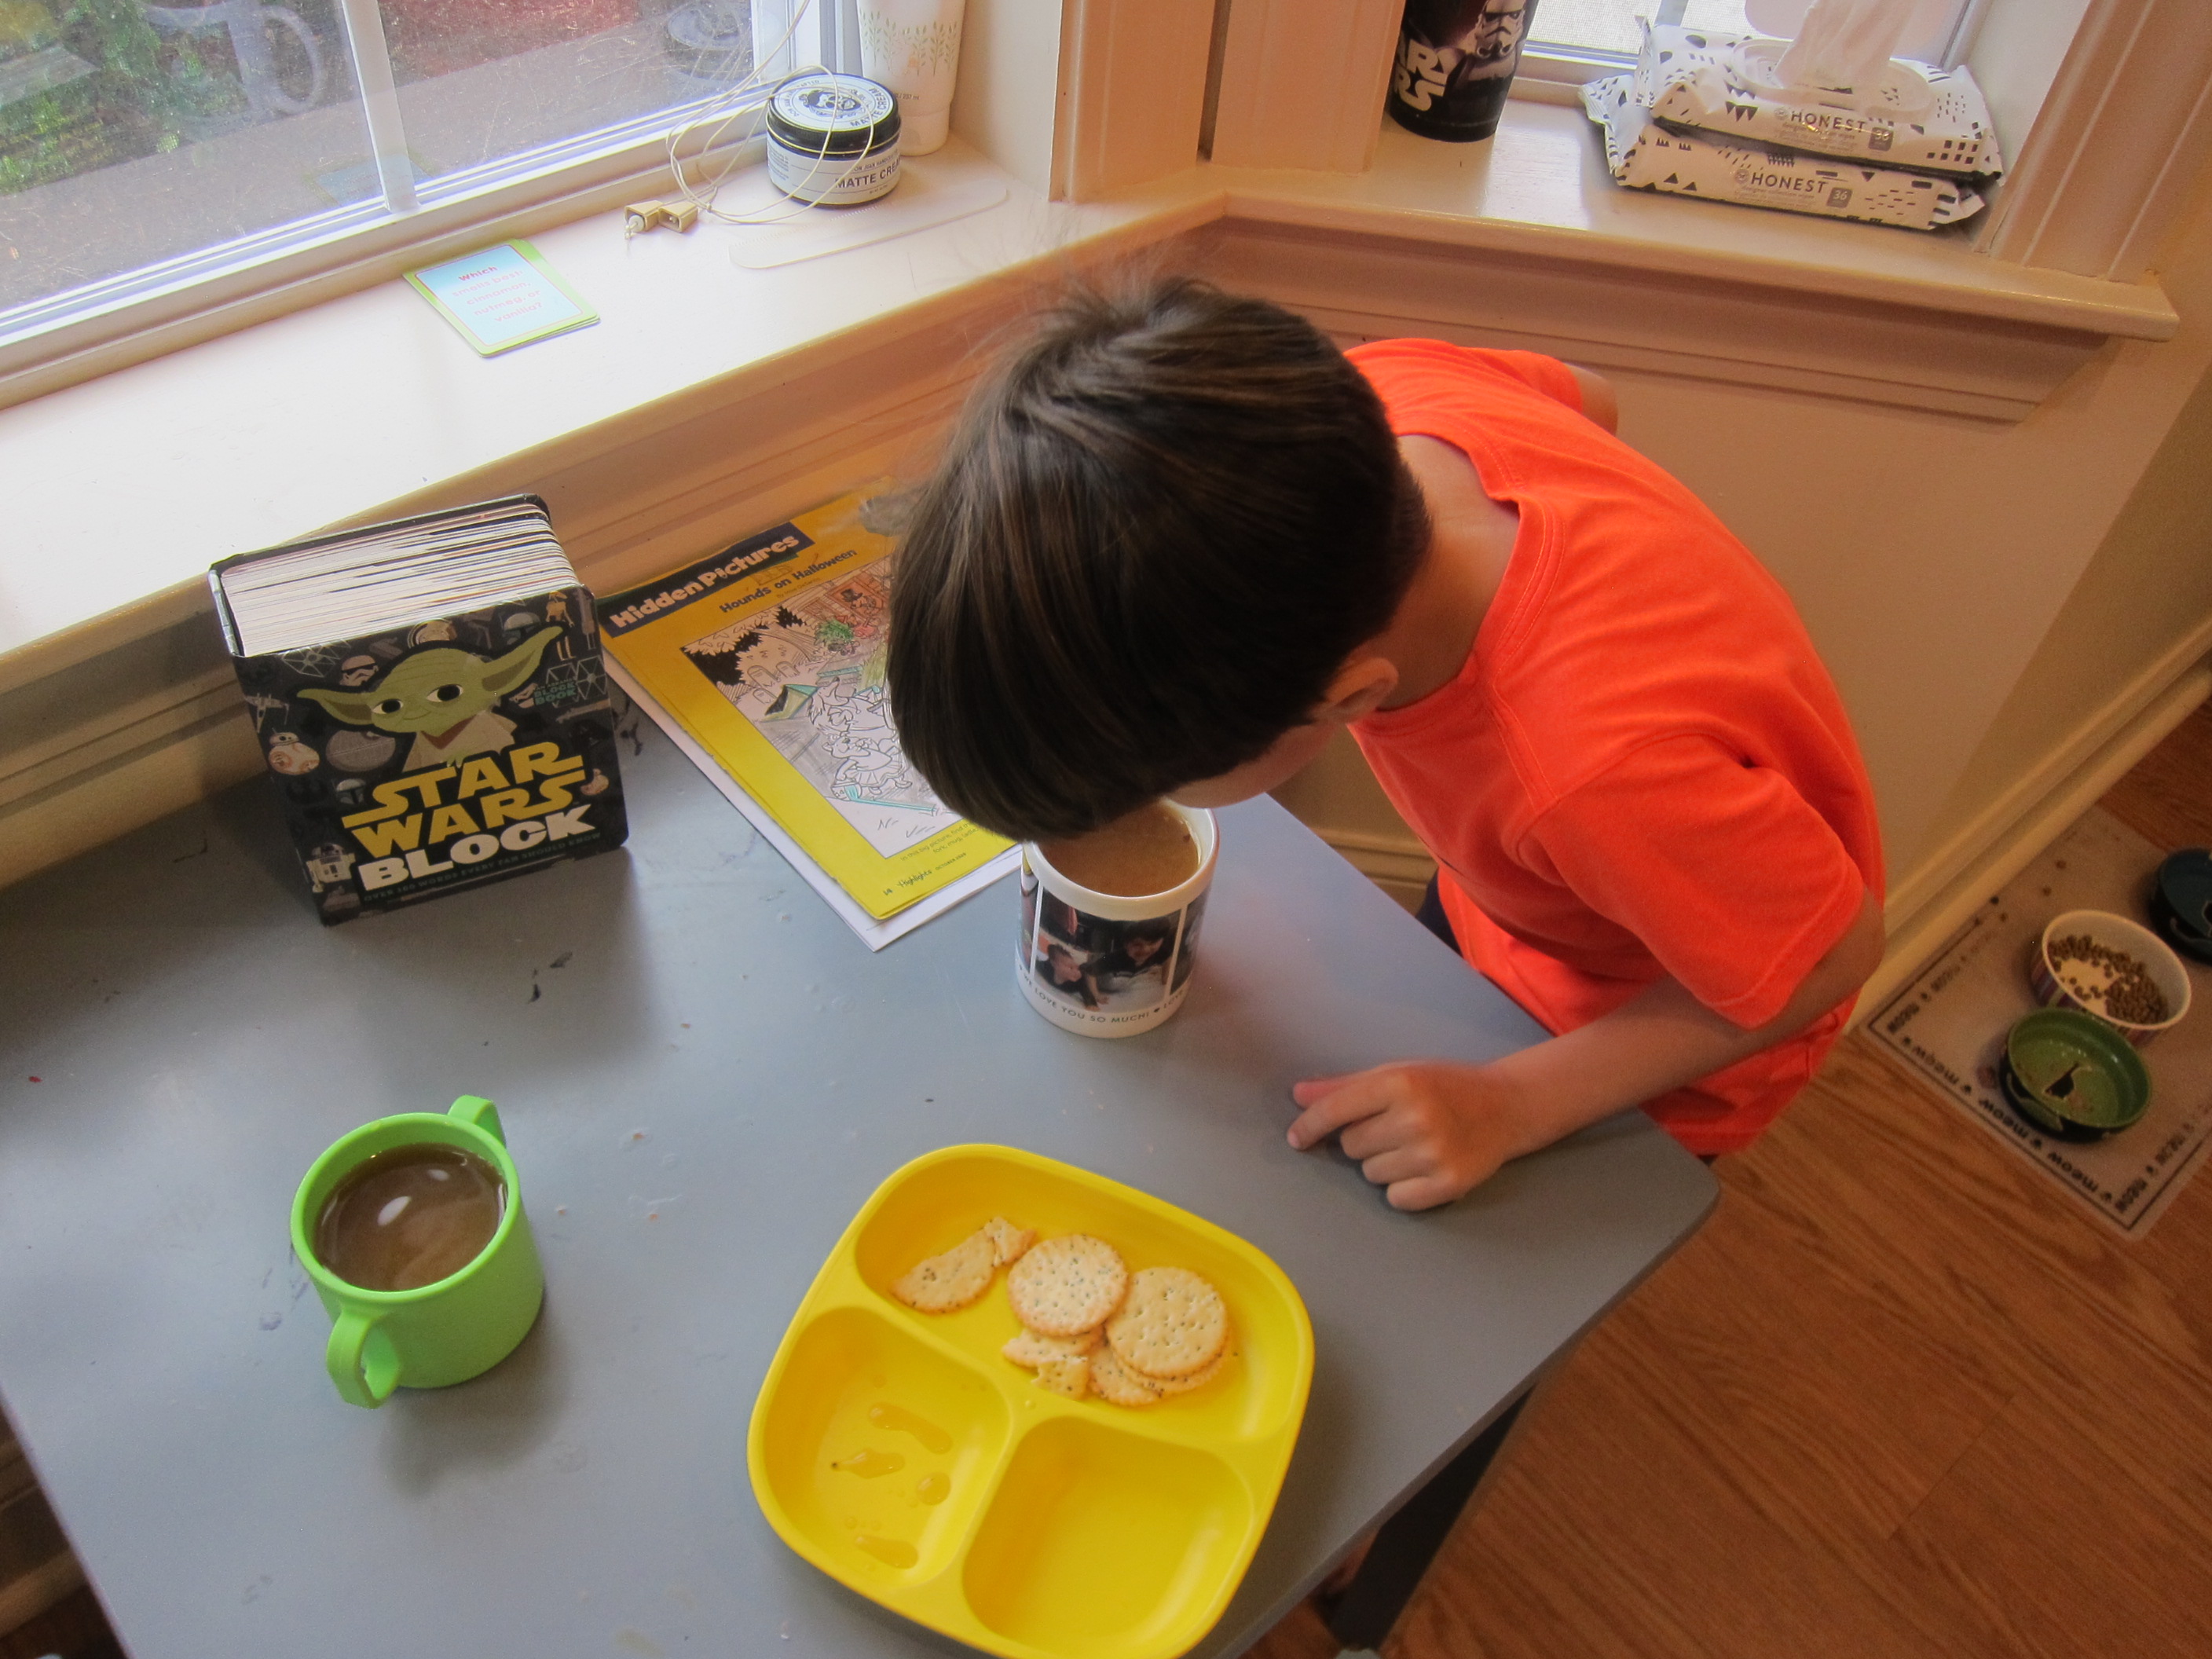
After holding his own apple cider stand (!), we made sure to save enough to enjoy mulled cider back at home. The kids marveled at how a little heat and spice transformed a regular cup of cider. It was the perfect pause for some Raddish Kids’ Table Talk cards, too.

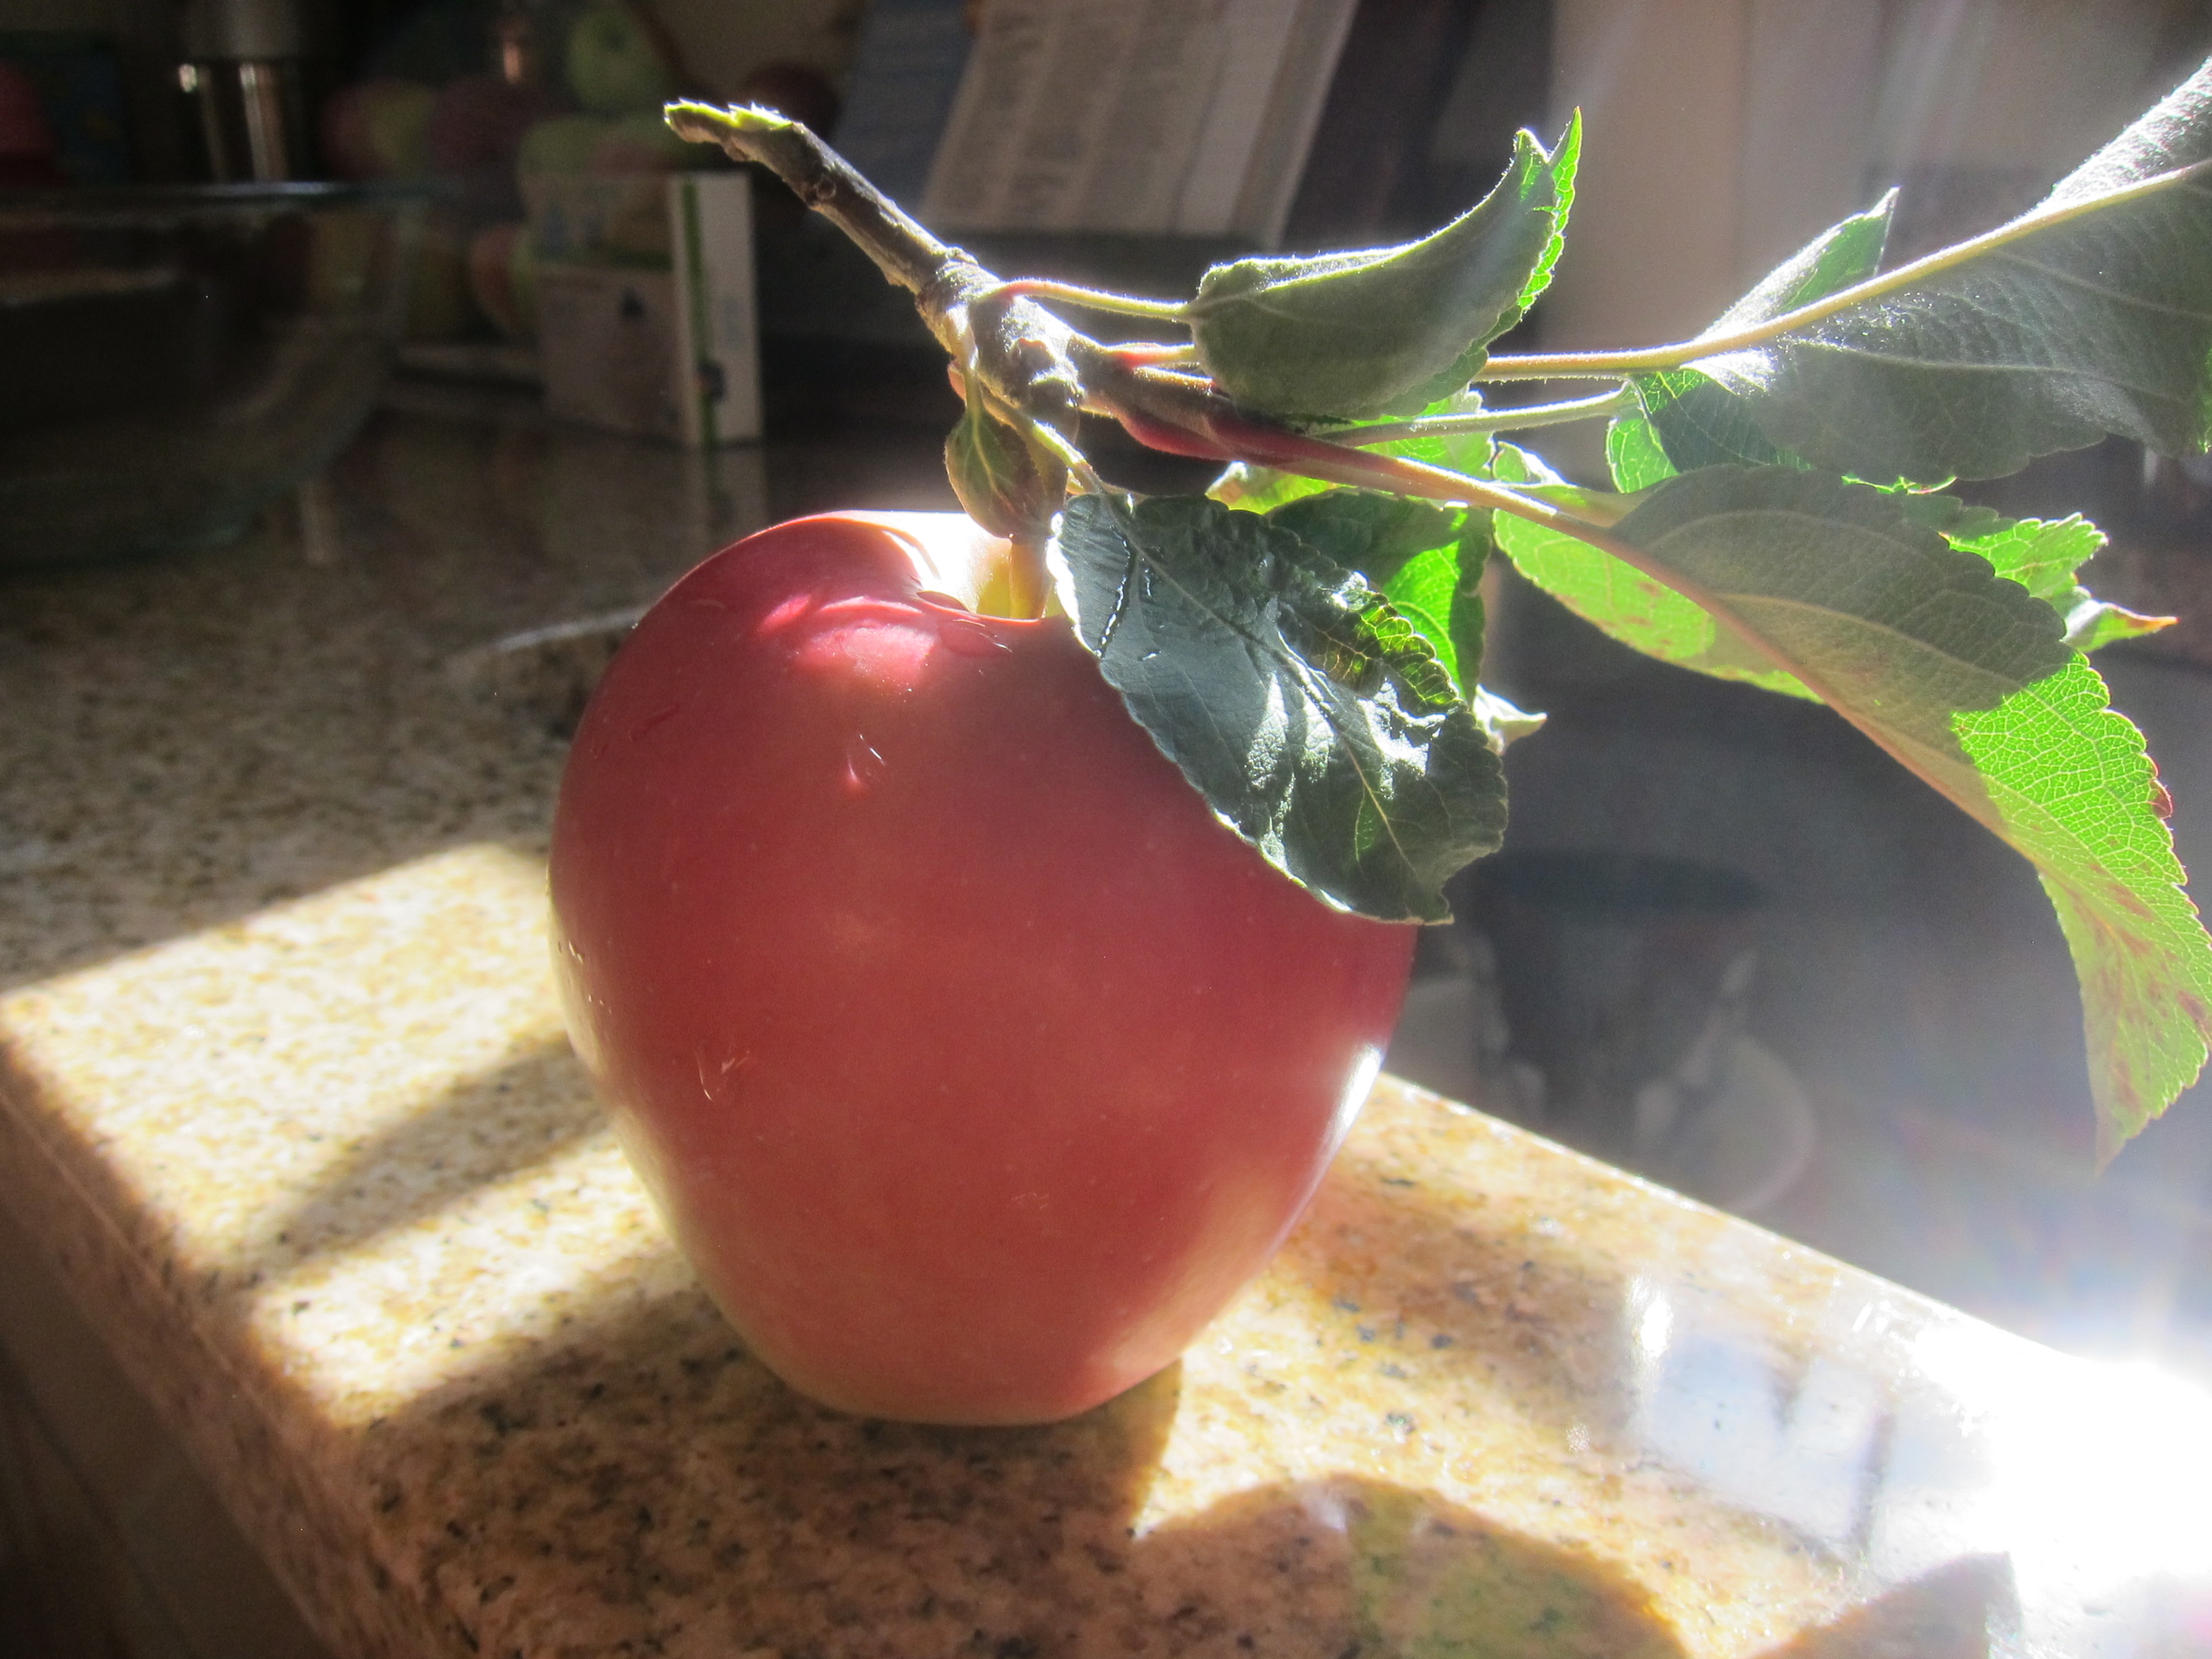
Visit an Orchard for Apple Picking

Davis (19)

We lucked out with a gorgeous afternoon to pick apples from a local orchard. Travis was really into finding the best apples and carefully twisting them off this year. Veronika loved standing under the trees and staring up at the apples in glee.
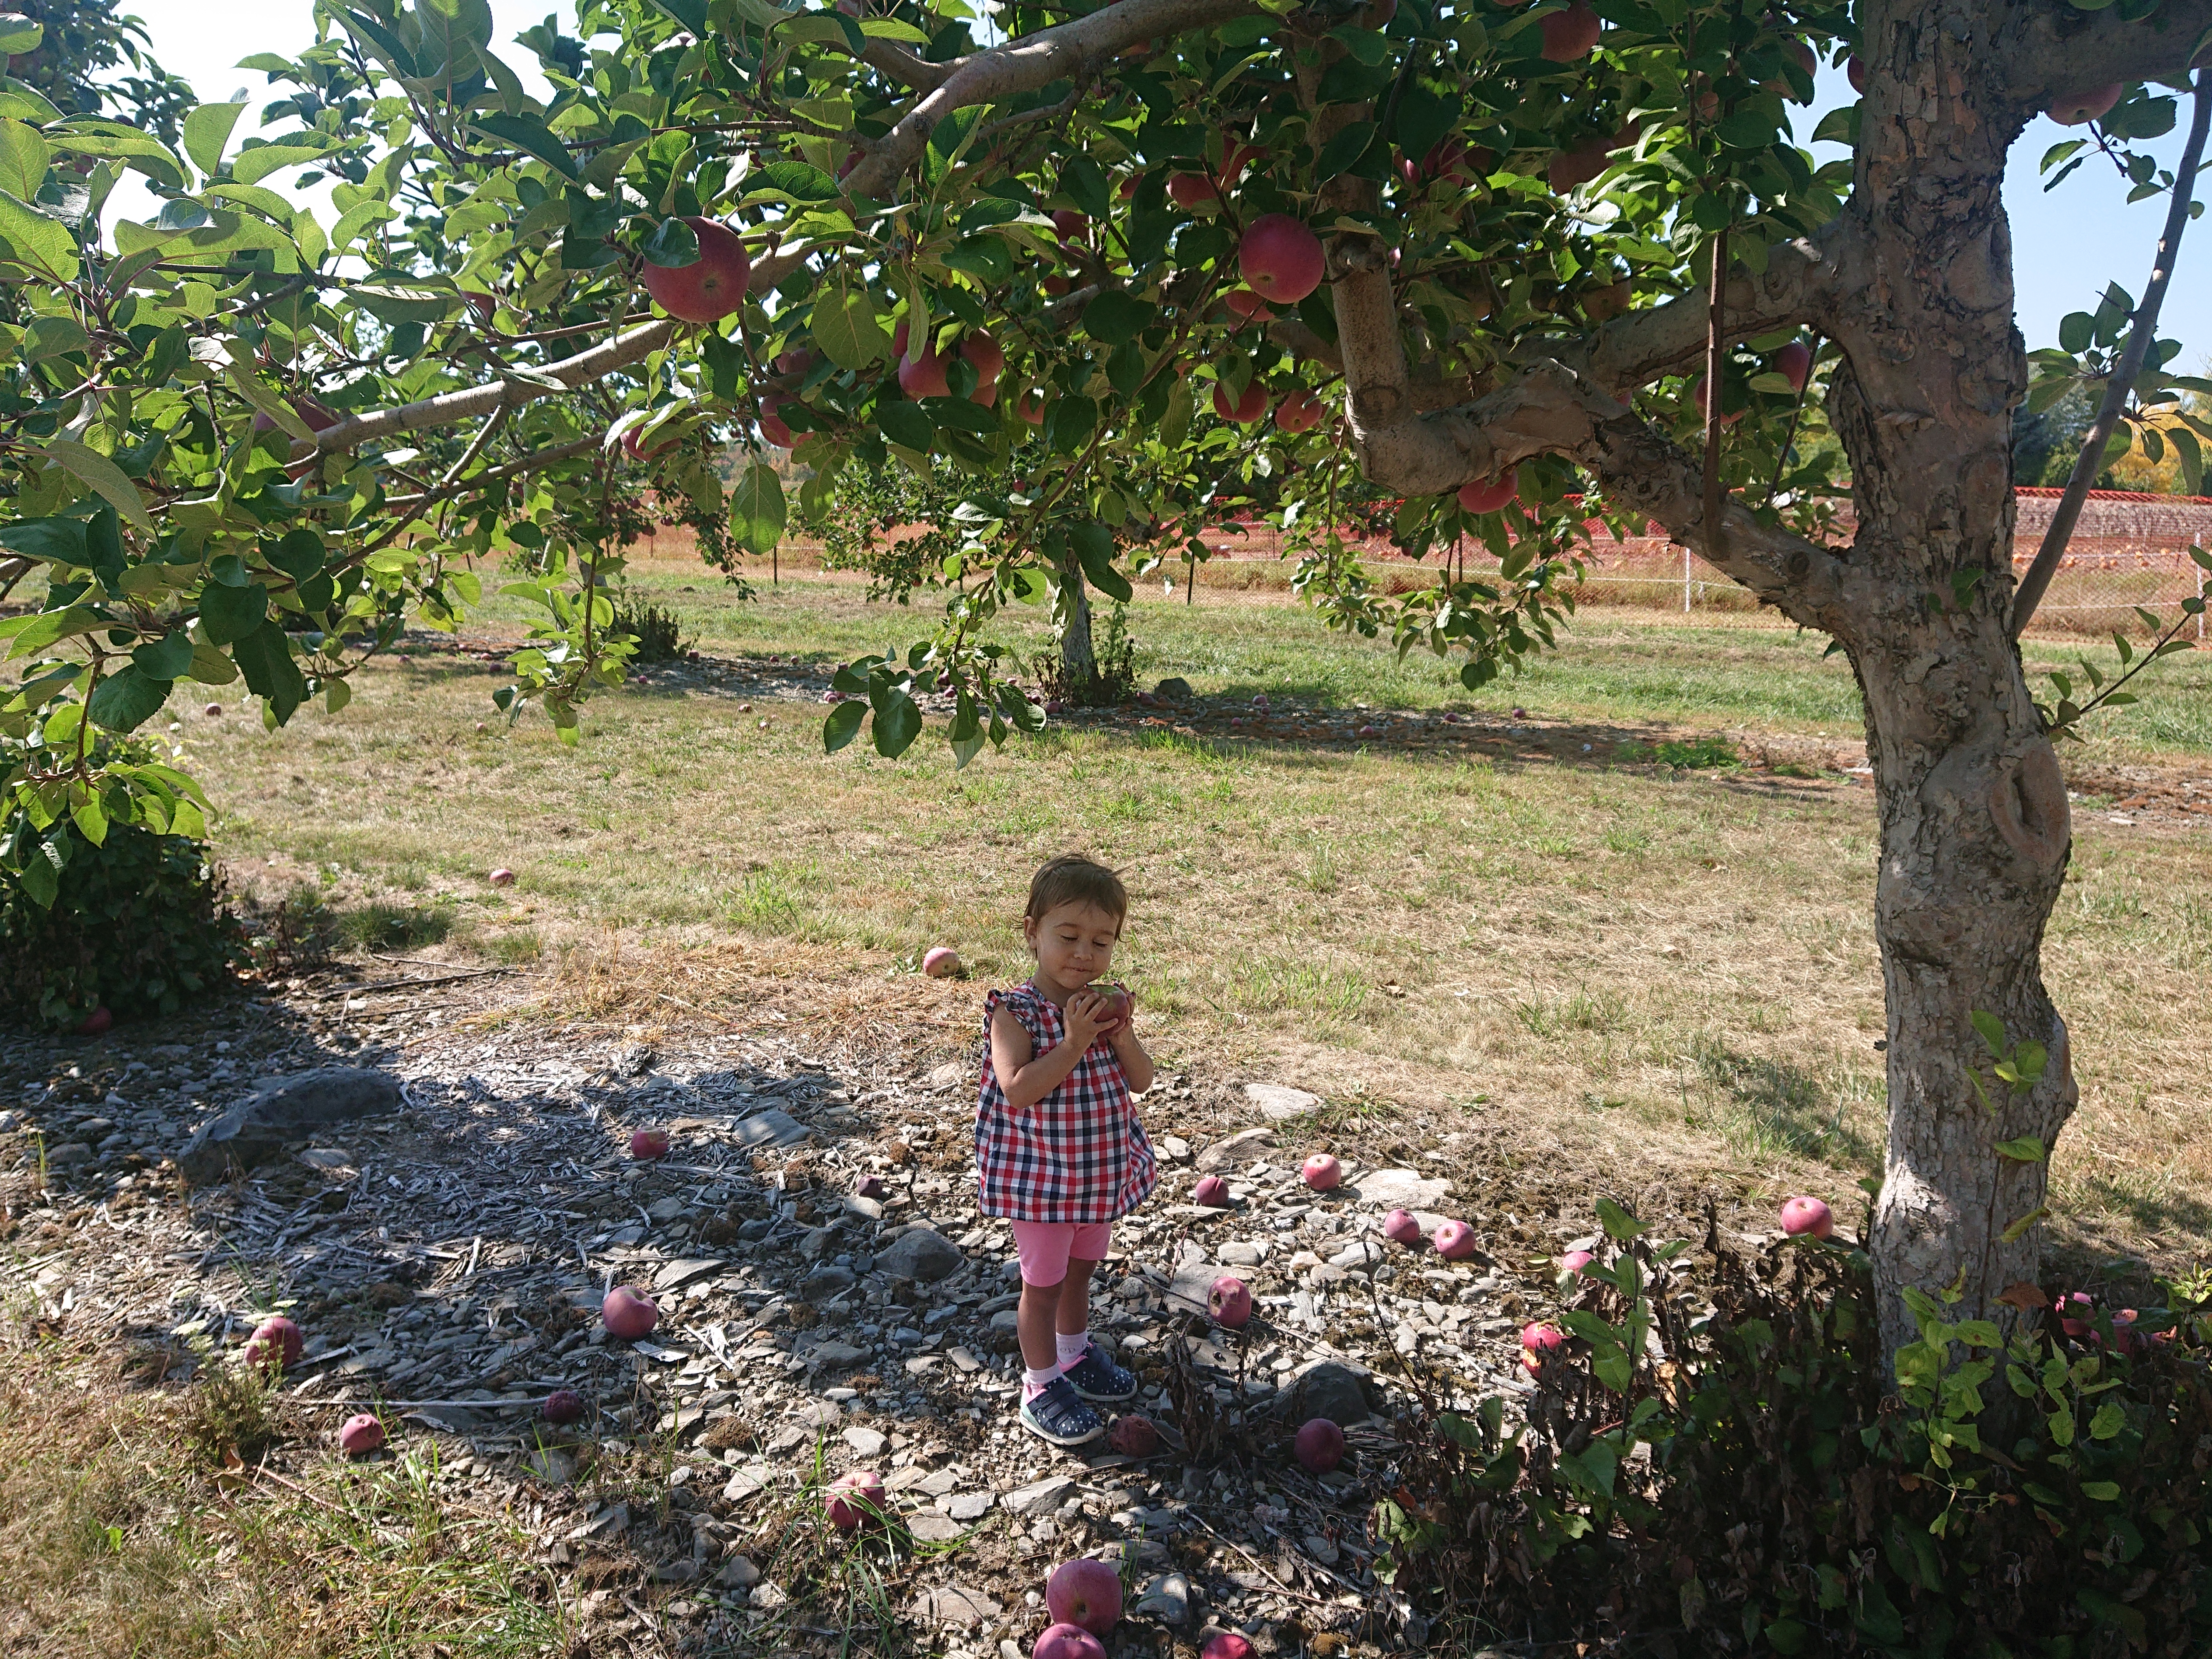
Davis (14)

Everyone loved it.

Spiced Baked Apples (1)

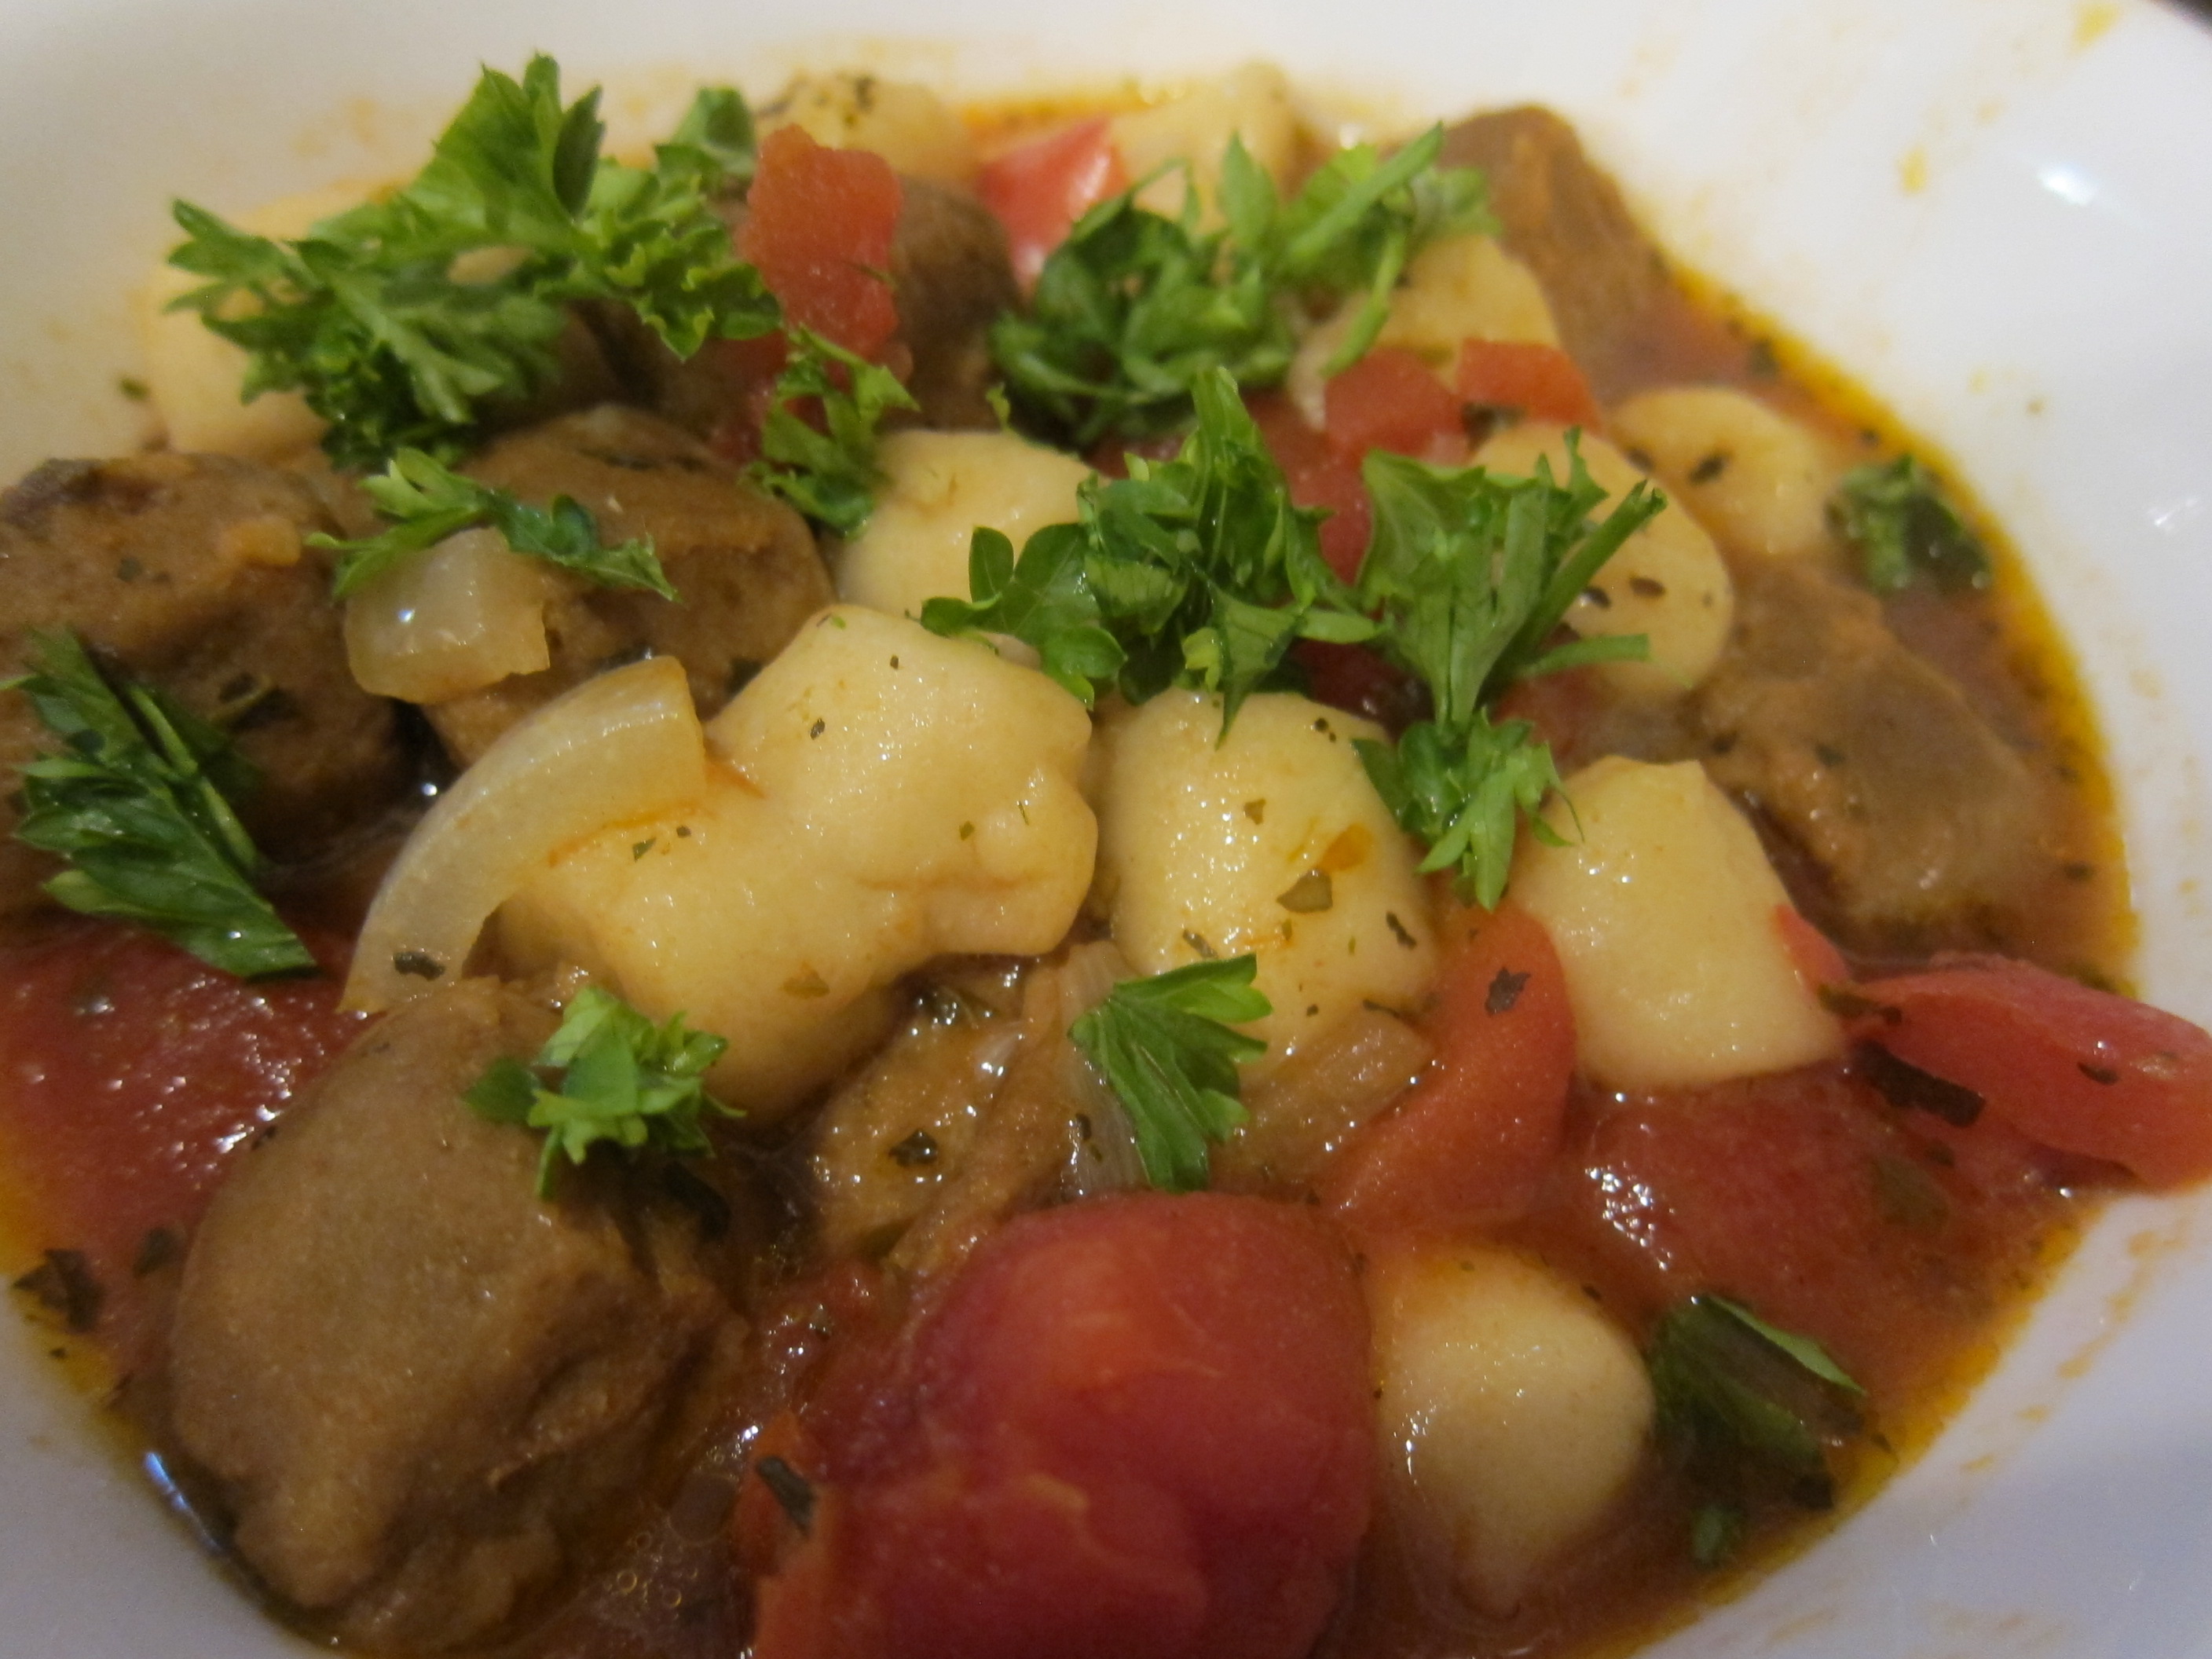
Need a recipe for your haul? Try Spiced Baked Apples!

Spiced Baked Apples (4)

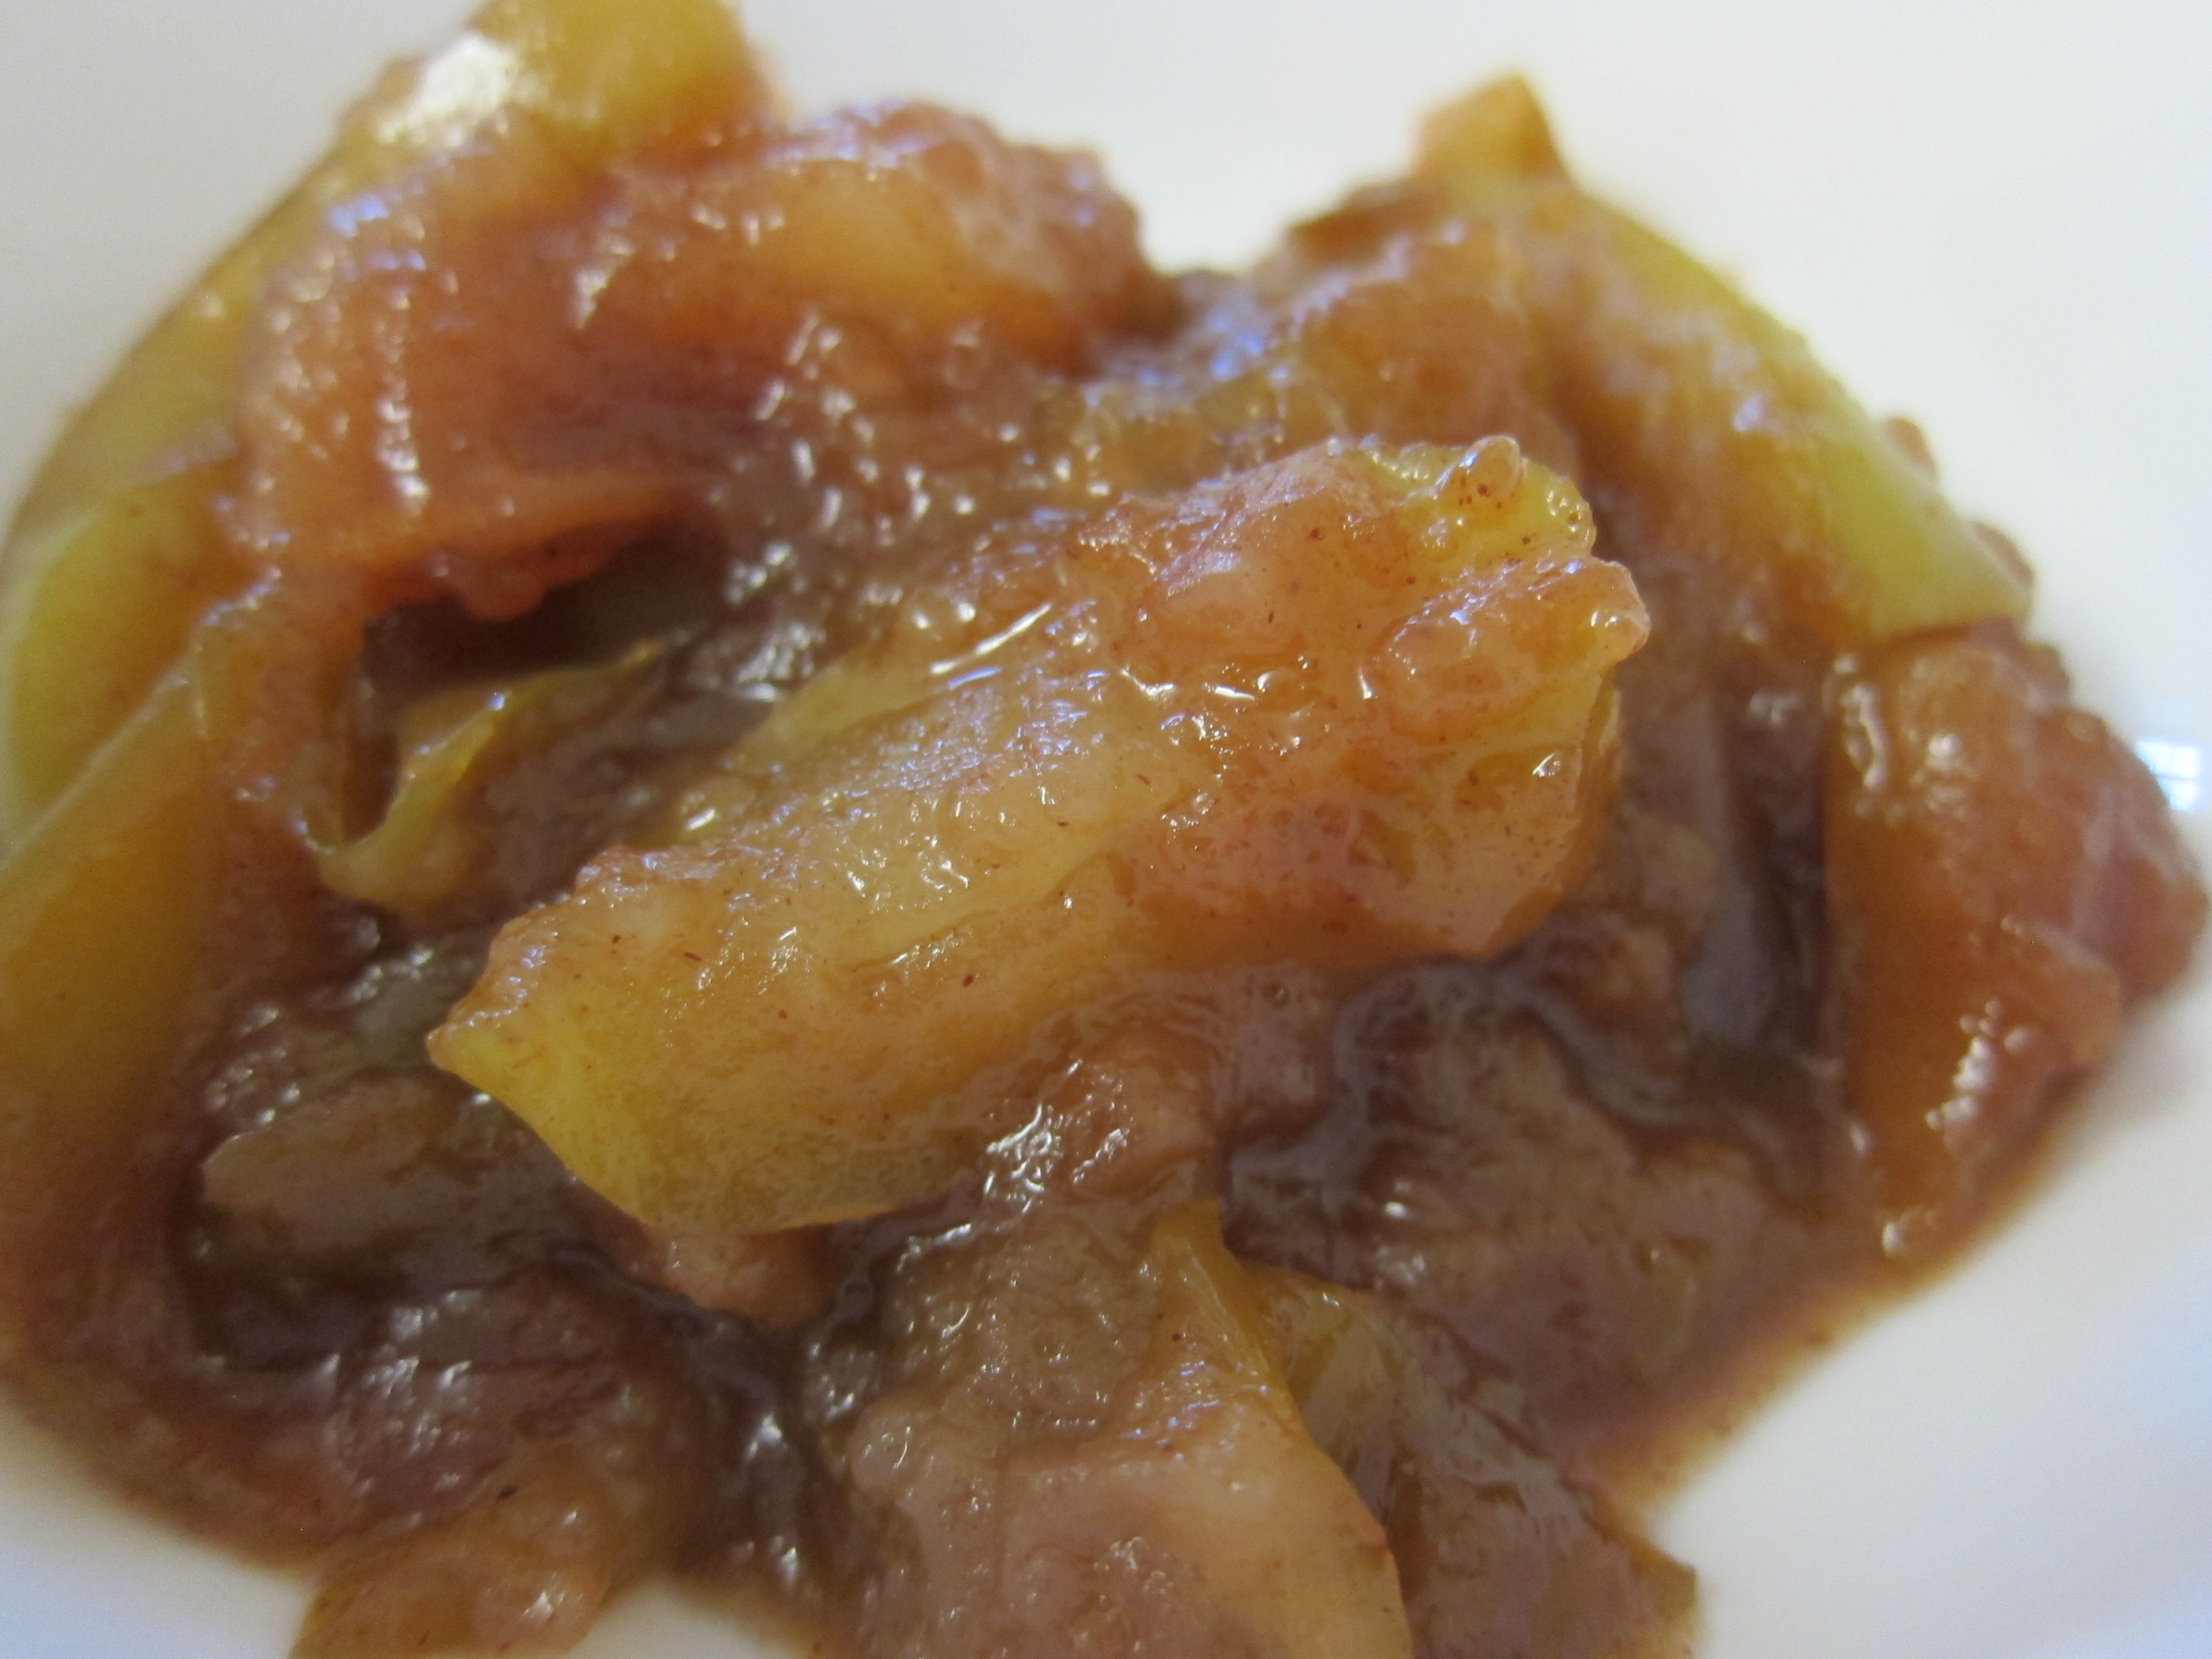
This recipe is great because it works best with a mix of sweet and tart, taking advantage of multiple varieties from your picking excursion.

Ingredients:

  • 6 apples
  • 2 tablespoons lemon juice
  • 1/2 cup brown sugar
  • 2 tablespoons cornstarch
  • 2 teaspoons water
  • 1 and 1/2 teaspoons pumpkin pie spice
  • 2 teaspoons vanilla extract
  • Pinch of salt
  • 2 tablespoons Earth Balance butter
  1. Slice the apples and toss with the lemon juice in a large bowl.
  2. Add the cornstarch, brown sugar, water, pumpkin pie spice, vanilla, and salt.
  3. Spoon the apple mixture into a 2-quart baking dish. Cut the butter into small pieces and arrange over the apple slices. Cover with foil and bake at 350 degrees F for 1 hour and 15 minutes.
  4. Uncover, stir, and bake an additional 15 minutes. The apples will look almost like a chunky applesauce. Let stand at least 30 minutes before serving.

Happy Harvest!

Spiced Baked Apples (3)