
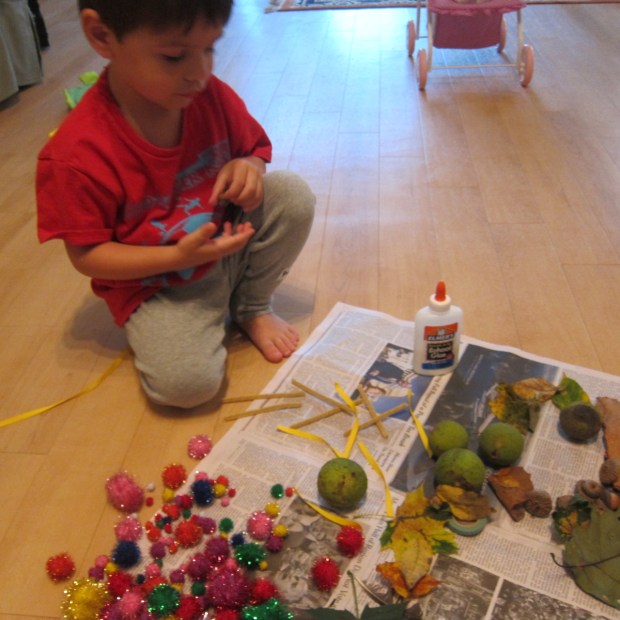
Last night was the Chinese Mid-Autumn Festival (or Mooncake Festival), celebrating the harvest. Traditionally, families celebrate with picnics and mooncakes eaten underneath the full moon. Making vegan mooncakes was too arduous an undertaking, but fortune cookies seemed like a nice cultural symbol to set the tone, and were easy to make with… clay! This was a fun way to introduce Travis to a new culture and new ideas.

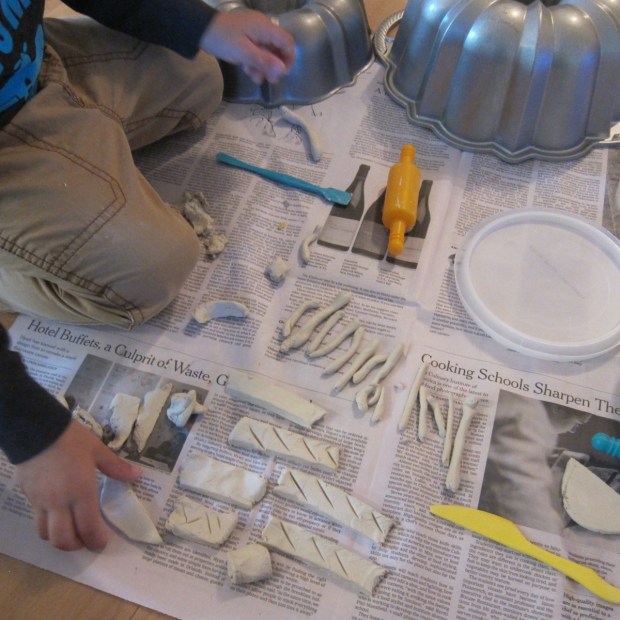
After a real fortune cookie snack, he loved watching the “cookie shop” we set up, as I demonstrated how to roll the clay flat into circles.

Fold each circle in half, then pinch inwards into a fortune cookie shape.

This was a bit tough for Travis, but he loved watching me pinch our cookies as he created other shapes.
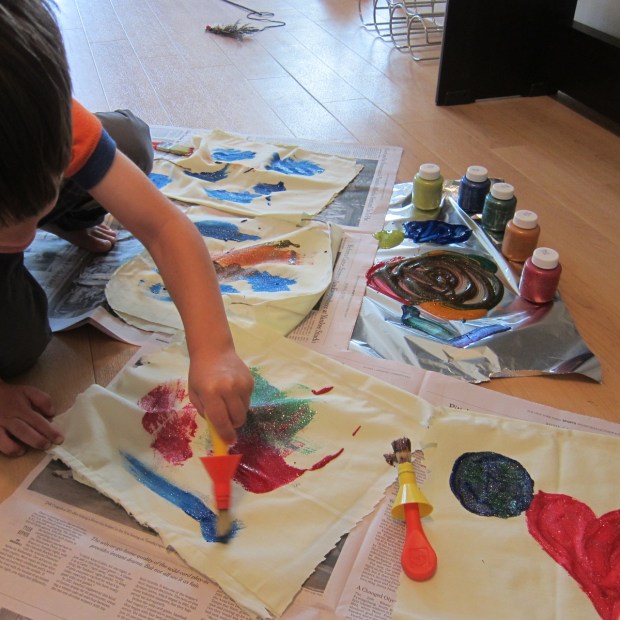
We let the clay air-dry overnight, and then painted with watercolors the following afternoon. Travis had fun selecting different shades for each cookie!

To make the fortunes, simply cut paper into thin strips and decorate with pictures or words.

I gave Travis a few prompts, asking what he most hoped for or would wish for somebody else, and wrote his words on some of our fortunes.

Then it was time for the “festival”! This really just entailed heading out after dark as a family to see the moon (so bright my camera couldn’t handle it).

We enjoyed the Chinese tradition of telling riddles as we snacked on real fortune cookies. Two fun ones for kids that earned big giggles:
What’s full of holes but still holds water? – A sponge!
What’s black and white and re(a)d all over? – The newspaper!

Overall, a really fun activity whether you tie the clay cookies into a larger festival or not.


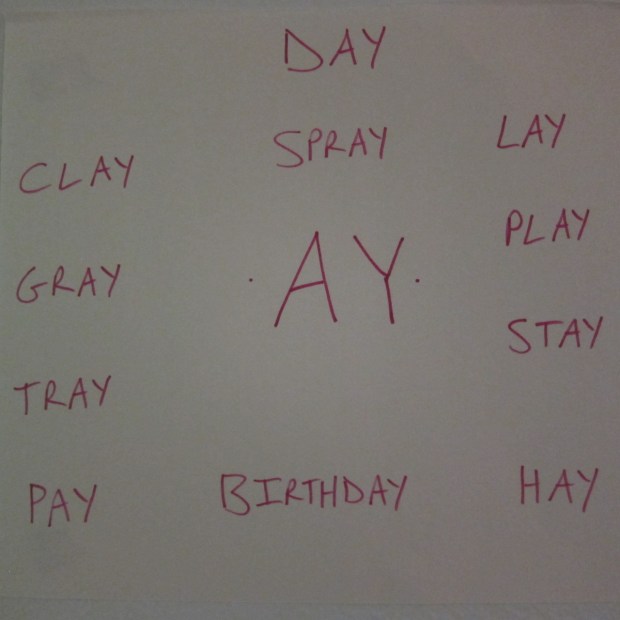


 …we also took advantage of moments when the weather was cloudy to do activities best suited to grAY-sky dAYs:


 We took the fun home with a bale of hay from a craft store (easy to come by, here in the fall). Travis loved having his own little farm out back where his animals could play in the hay.
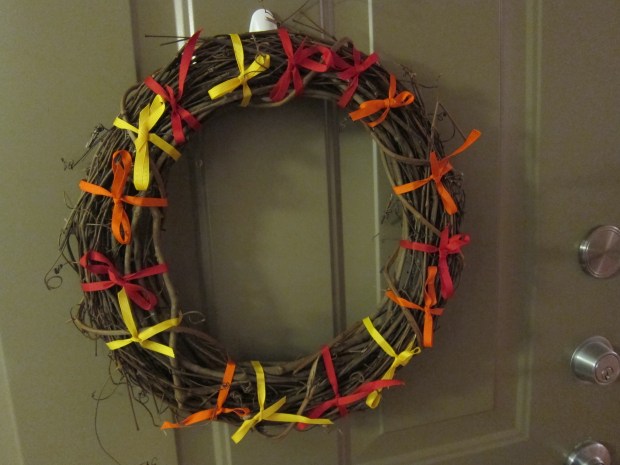
  Finally, we incorporated hay into a craft with our
  I also decided to have Travis be my sous-chef for a recipe requiring cooking sprAY, and wanted it to be something novel. That meant we pulled out my old waffle maker for the first time in years, sprayed it with the cooking spray, and scooped in the batter for homemade pumpkin waffles!


