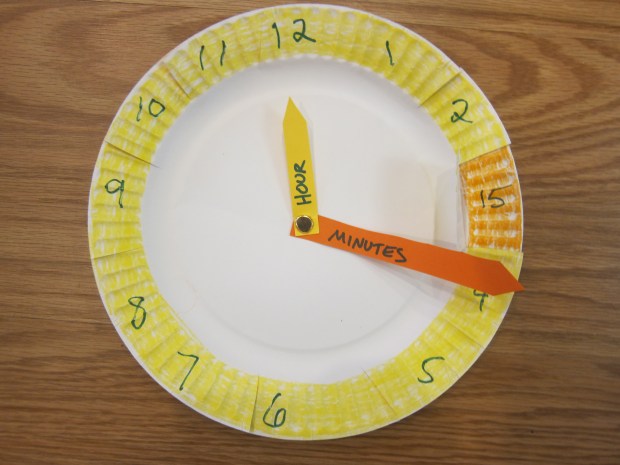
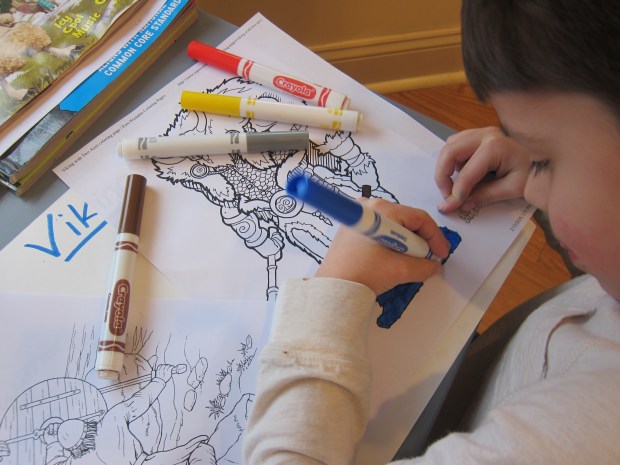
It may be true that analog clocks are gong the way of cursive writing and the dodo bird, but I still hope to teach Travis the valuable skill of telling analog time. This paper plate clock is the best way I’ve found yet to visualize hours and minutes!
Most of the prep is grown-up work. If you have two different colored paper plates, simply use those, one atop the other. I solved the problem of having only white plates by coloring the rims with crayon, yellow for the hours and orange for the minutes.
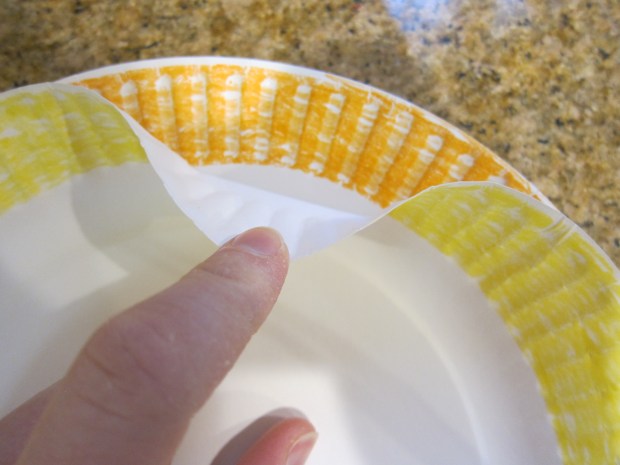
Hot glue the hour plate on top of the minute plate, making sure to glue only the center of the plates, not the rims.
Number the hours, and then cut the rims of the plate so each hour becomes a flap. You might want to make sure you’re numbering at more even intervals than I did in a hurry – whoops!
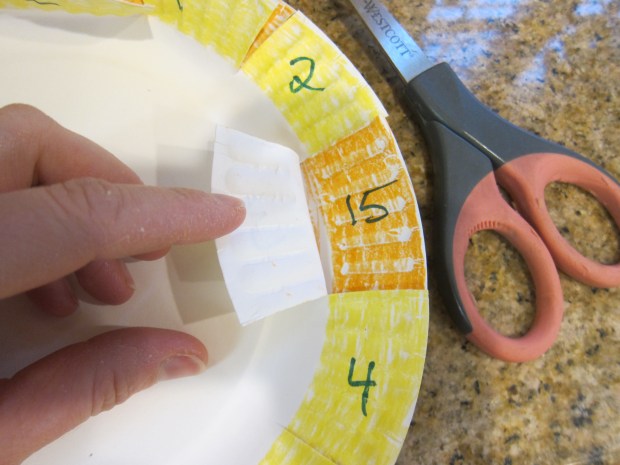
Now lift back each hour flap and write the corresponding minute on the bottom plate. I cut out two hands in corresponding colors of cardstock, yellow for the hour and orange for the minute. Insert these into the center of the clock and attach with a brad.
It was time for a time telling lesson!

Travis loved how intuitive this clock was! First we practiced skip counting by fives, just to familiarize him with how the minutes would read around the bottom rim.
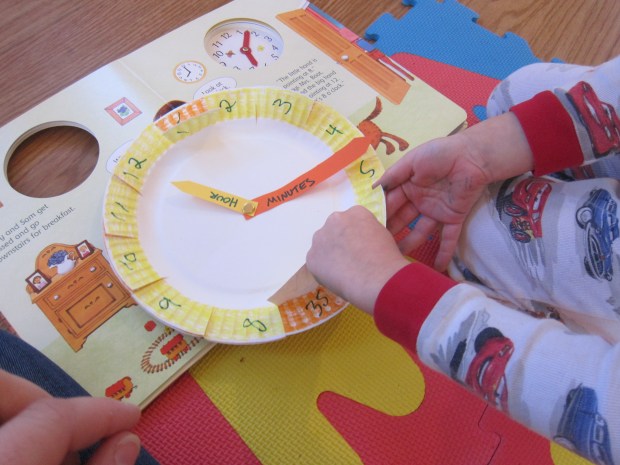
Then we had a few practice rounds. Once he latched on to how the yellow hand lined up with the yellow plate and orange with orange, he could answer almost any “pop quiz” I gave him.
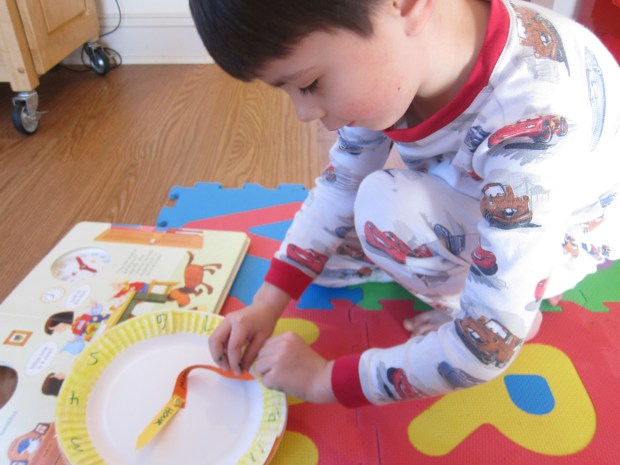
At various points throughout the day, I asked him to read our analog clock on the wall.
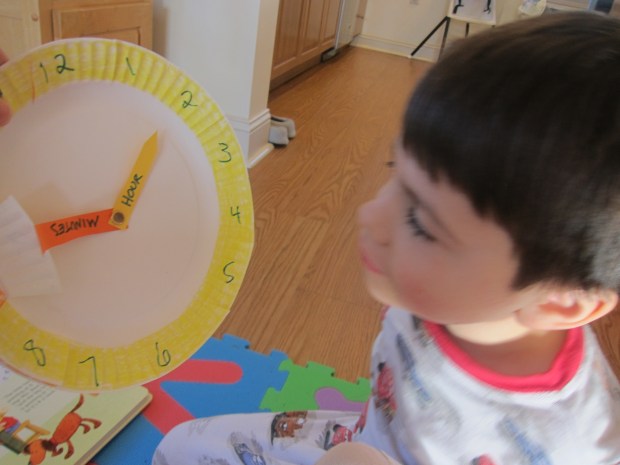
“1, 10,” he said, but I reminded him: “Lift up the 10 and see what’s underneath!”
Aha! “1:50,” he said proudly. I can see how this will be an incredibly useful teaching tool.
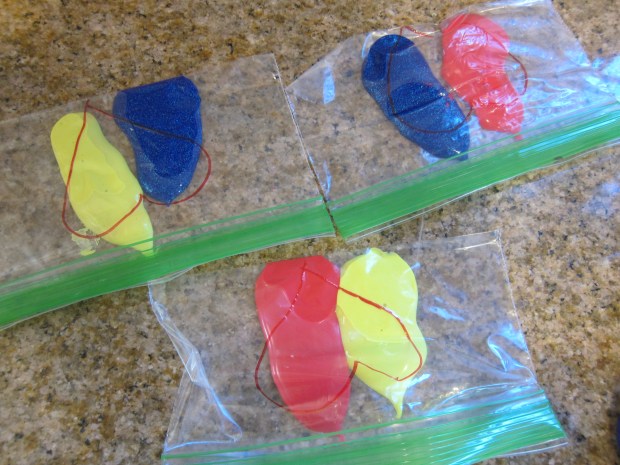
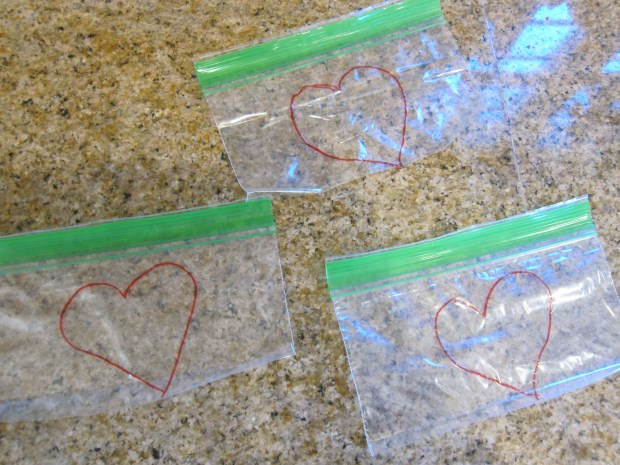
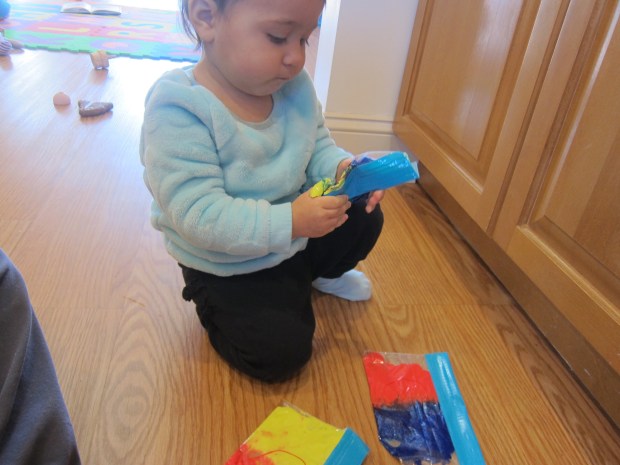


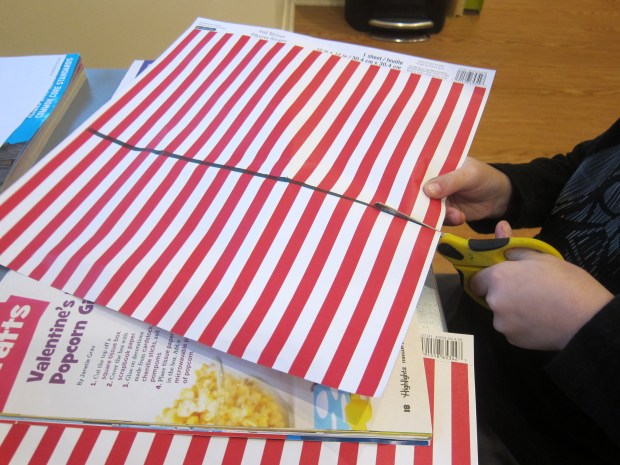
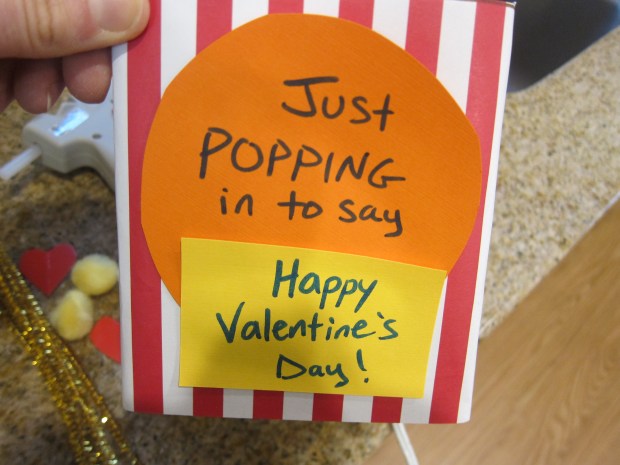
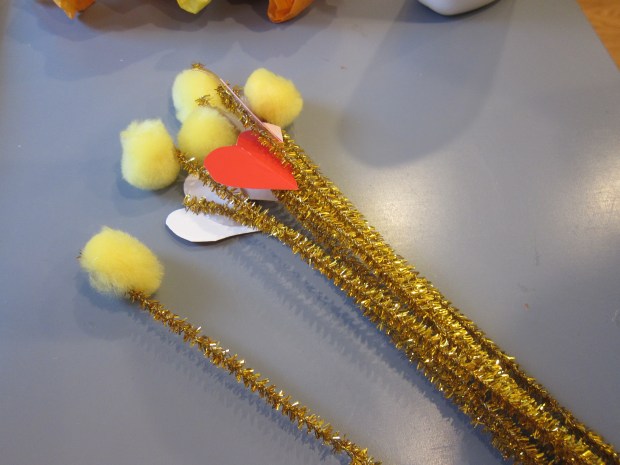
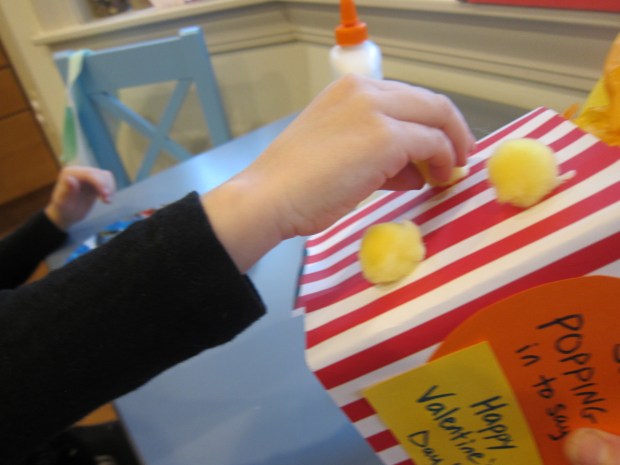
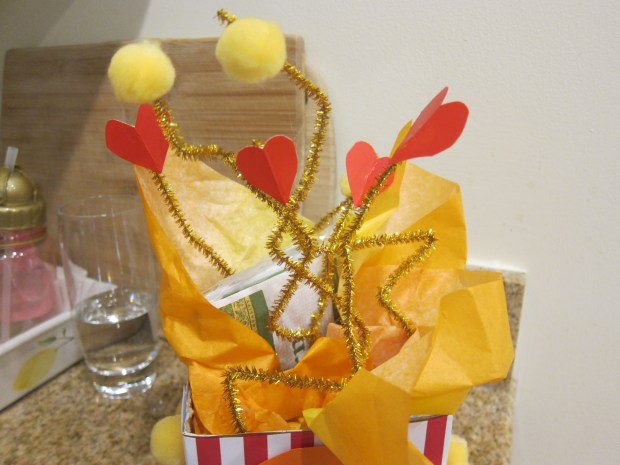
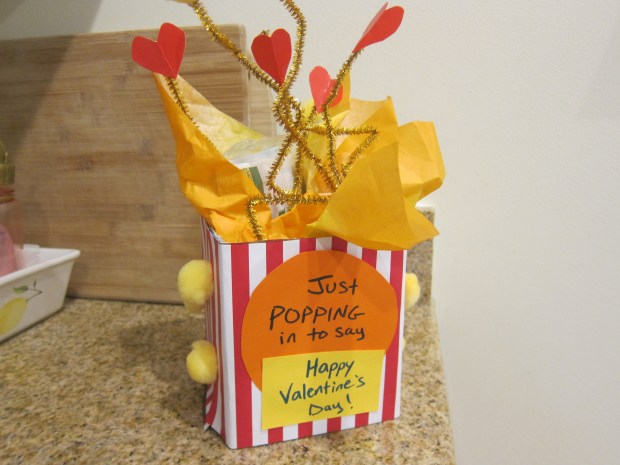 Here’s a novel way for kids to pop in and say they love someone this Valentine’s Day! This rather lengthy project wouldn’t be great for class Valentine’s since it’s big and involved, so save it for someone special like a parent or grandparent.