Spongy Pencil Toppers

Spongy Pencil Toppers (7)

These fun pencil toppers were the final craft Travis and I put together to round out his new school supply swag. They’re perfect for any pencils where the eraser is completely worn down to a nub.

I had a bag of makeup sponges that we use for face paint, and the triangle shape made them the perfect candidates to turn into painted miniatures of triangular foods. Think: slices of cake, wedges of cheese, or sandwiches.

Squishy Pencil Toppers (1)

A little puffy paint was all we needed.

Squishy Pencil Toppers (3)

This one was a piece of cake (heh).

Squishy Pencil Toppers (2)

Then we tested out other ideas, like a peanut butter and jelly sandwich (blue and yellow paint). Travis wanted a mint chocolate cake, which we made with black and green paints.

Spongy Pencil Toppers (5)

Let the puffy paint dry completely, then add details like beads on top for cherry garnishes.

Spongy Pencil Toppers (8)

Once the glue dries, poke the sharp end of a pencil into the bottom of the sponge to make a hole. (Note: You can also secure the sponges with hot glue for added security). Insert onto the eraser end of the pencil and write away!

No-Cook Squishy Bags

No-Cook Squishy Bag (4)

I’ve made plenty of squishy sensory bags for Veronika in the past, but never before lots at once! The purpose of today’s activity was more about comparing and contrasting, rather than focusing on the way one particular material (i.e. shaving cream) felt within the bag.

I wanted to use small, sandwich-size zip-top bags since I’ve found these are easier for her hands, but I was running low! Instead, I used 3 small ones and 2 larger ones. The bags contained the following:

hair gel (tinted with green food coloring)

vanilla pudding

body lotion

ketchup

mustard

fingerpaint

No-Cook Squishy Bag (1)

I sealed each bag tightly. Here’s where the difference kicked in. Most of the bags were at room temperature, but the ketchup and the pudding were both very cold from the fridge. Meanwhile, I set the bag with lotion in a bowl of hot water until warmed through. (You can also microwave the bags for about 10 seconds, as I later did for the hair gel bag).

I presented them all to Veronika, and it was like a surprise each time she put her hand down. The lotion was warm! The pudding was cold!

No-Cook Squishy Bag (5)

The lotion was still warm! The ketchup was cold!

No-Cook Squishy Bag (2)

She loved moving her hands back and forth, and tended to ignore the ones that were just room temperature in favor of these two extremes.

No-Cook Squishy Bag (6)

She wanted to pick some of the bags up and give them a “tour” of the apartment. And of course she enjoyed the process of squeezing and squishing them!

No-Cook Squishy Bag (8)

This was a great game for talking about opposites in addition to being hands-on fun.

Silly Listening Ears (3)

Silly Listening Ears Craft

Silly Listening Ears (5)

As your toddler learns which organ is connected to which sense (we see with our eyes, we smell with our nose, etc.), here is a fun way to highlight the fact that we hear with our ears: combine a silly craft with an audio book!

I hope to get Veronika into audio books since we’ll be in the car quite a bit more now, doing school drop-off and pick-up for big brother. She’s on the young side for audio books, so today was mostly about familiarizing her with them.

I traced a simple ear shape on poster board to start, following an online template.

Silly Listening Ears (1)

Cut out and glue the ears onto construction paper in the same shape, only slightly larger. This adds a nice decorative edge.

Silly Listening Ears (2)

Tape the ends of a pipe cleaner near the top of each ear, then bend the pipe cleaner into an arc so it sits like a headband over your child’s head and ears.

Silly Listening Ears (4)

Veronika giggled when I tried the ears on myself first as a demonstration. In fact, I think she liked it more on me! But she did tolerate wearing it.


Silly Listening Ears (8)

(And occasionally pulled it off to look at it in confusion).

Silly Listening Ears (6)

Then we started up the audio book! I have a wonderful collection of farmyard stories from Usborne books, but any read-aloud of a children’s book would work for this.

Bonus points if you have a physical copy of the book so kids can also leaf through the pages, connecting images to sounds. Veronika particularly loved the vroom of the tractor or the sounds of the farm animals.

Silly Listening Ears (9)

She had a tendency to flip through the book, too, since she isn’t yet connecting the words to a particular page. But as I mentioned above, the idea was simply to introduce audio books today.

Silly Listening Ears (10)

We’ll be playing these stories out loud the next time we travel in the car, and wearing our silly listening ears, too!

Double-Pumpkin Muffins

Double Pumpkin Muffins (3)

These are easily the biggest muffins I’ve ever baked at home. Loaded with vitamins and minerals, they’re sure to fuel kids through the transition back to school and can easily carry them from breakfast until snack break.

Ingredients:

  • 3 and 1/2 cups flour
  • 2 and 1/2 teaspoons cinnamon
  • 1/2 teaspoon baking soda
  • 2 teaspoons baking powder
  • 1 cup sugar
  • 1 (15-ounce) can pumpkin
  • 1 tablespoon flaxseed
  • 3 tablespoons cold water
  • 1 tablespoon lemon juice
  • Scant 1 and 1/2 cups soy milk
  • 2 Ener-G eggs
  • 1/4 cup pumpkin seeds
  1. In a large bowl, combine the flour, cinnamon, baking soda, and baking powder. Set aside.
  2. In a second bowl, whisk together the sugar and pumpkin.
  3. Whisk the flaxseed into the cold water and let stand for 5 minutes.
  4. Meanwhile, pour the lemon juice into a liquid measuring cup. Add the soy milk to equal 1 and 1/2 cups and let stand for 5 minutes.
  5. Add the flax mixture, soy milk mixture, and Ener-G eggs to the sugar mixture, whisking to combine.
  6. Fold the wet ingredients into the dry ingredients, stirring just until combined.
  7. Divide the batter among 12 oiled muffin cups. The cups will be very full. Sprinkle evenly with the pumpkin seeds, pressing in lightly into the better.
  8. Bake at 375 degrees F for 24 minutes, or until a toothpick inserted in the center comes out clean. Transfer to a wire rack to cool before serving.

Double Pumpkin Muffins (2)

A is for Apple Smoothie

A is for Apple Smoothie

Playing off the old teacher-and-apple theme, you’ll get kids off on the right foot on a school morning with this nutrition-packed smoothie.

Ingredients:

  • 1/2 cup almond milk
  • 1/2 cup water
  • 1 cup baby spinach
  • 1/4 cup fresh mint
  • 1/2 Granny Smith apple, chopped
  • 1 banana
  • 1 tablespoon agave nectar
  1. Combine the almond milk, water, spinach, and mint in a blender; process until smooth.
  2. Add the apple, banana, and agave; process until combined.
  3. Divide among two glasses and serve.

Layered Play Dough Excavation

Play Dough Food Tracks (10)

After excavating through Jell-O, today Veronika could pretend to be an archaeologist with play dough instead.

Okay, maybe she didn’t know exactly what we were pretending, but I like to introduce imaginary scenarios into sensory play at this age, as Veronika nears age 2. First up, we explored various ways to make “fossil” marks, and for this we turned to food in our kitchen.

Play Dough Food Tracks (1)

I showed Veronika how to press various items into flat portions of play dough to see what marks they left behind. She was interested in the bumpy lines left by Twizzlers.

Play Dough Food Tracks (3)

And by the swirls from corkscrew pasta.

Play Dough Food Tracks (4)

We tested out nuts as well as rolling bigger items like apples over the play dough, more like a rolling pin, but these weren’t as interesting. Triscuit crackers left a cool print…

Play Dough Food Tracks (2)

…but since she was tempted to eat them, I nixed the idea!

Play Dough Food Tracks (5)

Older toddlers can pretend these are real fossil finds. Prehistoric fish bones perhaps! You can have lots of fun with other items too, like ears of corn, little fruits like grapes or blueberries, or even utensils like a fork.

Play Dough Food Tracks (7)

Next up in the fun, I layered all the colors of play dough together like the strata of an archaeological dig. At first I placed them in a jar, but this proved too tricky for her to “dig” down into with a plastic fork and spoon.

Play Dough Food Tracks (8)

Instead, we mushed all the colors together on a tray. She called these her “rocks” and enjoyed poking at them with the fork and spoon.

Play Dough Food Tracks (11)

Needless to say, the game kept Veronika quite busy, even if she didn’t always understand the pretend that went with the play.

Play Dough Food Tracks (9)

Salt Indoor Sandbox

Salt Sandbox (4)

If your child is missing the beach only one week after the unofficial end of summer, this indoor hack will save the day. Make a beach-y sandbox with salt instead.

A box of coarse salt is cheap and scoops up just like sand (although you’ll want to save this particular material for toddlers who aren’t tempted to nibble, else they’ll receive a yucky surprise).

I poured the salt into a craft tray, laid down a towel to catch (most of) the overflow, and set out Veronika’s familiar toys from the beach. She was instantly delighted.

She loved scooping into her sifters that come in fun shapes like a crocodile and crab.

Salt Sandbox (5)

And she could use the shovel to fill a beach bucket.

Salt Sandbox (6)

The sand rake made neat tracks through the salt, just as with the sand at the beach.

Salt Sandbox (2)

In sum, she looked just as pleased as if she was having a sunny day at the beach again!

Salt Sandbox (3)

Sponge Play

Sponge Play (7)

We’re taking advantage of the last few warm mornings for patio play. This game is similar to one we played earlier in the summer, transferring water using only pom poms. Now, Veronika was just enough older to have more success with this version!

I set out two clear bowls, one filled with water and the other empty, along with 3 cheap sponges from the dollar store.

Sponge Play (1)

I asked Veronika what color she wanted for the water, giving her the choice of red, green, or blue. She chose blue!

Sponge Play (10)

I showed her how to dip the sponge in the water, then squeeze it out over the empty bowl to watch the water come out.

Sponge Play (4)

She got the hang of it quite quickly!

Sponge Play (5)

That said, we never transferred all the water because inevitably she wanted to pour it back from the small bowl to the big bowl.

Sponge Play (3)

After she tired of squeezing the sponges, she dumped all the water…

Sponge Play (8)

And loved stomping in it!

Sponge Play (9)

Does your toddler manage to transfer all the water from one bowl to the other? Please share in the comments!

Sponge Play (6)

Dinosaur Jello-O Excavation

Dinosaur Jello (4)

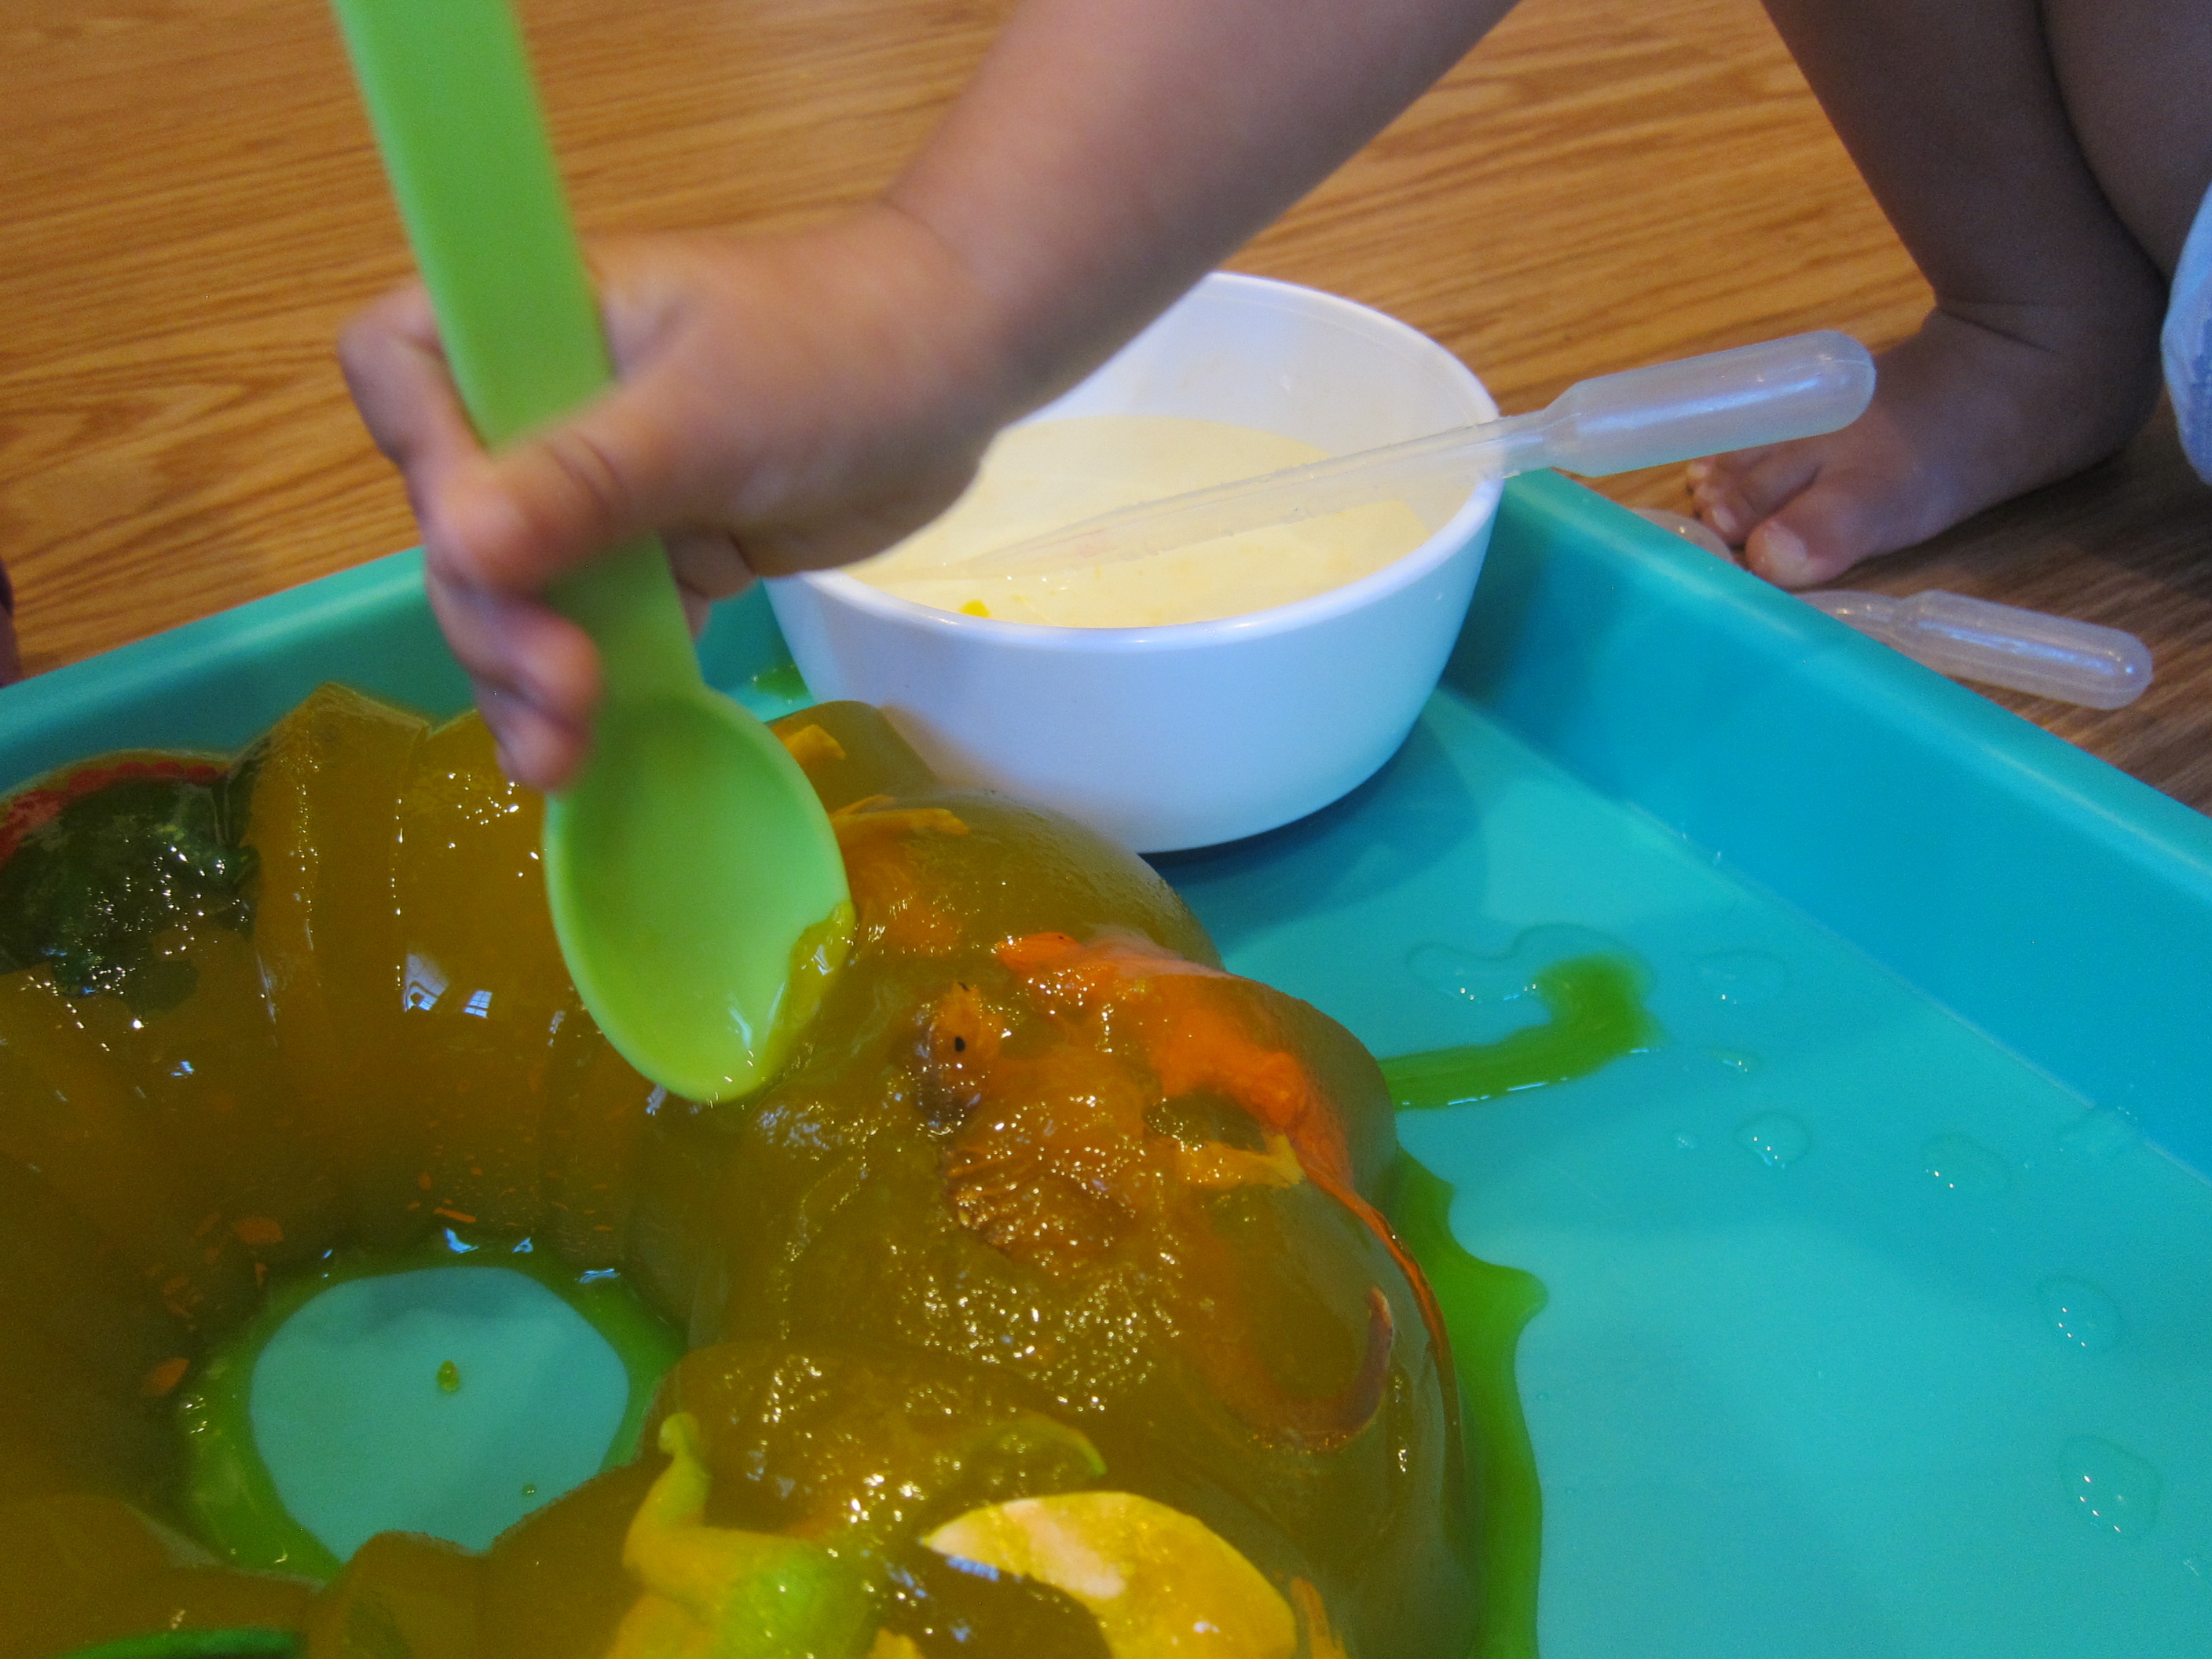
We’ve played with Jell-O and we’ve excavated for dinosaurs, but never before have we excavated dinosaurs from Jell-O! This activity will appeal to kids of all ages. It was more of a sensory experience for my toddler, and a game full of imagination for my 6 year old!

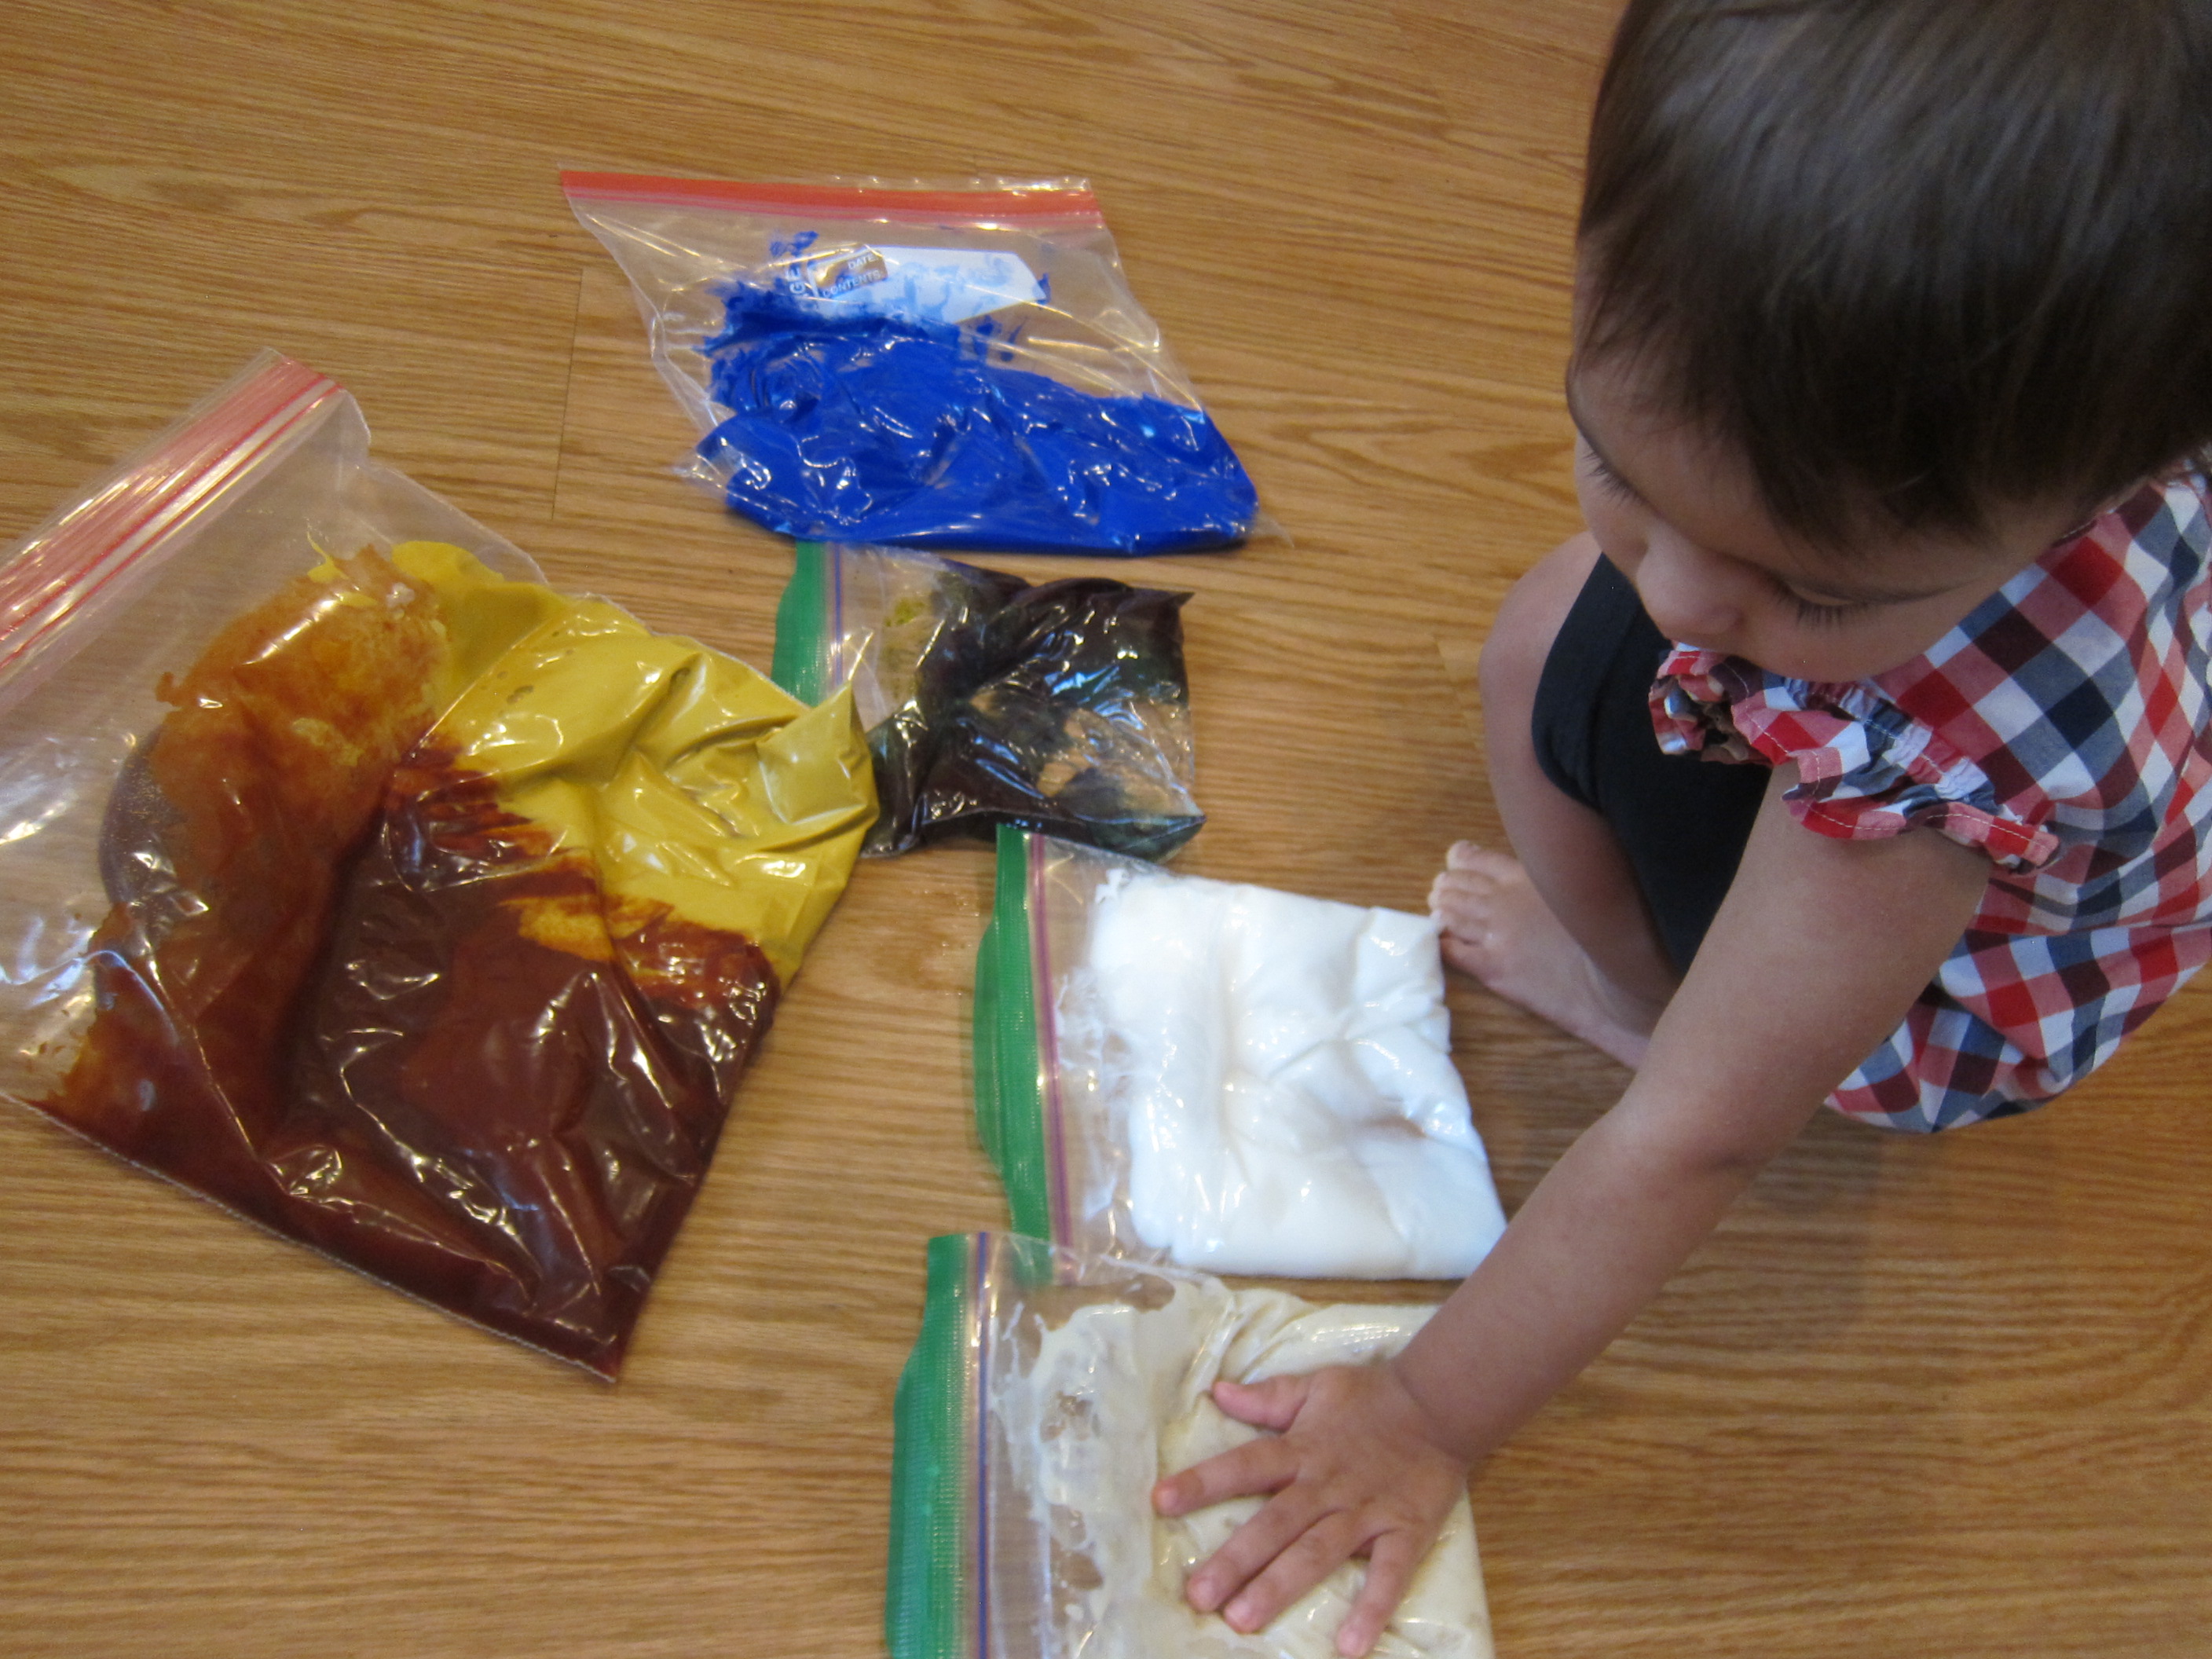
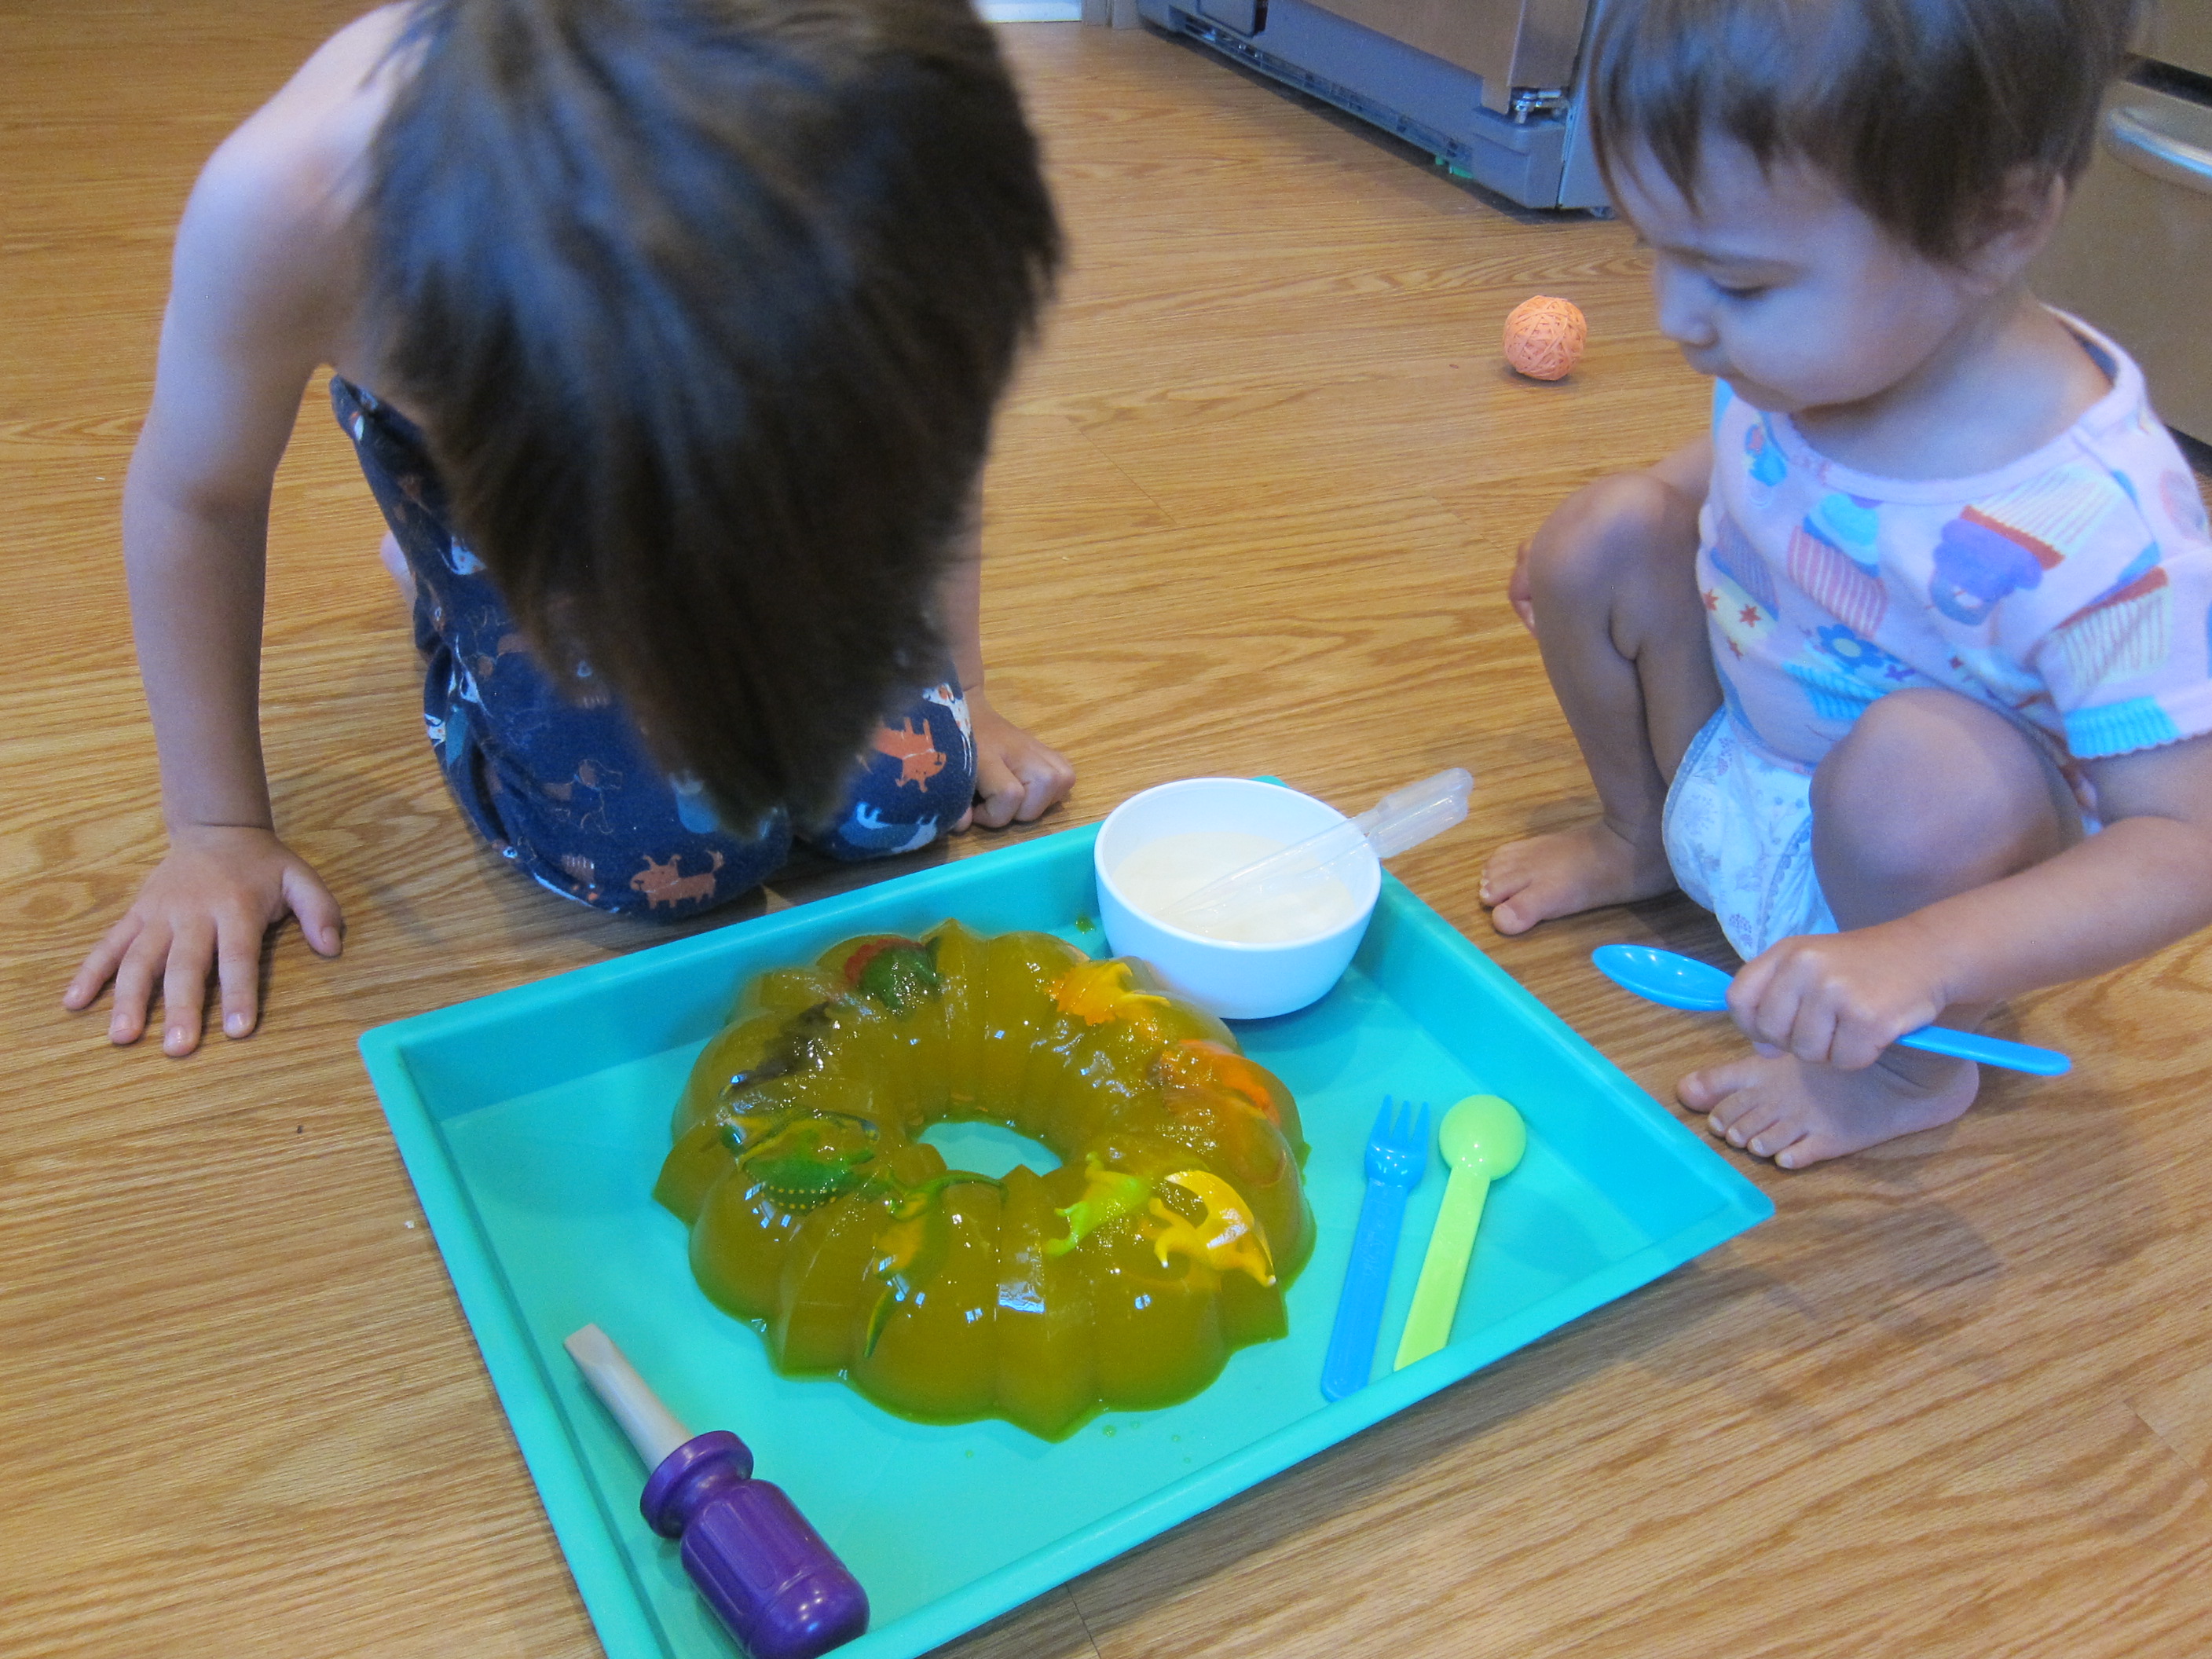
The night before, I prepared one huge batch of vegan jel dessert from four packets. You can opt for a clear vegan jel but I didn’t have any on hand. Instead, I decided the yellow-orange of the peach flavor actually looked a bit like layers of rock and sediment.

Sprinkle the powder from all four packets over 1 and 1/3 cups cold water in a large Bundt pan, stirring to dissolve. Add any small plastic dinosaurs you have, then pour in 5 cups boiling water. Cool to room temperature before transferring to the fridge overnight.

Dinosaur Jello (1)

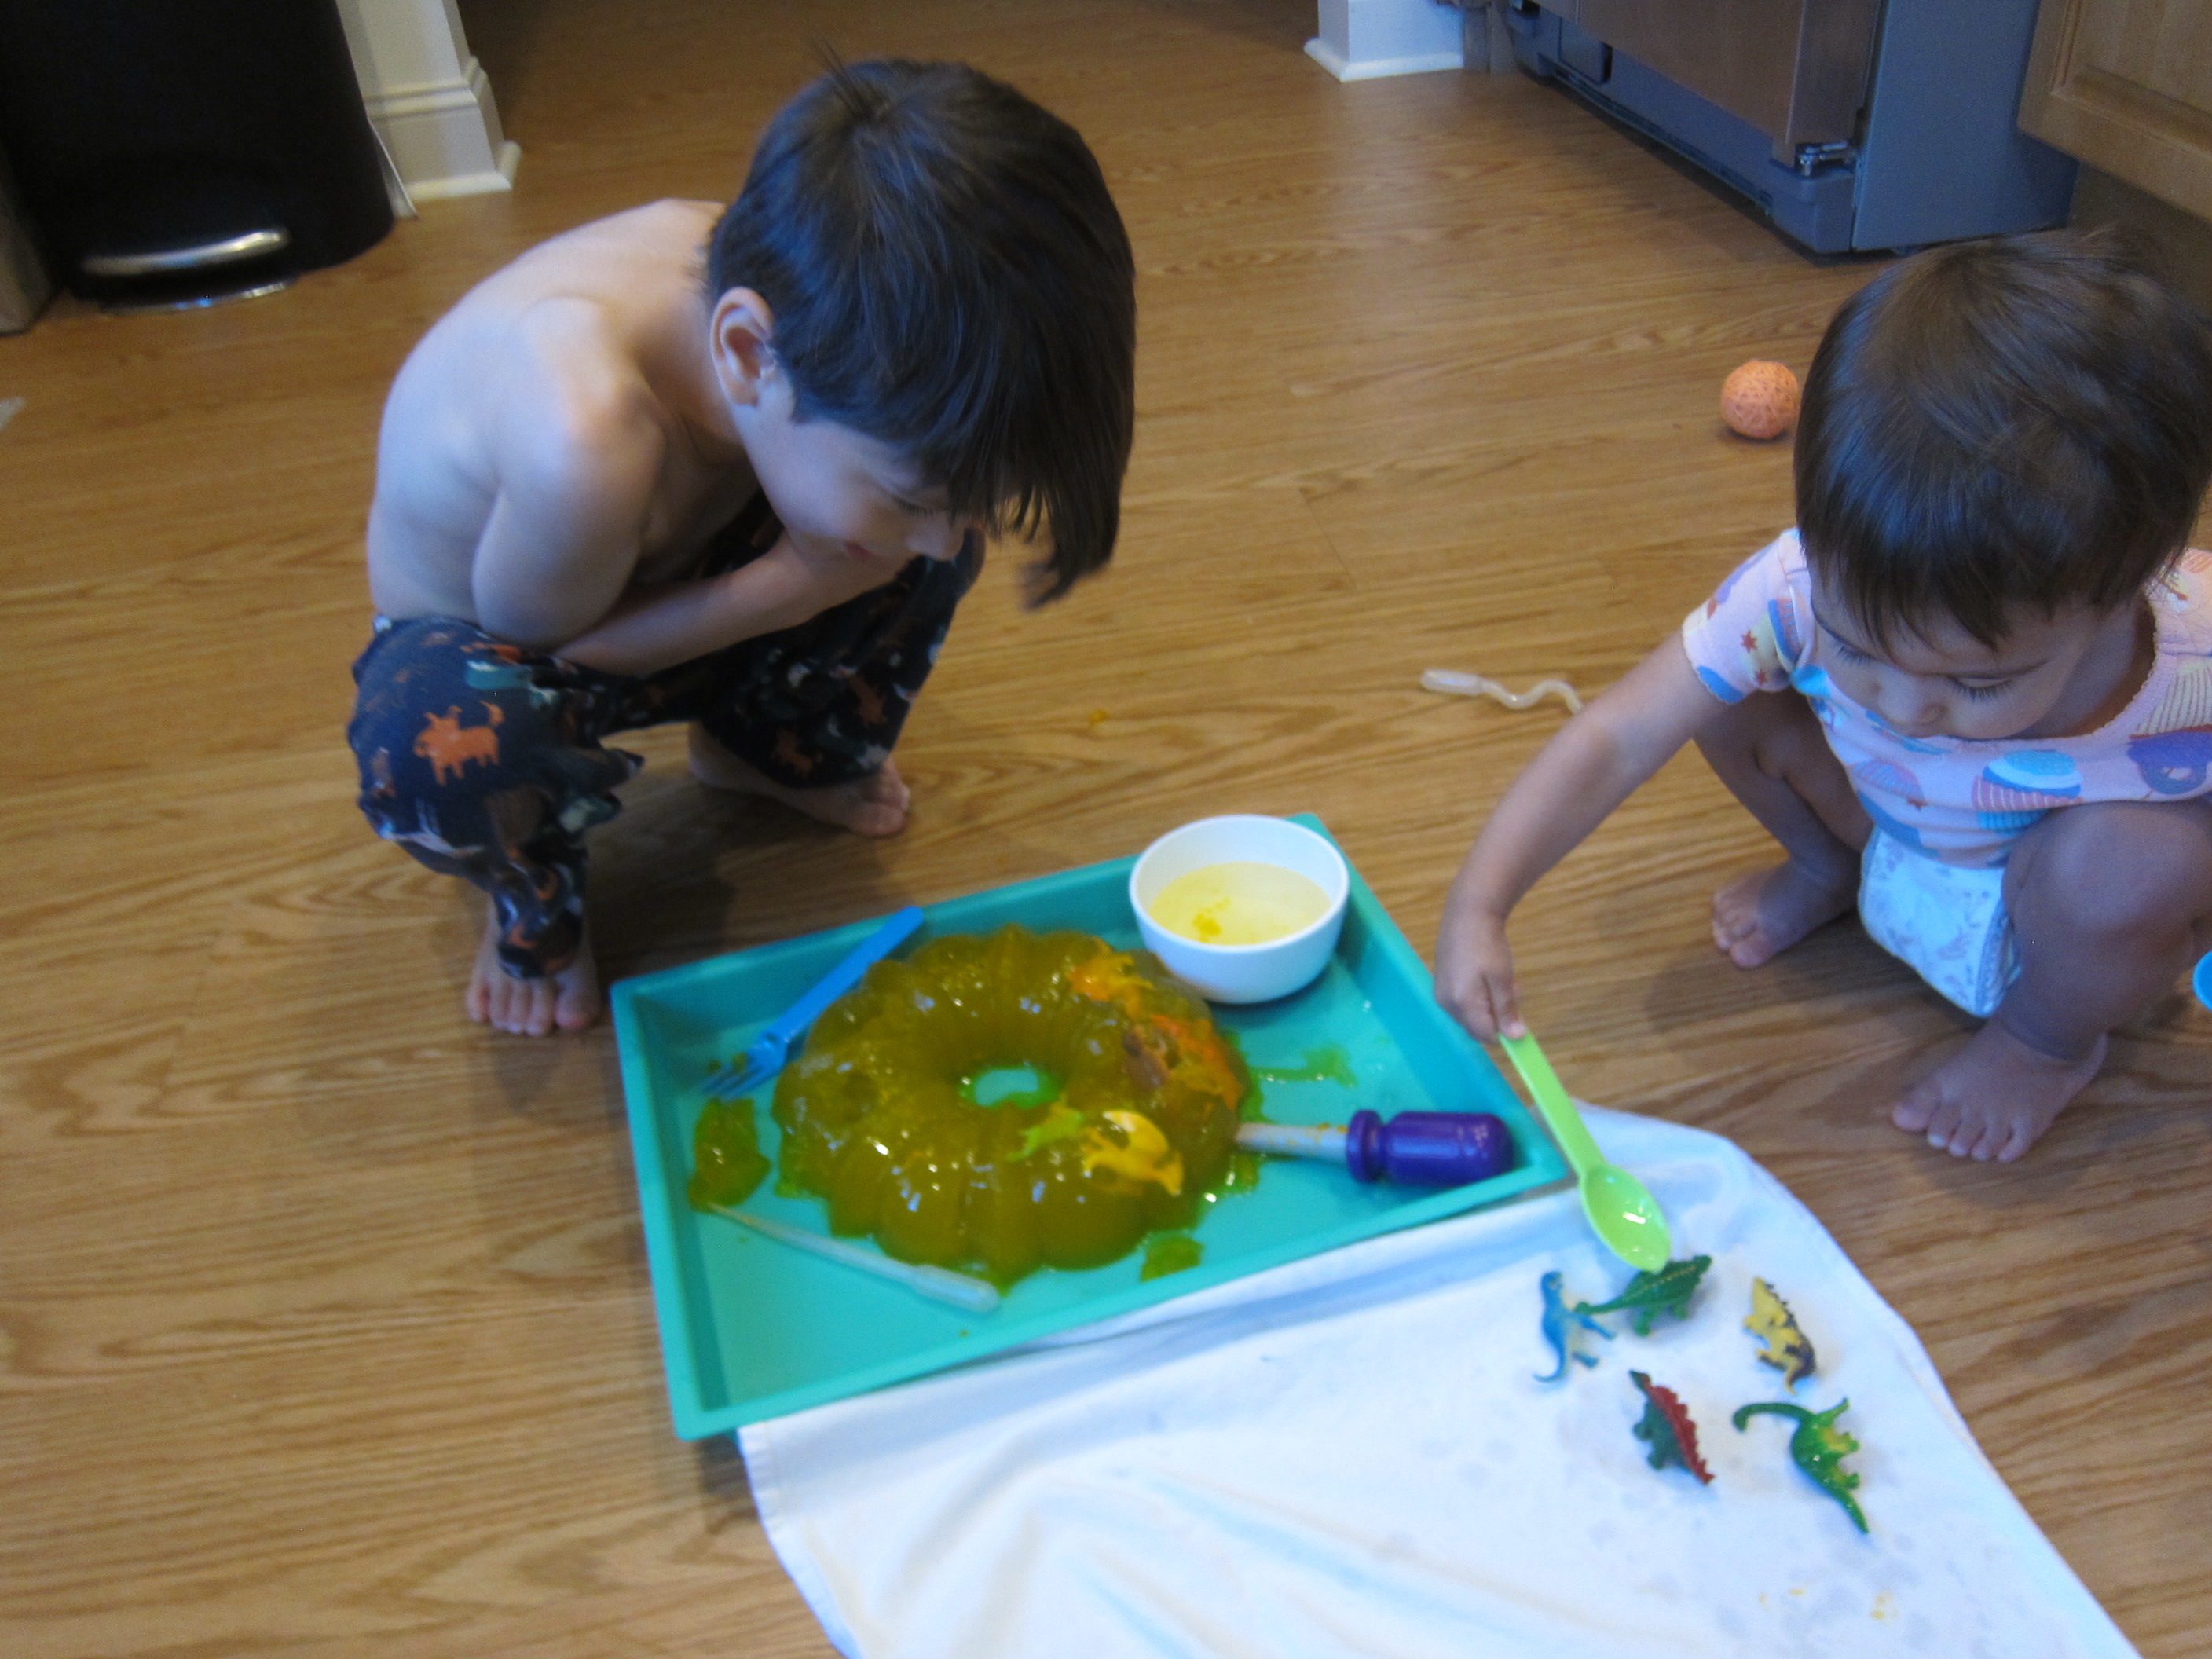
The next morning, I turned the Bundt pan upside down over a tray, and it wobbled right out. Now we had dinosaurs trapped in rock! For my future archaeologists, I set out a few plastic spoons and forks, a toy screwdriver to be a “chisel”, and pipettes. We also had a little dish of clean water to rinse the dinosaurs as they were unearthed.

Dinosaur Jello (5)

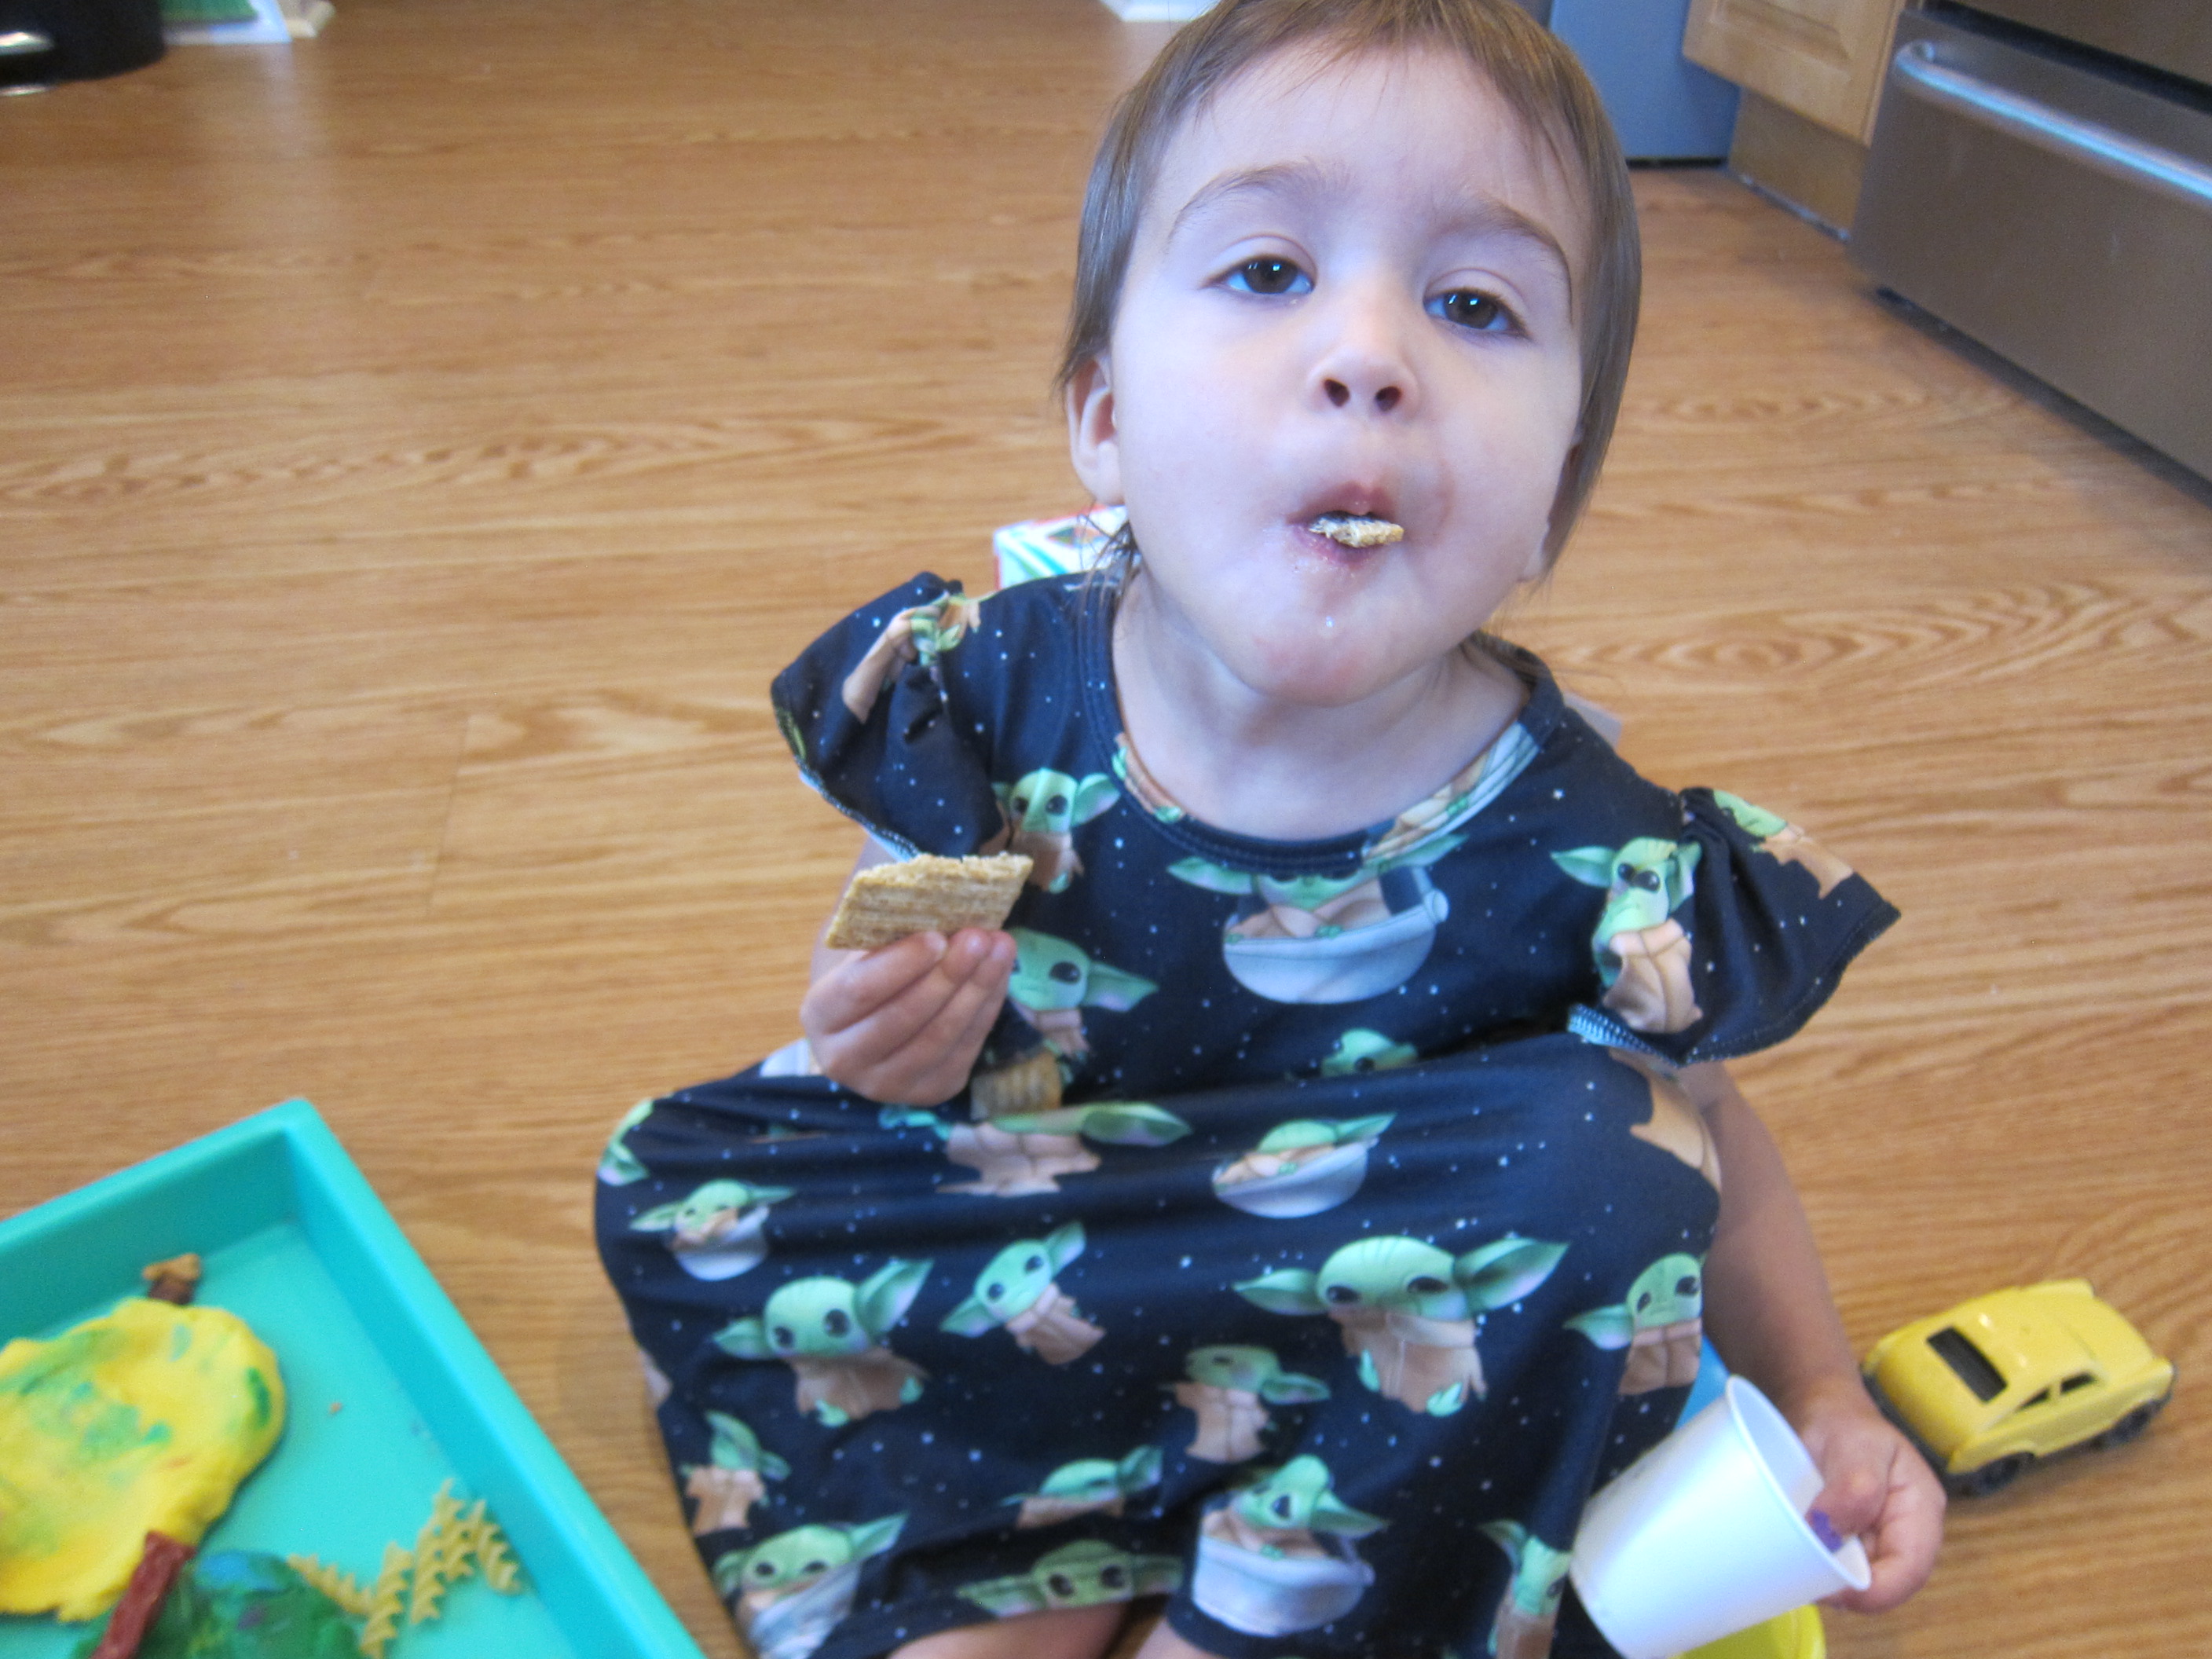
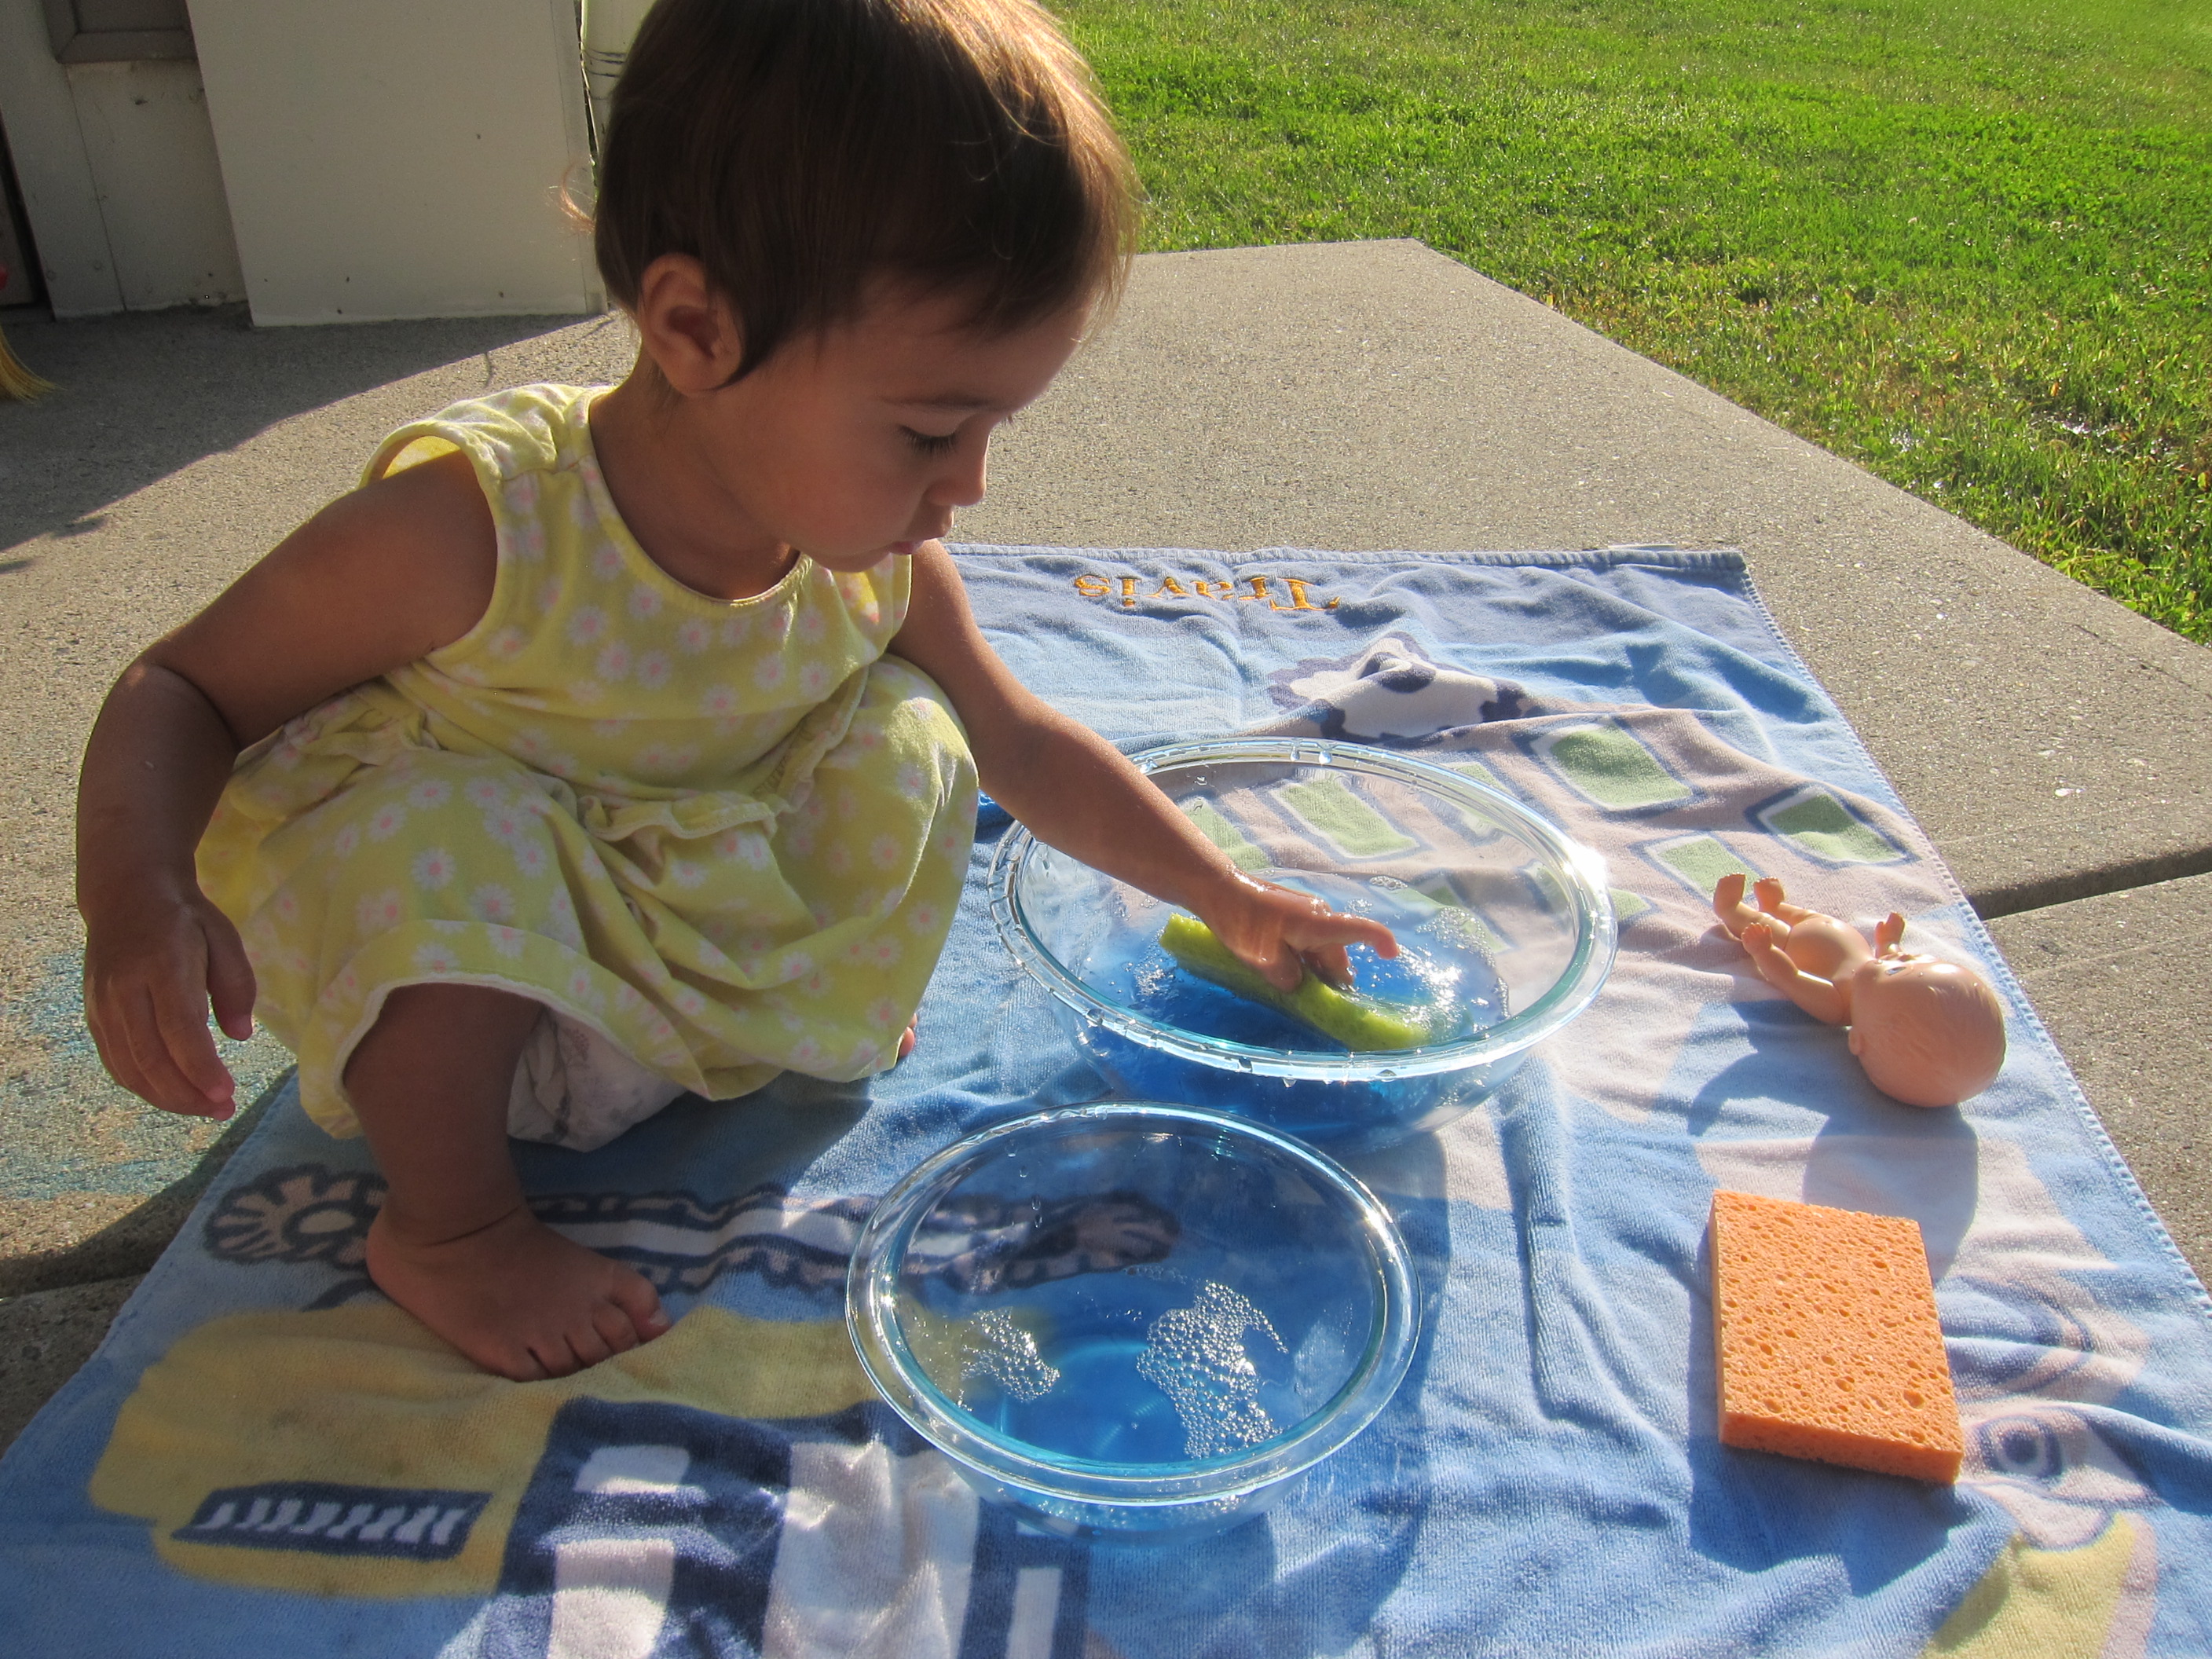
For Veronika this was mostly sensory play. She loved spooning up the dessert (and the water) with the spoons.

Dinosaur Jello (8)

But as she watched her big brother play, she began to take a few experimental pokes with a pipette.

Dinosaur Jello (12)

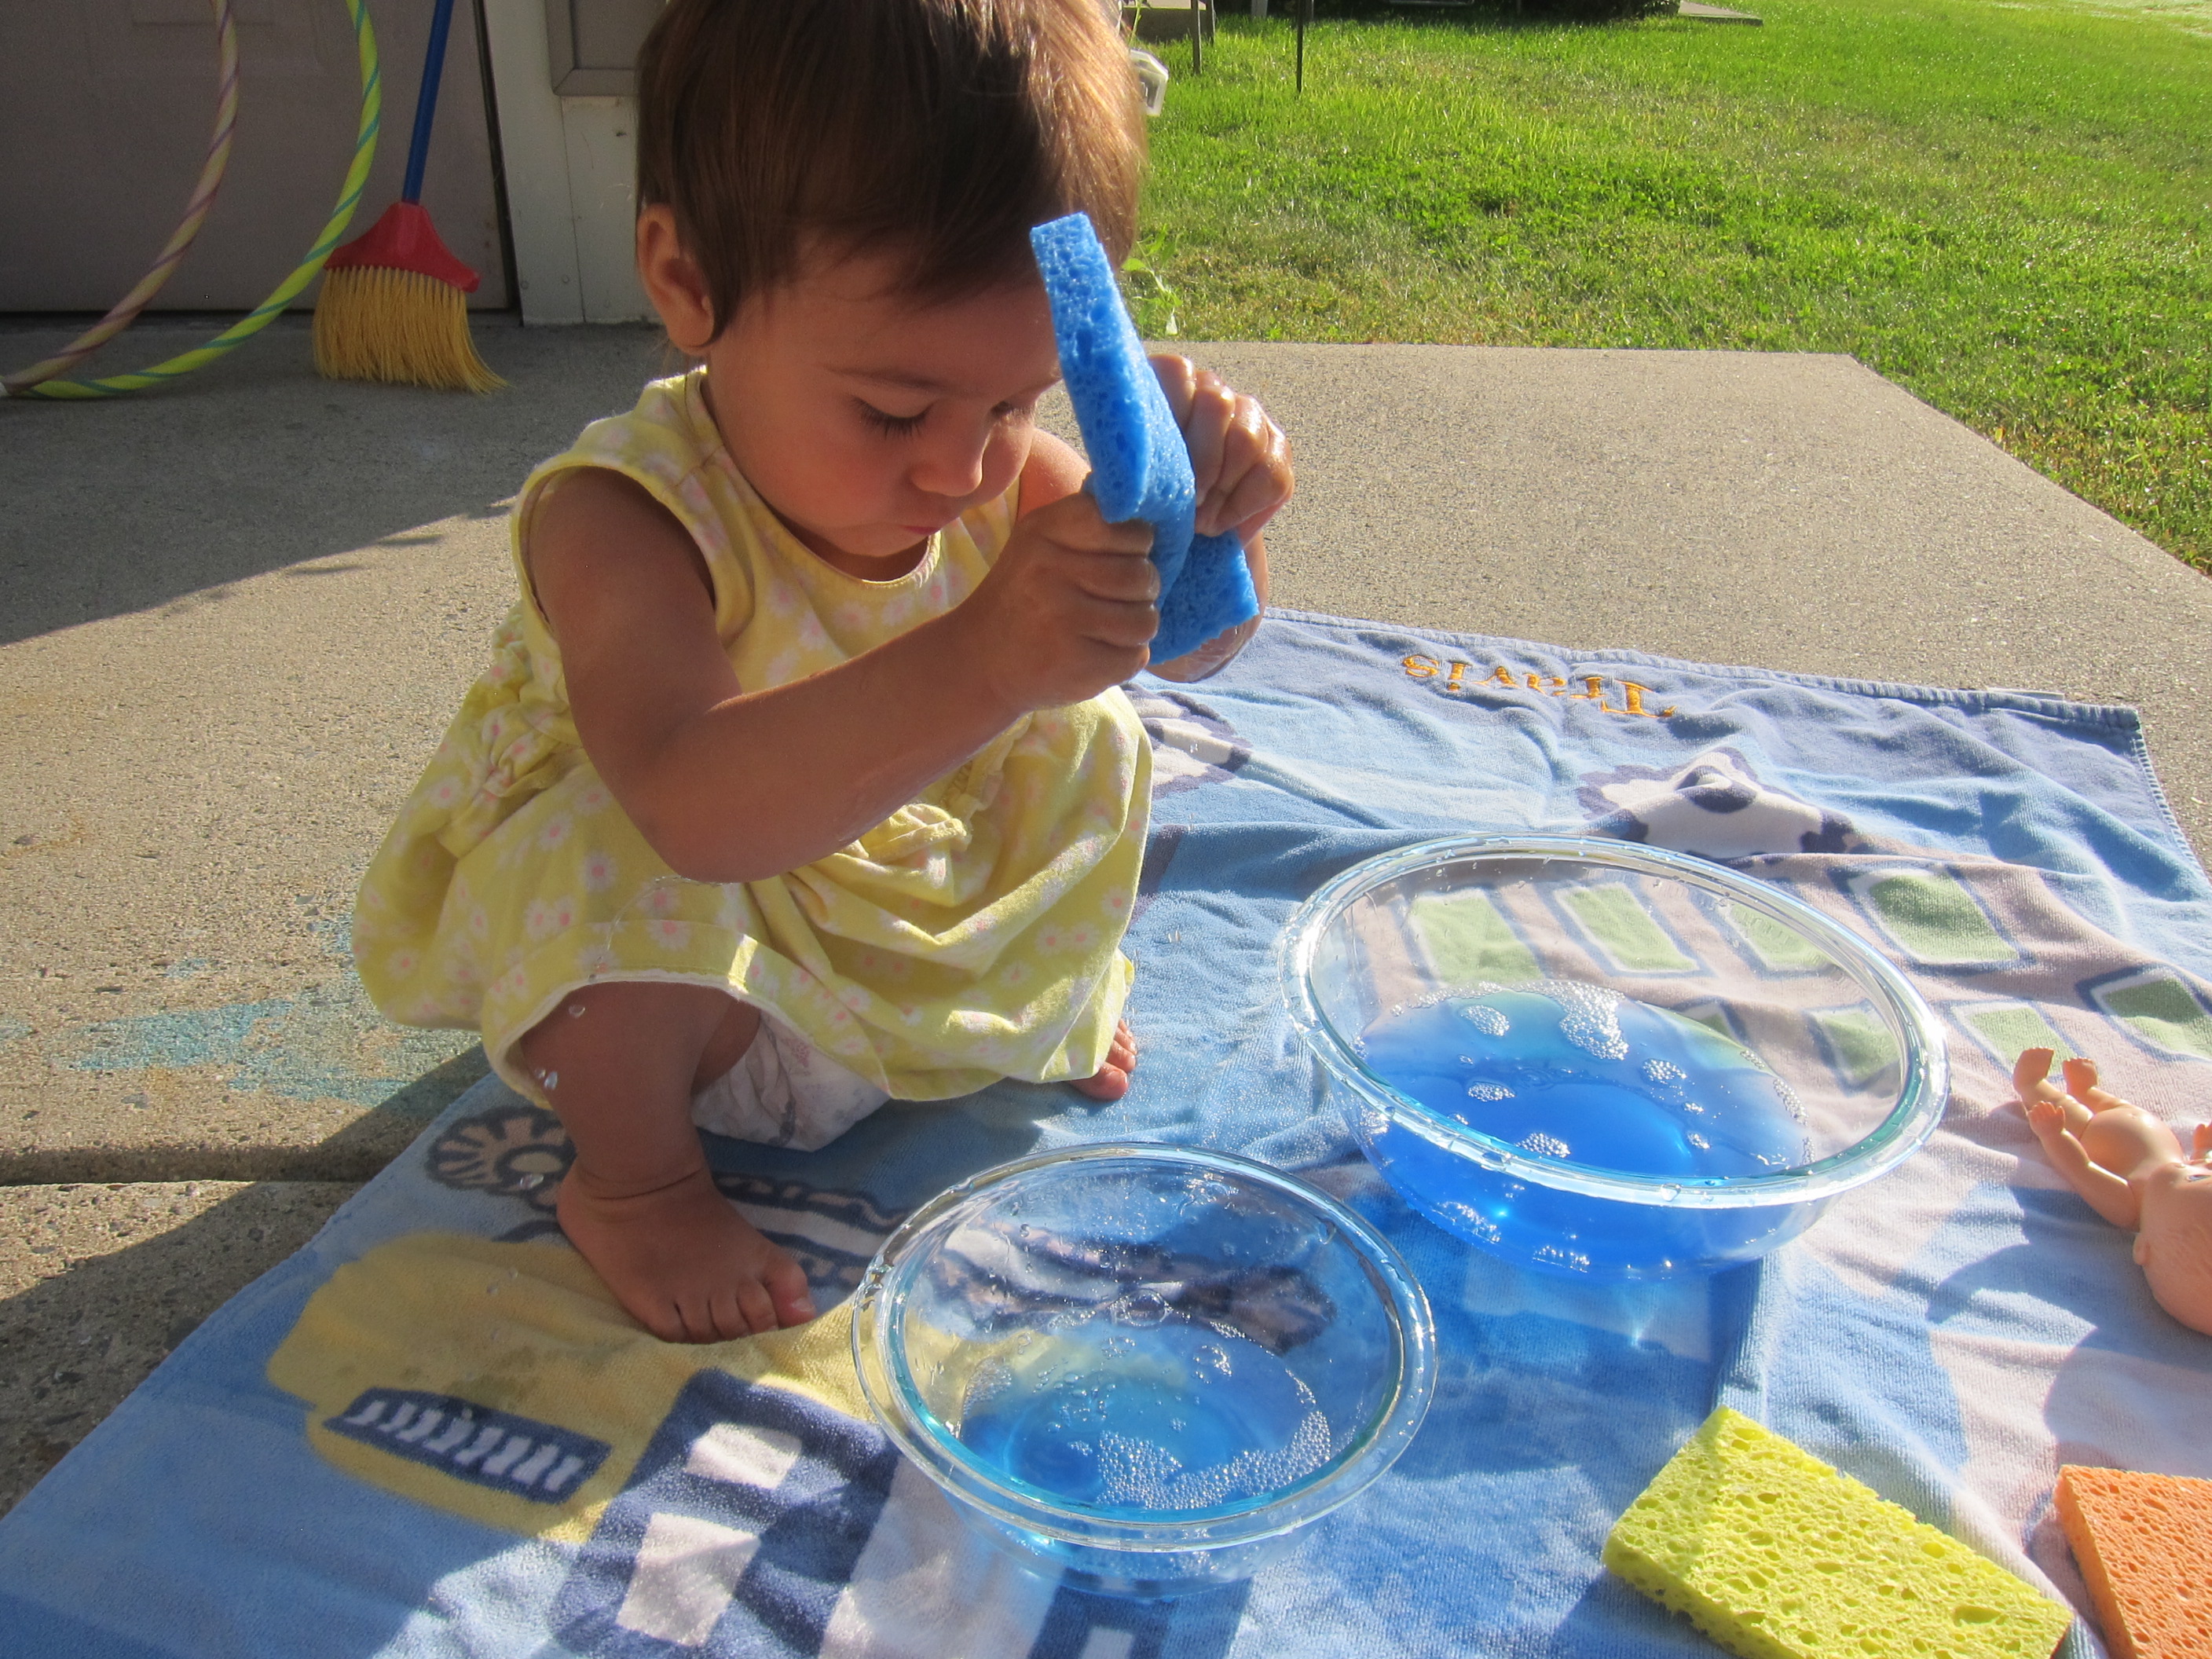
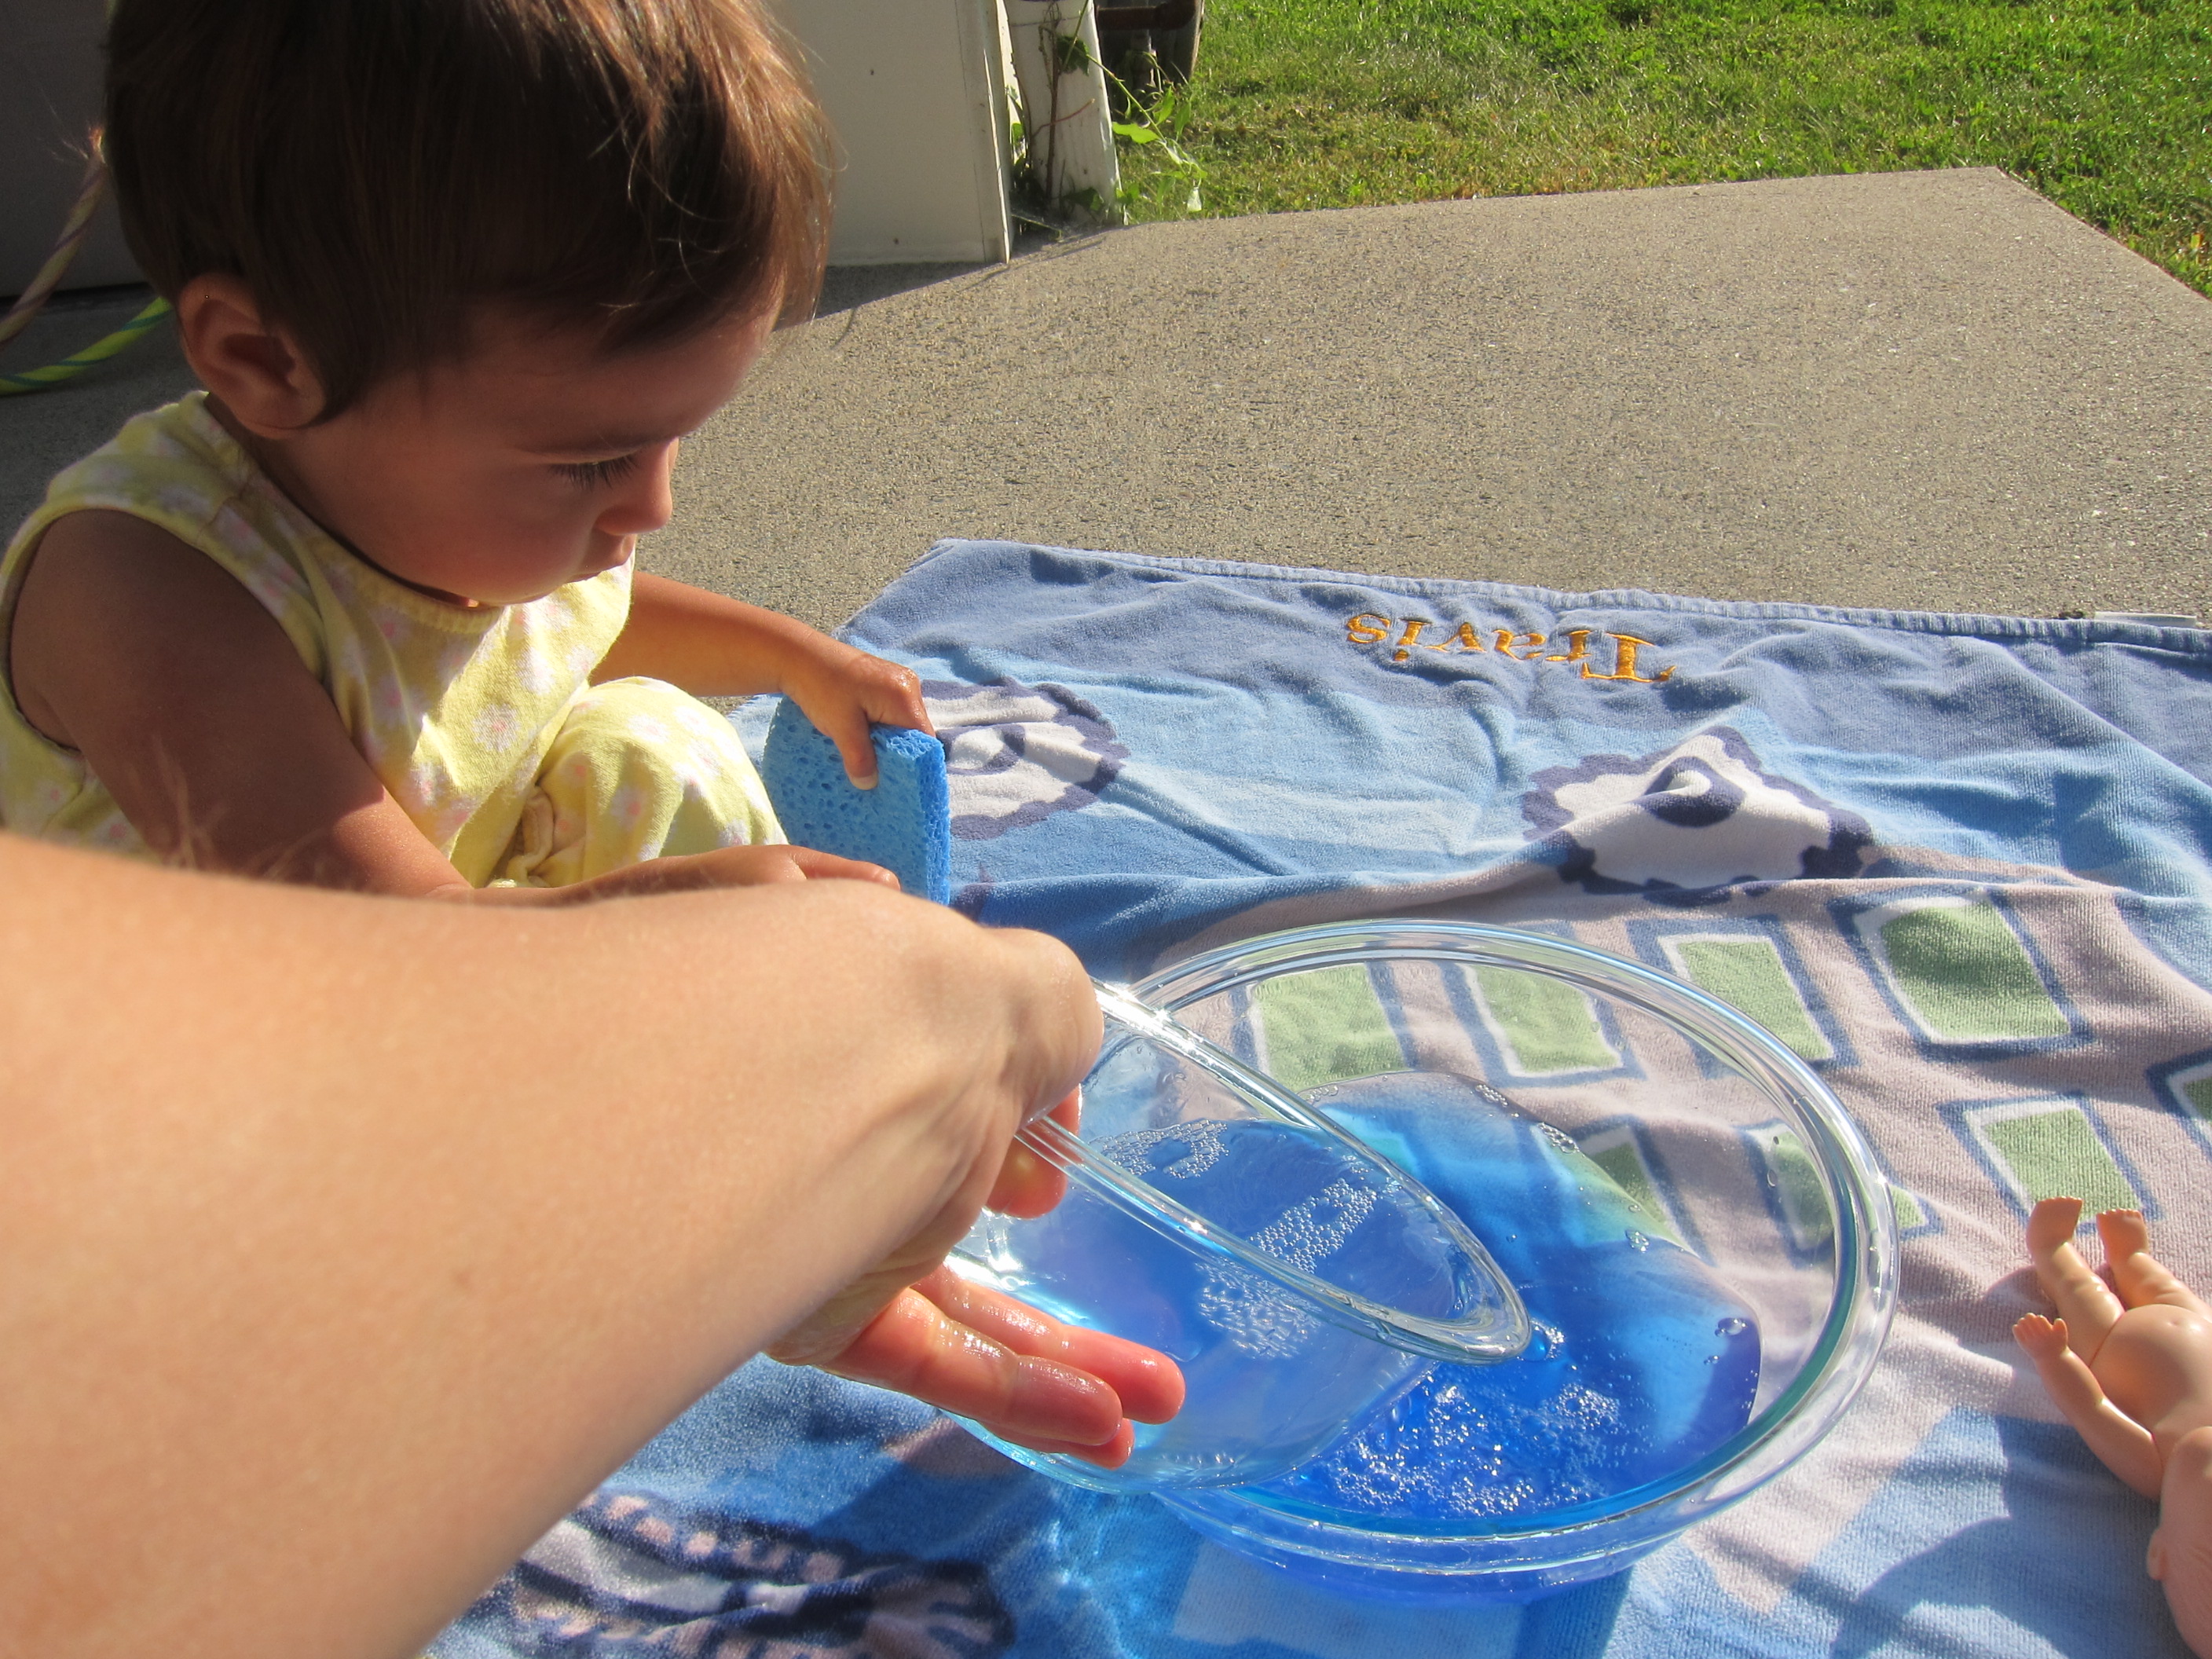
She also took it upon herself to be the dinosaur washer! Whenever one was freed from the mold, she rinsed it in the little dish of water. I gave her a cloth to set them on, and she was soon engaged in “dinosaur bath” play.

Dinosaur Jello (13)

Meanwhile, my older paleontologist was busy digging! Travis tried out all the tools. He loved stabbing at the mold with the screwdriver, or carefully using the pipette to pry layers of jel off a dinosaur.

Dinosaur Jello (9)

It was fun whenever one was halfway free but a tail or leg was still caught! He would then use the spoon or fork to scrape away the final layers.

Dinosaur Jello (10)

Then it was time to hand over his find to little Veronika on bath duty.

Dinosaur Jello (11)

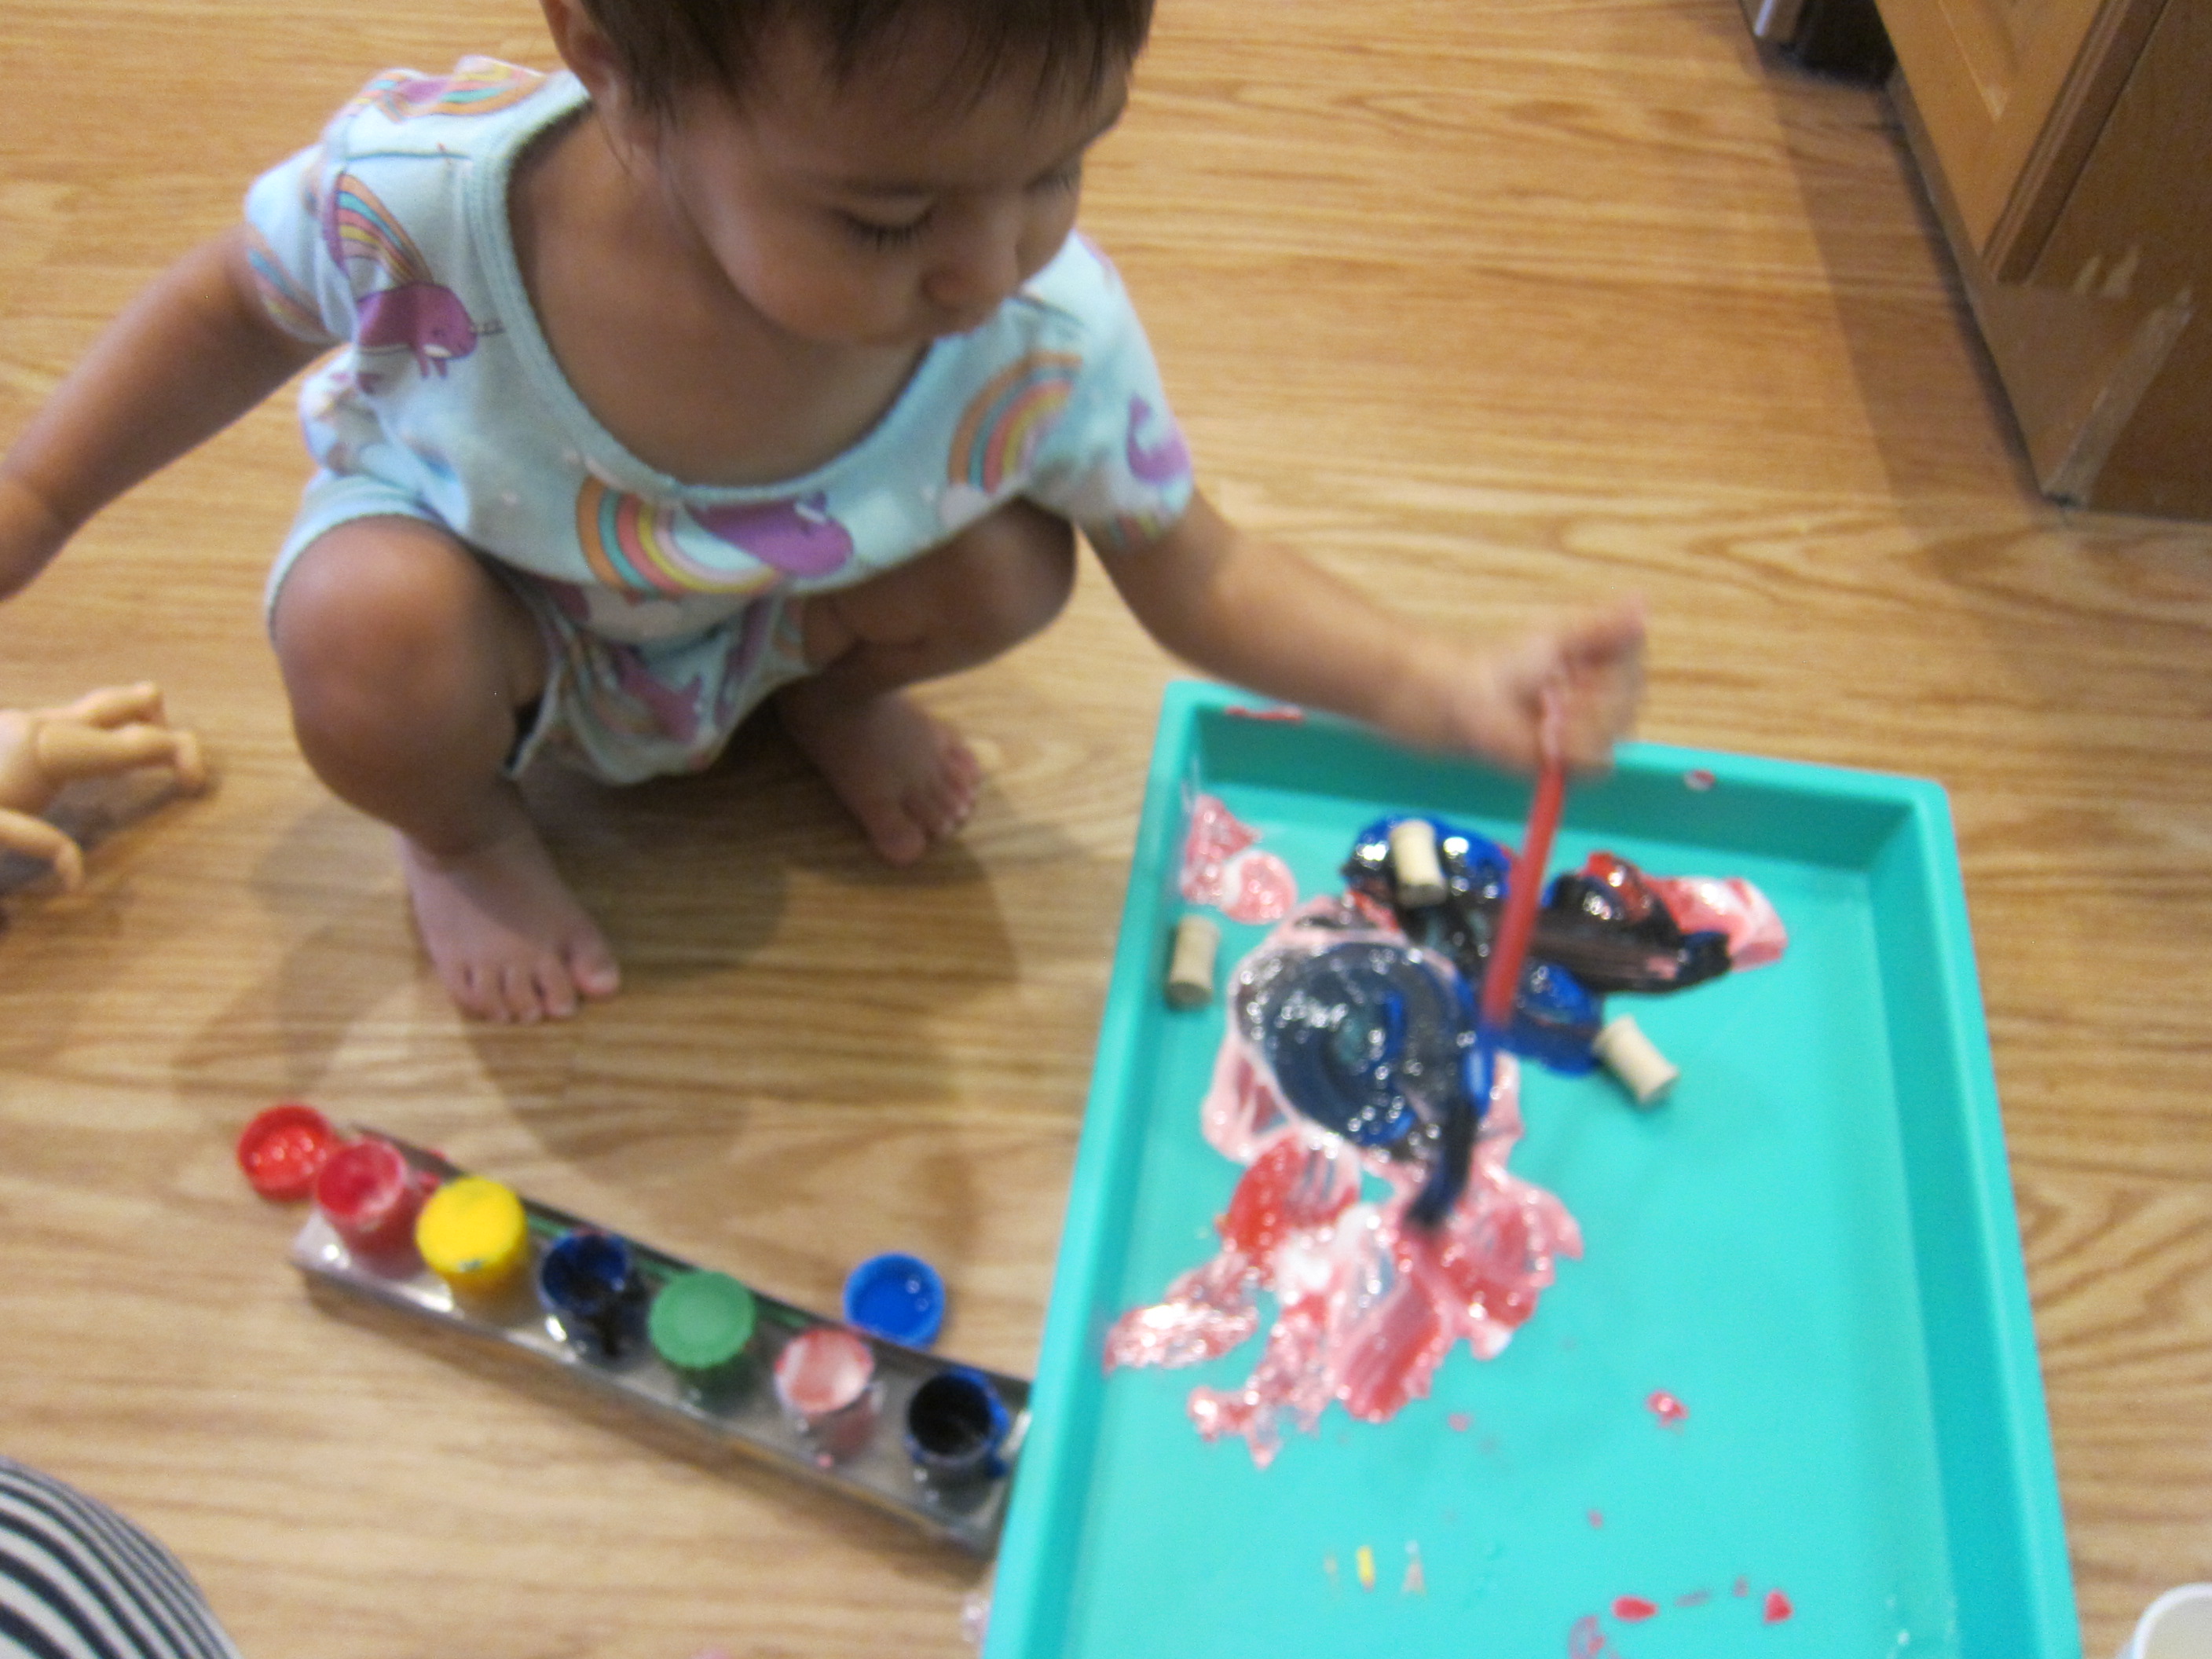
This activity kept them both so happy and engaged. Even better, there’s bound to be some dinosaur play directly afterwards, once all those little toys are freed, leaving you time to clean up any resulting mess!

Dinosaur Jello (14)

Backpack Key Chains

Backpack Keychain (8)

Travis is kitted out with notebooks and textbooks, but he won’t be completely back-to-school ready until his backpack has some homemade bling! We used up the last of a pack of craft spools for this easy DIY version.

First up was painting the spools and Travis chose red.

Backpack Keychain (2)

I painted a second set in a marbled red and yellow.

Backpack Keychain (4)

You’ll want to use acrylic paints so that the first rainy day doesn’t spoil your child’s craft. But since little sister Veronika wanted to get involved, I gave her some washable paints to smear around next to us.

Backpack Keychain (3)

Once the spools dry, thread onto craft laces. Travis chose blue for his.

Backpack Keychain (5)

And of course you’re sneaking in fine motor skills when your child threads the spools onto the lace.

Backpack Keychain (6)

We alternated these with wooden beads, then added a clasp at the top and knotted the lace.

Backpack Keychain (7)

Backpack? Check. COVID-19 hand sanitizer? Check. Keychain? Check. He’s ready.

Backpack Keychain (9)