Halloween Countdown Day 17: Books By Flashlight

Halloween 17 Flashlight Stories (1)

Sometimes power outages can be a pain, but if October gives you a power outage… read spooky books by flashlight!

Of course, there’s no need for a real power outage to do this activity on your countdown to Halloween list. Just dim the lights, pull out all your battery-operated tea candles, and make it a spooky story hour!

Halloween 17 Flashlight Stories (6)

The kids loved the little flickering candles, and moved them all around as we read at our “campfire.”

Halloween 17 Flashlight Stories (4)

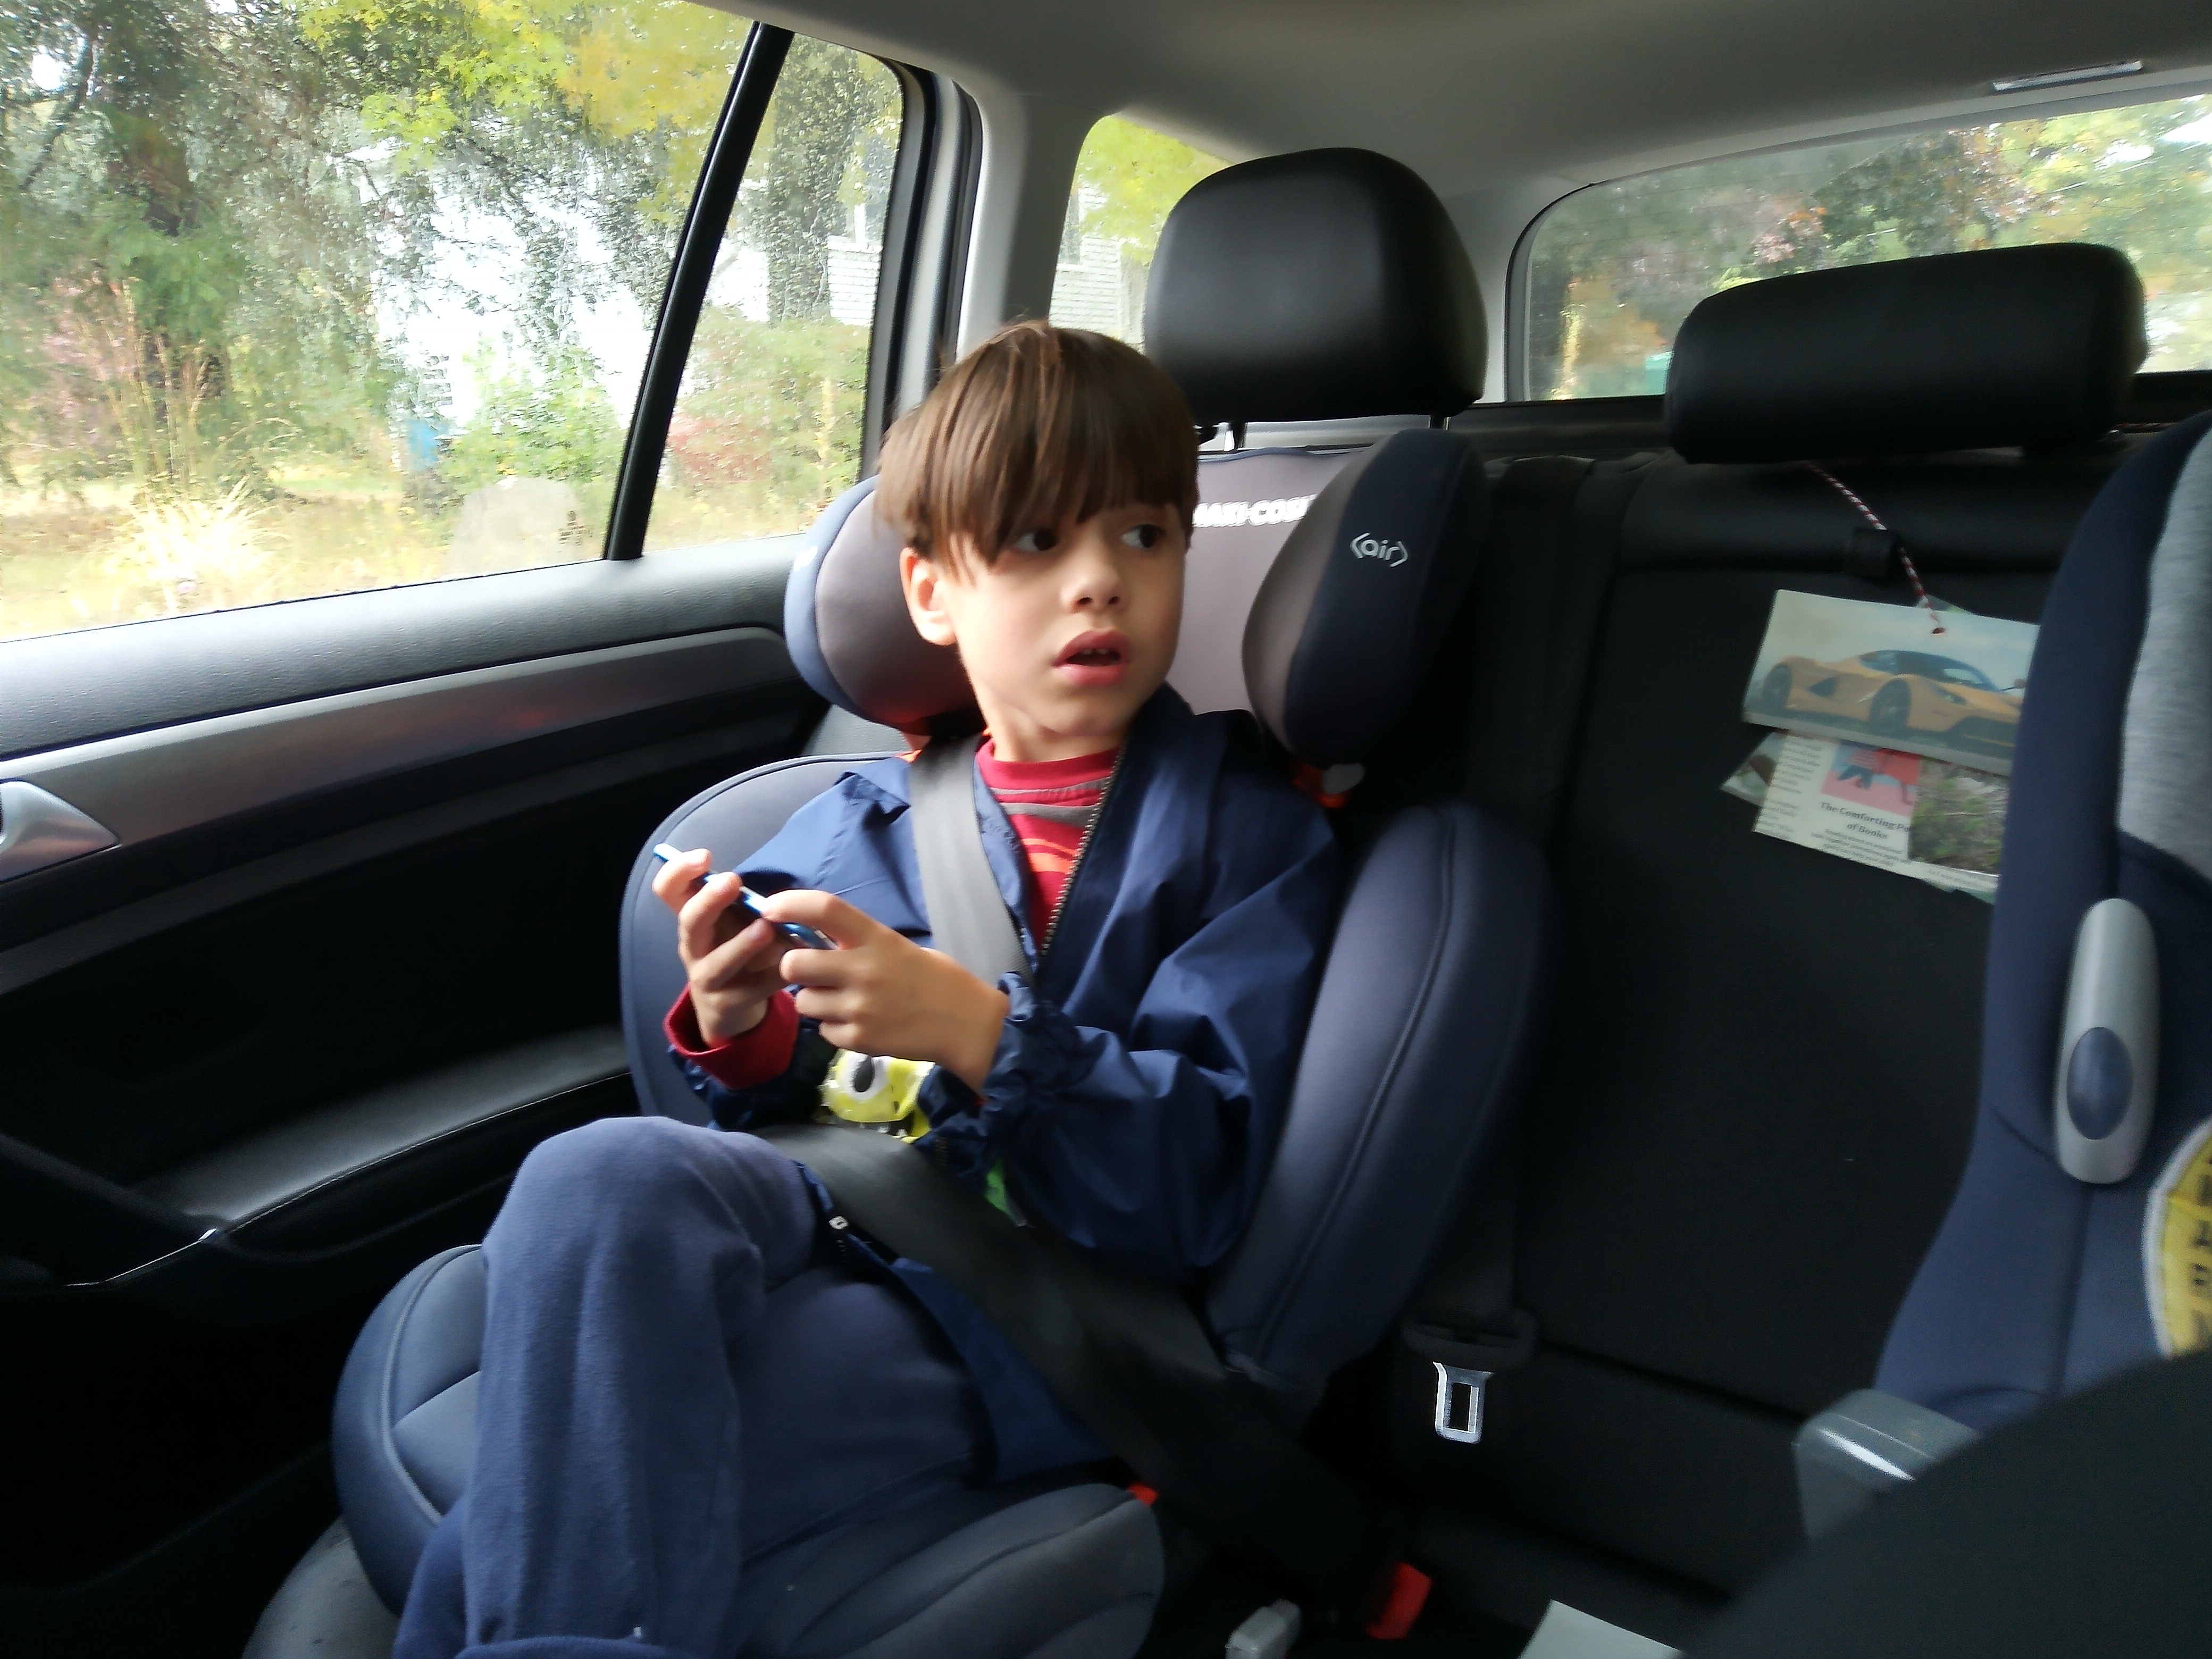
Travis was my expert helper to shine a light on the words as I read. The game is also perfect for hidden picture books (Try Bear’s Spooky Book of Hidden Things by Gergely Dudas), to shine the light on just the right spot of each page.

Halloween 17 Flashlight Stories (7)

Lift-the-flap books are also tailor-made for flashlights, shinign brightly as each flap is lifted for a big reveal.

Halloween 17 Flashlight Stories (5)

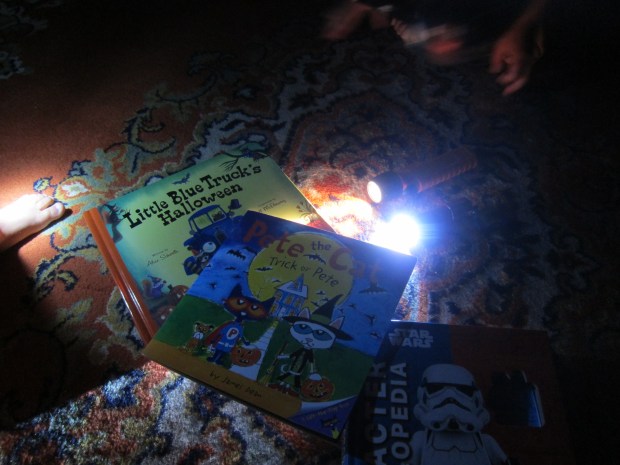
Some of the just-scary-enough books we read included:

Little Blue Truck’s Halloween by Alice Schertle

Laugh-Out-Loud Halloween Jokes by Rob Elliott

Llamas in Pajamas by Russell Punter

Click, Clack, Boo! by Doreen Cronin

and

Pete the Cat Trick or Pete by James Dean

And no problem if you don’t have any Halloween books in the house. Simply make up your own ghost stories!

What’s your family’s favorite Halloween book? Please share in the comments!

Mix and Match Monsters

Mix and Match Monsters (7)

After playing with felt faces to make happy and sad people, it felt like it was time to get a little more Halloween-y and play a version with… felt monsters!

For each monster body, I simply drew free-hand on a piece of felt and cut out the shapes. My monsters were fairly cute and definitely not threatening. Think bubbly round buddies and short stubby limbs.

Mix and Match Monsters (1)

I then hot-glued black felt onto white circles for a few monster eyes, but mostly, I relied on pre-cut pieces of felt to form additional facial features.

Mix and Match Monsters (2)

Time to make some silly faces! Veronika was delighted as soon as she saw what we were up to. She loved making a three-eyed monster with a smile. “She’s happy!” she told me (happily). So this very quickly turned into a lesson on emotional learning, too.

Mix and Match Monsters (3)

We made grumpy monsters and surprised monsters.

Mix and Match Monsters (4)

Then she wanted to get them dressed. This one, according to Veronika, was wearing pants and his shirt.

Mix and Match Monsters (6)

I loved watching the way she interacted with these little creatures.

Mix and Match Monsters (5)

And nothing was too spooky!

Bubbling Cauldron

Bubbling Cauldron (10)

Halloween-themed crates from Kiwi Co have been a huge hit in the past, and this year’s did not disappoint!

This year we opted for a witch’s Bubbling Cauldron, which relies on that old trick of baking soda plus an acid (in this case citric acid) to make a bubbly explosion.

The first step was to Make the Witch of course. Travis helped fold the provided felt pieces into her cape and hat, which he decorated with spooky stickers (bats!), and which then slide onto the wooden peg body.

Bubbling Cauldron (1)

A pipe cleaner forms her warty nose and we added spooky features with black marker.

Bubbling Cauldron (2)

Next he needed to Build the Witch’s Lair. Decorate the provided backdrop with more stickers, then attach to the base with sticky foam dots.

Bubbling Cauldron (3)

The witch and her cauldron are then attached to the base with additional sticky foam.

Bubbling Cauldron (5)

An air pump is then threaded through the back of the scenery. One hose dangles down into the base, and the other dangles into the cauldron (these are helpfully color-coded red and black so your child can be sure the pump is going to flow in the right direction).

Bubbling Cauldron (6)

It’s time for some bubbly science! Pour the provided packets of citric acid and baking soda (colored green!) into the provided cup and mix well.

Bubbling Cauldron (7)

Add 4 scoops to the cauldron; Travis loved being in charge of his own “potion” here. Pour 1 and 1/2 cups water into the holes of the base, and then start squeezing the air pump…

Bubbling Cauldron (8)

…and marvel at the bubbling cauldron that results!

Bubbling Cauldron (9)

This was so cool and eerie and scientific and magical all at once. And needless to say, pretty soon there were poor Lego fellows drowning in the witch’s pot.

Bubbling Cauldron (11)

A definite win for a Halloween project.

Halloween Countdown Day 16: Mix-and-Match Costume Party

Halloween 16 Try on Costumes (5)

Whether your kids need to try on their costumes to ensure a perfect fit before the big day, or you’re pulling out last year’s costumes for fun, or heck if they’re just too impatient to wait until the 31st, declare the day a Try-On Party and let the costume mixing and matching begin!

Things around here are very clearly Star Wars themed. Travis sported Boba Fett…

Halloween 16 Try on Costumes (4)

…followed by Darth Maul.

Halloween 16 Try on Costumes (7)

Veronika could be Baby Yoda…

Halloween 16 Try on Costumes (3)

…or Queen Amidala!

Halloween 16 Try on Costumes (12)

For extra fun, we decided to break out the face paint. Veronika loved testing it on herself. “I’m very green!” she said when I showed her in the mirror.

Halloween 16 Try on Costumes (6)

We also got silly and mixed-and-match the Halloween costumes with other items from the dress-up bin. Darth Maul needed black gloves of course.

Halloween 16 Try on Costumes (14)

And we soon had a little magician prancing around.

Halloween 16 Try on Costumes (1)

And no Star Wars costume party is complete with a light saber for an accessory.

Halloween 16 Try on Costumes (8)

We had a blast with this! Here’s wishing your family an equally joyful costume and accessory party.

Halloween 16 Try on Costumes (11)

Paper Bag Pumpkins

Pape Bag Pumpkins (9)

Here’s a classic toddler Halloween activity that never disappoints: easy pumpkins made from brown paper lunch bags!

Use sandwich-size brown bags for this project, not larger ones. First up is stuffing them with tissue paper (or any similar material like old newspapers). “Can I make a ball?” Veronika asked after watching me do the first one, and she was a big helper wading up pieces and stuffing them into the bags.

Paper Bag Pumpkins (3)

Once they were about two-thirds of the way filled, I secured each top with a rubber band and twisted tightly so they resembled pumpkin stems.

Time to paint! Veronika couldn’t wait to get her hands on orange paint and paintbrushes, and helped smear all over the bags.

Paper Bag Pumpkins (2)

I wish we’d had more orange paint (or a thicker acrylic) for a better coat to hide the writing on our paper bags, but at least we achieved a mostly orange look!

Paper Bag Pumpkins (4)

You can also paint the stems a deep brown, but since the bags were already brown, we skipped that part.

Once the paint dries (which takes a while!), add pumpkin faces with black marker.

Paper Bag Pumpkins (6)

I made a traditional jack o’ lantern face, and Veronika added her own toddler interpretation.

Paper Bag Pumpkins (7)

These make a fun addition to your Halloween decor!

Paper Bag Pumpkins (5)

Monster Stew

Monster Stew (1)

There were no real monsters in this watery sensory tub for Veronika, just a chance to splash and play in a seasonable way.

To make the broth for our “stew”, I filled a basin with water and tinted it orange with food coloring.

Now we needed to add a few monstrous ingredients! In went lots of items from the dollar store, including skeleton hands, plastic bats, and monster eye rings.

Monster Stew (2)

I had originally hoped to use mini plastic jack o’ lanterns as scoops for her to fill and pour with, but the store was sold out. Instead, I added orange plastic eggs, broken in half, which worked perfectly as little cups.

That was a good thing, because this was definitely her favorite part of the sensory game. She loved to scoop and pour over the rest of the eerie ingredients.

Monster Stew (3)

The skeleton hands were perfect for stirring with.

Monster Stew (5)

It was also fun to reach down to the bottom of the stew and dig out handfuls of bats or eyes.

Monster Stew (4)

In sum, this was simple and spooky sensory play, just right for October. It was a nice way to introduce some of Halloween’s monsters without them seeming too scary.

Monster Stew (6)

Plate Faces & Playdough Faces

Playdough Faces (9)

Veronika and I played two different games today to learn facial features and emotions. The activities were both so hands on, and she loved them equally!

For the first version, I set out blank paper plates and used cut pieces of felt to create features. I simplified the prep work by using felt pieces from a set with pre-cut squares, rectangles, squiggles and more. You could just as easily do this activity with lots of shapes cut from construction paper.

Face Off (1)

I showed her how to arrange the pieces to quickly transform plates into faces. “What’s he feeling?” I asked her for each expression. “He’s happy!” she piped up, or, “He’s sad!”.

Face Off (3)

We could manipulate the shapes to make all kinds of variations, including surprised, silly, sleepy, angry, and more. In addition to the expressions, it was also a great chance to name individual features. “Her mouth is a circle,” I pointed out, or, “Here are her ears.”

Face Off (4)

Pretty soon she was busy designing “faces” of her own.

Face Off (6)

The second game was similar, except this time the sensory experience was squishy playdough instead of fuzzy felt.

I drew two faces on plain white paper and inserted each piece into a large zip-top bag.

Playdough Faces (2)

Now use playdough and squish against the bag to follow along on the facial features!

Playdough Faces (3)

Veronika got the hang of it quite quickly.

Playdough Faces (4)

Again, there was lots to talk about, including eyebrows, noses, ears, and mouths.

Playdough Faces (8)

But because this time she had to manipulate the playdough, it was great for thinking about how we shape our mouths into a frown or smile.

Playdough Faces (5)

I loved watching her move the frown from the sad face over to our happy face, and stretch it out first into a line.

Playdough Faces (6)

I helped her arc it upwards into a smile. She looked so pleased.

Playdough Faces (10)

The added bonus is that when you’re done with the games, your toddler will have lots of playdough and felt (or construction paper) pieces to play with solo for a while.

Playdough Faces (11)

Halloween Countdown Day 15: Eat Orange Meals

Halloween 15 Orange Meals (1)

Forget about eating the rainbow for a day. As we reach the halfway point in our countdown to Halloween, it was time to eat only orange for the day (well, mostly orange).

At each meal, I made sure to include at least two orange foods. Breakfast featured oranges and pumpkin waffles.

Halloween 15 Orange Meals (2)

Snacks included goodies like vegan cheese crackers, cheddar cheese slices, and crunchy orange bell peppers.

Halloween 15 Orange Meals (4)

Carrots were the star of the show at lunch, including a carrot sauce over sauteed tofu.

Halloween 15 Orange Meals (3)

Dinner featured roasted butternut squash and orange pasta (Note: if you cook up red lentil pasta, it will turn orange after it boils). An carrot-laced marinara sauce finished things off!

Halloween 15 Orange Meals (5)

The one place we didn’t have orange was dessert. Too bad we didn’t have pumpkin pie in the house! What would you serve on an all-orange day? Please share in the comments!

Balloon, Cork, and Ice Bath

Balloon Cork Ice Bath (2)

What do the three items in the title of this post have in common? They all float in water! And that was precisely the point of this simple way to make bathtime more fun. Little did Veronika know that this was a mini lesson on density, disguised as novel water toys.

For the first surprise, I tossed in a handful of corks I’d been saving (you can also simply purchase corks at a craft store). These were fun to bob around like little boats. We could even have cork boat races.

Balloon Cork Ice Bath (1)

Big brother Travis suggested drawing faces on them! Now they became little swimmers to figure into the kids’ imaginative games.

Ballon Cork Ice Bath alt

Next, I blew up a few bright balloons and tossed these in. I challenged the kids to try dunking the balloons under the water, and of course they popped up every time.

Balloon Cork Ice Bath (3)

Veronika also loved pouring “potions” over the balloons. For the final surprise, I tossed in a handful of ice cubes.

Balloon Cork Ice Bath (4)

These floated for a moment (again, there’s that mini science lesson), before very quickly disappearing. Could we hold them in our hands as they melted? Not for long!

Balloon Cork Ice Bath (5)

Needless to say, bath was extra fun tonight with minimal effort on my part.

Halloween Countdown Day 14: Tour the Neighborhood

Halloween 14 Tour the Neighborhood (3)

What do you do when the afternoon is too rainy to get outside and play? Hop in the car and tour the town in search of the best Halloween decorations!

The kids loved the excitement as we loaded up in the rain and set out in search of maximum spookiness.

Halloween 14 Tour the Neighborhood (1)

I had a few target neighborhoods in mind, and luckily they didn’t disappoint. Soon we saw everything from giant spiders to ghosts popping out of windows (!).

Halloween 14 Tour the Neighborhood (2)

I couldn’t always get great pictures for safety reasons, but some made us laugh, like skeletons lounging on lawn chairs or little ghosts around a campfire.

Halloween 14 Tour the Neighborhood (5)

Others were downright scary, like ghouls popping up from fake graveyards!

Halloween 14 Tour the Neighborhood (4)

Needless to say, this was the perfect way to fill a rainy October afternoon.