Sandpaper Shamrocks

Shamrock Threading (4)

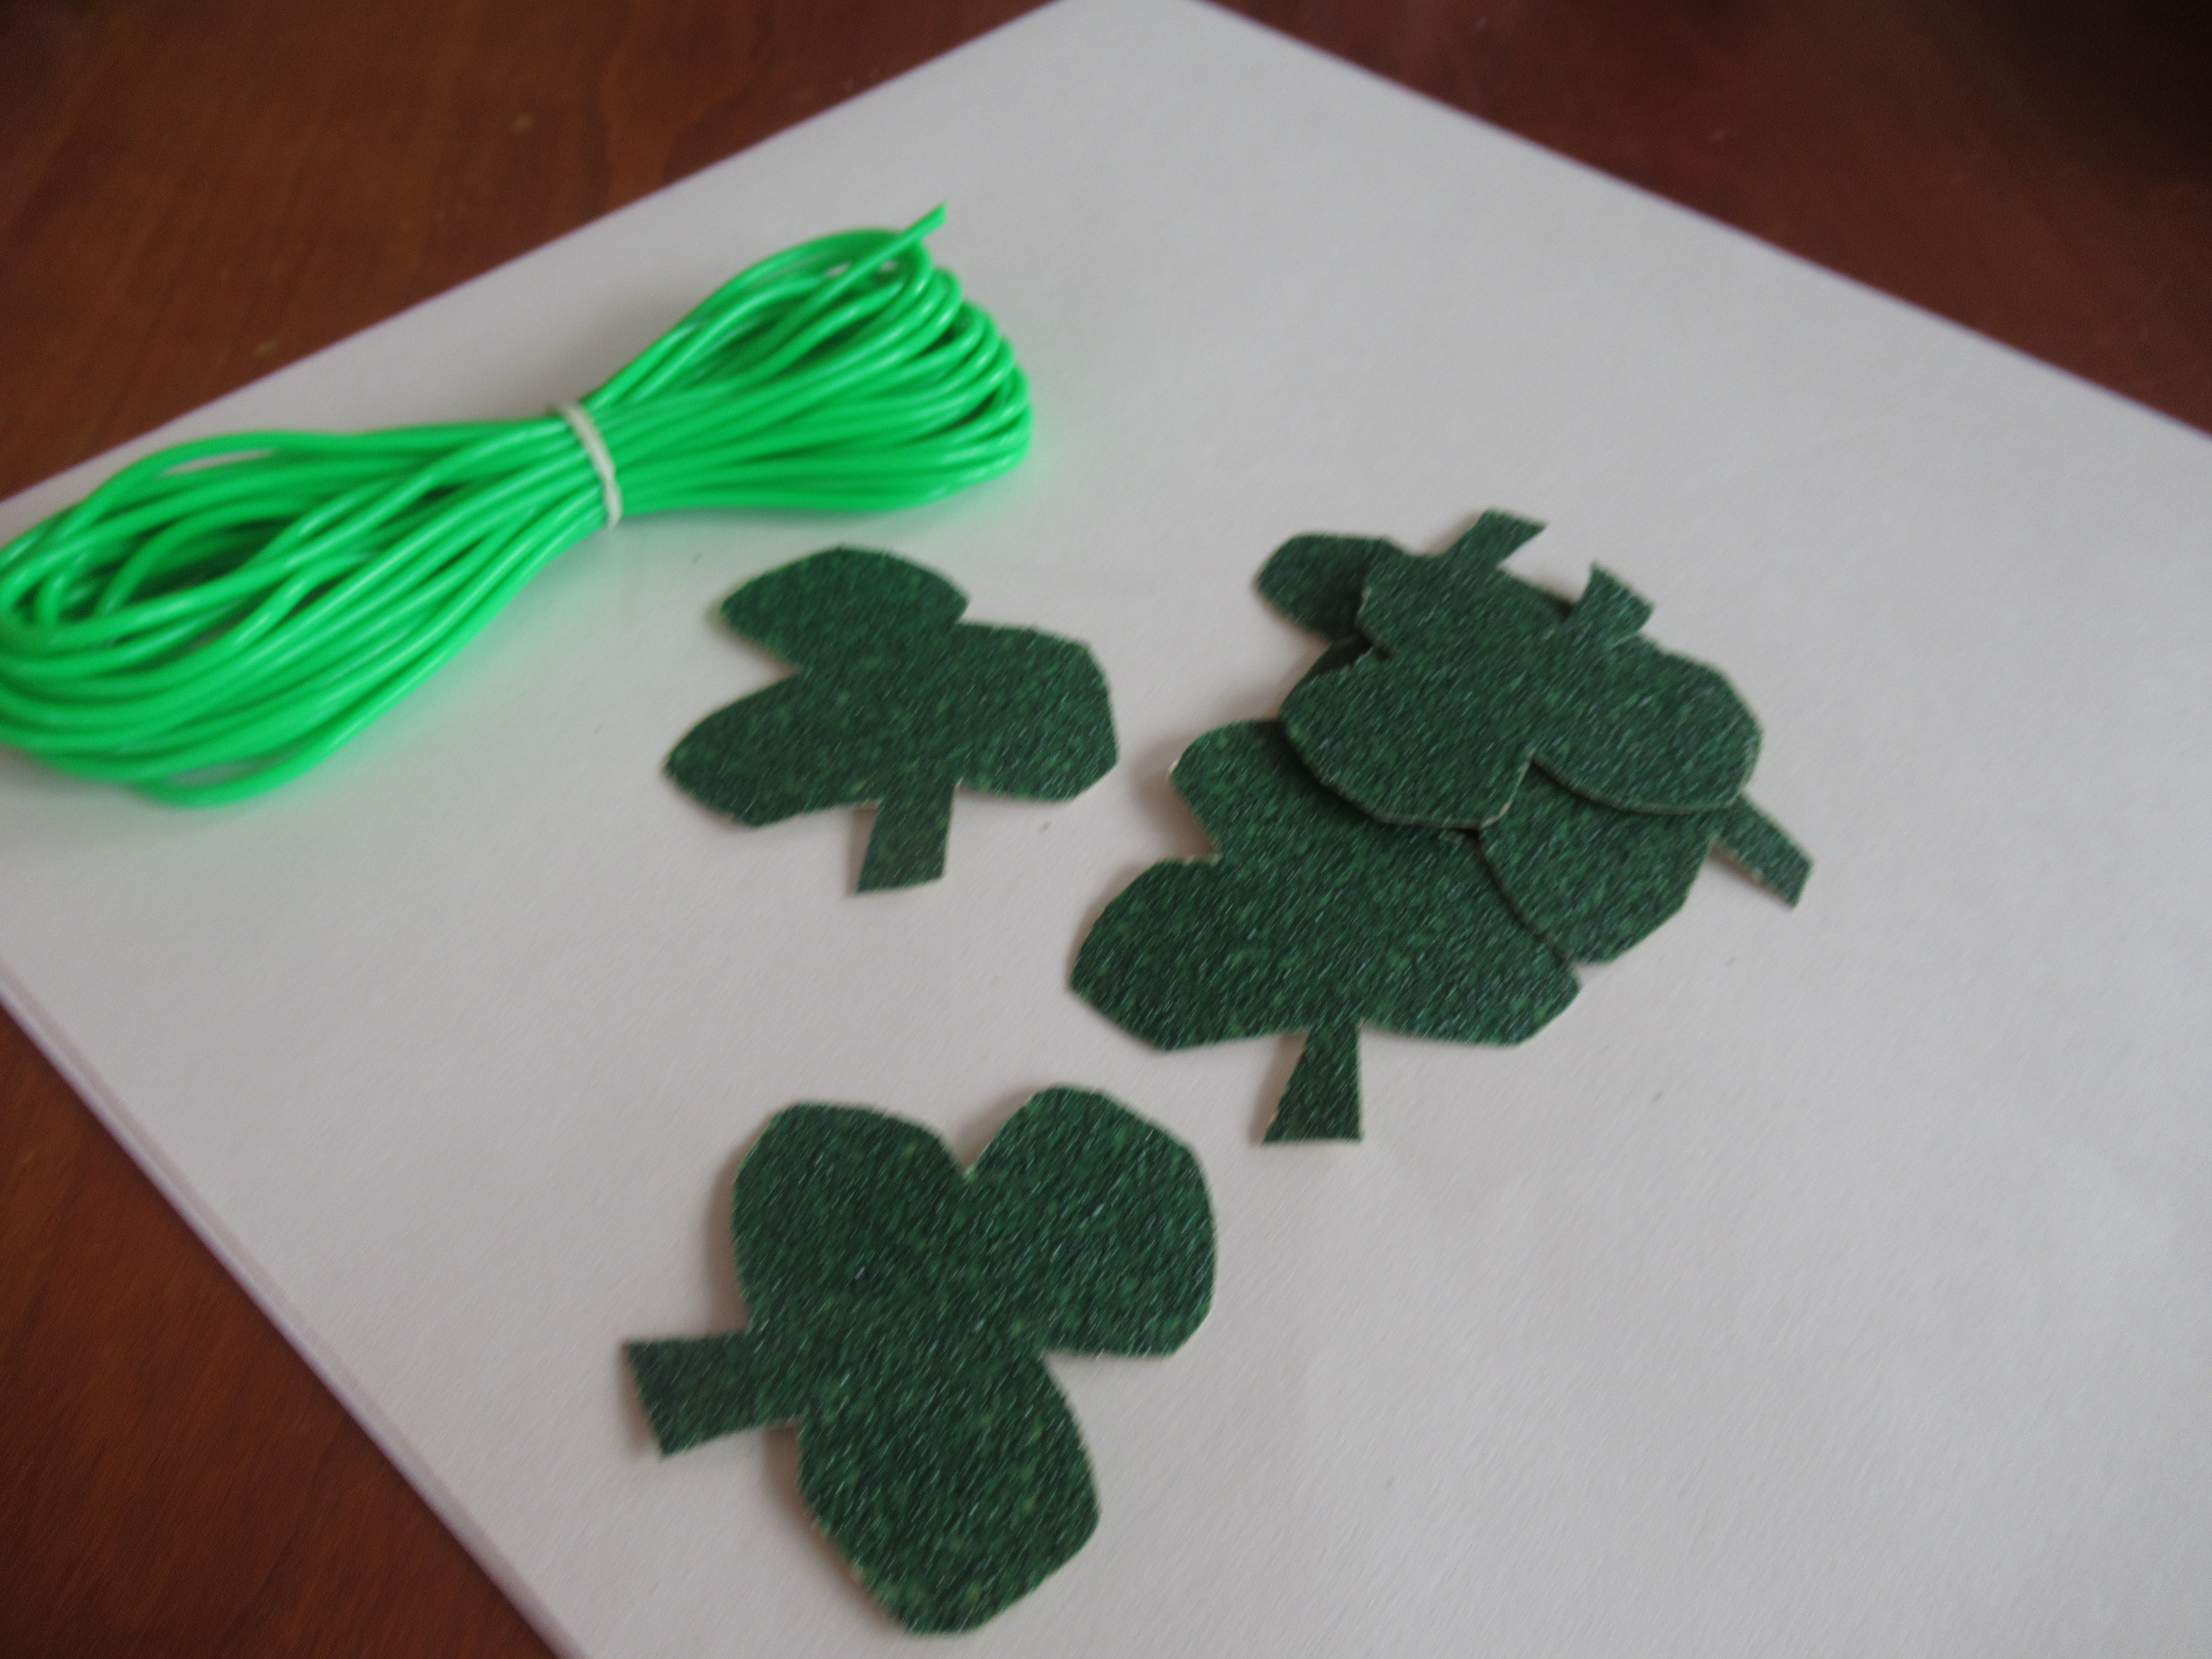
I happened to have a sheet of green sandpaper, and realized it would be perfect for a few Irish shamrock crafts as we gear up for St. Patrick’s Day!

For the first project, I cut small shamrock shapes from the green sandpaper, and then used a hole punch to add a hole near the top of each. A piece of green lacing cord would be perfect for threading!

Shamrock Threading (1)

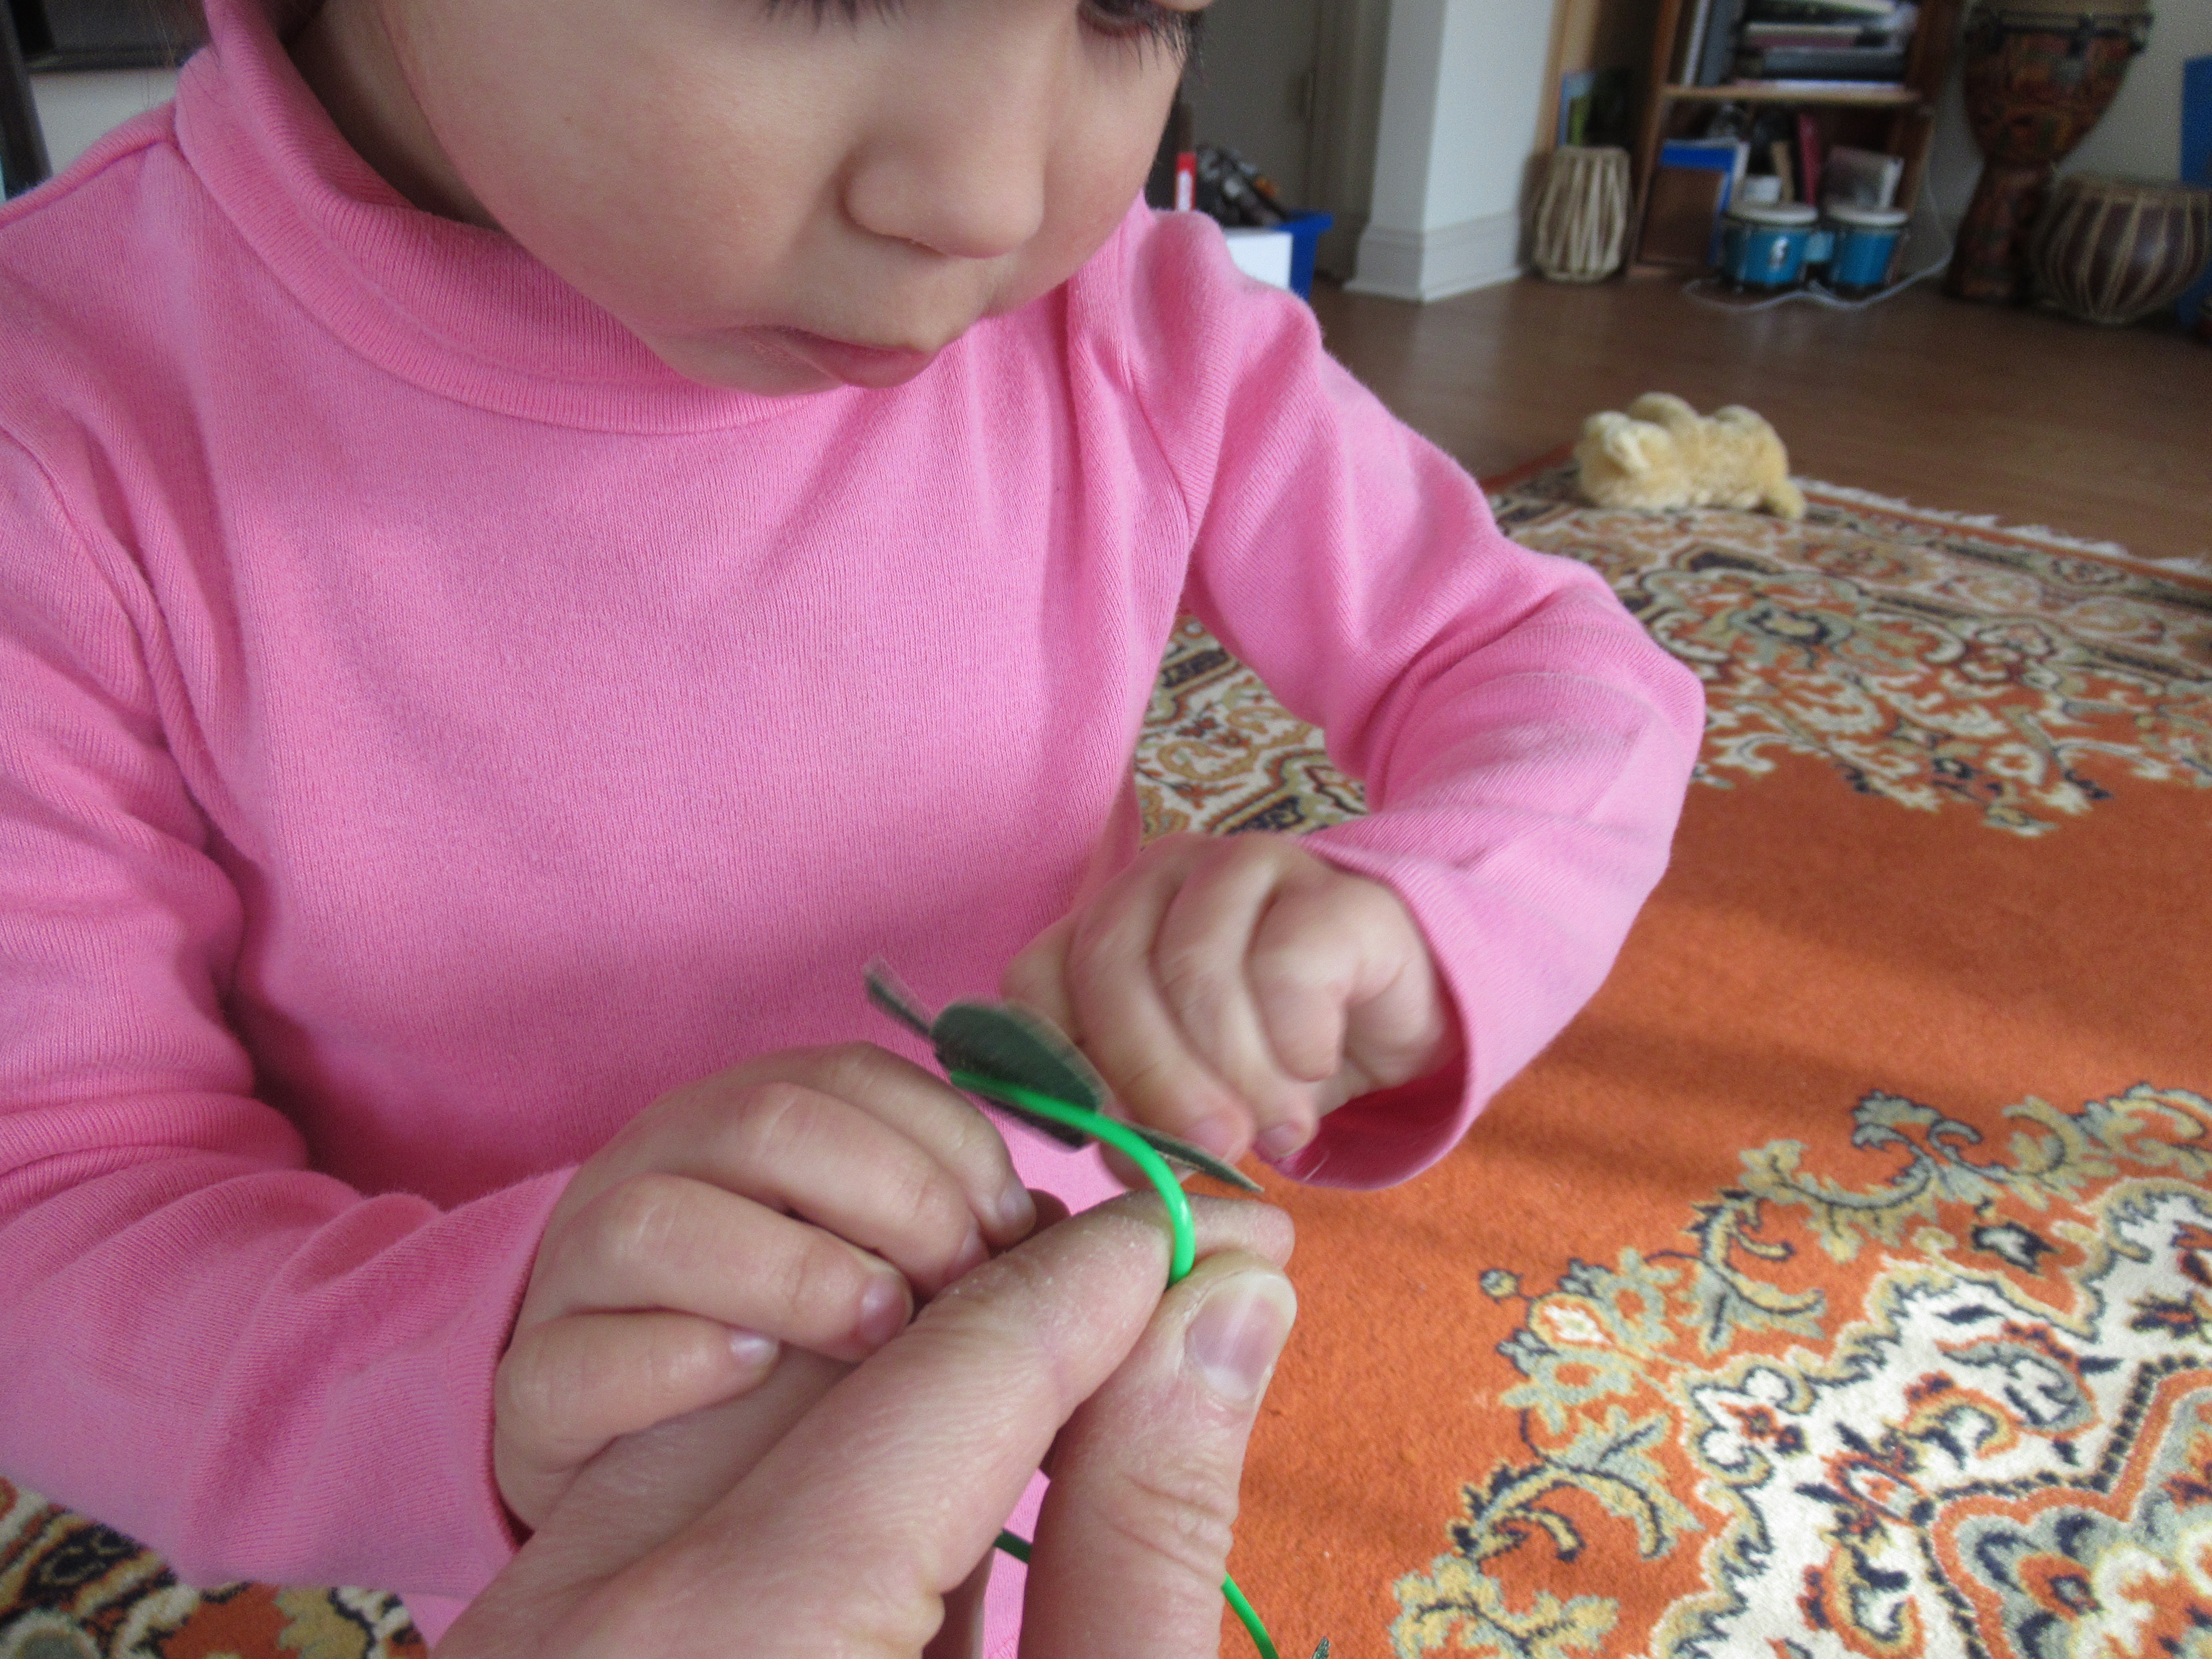
I encouraged Veronika to thread the lace through the hole of each clover. After a few tries, she seemed to tire of the task so I finished up her necklace.

Shamrock Threading (3)

She sure loved wearing this adornment, though! I realized it will make a great homemade alternative to the light-up shamrock bling the kids usually get at the St. Patrick’s Day parade (cancelled of course this year).

Shamrock Threading (5)

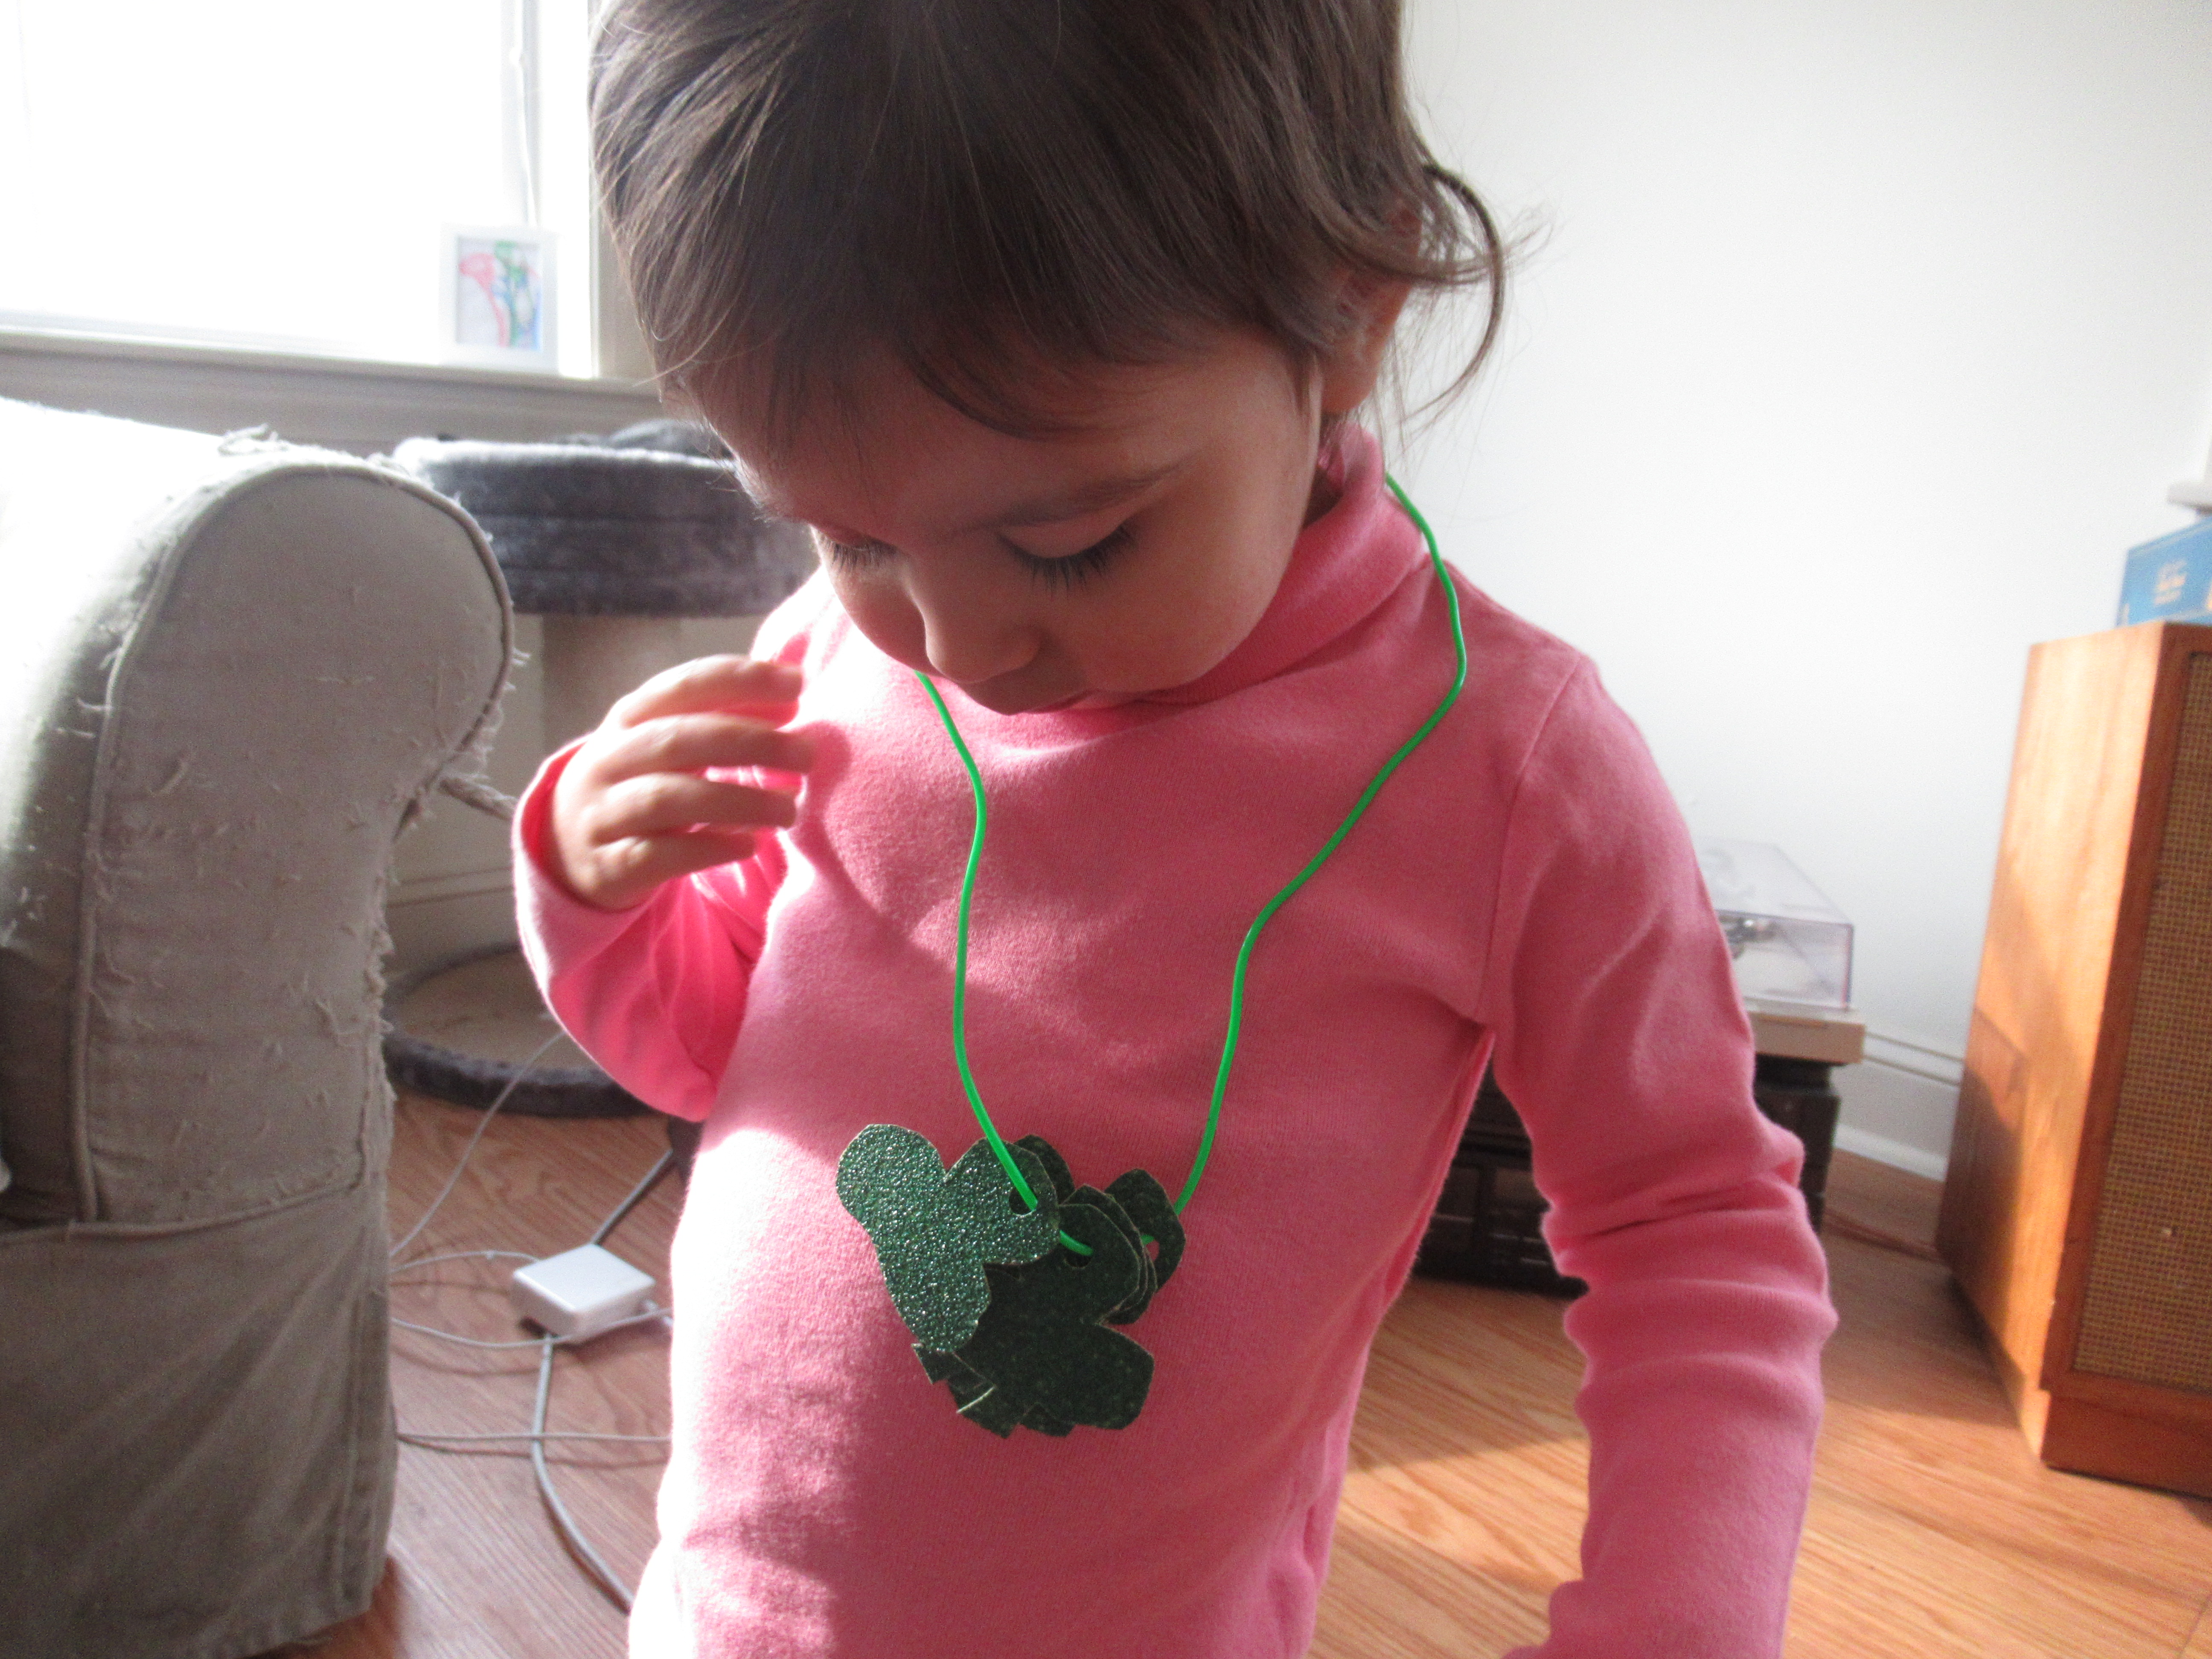
Note: If you don’t have green sandpaper, you can also cut the shamrocks for this necklace from green construction paper. A shoelace would work well for the thread!

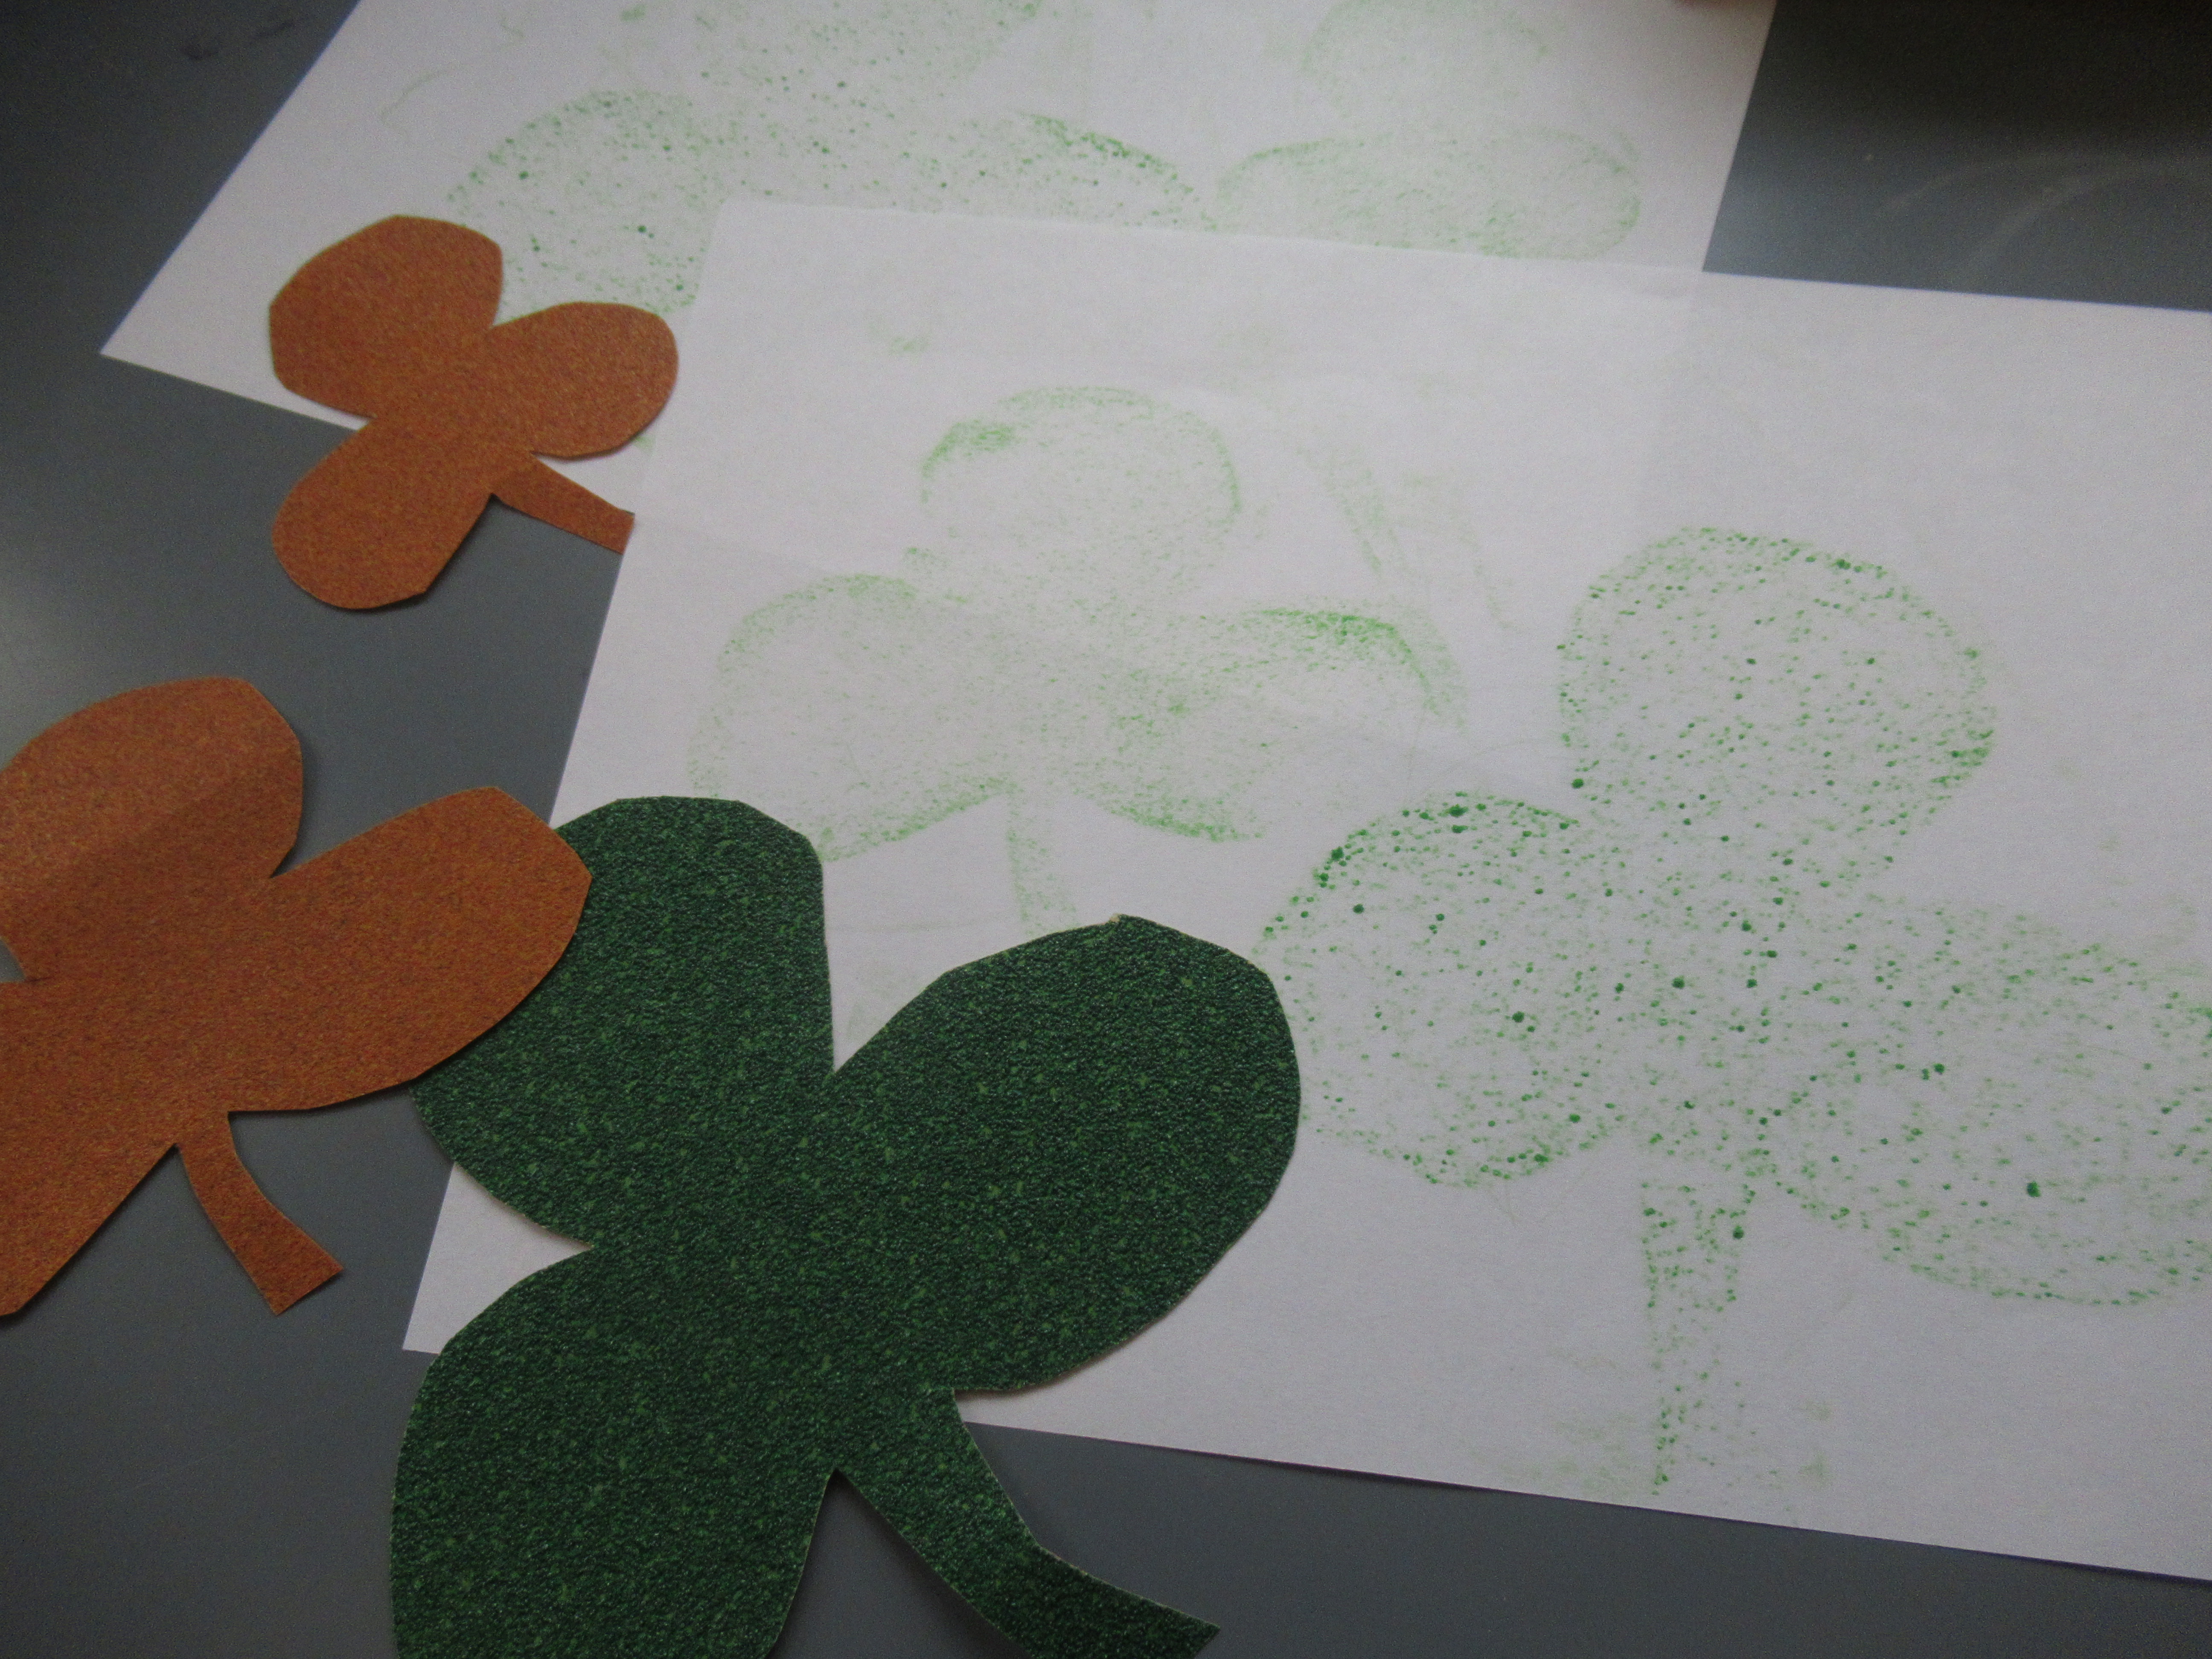
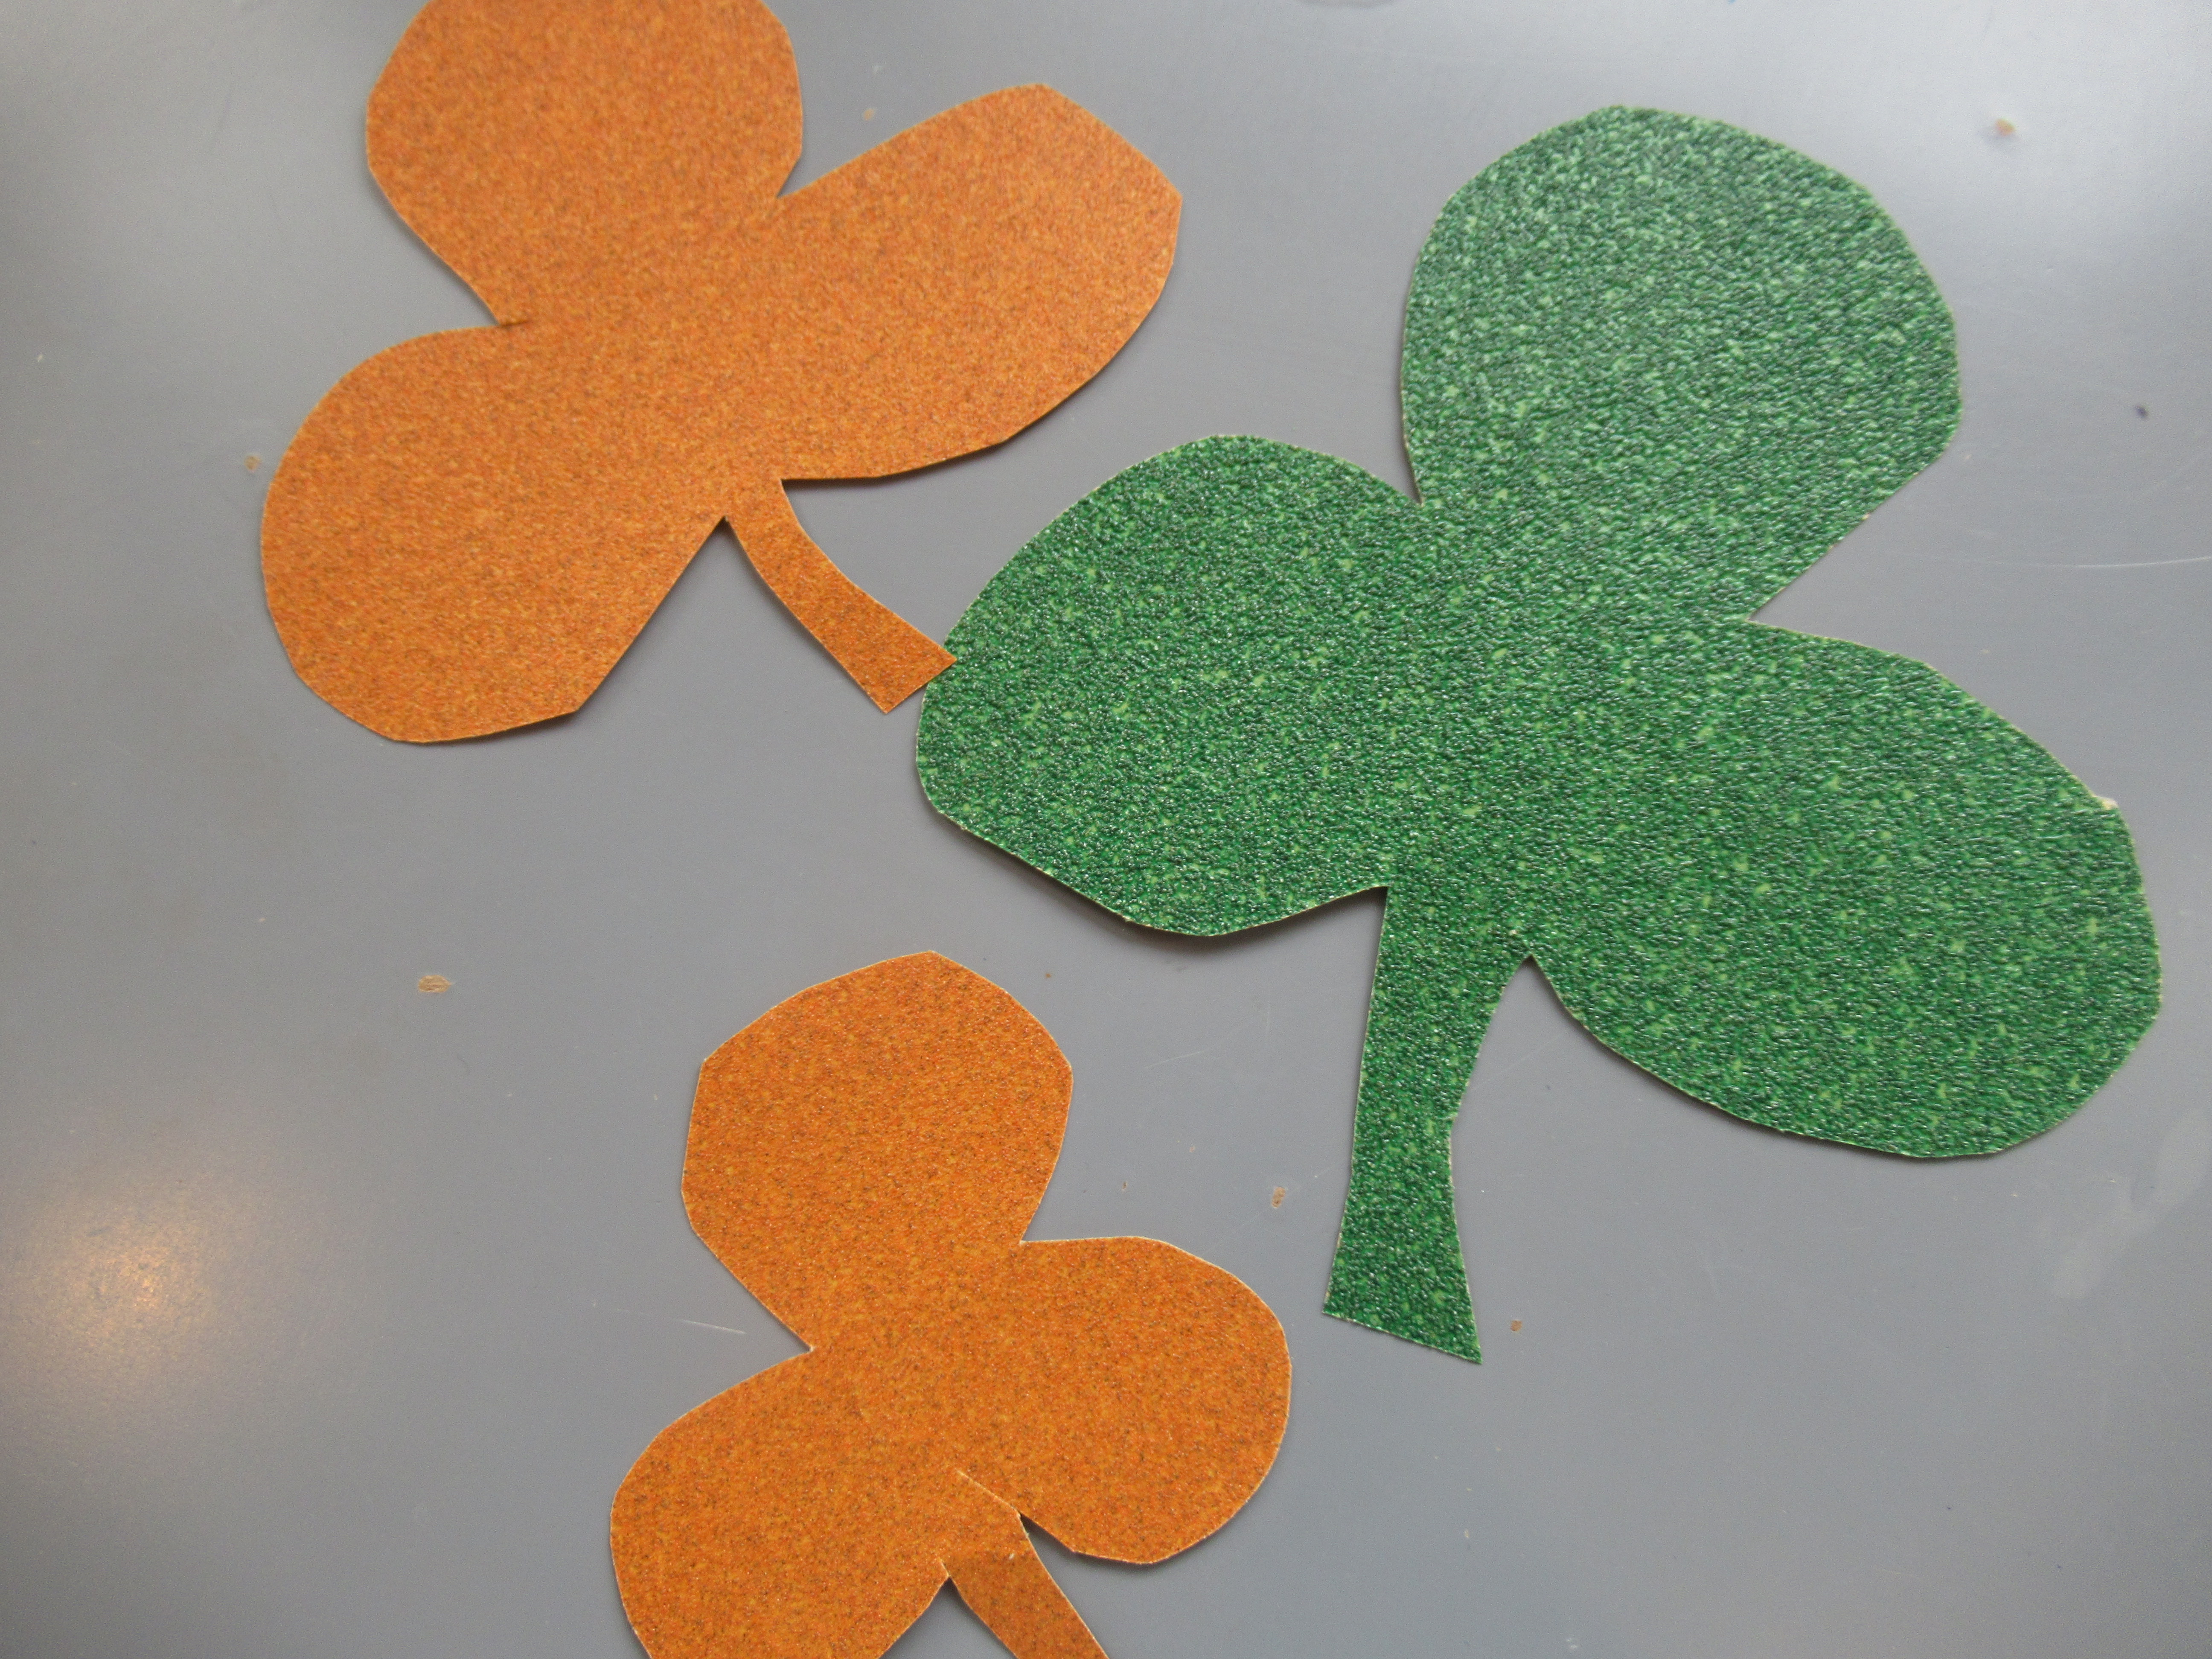
For the second project, I cut several sizes of shamrock from green and orange sandpaper.

Shamrock Rubbings (1)

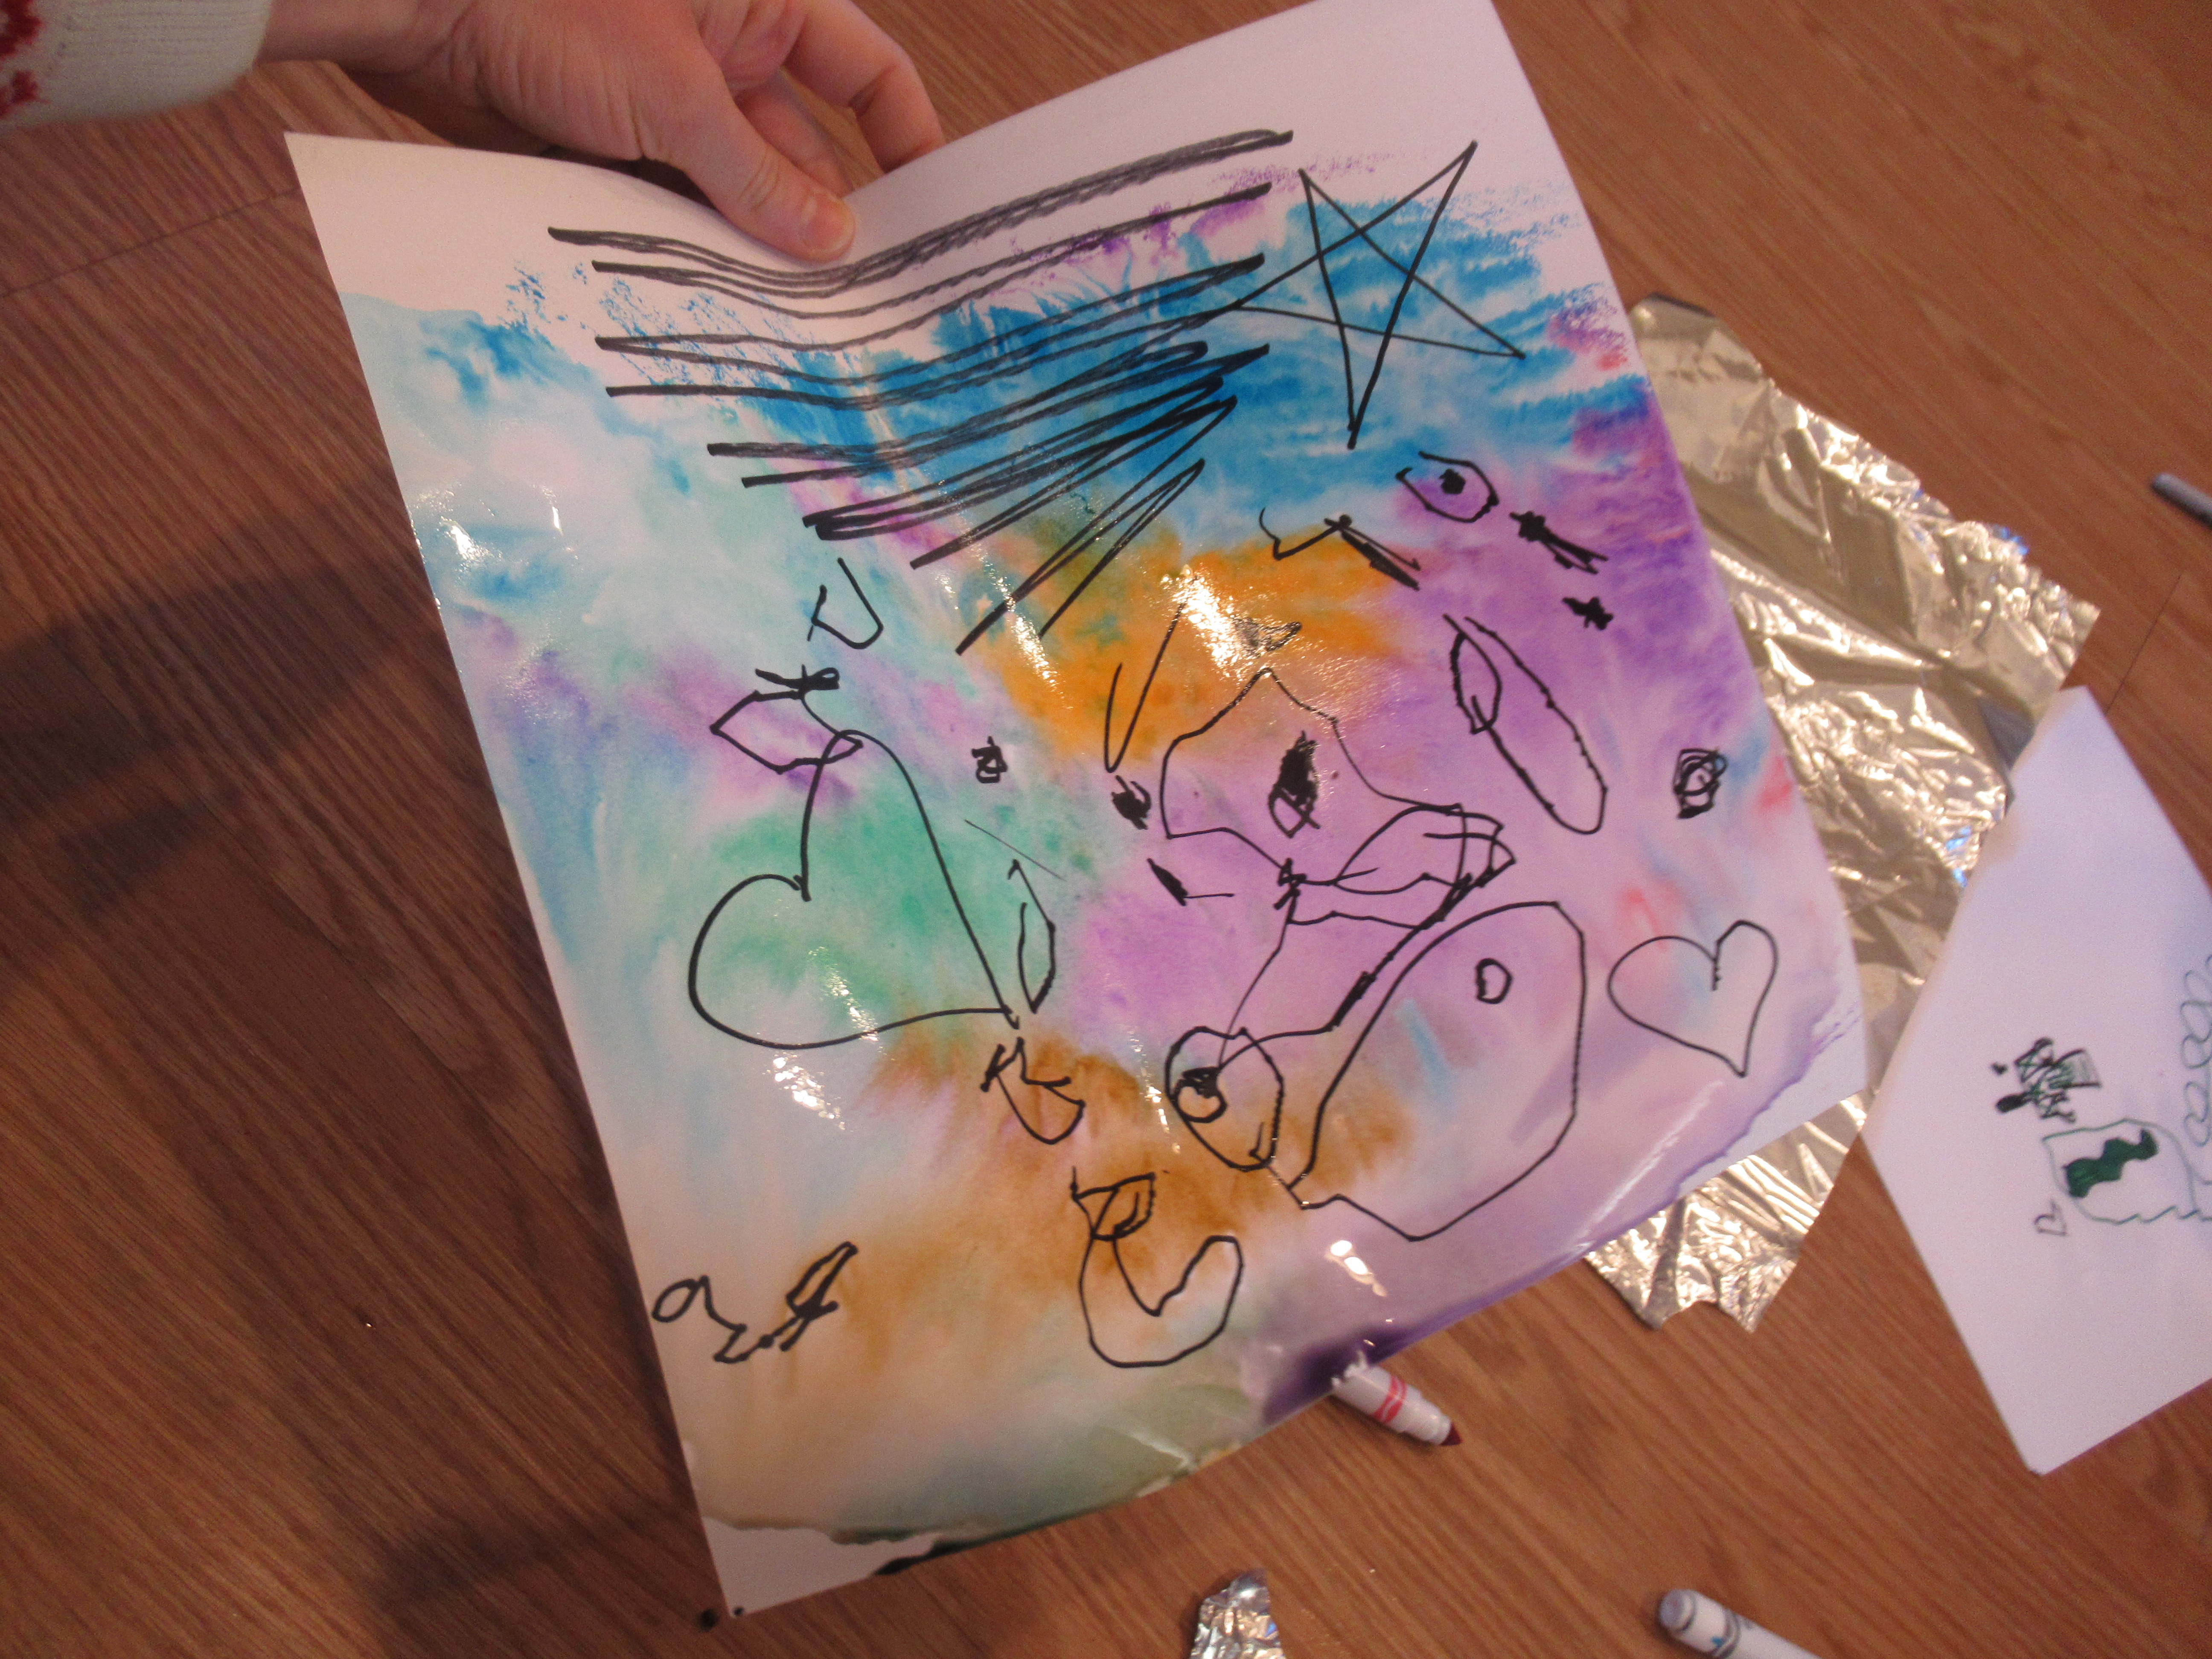
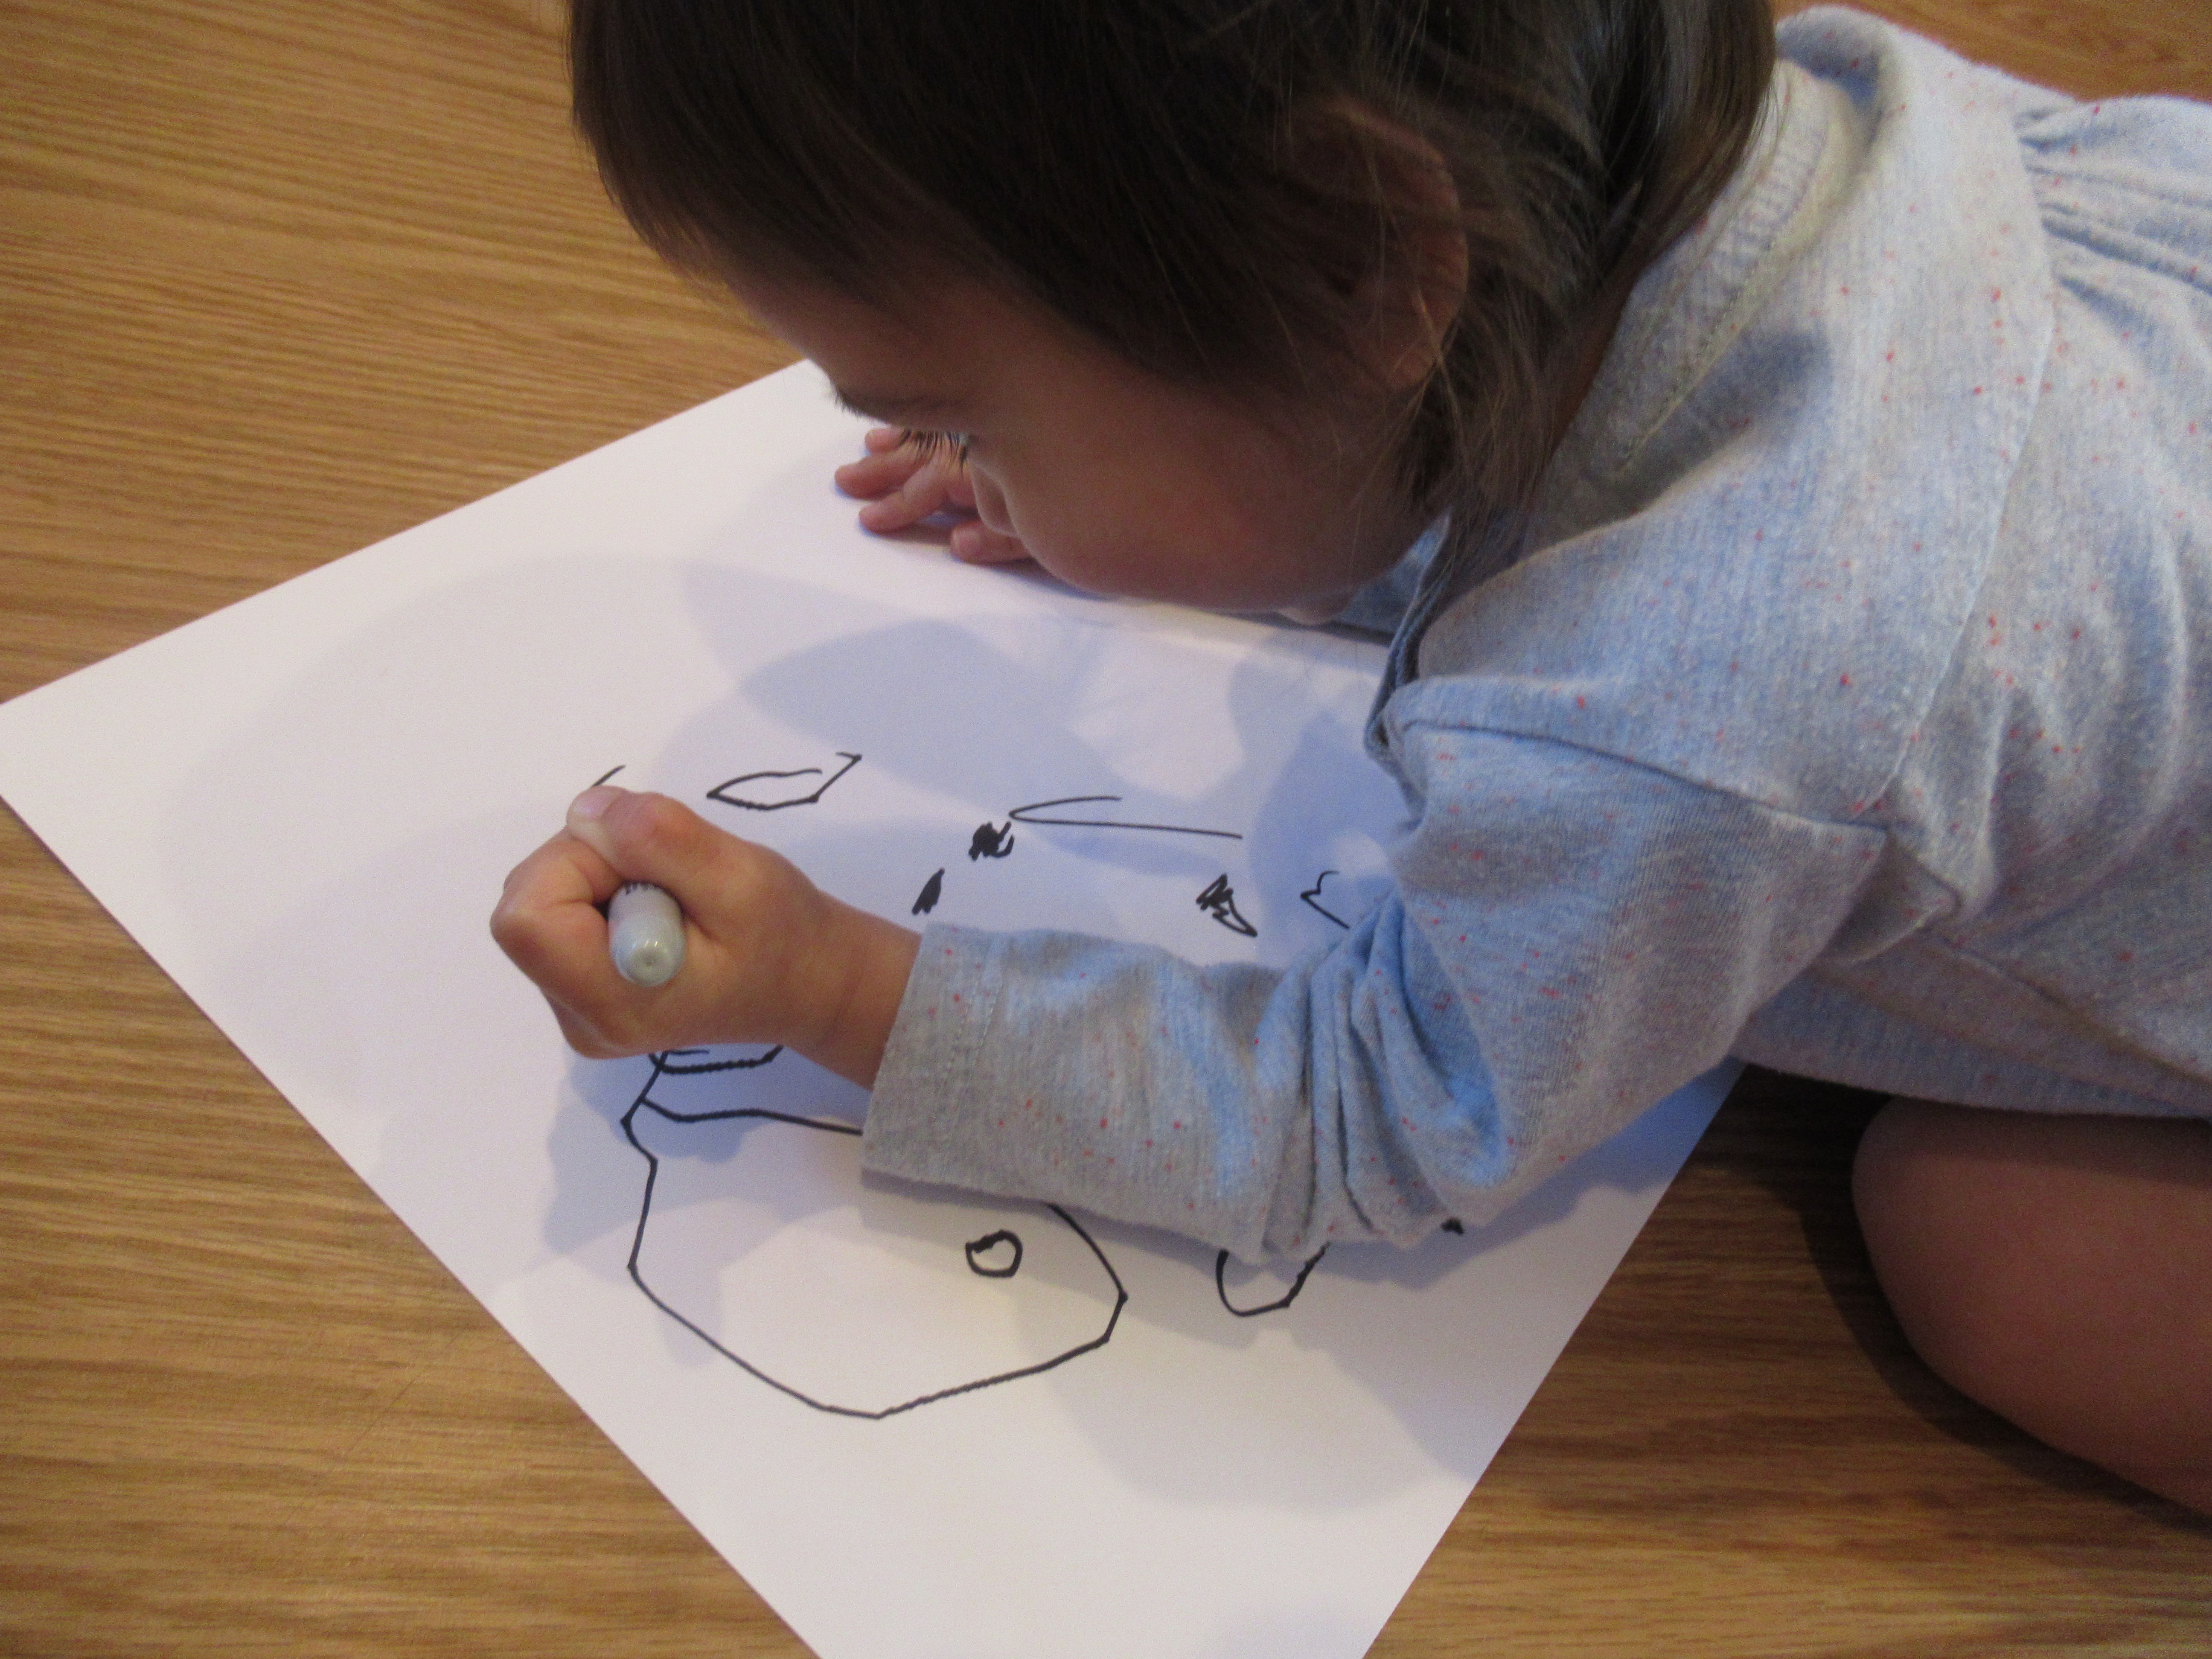
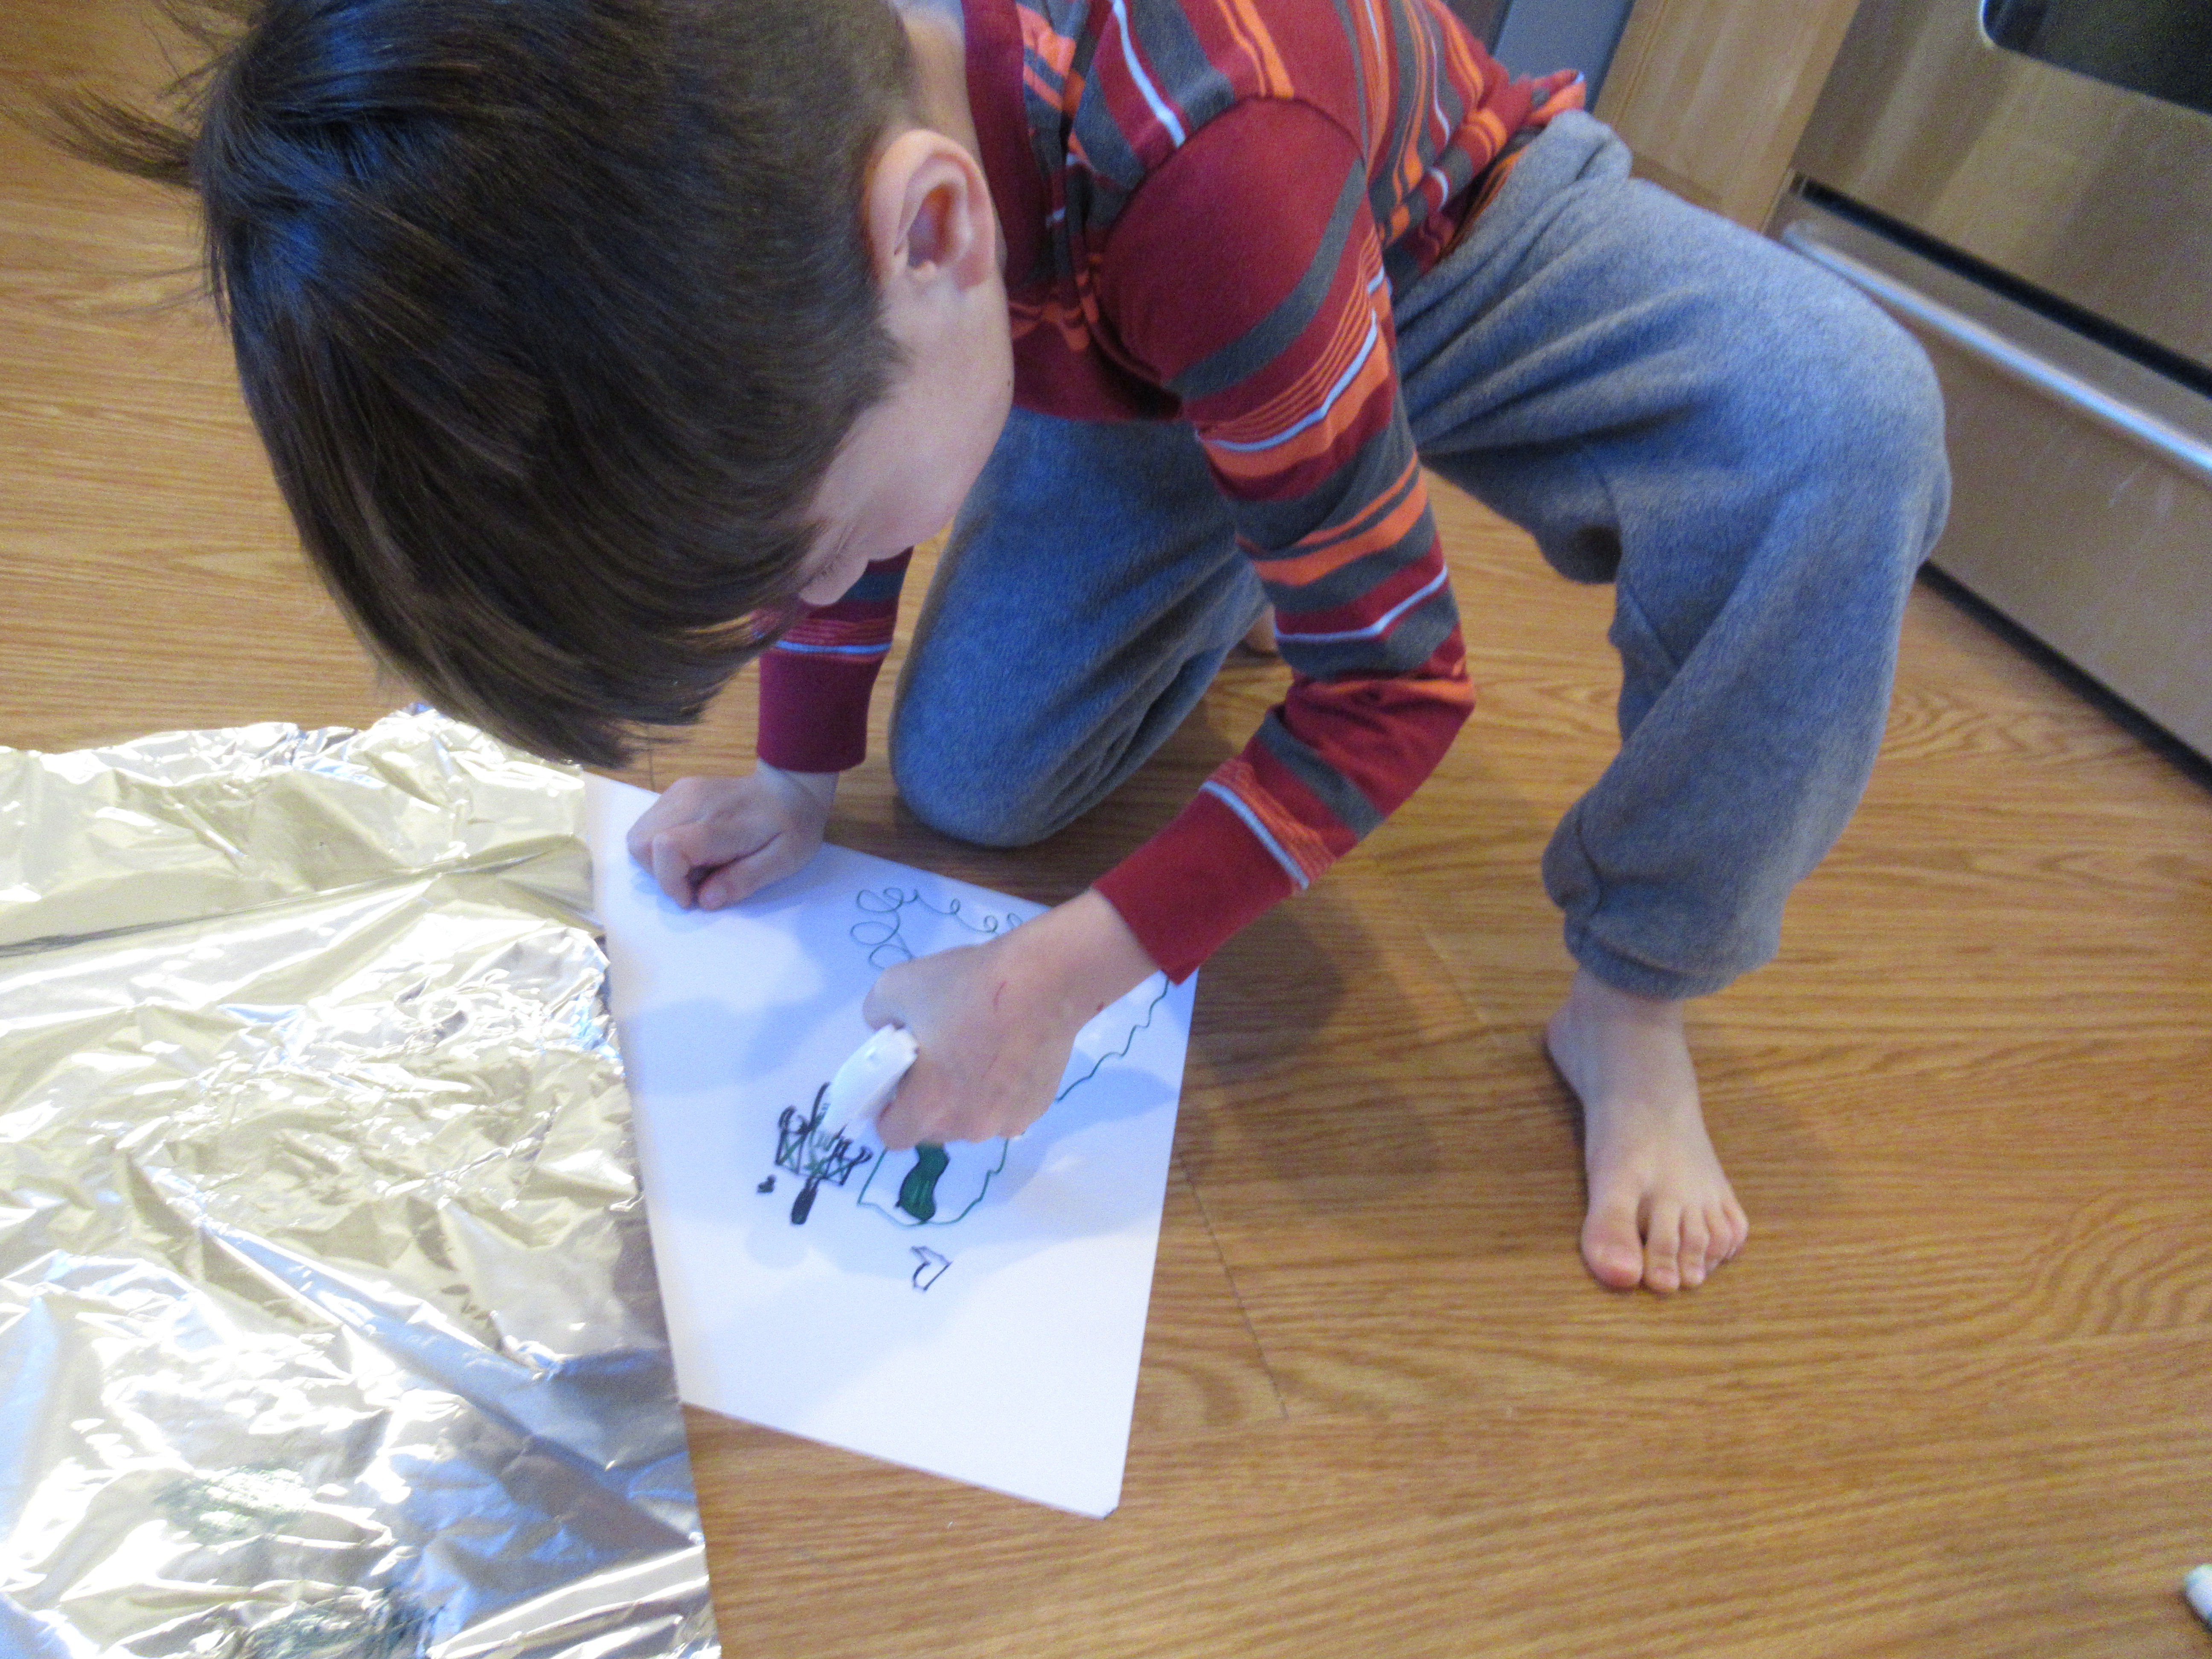
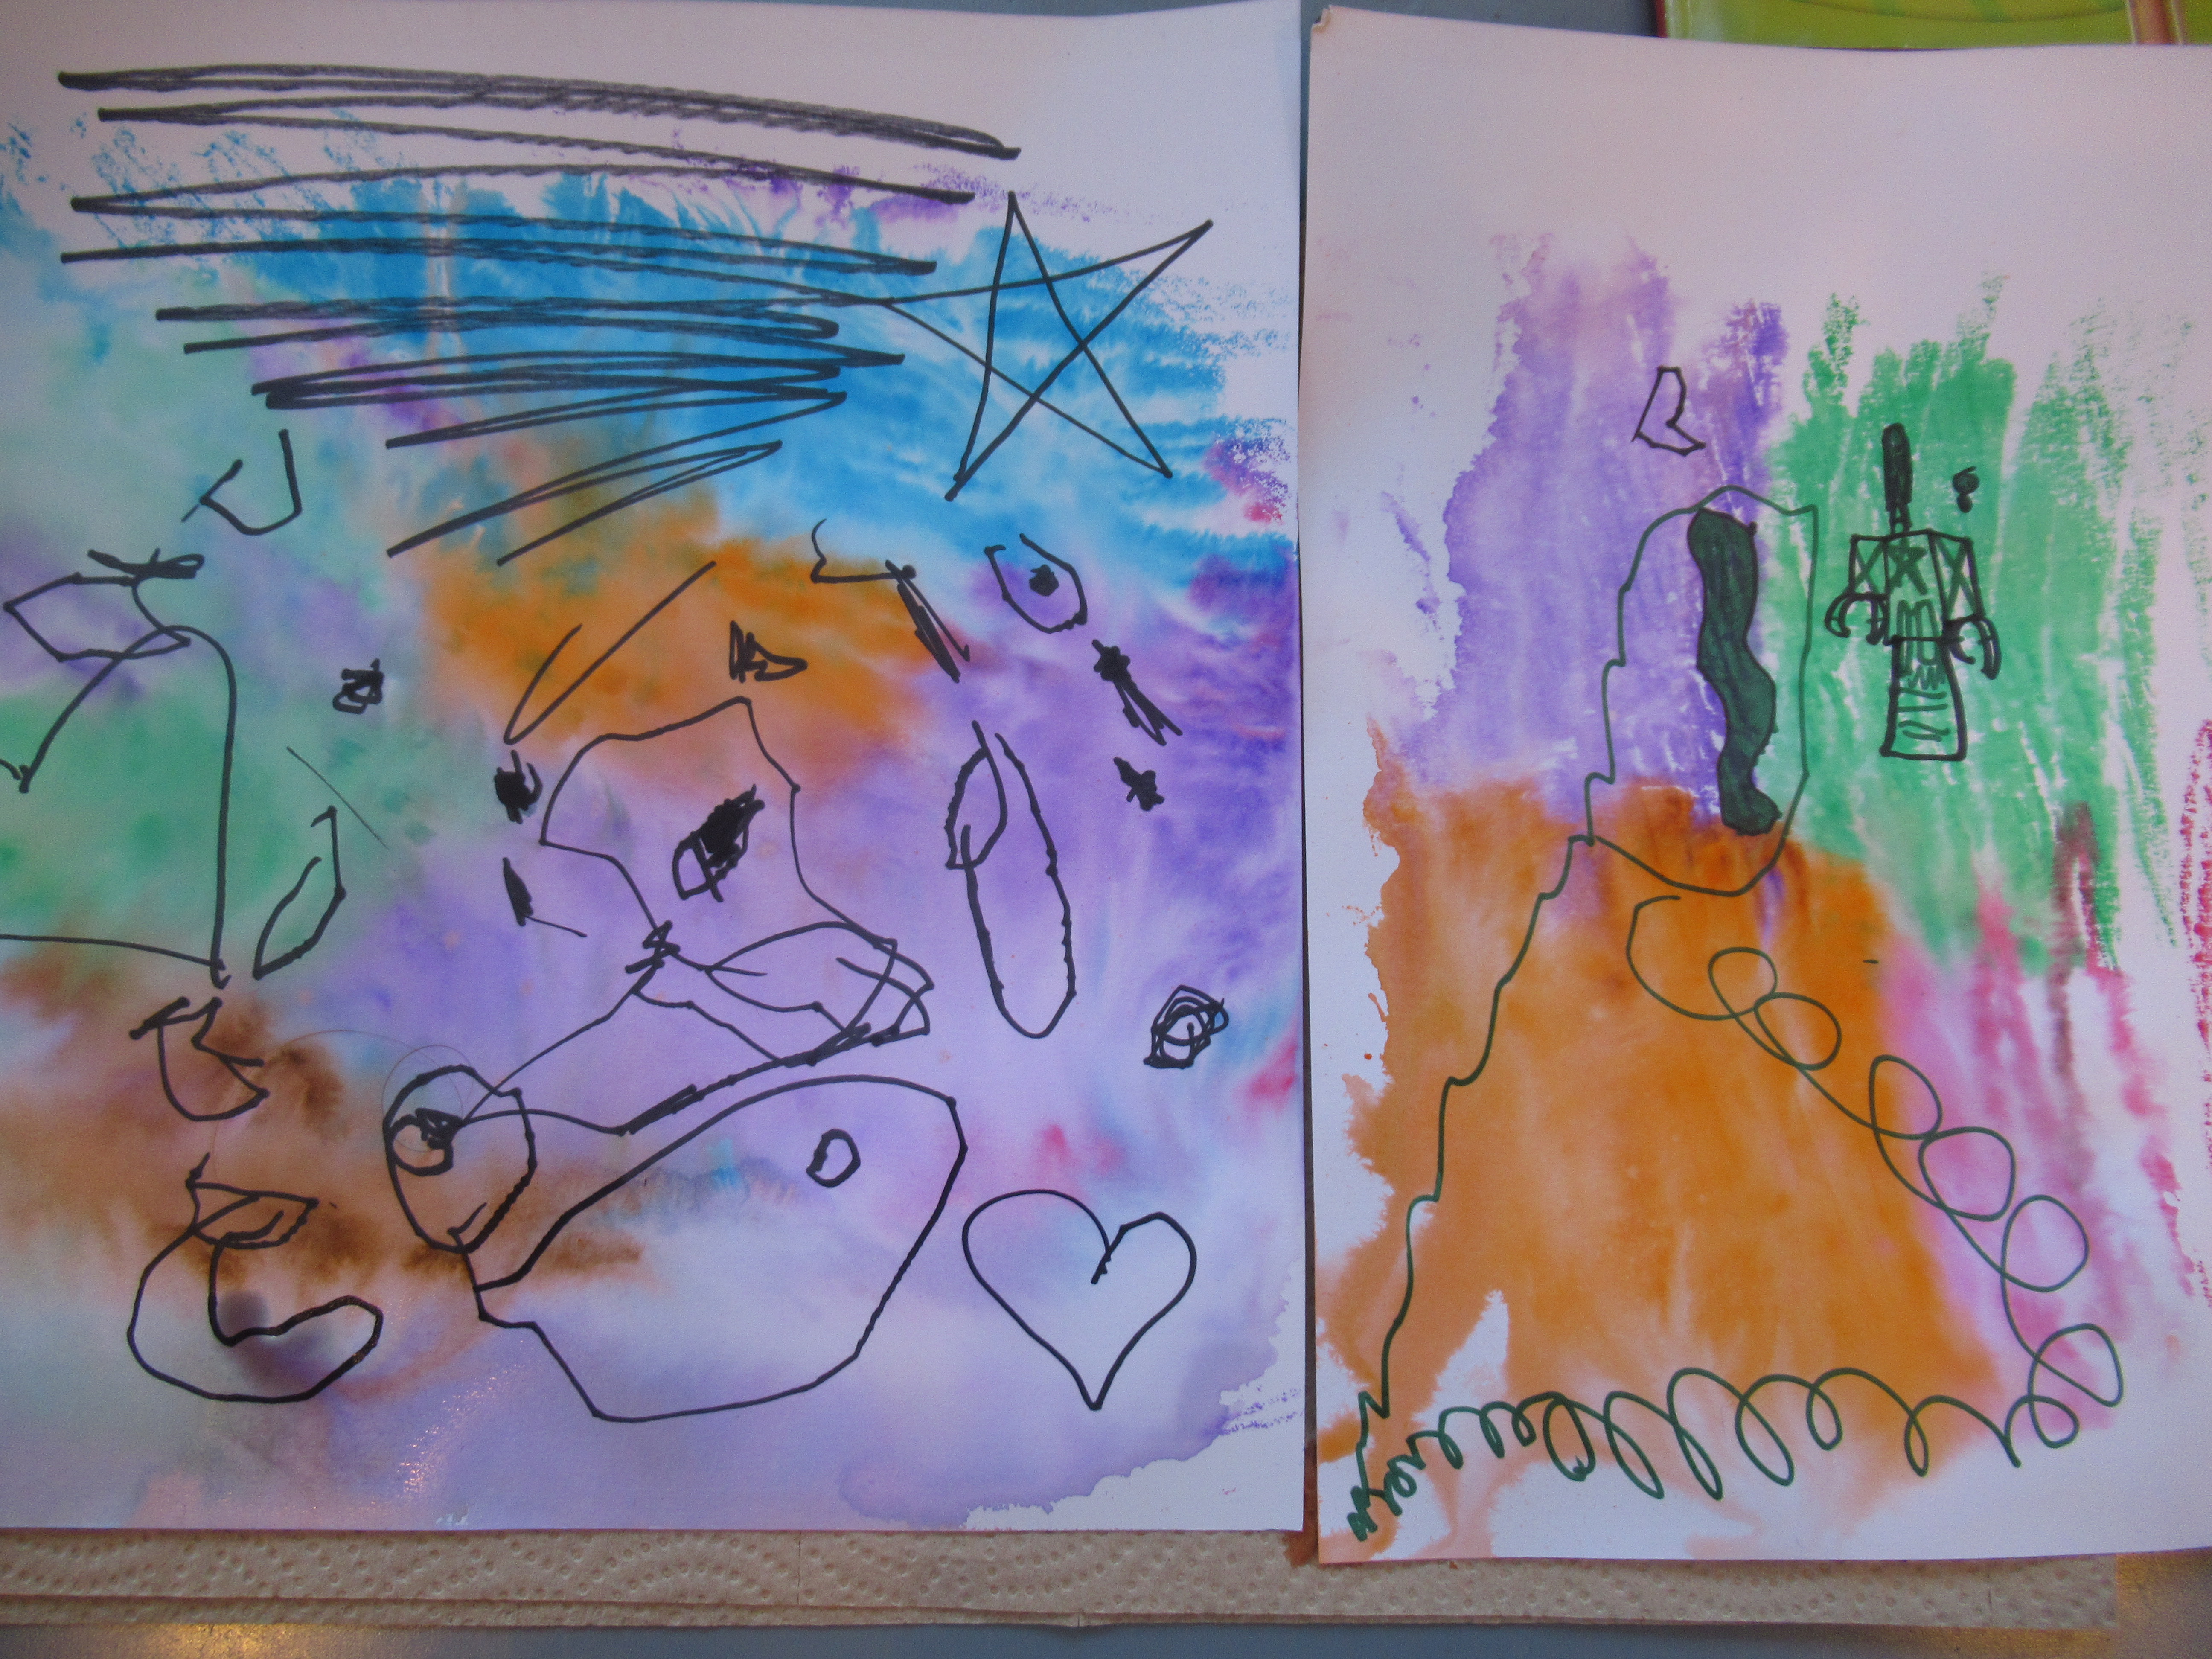
I placed these under regular white paper and showed Veronika how to rub over them with the side of a green crayon. The shamrocks are magically revealed!

Shamrock Rubbings (4)

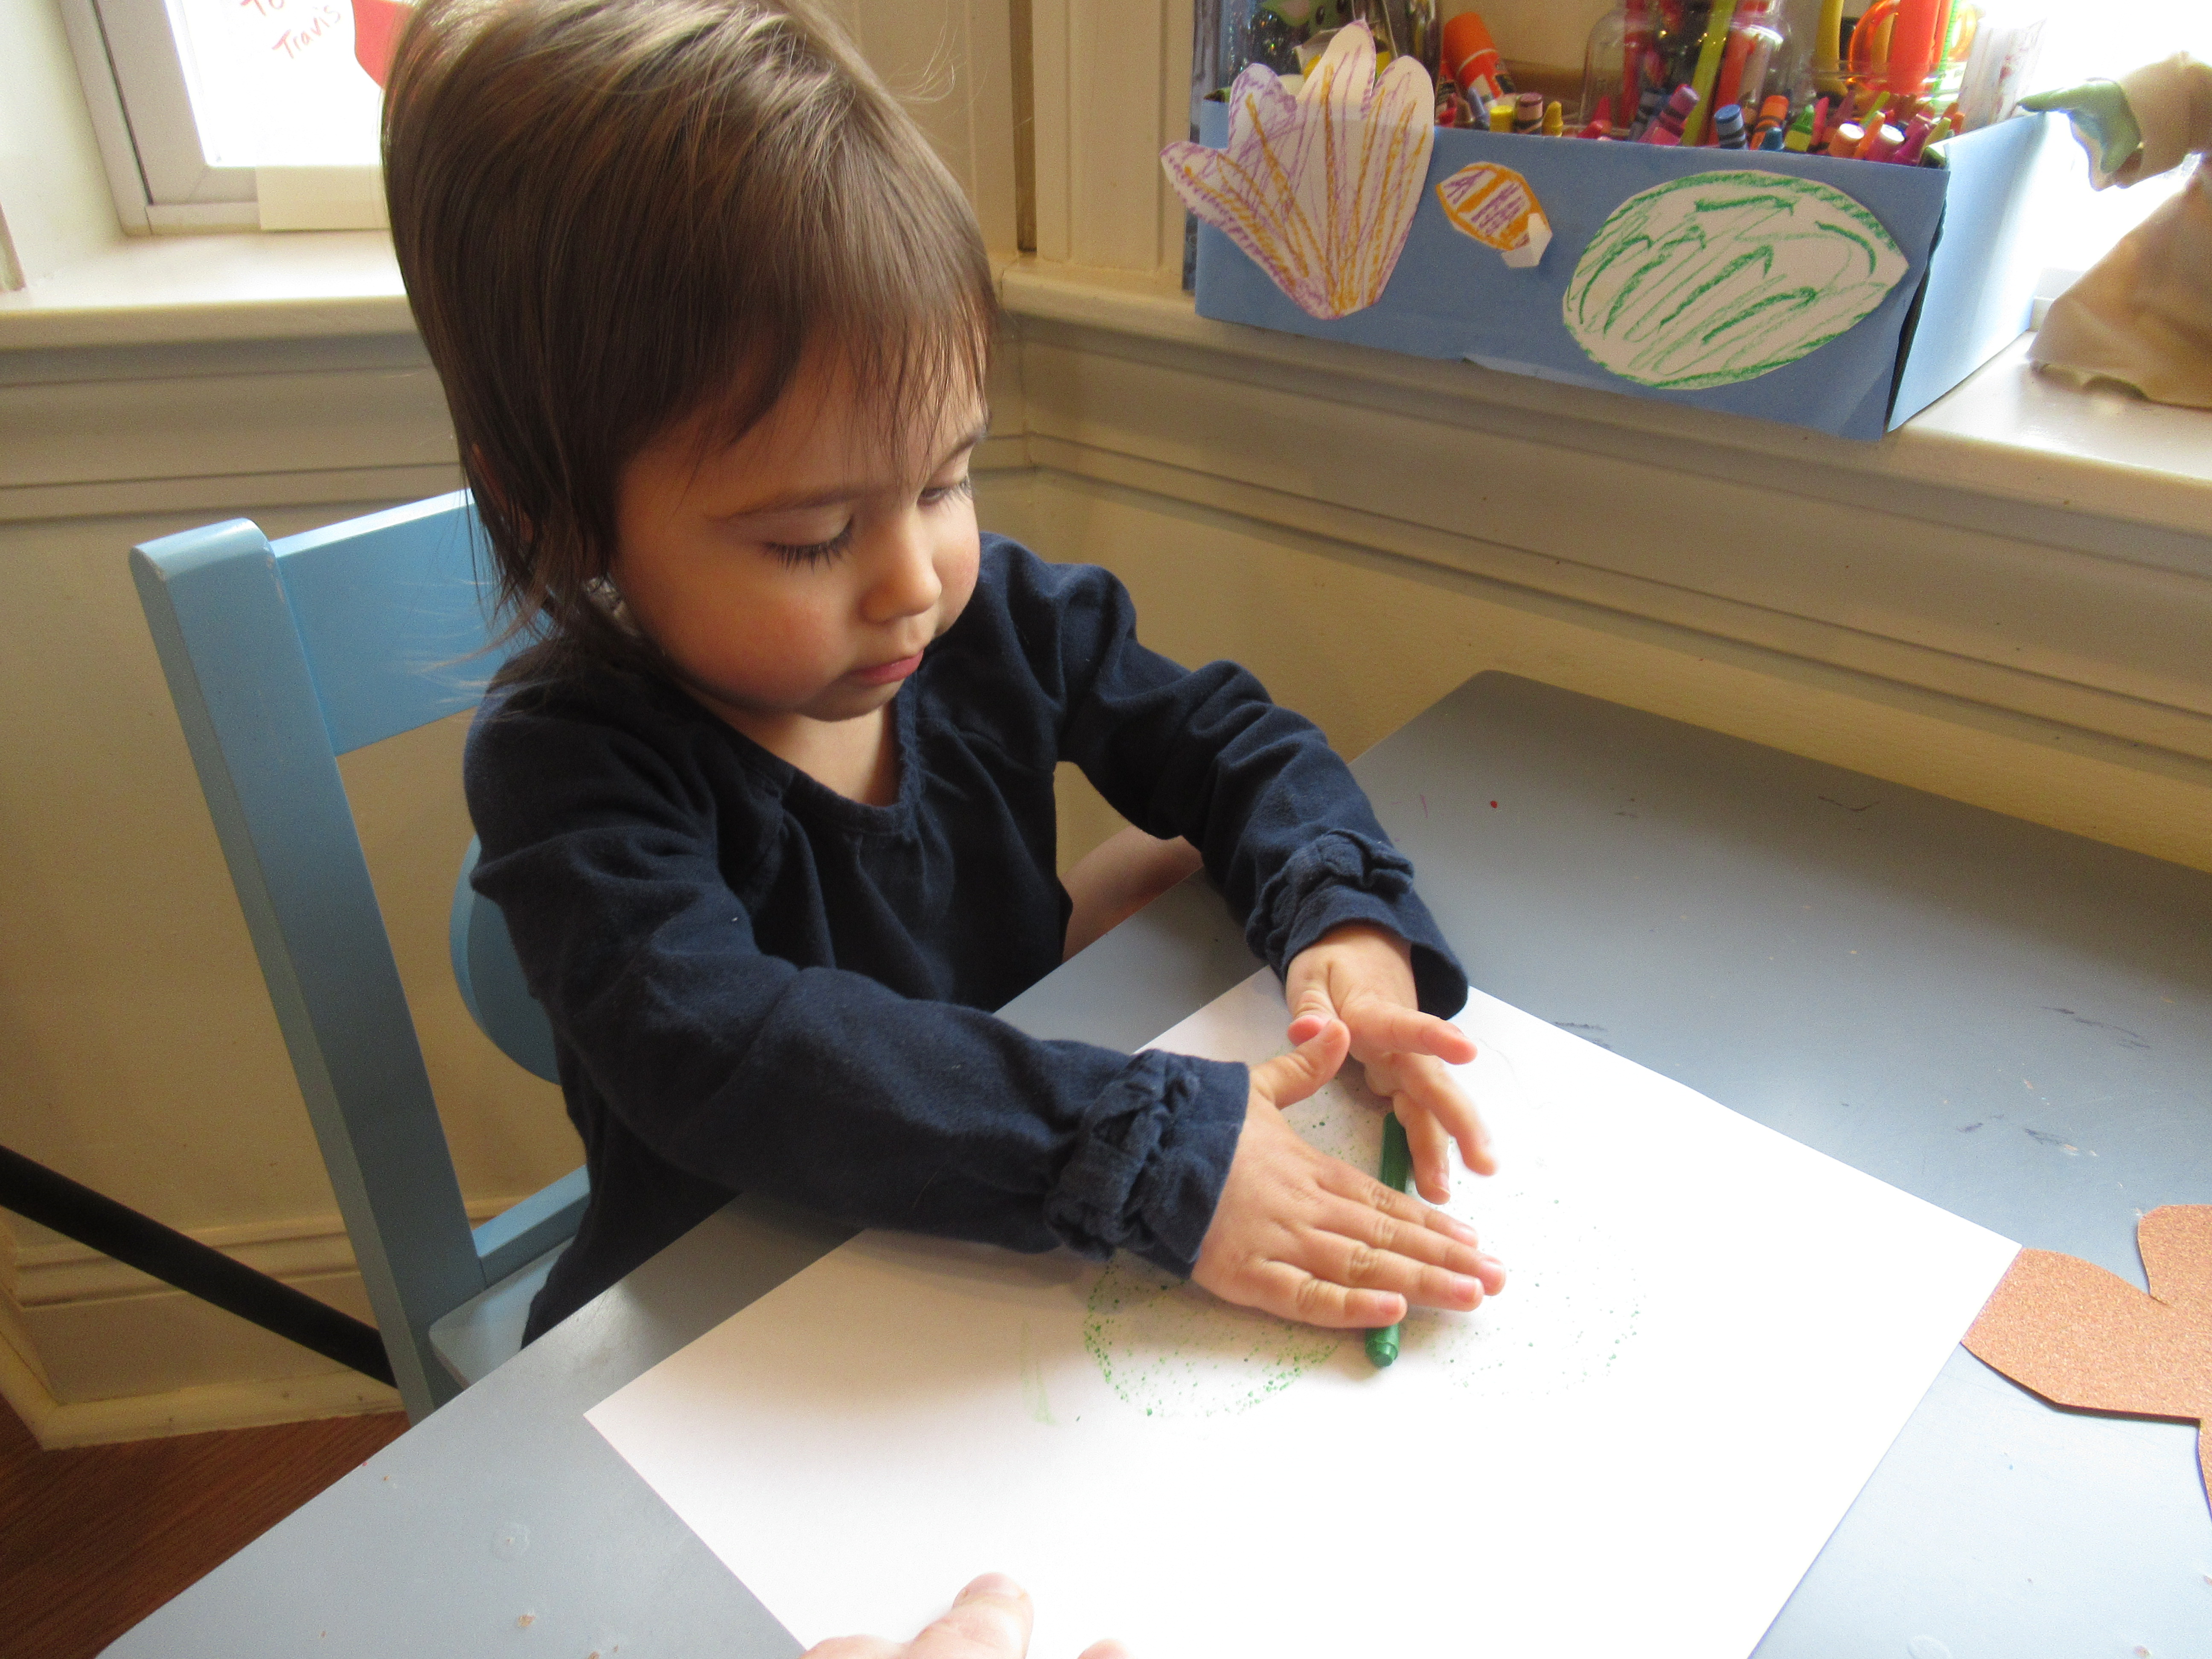
She needed a little help for this step, especially rubbing the crayon with enough force, but she also proudly wanted to try it solo.

Shamrock Rubbings (5)

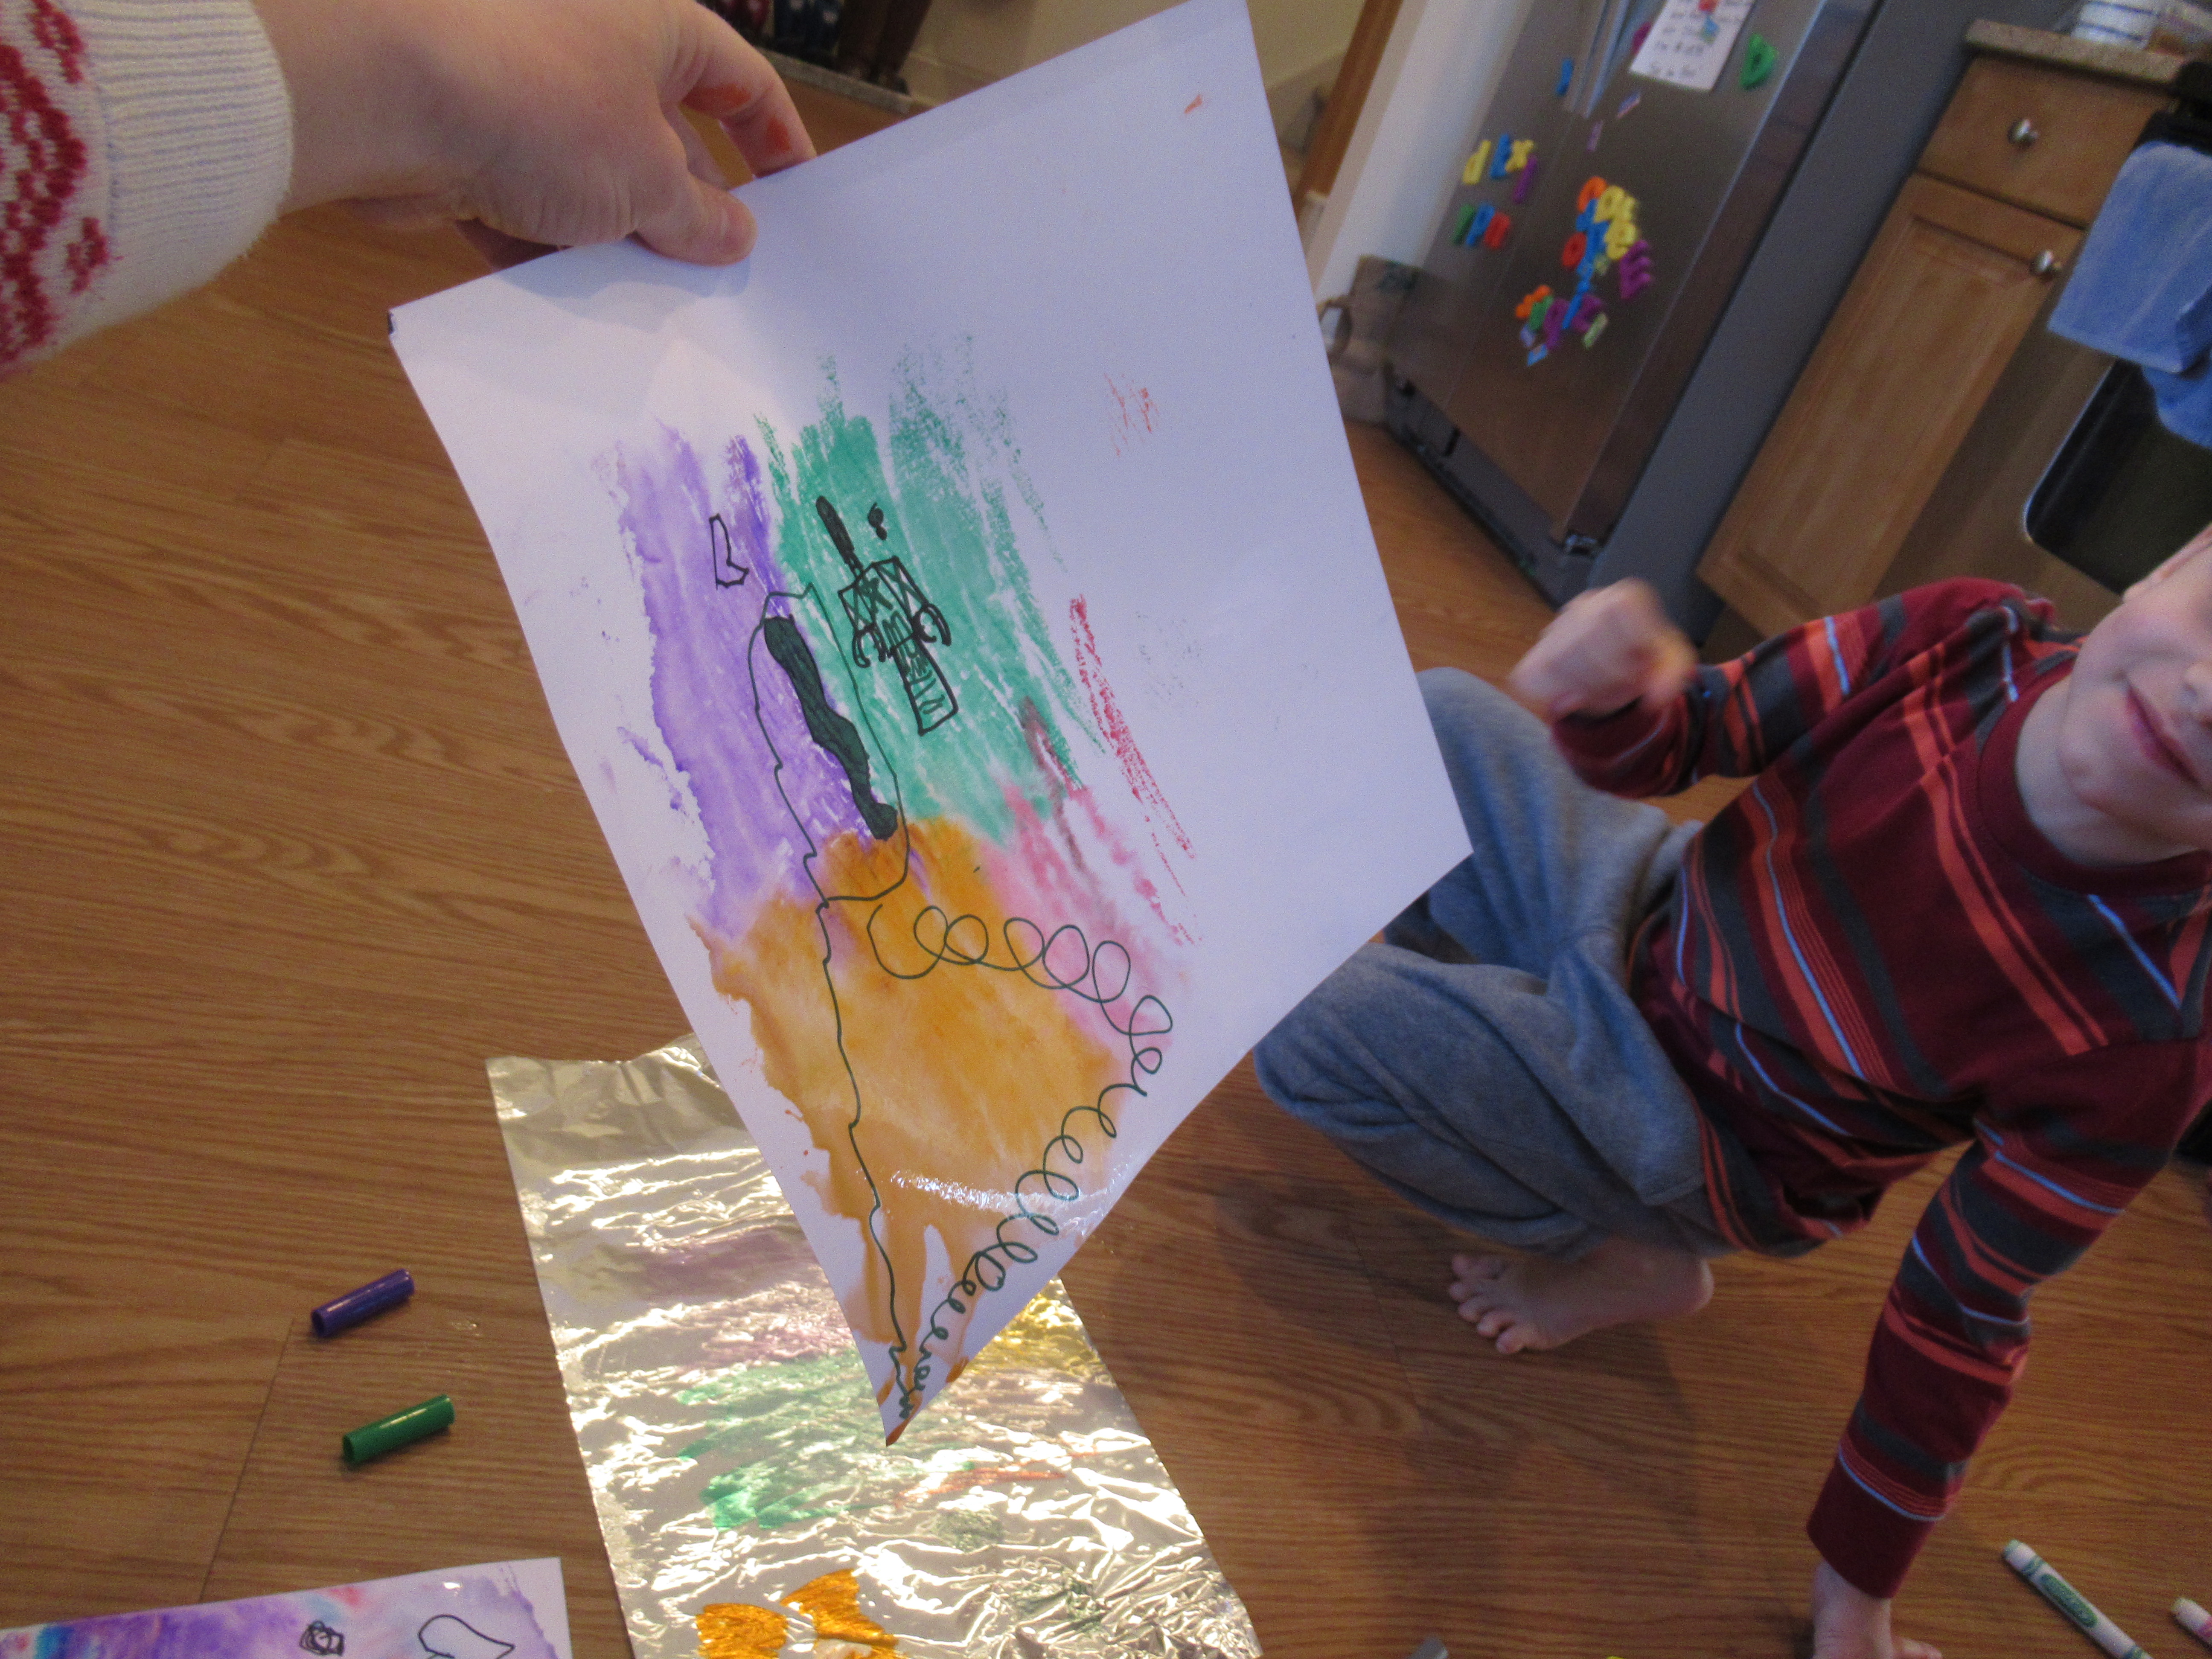
It was particularly neat to see how different textures of sandpaper came through; the rougher green sandpaper resulted in a darker and more pronounced rubbing than the fine-grained orange sandpaper.

Shamrock Rubbings (6)

“It’s a shamrock!” she said with delight each time. Both of these crafts are a great way to introduce toddlers to the symbolism and colors of St. Patrick’s Day.

Shamrock Rubbings (8)

Quesadillas with Tomato & Avocado

Quesadilla with Tomato and Avocado (2)

This recipes takes quesadillas to the next level with just a few simple tweaks.

Ingredients:

  • 1 avocado
  • 1 tomato
  • 4 whole wheat tortillas
  • 1/2 cup shredded vegan cheddar
  • 2 teaspoons canola oil
  1. Peel and pit the avocado and mash with a fork. Finely chop the tomatoes. Spread two of the tortillas evenly with the avocado and top with the tomato.
  2. Sprinkle evenly with the cheddar, then top with the remaining two tortillas.
  3. Heat the canola oil in a large skillet over medium-high heat. Working with 1 quesadilla at a time, cook for 2 to 3 minutes on each side, until golden brown. Repeat with the remaining canola oil and quesadilla, then cut into wedges to serve.

Quesadilla with Tomato and Avocado (1)

Potato Stamped Crafts

Potato Stampers Press (11)

It just doesn’t feel like St. Patrick’s Day without a little potato art, a fun way to introduce a new painting “tool” to toddlers. The simplest of all is to make potato prints and here are a few fun ways to make that oldie-but-goodie feel novel.

Potato Stampers Press (1)

First, I set out a dish of green paint (for the Emerald Isle of course) and showed Veronika how to dip the cut sides of a raw potato in the paint, then press onto a piece of paper. Cover the paper with lots of prints and you have a pretty little piece of artwork!

Potato Stampers Press (2)

For something with more of a design element, I showed Veronika how to press four prints together so they looked like the four leaves of a clover.

Potato Stampers Press (5)

All you need to do is add a stem with green marker!

Potato Stampers Press (12)

She also thought it was neat to dip the potatoes in paint and then smear across the paper instead of simply stamping.

Potato Stampers Press (7)

We got some really neat swirls and designs like this!

Potato Stampers Press (4)

Of course there’s no need to stick with green paint, or even the St. Patrick’s theme, especially if you try this craft at another time of  year. To wit, Veronika chose a little pink paint and we made a few pink-stamped ovals with it.

Potato Stampers Press (3)

Once the paint dried, I cut out triangle and oval shapes from pink construction paper to be a pig’s ears and snout. She loved gluing these down, along with wiggle eyes.

Potato Stampers Press (8)

“He says oink oink!” she told me proudly.

Potato Stampers Press (9)

I drew on a few final facial features, so then she wanted to draw too, telling me she was adding “three black cheeks”.

Potato Stampers Press (10)

All of the above would make beautiful decorations to your home for St. Patrick’s Day, or cards to send in the mail!

Spinning Penny

Spinning Penny (4)

Balloons are always fun but balloons with objects inside are even better! And this particular version has some science thrown in, too.

To start, we wanted to see how an object would move inside a balloon, which means clear balloons are definitely best for this project. Before inflating, add a penny (or similar round metal object). Inflate and tie a knot.

Spinning Penny (1)

Now give that balloon a shake! You want to shake in a tight, circular motion to get the penny rotating. Even once you stop, the penny will “climb” the walls of the balloon in a circular motion. Travis was thrilled that he could make this work all by himself!

Spinning Penny (4)

The penny can seemingly defy gravity in this way because as soon as the balloon is spinning, the force of the penny pushes outward. It will stop after a few rotations, but was so much fun for Travis to watch, plus made an echoing bouncy sound.

Spinning Penny (3)

We intend to try this with other objects in the balloon, too, and see whether they work better or worse than the penny. Here’s the quickest of quick clips:

Shepherd’s Pie

Shepherd's Pie (2)

This hearty entree features a few nice shortcuts like canned peas and corn, plus gets a nutrition boost from flaxseed!

Ingredients:

  • 3 large yellow potatoes, peeled and chopped
  • 1/2 cup plain soy milk
  • 2 tablespoons Earth Balance butter
  • 1 tablespoon olive oil
  • 1 red onion, chopped
  • 2 small carrots, chopped
  • 1 (12-ounce) package meatless crumbles
  • 2 tablespoons ground flaxseed
  • 3/4 cup vegetable broth
  • 3/4 cup canned green peas
  • 3/4 cup canned corn
  1. To prepare the potatoes, place in a large pot and cover with water. Bring to a boil, then continue to cook for 20 minutes, until tender. Drain and return to the pan. Add the soy milk and butter; mash with a potato masher until smooth and set aside.
  2. Meanwhile, heat the olive oil in a large skillet over medium-high heat. Add the onions and carrots; saute for about 6 minutes.
  3. Add the meatless crumbles into the pan, breaking apart into small pieces. Add the flaxseed and cook for 5 minutes, until the crumbles begin to brown.
  4. Stir in the broth, peas, and corn; cook for a final 5 minutes.
  5. Spoon the mixture into the bottom of a 9×13-inch baking dish. Spread the mashed potatoes in an even layer on top and bake at 400 degrees F for 25 minutes.

St. Patrick’s Day Wreath

St. Patrick's Wreath (8)

Here’s a pretty front door decoration for St. Patrick’s Day, with steps that kids can help out with, too! This is a riff on a similar wreath we made for Valentine’s Day, and the inspiration for both is care of the ever-fabulous Hands on as We Grow.

To start, you’ll need a cardboard circle as the base. A pizza box would have been ideal, but I used poster board and hot glued two layers together for added durability, since we had no pizza in the house.

I then set out a plate of green paint along with squares of green and orange tissue paper (for the colors of the Irish flag). As I wadded up each tissue square into a little “flower”, I handed it to Veronika. Her job was to dip in the green paint!

St. Patrick's Wreath (2)

We made dollops of glue on the white wreath background and pressed down the flowers. She loved helping with the glue even more than the paint. I left a little of the white cardboard showing, too, as the third color of the Irish flag.

St. Patrick's Wreath (4)

While the glue and paint were drying, I also cut hearts from green construction paper. Three hearts taped together become a shamrock! These made a nice touch here and there on the wreath.

St. Patrick's Wreath (6)

Finally, I cut strands of orange and green ribbon and hot-glued onto the back of the wreath, then looped over the hook on our front door.

St. Patrick's Wreath (7)

Here’s wishing you the luck of the Irish this St. Patrick’s Day!

St. Patrick's Wreath (9)

Baster Play

Baster Play (5)

I’ve tried several projects with Veronika using pipettes, which is a great tool for preschool fine motor skills, but it’s become clear that Veronika’s two-year-old fingers aren’t ready for it quite yet. The perfect toddler alternative? A large kitchen baster! The large bulb and large tube are perfectly-sized for a two year old learning to squeeze and understand how a pipette works.

As an invitation to play, I put the baster on a tray with a plastic container filled with water. I then laid out smaller bowls for her to transfer the water back and forth, and tinted the water yellow and blue for added fun. (This meant she’d get a color mixing lesson, too, when they combined to make green).

Baster Play (1)

Just as with a pipette, the baster works by squeezing once to fill with water, then squeezing a second time to release it. I was glad I took the time to focus with Veronika on these steps, because her confusion was quite clear at first.

Baster Play (2)

Soon, she worked up to the idea of squeezing, lifting up, and then waiting a moment before squeezing again to see the liquid come out. She was delighted to realize the water had colors.

Baster Play (4)

And sure enough, we made a little green!

Baster Play (6)

After a few tries, her energy seemed to flag and she simply wanted to use the small dishes to pour water back and forth. I thought that might be it for the baster but then…

Baster Play (7)

…she picked it up gain! Now she had a knack for the tool, almost like her brain had been working on solving the problem in the background.

Baster Play (8)

She also discovered that if she squirted the baster into the container of water, it would make bubbles. Big ones, little ones, lots of them or a few; this final discovery kept her busy and happy for quite a while.

Baster Play (10)

I highly recommend baster play for your toddler, too!

Messy Potato Drop Painting

Messy Potato Drop Paint (10)

It’s almost St. Patrick’s Day, which means cue the potato painting projects! Today, Veronika and I painted with potatoes in a way that made a delightful mess, plus it got us outside in a first burst of spring warmth.

To set up, you’ll need cooked and cooled potatoes cut into chunks of various sizes. You can use all one type of potato, but for novelty I used one sweet potato and two red ones. Next time I would add in tiny new potatoes, too!

Messy Potato Drop Paint (5)

I unrolled a long piece of butcher paper on the grass and then set out plates with paint in the colors of the Irish flag: green, orange, and white. To make your artwork, pierce each soft piece of potato with a craft stick and dip in paint. Hold it up over the paper…

Messy Potato Drop Paint (4)

…then drop!

Messy Potato Drop Paint (9)

Veronika immediately needed a turn. She loved that she could dip the potatoes in the paint without getting messy thanks to the craft stick handles. The first time she held a potato aloft over our paper, she seemed unsure that she was really supposed to drop it.

Messy Potato Drop Paint (3)

At first, she would bend down and use it more like a stamp. But then she grew braver, and…

Messy Potato Drop Paint (7)

Drop! Each landing potato makes a great splattered print on the paper. Have fun experimenting and dropping the potatoes from different heights, as well as using them like stamps with the craft stick handles.

Messy Potato Drop Paint (8)

We even covered one round red potato with paint and then rolled it along with a craft stick as a paddle, leaving a trail of green paint behind. As mentioned, I think small new potatoes would be fun dipped in paint and then scattered down onto the paper, so we’ll add those in next time.

Ping Pong Spinner

Ping Pong Spinner (2)

Here’s a way to make a spinning top entirely from recycled materials around the house!

First, you’ll need either need a blank CD or an old one that you’re ready to part with. (Bonus points: have the kids help raid your old CD rack and watch them marvel at music from the dinosaur age).

We traced the CD on construction paper and then colored in; the more colors the better, since they will whirl together when the spinner spins. Glue onto the CD.

Ping Pong Spinner (1)

The next step is a grown-up one since you’ll need hot glue. Attach a bottle cap over the top center of the CD (our glue bottle was empty just in time!) and then hot glue a ping pong ball in the center underneath.

Ping Pong Spinner (3)

Time to spin! Of the various tops we’ve played with and made lately, this one spins by far the longest, with an almost effortless twist of the hand. We must have gotten the balance just right, because it just kept going and going and going…

Magical Watercolors

Extreme Watercolor (5)

Nothing brings my kids running faster than when they get to do something that’s normally taboo or off-limits. In our house, one of those things is permanent marker. So my question of, “Who wants to color with permanent marker?” immediately had two pairs of feet racing to join the fun!

I invited the kids to draw whatever they wanted on sheets of white poster board. Travis drew a favorite TV character, and Veronika narrated to herself as she scribbled (including telling me she drew a Q for Queen and a T for Truck!).

Extreme Watercolor (1)

Once they were satisfied with their drawings, I gave each a sheet of aluminum foil. A second normally off-limits item! Now the task was to scribble over it with washable markers.

Extreme Watercolor (3)

Encourage your kids to be abstract and use lots of colors here, the more the better.

Extreme Watercolor (2)

For a third fun component, I handed them the spritz bottle! I had to help Veronika with this part, but Travis loved using the spritz bottle solo, saturating his black marker drawing completely.

Extreme Watercolor (4)

Place the black marker drawings face down over the colorful foil and press firmly, then lift up. Just like magic, your white paper has been covered with “watercolor” paint! The kids oohed and aahed at the big reveal.

Extreme Watercolor (6)

These were so pretty that we had to hang them up in the playroom for display. Thanks to Parents magazine for this fun idea!

Extreme Watercolor (7)