Fourth of July Paper Pinwheels

Paper Pinwheel (7).JPG

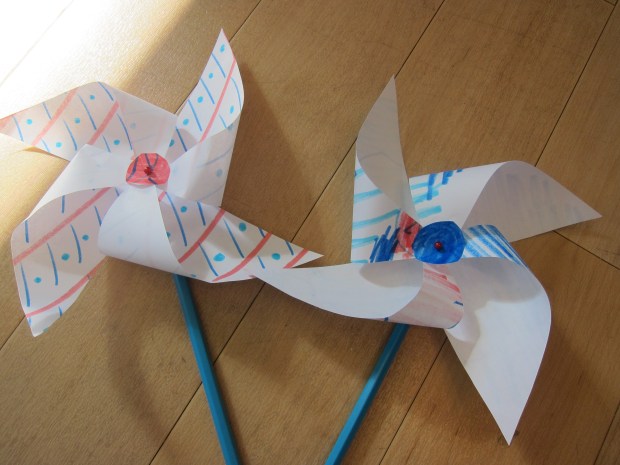
Just in time for a Fourth of July parade, we threw together these quick pinwheels! This is actually a project we’ve tried in the past but only had brads on hand to attach the paper to pencils. This time, I had proper straight pins on hand!

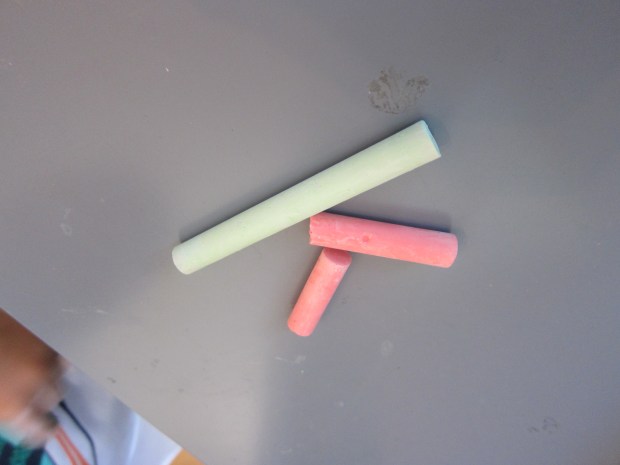
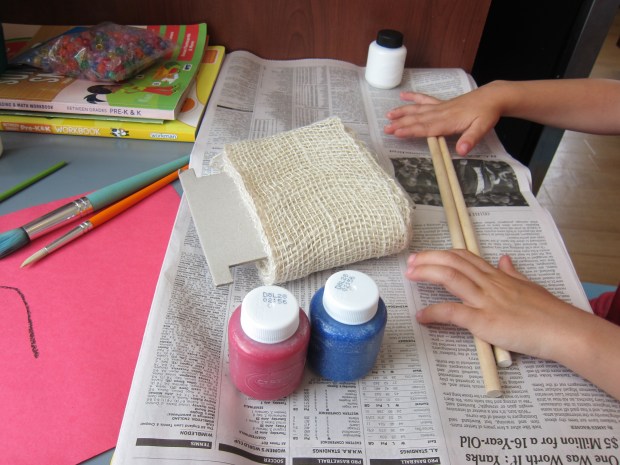
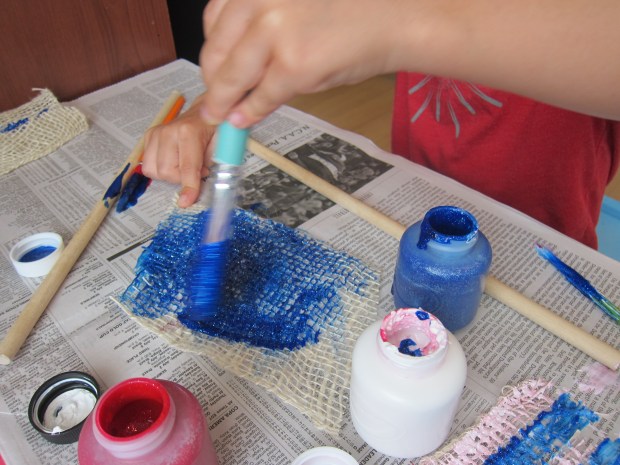
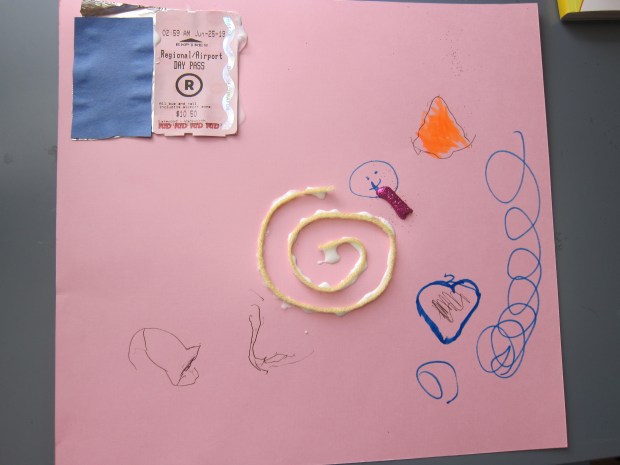
Draw patterns on paper with markers to start. For today, we knew we needed blue and red markers on white paper of course, but really you could tailor this craft for any holiday – or any day of the year!

Paper Pinwheel (1)

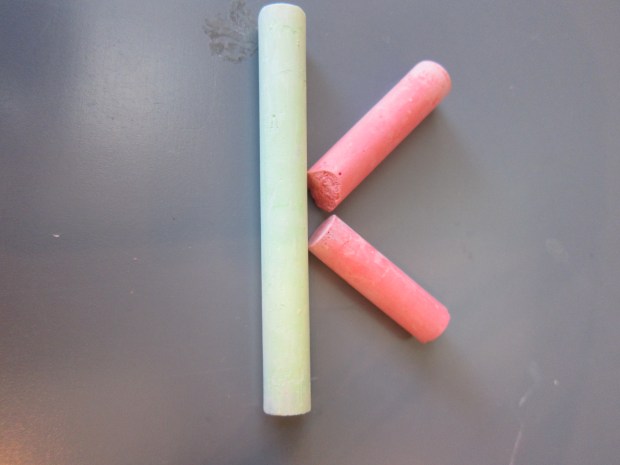
Older kids can concentrate on making their drawings and patterns symmetrical. Or even use patterned paper in a pinch! Make sure to also color in small circles on a separate sheet of scrap paper, which will be the center of the pinwheel.

Cut your paper into a 6-inch square; cut a 3-inch slit diagonally in toward the center from each corner, and cut out the scrap circle.

Paper Pinwheel (2)

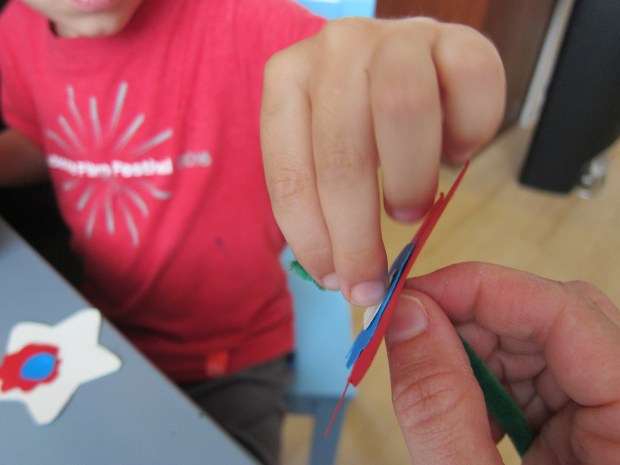
Poke a straight pin through the paper circle, then begin folding in the corners of your square, alternating corners and poking the pin through each layer as you go. This was a mommy step!

Paper Pinwheel (6)

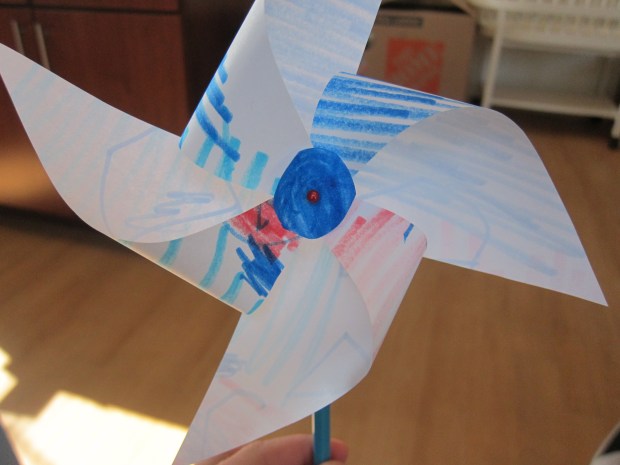
Poke the pin through the center of your square and down into the eraser of an unsharpened pencil.

Paper Pinwheel (3)

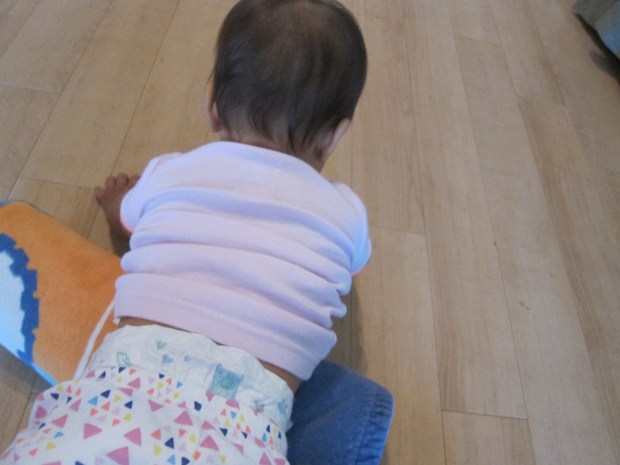
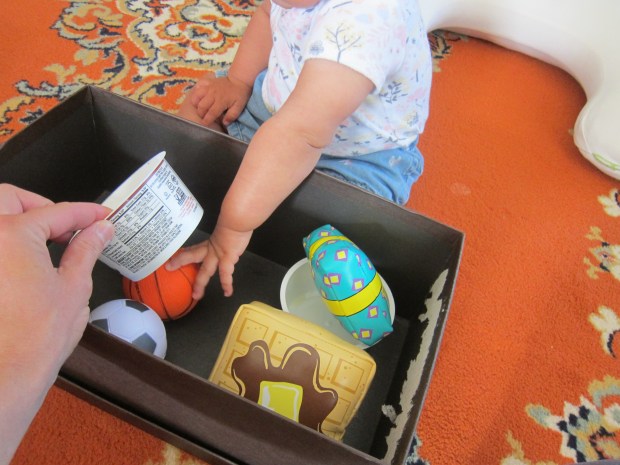
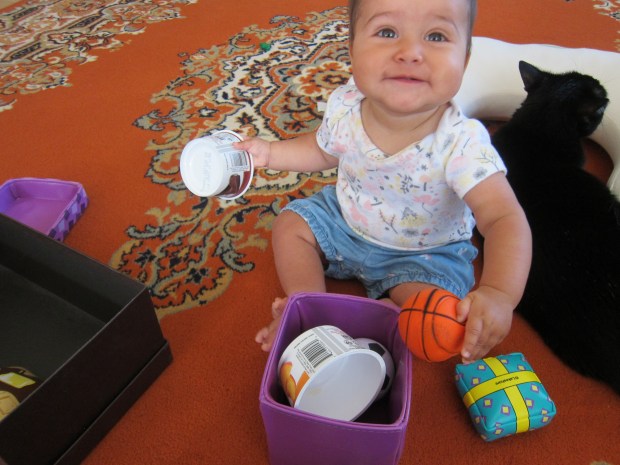
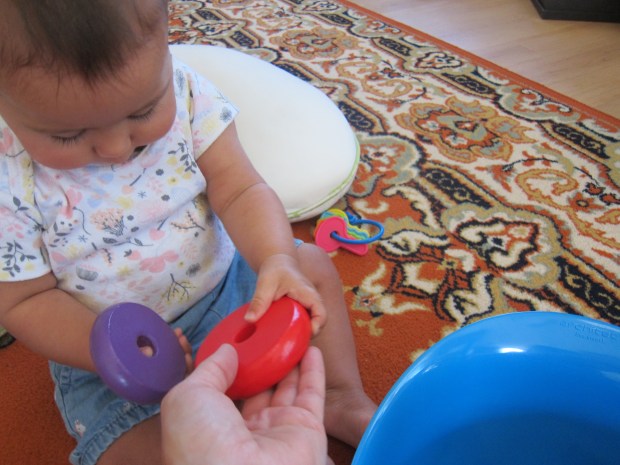
Your pinwheel is ready to twirl in the wind as the parade marchers go by! Baby sister loved it, too!

Paper Pinwheel (4)

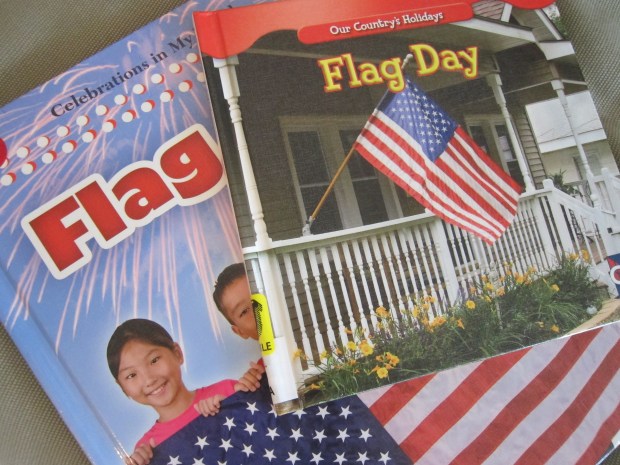
In addition to this fun craft, we set the stage for the holiday with a few other activities. First we needed a playlist of Fourth of July tunes.

Raddish Fourth (3)

Think of bandstand favorites like “You’re a Grand Old Flag”, then add anything with America or U.S.A. in the title! We made our own list, but relied on this one from Raddish Kids for inspiration.

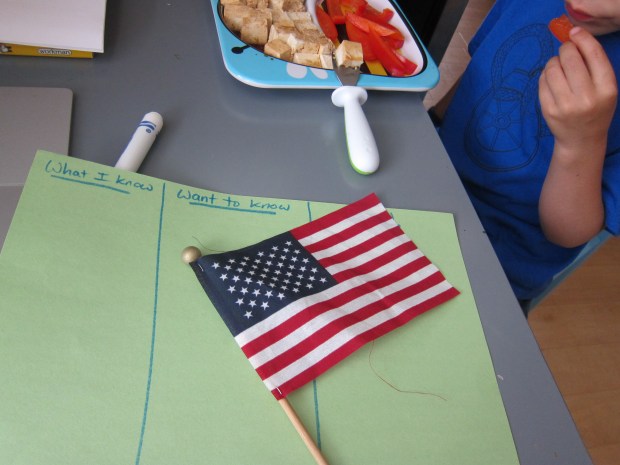
Then we struck up some table talk, also suggested by Raddish Kids; we tackled intriguing questions like who is your favorite president (Travis chose Washington!), how many states can you name, and what is a favorite family 4th of July tradition?

Finally, I showed Travis a red, white, and blue flag quiz. For big kids, make it a true quiz or competition – winner gets a prize! For Travis, it was more of a teaching moment. He liked Great Britain’s flag best, and was intrigued to learn so many other countries use the same color trio as we do.

Happy 4th!

Make an M

Make M (5).JPG

Travis has a hard time tracing M, so I wanted to make today’s lesson a little silly for him. After tracing, I challenged him to make an upper case M – with two pairs of paints!

He really struggled with how to form the letter off of paper.

Make M (2)

I suggested he position the pants in front of himself like a person was facing him and wearing them, but even this was tricky.

Make M (3)

We discussed the motion he makes on paper when tracing M: up, down, up down. Could he see that pattern in the pant legs? Aha!

Make M (1)

Moving on to little m, I made things simpler; I piped glue along an outline of m on construction paper and he only had to make the m by gluing down beads.

Make M (4)

We’ll be back for N soon!

Rock ‘n’ Roll

Rock and Roll (5)

Veronika is so close to crawling, but her arms still aren’t quite strong enough yet to propel forward. You can build those arm muscles by placing a bolster under your baby’s belly; think of this as 8 month old tummy time!

IMG_0001.JPG

I rolled up a beach towel tightly and positioned her with arms over it and legs behind.

Rock and Roll (2)

Now lift your baby’s legs. The weight will transfer to their arms, and hopefully he or she will “walk” the hands forward.

Rock and Roll (4)

Veronika was delighted! Mom, she seemed to say, I’m doing it!

Rock and Roll (1)

You can roll baby forwards a little ways – just make sure you are on a smooth surface, and not a carpet.

Rock and Roll (3)

After I let go of her legs, I let Veronika hang out this way for a while. She kicked her feet, and shifted her torso side to side to check out the towel, so she was still getting in quite a little workout.

Rock and Roll (6).JPG

DIY Burlap American Flags

Burlap Flags (7)

We have little American flags for Travis and Veronika to wave at tomorrow’s Fourth of July parade, but with a roll of burlap in our craft bin, we thought it would be fun to bring homemade ones along as well.

Cut burlap into little flags; these can be square, rectangular, or triangles, whatever your little crafters would like!

Burlap Flags (1)

I set out red, white, and blue paints, and Travis jumped right in.

Burlap Flags (3)

First he smeared lots of blue over his flag, but then remembered to include the other two colors from Old Glory as well. By the end, his flag was a pretty mix. Meanwhile, I made a sort of reverse-color American flag for him.

Burlap Flags (4)

Once the paint dries, hot glue onto dowels. You can leave the dowels plain, but we decided to paint those blue as well!

Burlap Flags (6)

Flowers for the Fourth

Flowers for 4th (7).JPG

Travis checked out the crafts in his July issue of Highlights just in time for the Fourth of July, with these suggested fun flowers; they make the perfect centerpiece at any picnic table or backyard barbecue or pool party for the holiday! Make as many or as few as your little crafters have patience for.

For each flower, cut out a small circle, a medium flower or star shape, and a large star shape from cardstock in red, white and blue. We traced cookie cutters, but feel free to free-hand these!

Flowers for 4th (1)

The trick for assembly is to alternate the colors of the flag.

Flowers for 4th (2)

I challenged Travis to layer our flowers so each contained all three colors, no repeats. He liked this step best!

Flowers for 4th (4)

Poke a hole through the cardstock. This step was a touch tricky; a pin worked best to pierce the thick paper but it made a very tiny hole. We carefully threaded a green pipe cleaner through and added a clear pony bead at the end. Wrap the pipe cleaner around the bead to seal.

Flowers for 4th (5)

Arrange your “flowers” in a mason jar for a patriotic presentation!

Flowers for 4th (6)

Long L

Long L (1)

L is an easy letter of the day for Travis to trace and we used some equally easy ways to form it today.

After tracing upper case L, I asked Travis to show me L with his left hand. He paused a moment to remember which is his left, but then flashed me an L.

Next he traced lower case l. We lined up all his crayons and I asked him to show me the longest crayon. It was a close call between pink and white, but white one.

Long L ((2)

Using this long crayon, I asked him to make me lower case l – just a long line!

Long L ((4)

History of the Flag

History of the Flag (1)

In anticipation of the 4th of July, Travis and I had a lesson about the American flag today, thanks to our Backyard BBQ unit from Raddish Kids. Recipes will follow soon, but for today, we had fun learning about the flag’s history and getting creative. Read on!

First I gave Travis a riddle: “I’m red, white, and blue, and starry too. What am I?” He had peeked (little cheater!) so knew I meant the flag. It’s fun at this point if you have a little flag that your child can examine and hold.

We made a chart known as a K/W/L graph with three columns: Things I Know; Things I Want to Know; What I Learned.

I asked him what he knew for starters, and he rattled off facts: the colors, the inclusion of stars and stripes, and that it’s our American flag, not another country’s.

History of the Flag (2)

Then we discussed what he wanted to know. I encouraged him to go deeper: why are there thirteen stripes or fifty stars, for example; why do we fly the flag. Now it was time for videos suggested by Raddish!

IMG_0001

We looked through a few flag books, as well, for further facts. It was useful to have a world map handy so I could point out where other flags were from.

IMG_0002

Now he could fill in the final L column. I was so proud that Travis had learned about the thirteen colonies, for example, or nicknames for the flag like Old Glory.

History of the Flag (3)

So now for the crafty part: designing his own country flag. Being only 5 years old, Travis’s grasp of the project was limited; his was a very fantastical flag for a “snake country.”

History of the Flag (4)

We used cardstock as the background, and of course a coiled yarn snake needed to be in the center. Using stencils was an artistic way to add “symbols”. Big kids can go more in depth into which symbols exist on real flags, and why.

History of the Flag (5)

A tin foil canton (vocab word)!) in the top corner added shine, though soon this was embellished with an old train ticket and construction paper.

History of the Flag (7)

I loved watching his creativity even though his final result was quite busy for a flag. Please share about your own kids’ creations in the comments!

History of the Flag (6)

In and Out Games

In Out Games (2)

Babies just seem to love containers, especially finding one with various items inside and dumping them out. Contain that natural inclination with these variations on in and out games!

For the first version, I simply filled a shoebox with a few toys, trying to make them novel for Veronika; we had a few new squishy balls, empty So Delicious yogurt containers, and some favorite soft toys.

In Out Games (1)

The entire goal of the game was for her to reach in and pull things out, then fill the box back up and start all over again. She was up for it!

In Out Games (5)

The shoebox proved to be a little too big for her to lift and dump, so I eventually transferred everything to a small toy bin. I showed her how to upend this.

In Out Games (3)

What a fun game, mommy!

In Out Games (4)

For the next version, I got a little more technical with language learning. Use a plastic bowl instead of a box (just to mix things up!) and add different toys.

Pop beads are a fun burst of color for babies; just be sure you have these joined in secure loops, since the individual beads can pose a choking hazard.

In Out Games (8)

This time, I first said, “Put in,” and encouraged her to place items in the bowl.

In Out Games (9)

Then we reversed it: “Take out,” I said, each time she reached in a hand to grab out an item.

In Out Games (7)

Note: ‘take out’ happened a lot more than ‘put in’, which I expected! But repeating the words each time will help your baby learn the concepts.

In Out Games (10)

I also encouraged her to hand toys to me, using an open-hand gesture and language.

In Out Games (6)

This is a great game to play on repeat as your little one nears that exciting moment of first words!

Indoor Sandbox Edible Sensory Bin

Edible Sandbox (3)

As a follow up to her first edible sensory tray, today I put together this easy indoor edible sandbox for Veronika… complete with snacks sprinkled in!

Fill a shallow bin with oats, and scatter in a few teething biscuits or toddler cookies (Veronika loves the organic Letter of the Day cookies from Earth’s Best).

Edible Sandbox (1)

Add a few cups or scoops and the bin is ready to go!

Edible Sandbox (2)

Veronika immediately got her hands in, and when she found the first cookie, her look was one of pure delight. Yum!

Edible Sandbox (8)

She kept digging through and loved scattering the oats around.

Edible Sandbox (6)

And she was intrigued when I showed her how she could scoop the mixture into the cups and shake them around, or pour them out.

Edible Sandbox (4)

Big brother wanted in on the action, too!

Edible Sandbox (9)

I loved watching the two of them have fun with this one together.

Edible Sandbox (10)

And because the oats are dry, this sensory bin is remarkably easy to clean up! Have a blanket underneath your baby that you can simply shake into the trash, and anything left behind will sweep up in a pinch.

Edible Sandbox (7)

Chalk K

Chalk K (3).JPGFor today’s tracing letter, Travis and I only used one material, and one that ended with the letter’s sound rather than began with it: chalk, that is!

First he traced upper case K and lower case k on paper. Travis has a difficult time remembering where the two diagonal lines exit out from the straight line, so I knew our 3-D version would be very beneficial today.

I set out three pieces of chalk: 1 long and 2 short.

Chalk K (1)

I challenged him to make big K, angling the chalk pieces correctly. After just a brief pause, he mastered the upper case.

Chalk K (2)

Now for the real trick: could he convert it into lower-case k, moving the chalk pieces only slightly?

He didn’t miss a beat! Kudos, Travis!

Chalk K (4)