Soap Crayons and Bath Paint

Soap Crayons Bath Paint (4)

Some baths are for getting clean, but sometimes a bath is meant for playing! To wit, this afternoon I treated Veronika to an extra long bath just so she could enjoy some arts and crafts in the tub.

The bath is a perfect place for your toddler to experiment with art. What’s easier than a mess that can literally be washed down the drain?

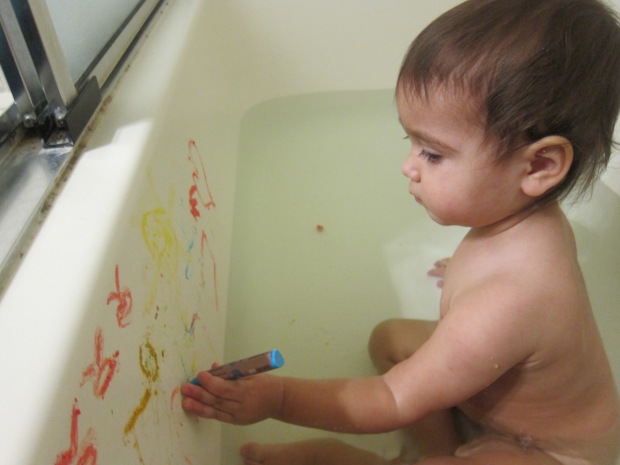
We started out with soap crayons. You can make your own, but I skipped the labor of love and instead purchased a set from Sud Smart Bath Toys.

Soap Crayons Bath Paint (2)

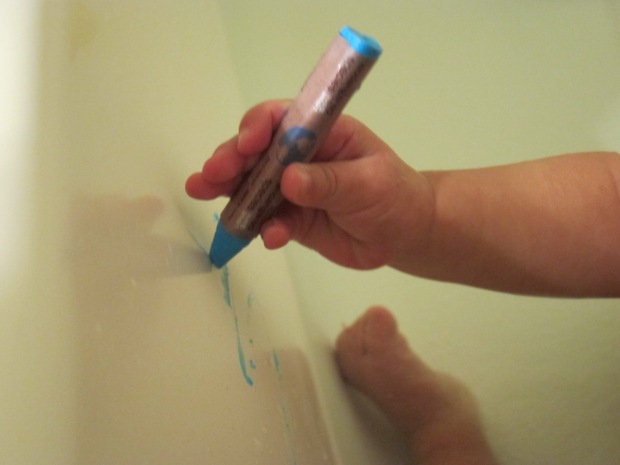
Unfortunately they snapped into small pieces easily, but that didn’t deter Veronika from having a blast.

Soap Crayons Bath Paint (3)

Imagine her delight that she could scribble everywhere without being reprimanded!

Soap Crayons Bath Paint (5)

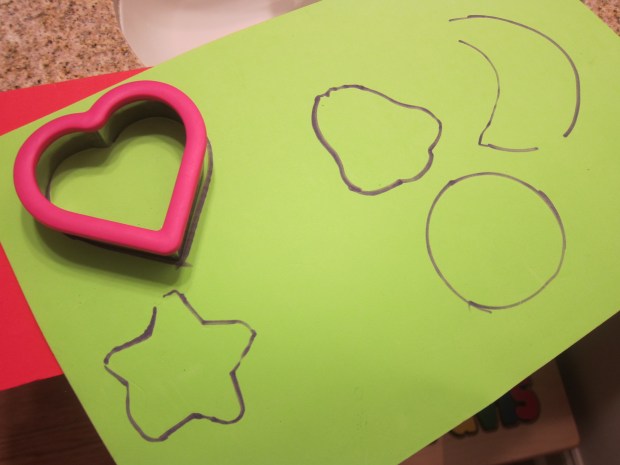
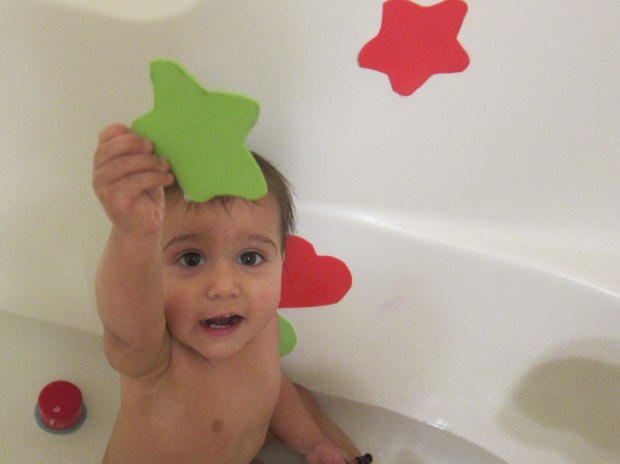
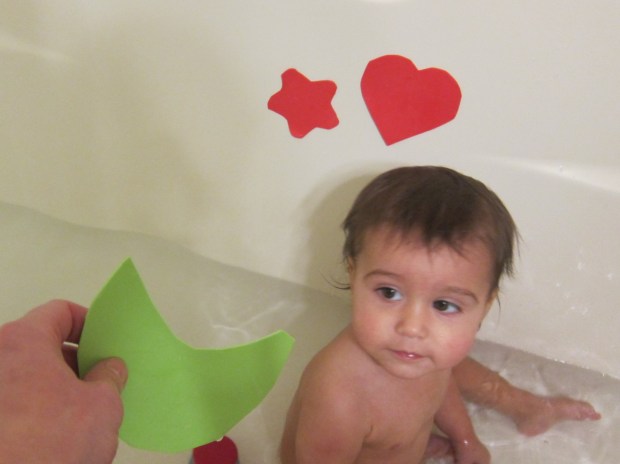
I made lots of squiggles and swirls for her, too, since you have to press hard with these crayons and her efforts didn’t always produce much color. Since we’re working on her budding vocabulary and object recognition, I drew simple shapes that she knows the word for, like the sun and birds.

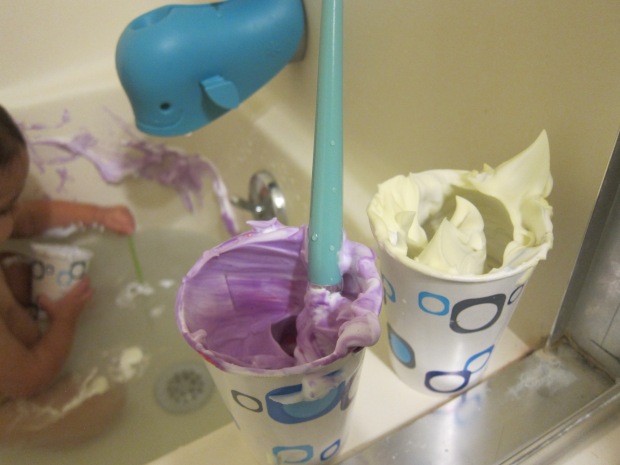
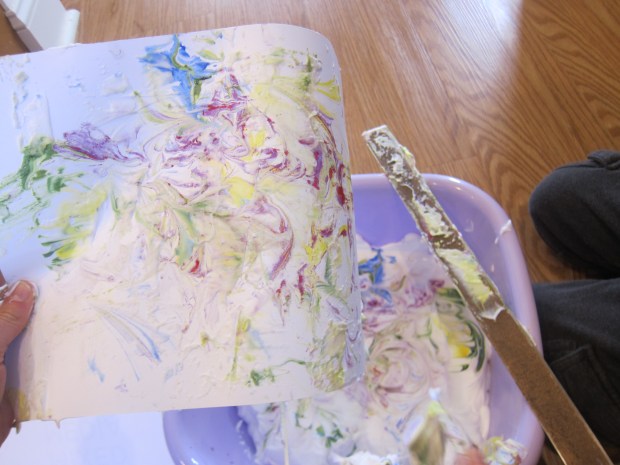
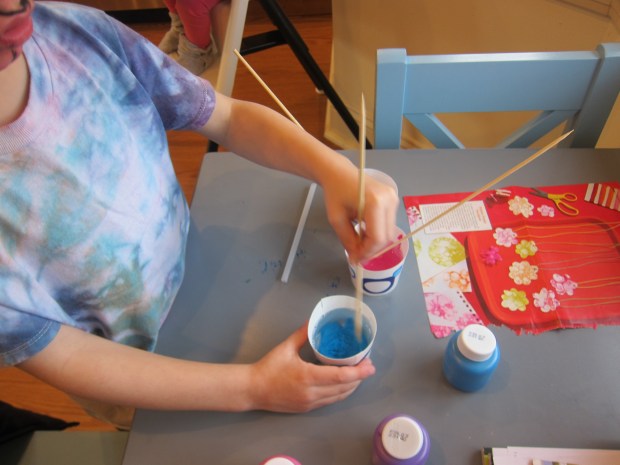
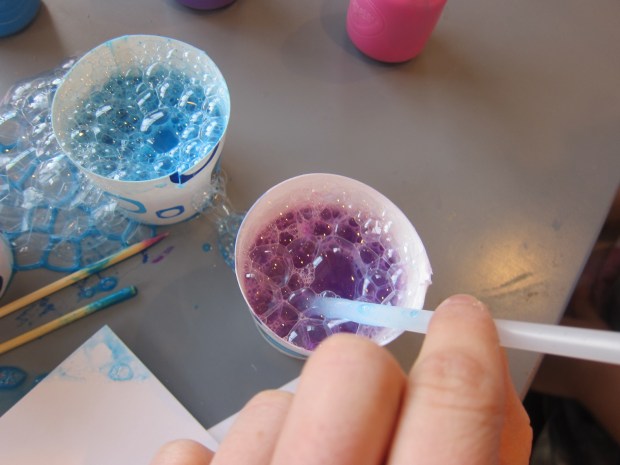
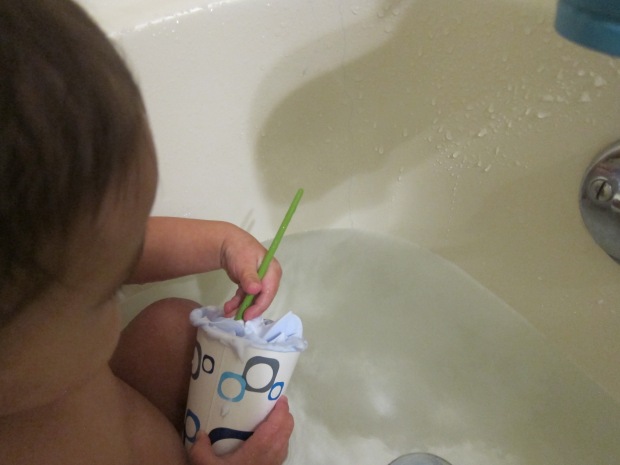
Next up, we swapped out the crayons for paint! For an easy bath paint, look no further than the medicine cabinet: foamy shaving cream.

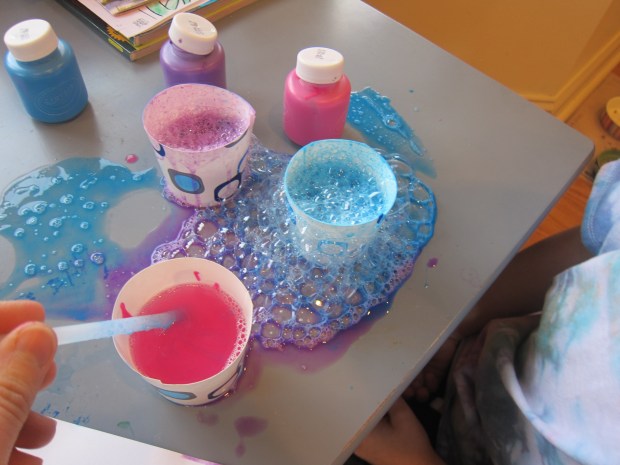
I squirted a generous amount of shaving cream into each of three cups and added a few drops of natural food coloring to each, resulting in pretty pastel colors. Insert a paintbrush into each color.

Shaving Cream Paint (1)

As with a recent edible paint, Veronika first just loved plunging the paintbrush up and down in the mixture.

Shaving Cream Paint (2)

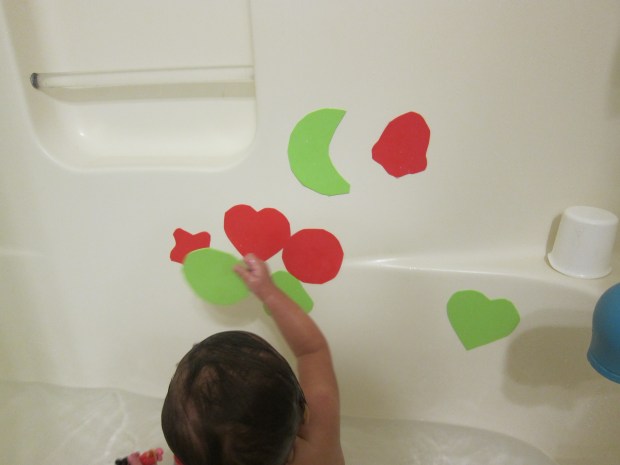
Once I showed her how to smear it on the tub walls, she was game!

Shaving Cream Paint (6)

I also lathered some on one wall in a thick canvas, hoping she would run the paintbrush through.

Shaving Cream Paint (5)

She was more into the fact that she could paint it on her hands, though. Look mommy!

Shaving Cream Paint (4)

Throw in a little education if you want, writing letters (your child’s initials are always fun) or shapes. And when it’s done, just rinse it down the drain.

Shaving Cream Paint (3)

Valentine’s Day Marbled Messages

Marble Messages (8)

Your kid can wow the class this year with these swirled heart cards. Classmates will love learning that the marbled colors were made with shaving cream paint!

To set up, Travis and I filled a shallow craft bin with a thick layer of shaving cream. Add generous drops of food coloring in multiple colors and stir with a skewer.

Marble Messages (1)

Press a thick piece of white paper firmly onto the surface of the shaving cream.

Marble Messages (2)

Lift up and scrape off the excess shaving cream with the side of a ruler. Travis loved the big blobs of shaving cream this produced!

Marble Messages (3)

Repeat as needed for the desired amount of Valentines. We found we needed to add more food coloring to the shaving cream base after pressing in 3 sheets of paper. Let dry completely.

Marble Messages (5)

Once dry, we traced hearts onto the paper with a cookie cutter and cut out. Cut red and pink construction paper into 8×5-inch rectangles and fold in half. Glue one heart to the cover of each card.

Marble Messages (6)

Don’t forget to write a sweet message inside! Prefer your class Valentines with a little less mess? Check out past ideas for necklaces, bookmarks, and even “tacos“!

Marble Messages (7)

Flower-Power Pendants

Flower Pendants (7)

Kids will love this novel bubble-based painting method. The resulting pendant necklaces are perfect for class Valentines!

To create the bubble paint, fill a short cup with 3 tablespoons dish soap, 1 tablespoon water, and 2 tablespoons paint. In order to make our cups short enough, I snipped the top half from regular 8-ounce paper cups.

Flower Pendants (1)

Use a straw to blow into the mixture and you’ll create colored bubbles that rise to the surface. Press a piece of thick white paper firmly over the top. Repeat with more bubbles and more pressing until you’ve covered the sheet of paper, then let dry.

Flower Pendants (2)

Travis loved that the bubbles toppled over the edge of our cup each time; needless to say, this is a bit of a messy project! We repeated with three different paint colors.

Flower Pendants (3)

Once dry, cut the pages into flower shapes, repeating for the desired amount of Valentines.

Flower Pendants (4)

Punch a hole in each flower and thread with cord (available at craft stores), to complete each necklace.

Flower Pendants (5)

On the back, we wrote the sweet message, “You’re a great bud!”

Flower Pendants (6)

Happy New Year, Trees!

New Year Tree (8)

Who knew? Trees get to celebrate new years too! The Jewish holiday of Tu B’Shevat, which falls on February 9th this year, is all about honoring trees. Travis helped mark the occasion with this craft from Highlights magazine.

First we needed a base. I challenged Travis to think of how he might arrange craft sticks to make a sturdy foundation for our tree.

New Year Tree (1)

A double-layer of craft sticks proved best, and because he didn’t want to wait for craft glue to dry, I made quick work of it with a hot glue gun.

New Year Tree (4)

For the trunk of the tree, twist together brown pipe cleaners. We had some that were sparkly, as well as varying shades of brown and tan, which gave the trunk a pretty, mottled look. Travis got the hang of twisting after I demonstrated!

New Year Tree (2)

Spread out the tops and bottoms to be the branches and roots. I hot glued this to our base.

New Year Tree (5)

For the leaves, Travis helped cut shapes from green cardstock (great scissor practice). These were then glued onto the branches, along with little green “olive” pompoms.

New Year Tree (6)

All in all, this was a cute craft. Travis enjoyed olives and oranges (two fruits from trees!) as a snack to finish our celebration of the holiday.

New Year Tree (9)

Homemade Bath Shapes

Simple Bath 2 (2)

Here’s a fun variation on foam sheers in the tub that Veronika has enjoyed lately at bath time.

This time, I used cookie cutters to trace shapes that are becoming identifiable to her, including stars, moons, basic shapes like circles, and a few fun ones like bells.

Simple Bath 2 (1)

I cut them out and then lined them up on the bathtub walls so she could see how they stuck right to the tub. She loved taking them off and on again.

Simple Bath 2 (5)

The star was a fast favorite. With no prompting, she held it up high every time I sang the “up above the world so high” line of Twinkle, Twinkle!

Simple Bath 2 (3)

The moon likewise received big smiles when I recited a favorite poem about the moon.

Simple Bath 2 (4)

This was a great way to combine tub fun with object recognition as your toddler begins adding more and more words to his or her vocabulary.

After School Routine Clock

After School Clock (4)

Travis has struggled lately at clean-up time, requesting more and more time to play. We made this cute clock in hopes of keeping things on track in the future! It helped him to visualize how much time was left for current favorite activities, like action figure play and coloring, and helped cut down on protests.

To start, we printed out two sheets of a template from Kiwi Co. Color in with crayon or marker, making sure to use colors that match any dry erase markers you have at home. That limited us to blue, red, and green, but you can use many colors if you have a full rainbow of dry erase. On each rectangle, write in a part of your child’s evening routine with dark marker.

After School Clock (1)

For each slot of time, we colored a corresponding triangle on a white wall clock that I purchased from Amazon. Travis loved being allowed to color directly on the clock!

After School Clock (2)

I outlined his triangles in black for a clearer visual, and then mounted the clock on the wall next to the Kiwi templates.

After School Clock (3)

What a great way for him to see how the evening is divvied up! I also love that this project can be adapted as his schedule changes in the future, especially once homework is part of the equation.

After School Clock (5)

Kitchen Boxes

Play Kitchen (1)

Toddlers love to be your helpers, which can be adorable, but which also sometimes places them squarely under foot and in the way… like when you’re cooking in the kitchen! Encourage their eager need to be involved by setting up a play kitchen right alongside yours.

There’s no need to buy a fancy store-bought kitchen; chances are you have everything you need right at home for this game.

I saved up empty snack boxes over the course of a week and taped them shut to be Veronika’s pantry staples and “groceries”. (Note: The youngest toddlers might be happy just with these boxes and nothing else! They make great towers).

Play Kitchen (2)

Then I set up two toddler chairs side by side as her kitchen counter. Use empty large boxes if you don’t have chairs that are the right height. Her kitchen was soon outfitted with brightly colored measuring cups, a set of measuring spoons we use just for play, and other accessories like whisks and rolling pins.

Play Kitchen (3)

Soon she was very busy “cooking”!

Play Kitchen (4)

Veronika was in luck today because I finished up a bottle of vegetable oil making my recipe. This was quickly added to her kitchen. Build up a similar stock for your little one over time, adding old aprons, dish cloths, empty bottles, spare utensils, and more.

Play Kitchen (7)

As I filled muffin tins with real batter, I gave her an old cake pan to “bake” her recipe in.

Play Kitchen (10)

She was so busy and happy by my side playing this game, and never in the way!

Play Kitchen (11)

Spicy Pumpkin Muffins

Pumpkin Muffins (2)

This recipe makes generously sized muffins, perfect for hungry kids after school or for a great boost in the morning. The addition of molasses means extra B vitamins. Use nutmeg in place of the cloves, if desired, and increase the applesauce to as much as 3/4 cup if the batter seems too thick.

Ingredients: 

  • 2 and 1/2 cups flour
  • 2 and 1/4 teaspoons baking powder
  • 3/4 teaspoon salt
  • 1 and 1/2 teaspoons cinnamon
  • 1/2 teaspoon cloves
  • 1/4 cup applesauce
  • 1/4 cup canola oil
  • 1/4 cup molasses
  • 1/2 cup agave nectar
  • 1 teaspoon vanilla
  • 1 (15-ounce) can pumpkin
  1. In a bowl, combine the flour, 1 and 1/2 teaspoons baking powder, salt, cinnamon, and cloves; set aside.
  2. In a second bowl, whisk together the applesauce and the remaining 3/4 teaspoon baking powder.
  3. Stir in the canola oil, molasses, agave, vanilla, and pumpkin.
  4. Add the dry ingredients to the wet ingredients, then divide evenly among the cups of a muffin pan coated with cooking spray.
  5. Bake at 350 degrees F for 27 minutes. Cool on wire racks.

Pumpkin Muffins (1)

Homemade Paper Balls

Homemade Balls (7)

Toddlers love crinkling paper. Toddlers love tape. So if you make these easy paper balls with only those two materials, your little one will thank you!

Half the fun is in the making, starting with crumpling paper up tightly. Ready, set crumple!

Homemade Balls (6)

Once we had some nice wads of paper, I wound around them with masking tape. The more pieces of tape you use, the more these will truly resemble round balls.

Homemade Balls (1)

We used construction paper for bright colors (and color learning!), but plain white paper works just as well. Veronika always asks for “sticker” whenever I pull out the tape, so it was hard to say which she liked more: just playing with the sticky pieces, or helping to tape up the balls!

Homemade Balls (2)

Now it was time to play! We started out simply tossing them into a bucket.

Homemade Balls (8)

Then of course comes the opportunity to dump out!

Homemade Balls (9)

Veronika soon was inventing her own ways to play with them, whether scooting after them along the floor or – her favorite – making them fall from our heads with a big “achoo!”

Homemade Balls (10)

Play pass with the balls, kick them around the house (if your toddler is at this stage of gross motor development), or just sit back and see how your child plays with them. I promise these will not disappoint.

Homemade Balls (4)


Hit the Target

Hit the Target (6)

With a little set-up in advance, this is an easy game to help fill a dreary winter day indoors!

While Veronika was napping, I used a hot glue gun to affix Velcro squares (the scratchy side) to several soft golf balls.

Hit the Target (1)

Next, I cut a few simple shapes from felt, like circles, hearts, and triangles. If you’re feeling more ambitious, cut teddy bears or other animal shapes, too! I then used hot glue to attach these to a recycled piece of cardboard.

Hit the Target (2)

When she woke up, I showed her how to toss the balls towards the felt, at which point they stick! She was fascinated.

Hit the Target (5)

It was hard for her to get the concept of putting the balls on herself, preferring to hold the golf balls instead of releasing her grip.

Hit the Target (3)

But she did like pulling them off the Velcro, no doubt intrigued by the tug of resistance.

Hit the Target (4)

I’m going to keep this game around since it’s one that will grow with her. The felt shapes provide a little early learning, and she’ll be able to approach the game differently as her tossing skills improve.