Reindeer Mix

Reindeer Mix (2)

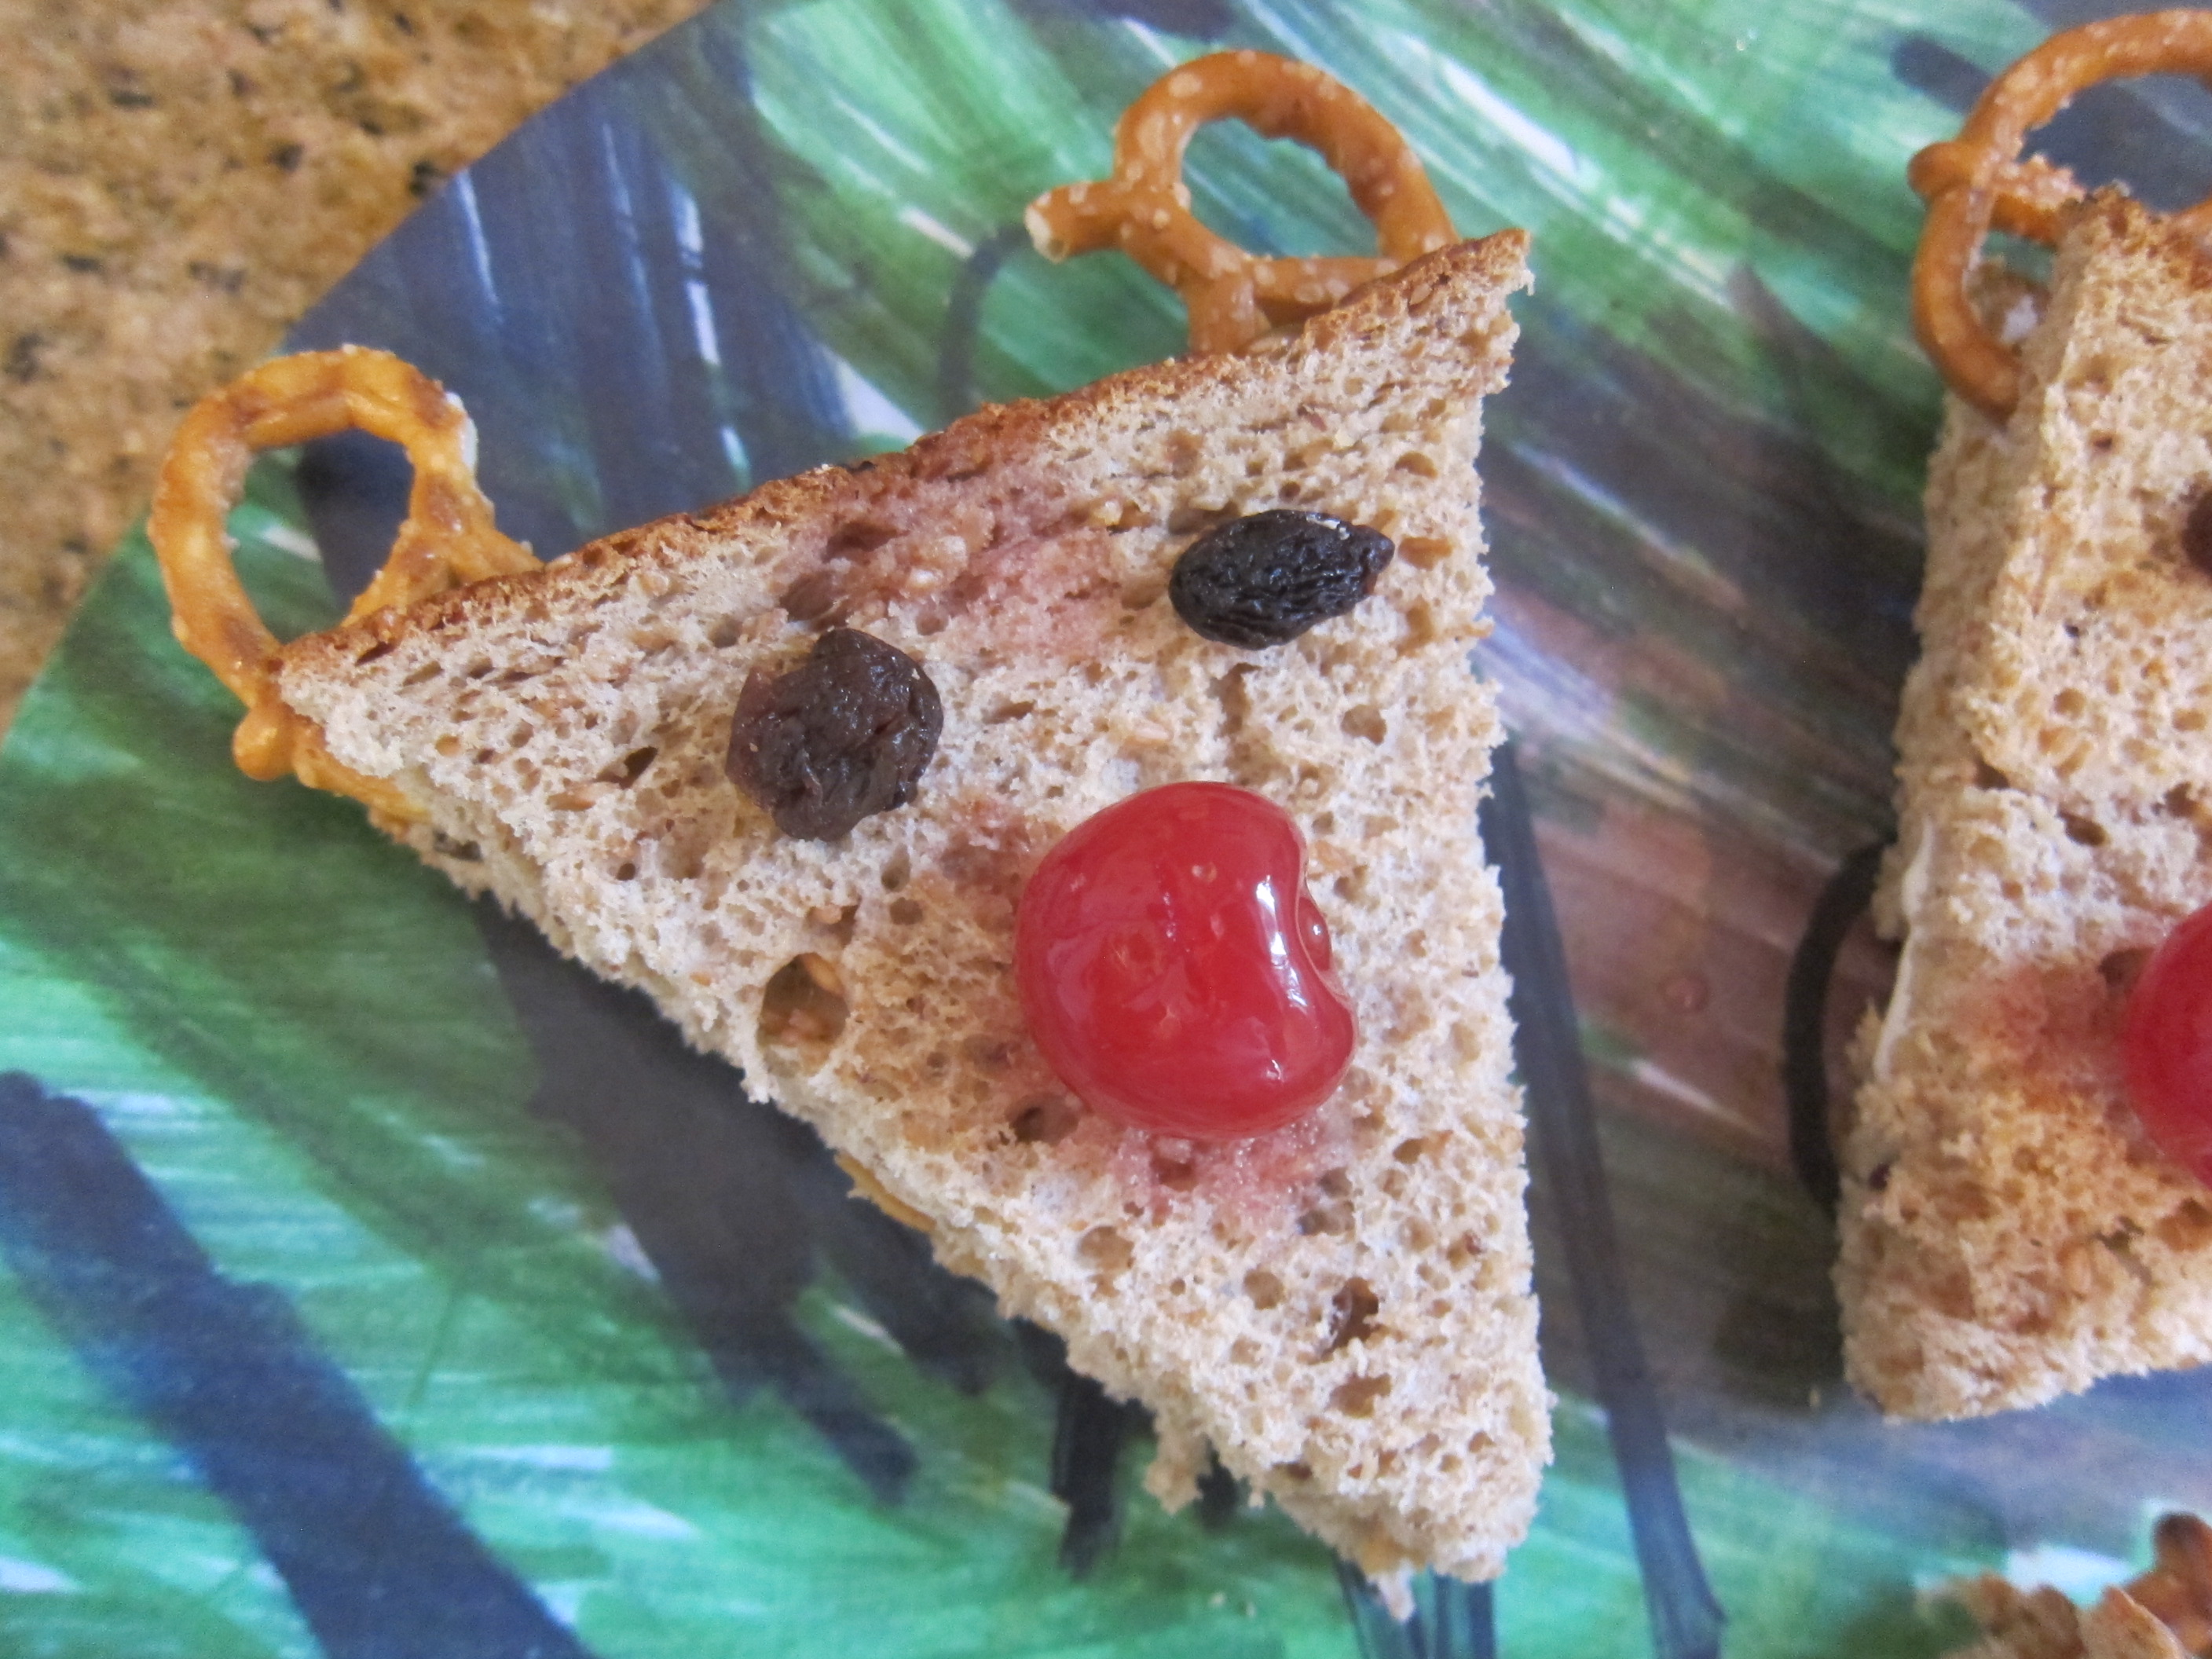
Really this is just an ordinary snack mix that you could make any time of year. But if you tell your kids it’s “Reindeer Mix”, all of a suddenly ordinary becomes extraordinary!

Ingredients:

  • 3 tablespoons Earth Balance butter
  • 3 tablespoons brown sugar
  • 1 teaspoon minced fresh thyme
  • 1/2 teaspoon salt
  • 1/2 teaspoon cinnamon
  • 1 cup almonds
  • 1 cup walnuts
  • 2 cups pretzel twists
  • 1 cup Puffins cereal
  • 1/2 cup dried cranberries
  • 1/2 cup vegan white chocolate chips
  1. Combine the butter, brown sugar, thyme, salt, and cinnamon in a small saucepan. Cook over low heat for about 3 minutes, just until the butter melts and the sugar dissolves.
  2. Arrange the almonds and walnuts on a baking sheet lined with foil and pour half of the brown sugar mixture over the nuts, tossing to coat. Bake at 375 degrees F for 7 minutes.
  3. Toss the pretzels with the remaining brown sugar mixture. Add to the baking sheet and bake for a final 3 minutes. Let cool for 30 minutes.
  4. Transfer the nut mixture to a large bowl and add the cereal, dried cranberries, and white chocolate, stirring to combine.

Reindeer Mix (3)

Be sure to snack on this mix while you track the reindeer and Santa across the sky on Christmas Eve!

Cute Winter Snowman Sensory Bin

Snowman Sensory Bin (4)

Instead of painting a snowman today, it was time for a 3-D snowman that was all about sensory play. This little sensory bin of winter goodies was pure fun for Veronika.

To set it up, you’ll need an empty plastic bottle. One with a wide opening will work better than a narrow-necked water bottle in this case; we used a dry-roasted peanut jar.

I added two wiggle eyes and 3 black buttons with hot glue, attaching them roughly where they would be a snowman’s body, then twisted on a sparkly green chenille stem for a scarf and drew a carrot nose with orange marker.

Snowman Sensory Bin (1)

Next, I added lots of cotton balls to the tray. Once stuffed inside the bottle, it looks just like a little snowman, and one that will never melt!

Snowman Sensory Bin (3)

The fun (and challenge!) now was for Veronika to put the cotton in and then take it back out again. I added chopsticks to the tray for her to use as a tool (tongs would be great, too).

Snowman Sensory Bin (6)

But after a few tries, she preferred to use her fingers.

Snowman Sensory Bin (7)

Or just to upend the bottle and dump it!

Snowman Sensory Bin (8)

To round out the tray, I added a collection of plastic arctic animals and lots more black buttons.

Snowman Sensory Bin (2)

After she tired of transferring cotton balls in and out of the jar, she loved putting the little animals inside and then practicing screwing on and off the lid.

Snowman Sensory Bin (9)

All in all, this was great little bin full of wintry fun.

Tabletop Christmas Tree

Tabletop Christmas Tree (9)

This easy toddler project makes the perfect centerpiece for a holiday table! The little tree is just the right size if you find your family gathering is smaller this year due to COVID-19.

To start, I printed out a Christmas tree template from Hands on As We Grow. Trace the tree shape onto two pieces of cardboard, then cut out from the cardboard. I wasn’t in the mood to wrestle with thick cardboard so used an old cereal box instead. In retrospect, it might have been worth using the thicker kind, since thin cardboard wasn’t entirely sturdy standing up. It also meant we had to paint over the printing on the cereal box.

Tabletop Christmas Tree (2)

Luckily, green paint hid most of the cereal box writing! Veronika helped apply two thick coats of sparkly green paint to both sides of the tree shapes and we set them aside to dry.

Tabletop Christmas Tree (4)

Next, cut slits in the two trees so they can slot together. That means you’ll need to make a slit in the center top of one tree and in the center bottom of the other. Slot together until they sit flush against a tabletop.

Tabletop Christmas Tree (3)

Time to decorate! Veronika helped add lots of white glue, and then we stuck on red and green pom poms and beads.

Tabletop Christmas Tree (7)

Any other holiday items from your craft bin would work great here, too, like holiday stickers or ribbon.

Tabletop Christmas Tree (8)

We think this makes the perfect little Christmas tree.

Tabletop Christmas Tree (10)

Puffy Snowmen with Shaving Cream and Glue

Puffy Snowman (7)

I’ve been on a hunt this winter season to find the best toddler snowman project, whether stamping it with marshmallows, turning it into a melted snowman, and more. In this version, the snowman shape isn’t cut out until the end, meaning your toddler can simply have fun with painting on a more sensory level.

First, we needed to make puffy paint, which is fast becoming a favorite around here. I squirted equal parts white glue and shaving cream onto a paper plate and Veronika helped mix it all up with a paintbrush.

Puffy Snowman (1)

She began to smear it thickly over a sheet of white craft paper. I encouraged her to use all her senses for this particular paint. The shaving cream mixture smells fresh and soapy and has a wonderful goopy texture.

Puffy Snowman (2)

I encouraged her to make a handprint…

Puffy Snowman (4)

…which led to gleefully squeezing the mixture between her hands. We had a quick hand wash and then finished covering the white paper with the puffy paint.

Puffy Snowman (6)

Once dry, I taped a snowman template onto the back of the paper and cut out. Be careful as you cut not to squeeze the puffy paint mixture, or it may flake off.

The snowmen looked so cute in the window, and almost like they were covered with real bits of snow!

Puffy Snowman (8)

Rudolph Sandwiches

Rudolph Sandwiches (4)

We love watching classic Christmas movies, and what better to nibble on during a re-run of one of our perennial favorites, Rudolph the Red Nosed Reindeer than little Rudolph sandwiches?

To assemble, cut bread slices into triangles and spread half of the slices with your sandwich filling of choice. We made one with peanut butter, one with agave nectar, and one with non-dairy cream cheese!

Rudolph Sandwiches (1)

Top with additional slices of bread. Add maraschino cherries for noses, raisins for eyes, and pretzel twists for antlers.

Rudolph Sandwiches (3)

The kids thought these were adorable, plus loved sitting together for the cartoon. All in all, this was a cozy pause on a winter afternoon.

Rudolph Sandwiches (6)

Crazy Bird Puppets

Crazy Bird Puppets (7)

If a cold winter afternoon is driving your kids a bit stir-crazy, then make crazy puppets with all that energy. Crazy bird puppets that is!

To start, paint paper plates with any colors your kids want. You’ll need two and half plates per bird, but we just went crazy (of course!) and painted more than we needed, ending up with about 7 or 8 plates.

Crazy Bird Puppets (2)

Veronika really wanted to help, too, and loved mixing colors and alternating between large- and small-bristled brushes.

Crazy Bird Puppets (1)

I needed some place to let all those plates dry. Ideally I would have had some place to hang them from clothespins, but I settled for laying them down on top of scrap paper in the bathtub. Once dry, we folded two plates in half and then stapled together. Place the half plate underneath the bottom one and staple on.

Crazy Bird Puppets (3)

Now, your hands can insert between the two full-sized plates so you can work the “beak” of the bird to make it look like he’s cackling and cawing and talking. Travis helped glue on feathers and pom poms for decoration, and then these birds looked even crazier.

Crazy Bird Puppets (5)

Put a sock on your wrist and you’ll even have the illusion of colorful neck feathers as you make the bird’s beak move.

Crazy Bird Puppets (6)

Here’s hoping you have a crazy good time with these puppets.

Candy-Less Canes

Candy Less Canes (2)

Confession: we’ve probably eaten way too many sugary candy canes this holiday season. So it was time to put a healthier spin on this favorite holiday treat!

Over two afternoons, we had fun making faux candy canes with red-and-white foods. First up was a fruit version. I sliced strawberries and bananas and set them on a cutting board, then challenged Travis to arrange them like a candy cane (or as Veronika calls it, a “minty”).

Candy Less Canes (1)

He quickly got the hang of it, and then both kids loved devouring this trompe l’oiel snack.

Candy Less Canes (3)

Needless to say, the red stripes (a.k.a. strawberries) didn’t last long.

Candy Less Canes (4)

The next day it was time for a savory spin on the treat! This time I set out piles of sliced tomato and vegan feta cheese. Travis again quickly figured out how to line them up like candy cane stripes.

Candyles Canes (6)

And the kids quickly polished it off for a snack! What foods would you use for a pretend candy cane? Please share in the comments!

Christmas Noisemaker

Christmas Noisemaker (4)

I love Christmas music and have been introducing Veronika not just to the classic carols this holiday season but also to fun contemporary tunes (think: Rockin’ Around the Christmas Tree and Jingle Bell Rock). So of course she needed a Christmas instrument to shake along as we rocked (around the tree quite literally!).

An empty frozen juice can makes the perfect size shaker. We filled this was dried beans and a few jingle bells. Popped popcorn pieces would work, too!

Christmas Noisemaker (1)

Seal the lid tightly. I used hot glue, but you can also secure with tape. We then covered with red felt and Veronika helped decorate it with Christmas-themed stickers.

Christmas Noisemaker (3)

Time to shake!

Christmas Noisemaker (5)

She loved prancing around with the shaker and drumming on drums as we put on our favorite Christmas tunes.

Christmas Noisemaker (6)

We wish you merry music making!

Stone Paperweight

Stone Paperweight (6)

If you’re looking for a gift your toddler can make for a relative this holiday season, the paperweight is it.

The best part about this gift is that it starts with a nature walk! It can be a harder to motivate kids for these once the cold sets in, so I loved motivating Veronika by telling her we were on a treasure hunt for the perfect rock.

Stone Paperweight (7)

We came home with two that were the perfect size and shape, including one that almost looked like a heart.

Stone Paperweight (2)

Now it was time to paint. Not only did we use sparkly paint…

Stone Paperweight (3)

…but she wanted to dump glitter on, too. We used the recipient’s favorite color combo of orange and blue.

Stone Paperweight (4)

Let dry, then spray with shellac for a shinier finish. (Note: that’s a grown-up only step).

Stone Paperweight (5)

Wrap up and gift to someone special!

‘A Snowy Day’ Extension

Understanding Snow (3)

We’ve had fun playing with the snow lately, whether in it or just with our hands, or whether with the real stuff or the fake stuff. But thanks to a unit from Travis’s Snowed Inn Raddish Kids kit, we got a little more scientific about snow today. What is snow and what are its properties, and how is snow changing because of global warming?

A useful story for exploring all this is the winter classic The Snowy Day, and I asked Travis to pause and think at the end about the snow ball in the boy’s pocket. Travis could readily answer that it would melt, but why?

Understanding Snow (1)

So next he watched a video on “Snowflake Bentley”, the first person to capture snowflakes on camera. The video explores more both about how snowflakes form and how they melt.

Understanding Snow (2)

Take a moment here to pause and ask your child which of the two stories is fiction and which is non-fiction, a nice refresher on the two definitions.

After that, I challenged Travis to imagine what might happen next in The Snowy Day. What if the next few pages were from the boy’s friend’s point of view? The idea was challenging for a first grader (Travis’s extension involved magical keys and portals to another universe), but older kids can delve into explaining how snowflakes form and how they melt on their storybook pages.

Understanding Snow (4)

Travis then watched a news clip on the Inuits and how their way of life is changing due to climate change. There were many suggested extensions here that make sense for older kids, such as writing a poem or song about snowflake formation; reading about the 50 different Inuit words for snow; or writing a first-person narrative imagining life from the point of view of an Inuit child.

Understanding Snow (7)

For my first grader, we finished up simply by making a brief comic book about a sled dog and the icy landscape. We may delve more into all these topics again once Travis is older!

Understanding Snow (6)