Starring Role

Starring Role (3)

I’ve previously recorded Veronika and then played back the short clips for her to see. Even if she didn’t recognize herself in the videos, she liked seeing a baby on screen!

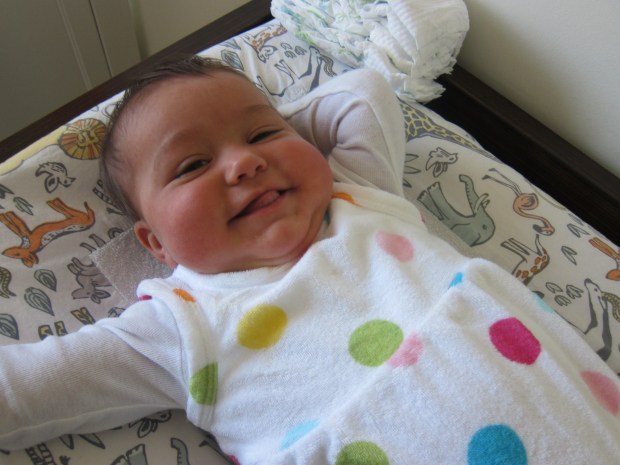
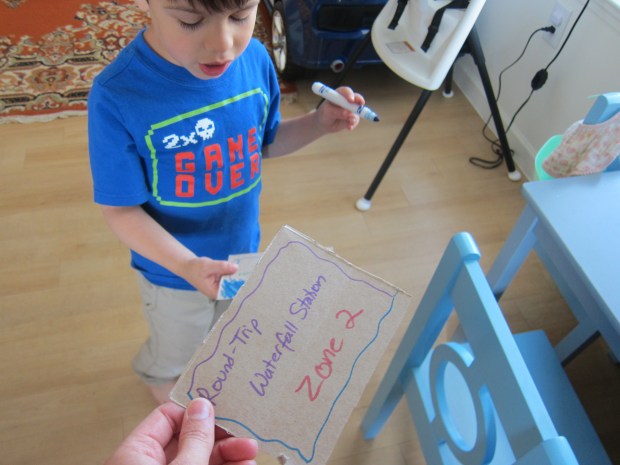
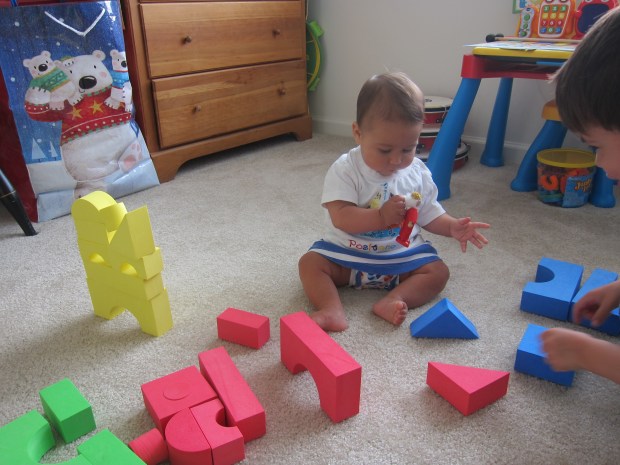
Today, big brother Travis wanted to have a bit more organized fun with this concept. We made a short “movie” with Veronika as the star – as baby godzilla!

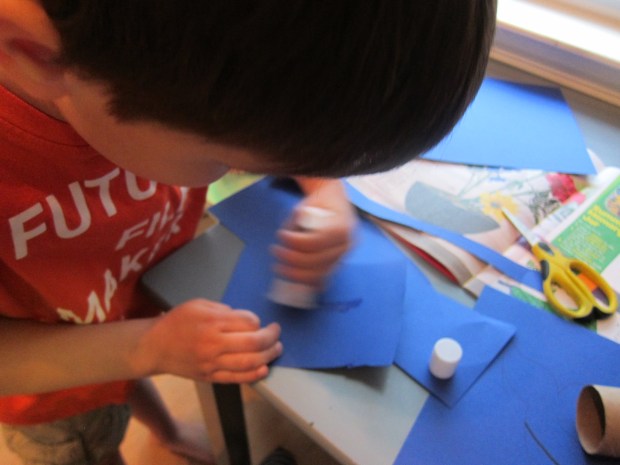
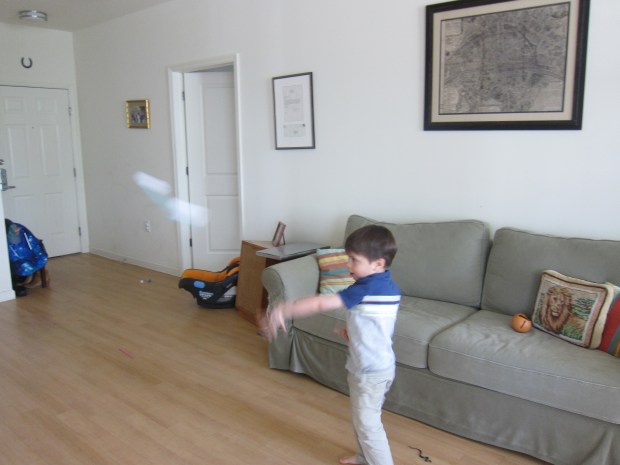
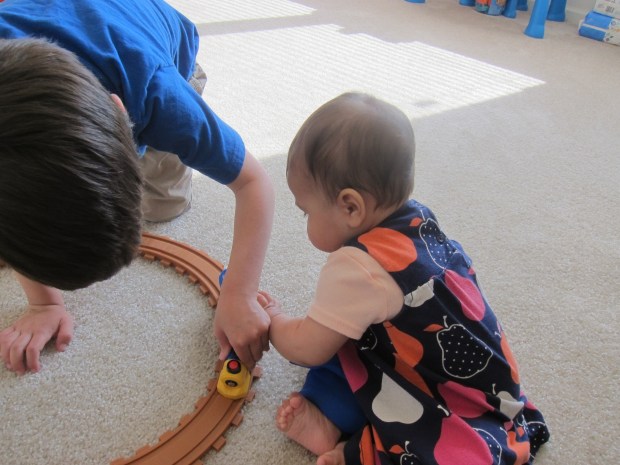
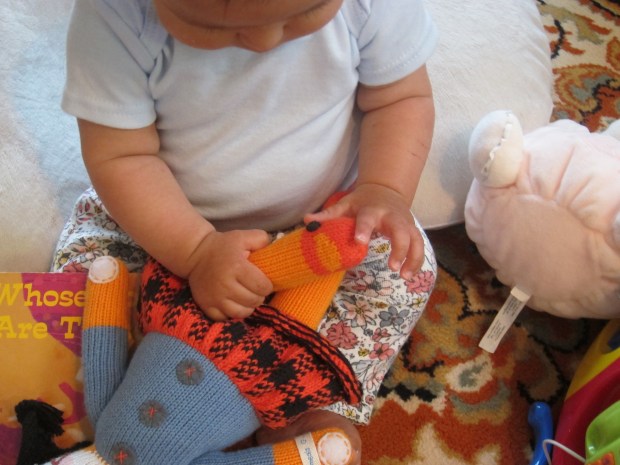
This being a five-year-old boy’s movie, the plot was about a baby on the loose who was going to knock over city towers – oh no!

Starring Role (2)

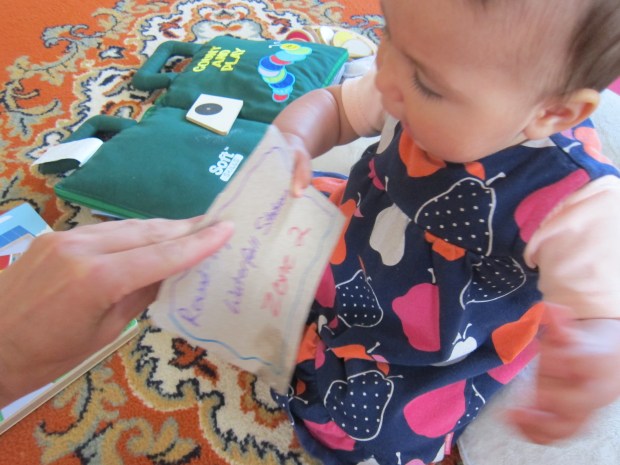
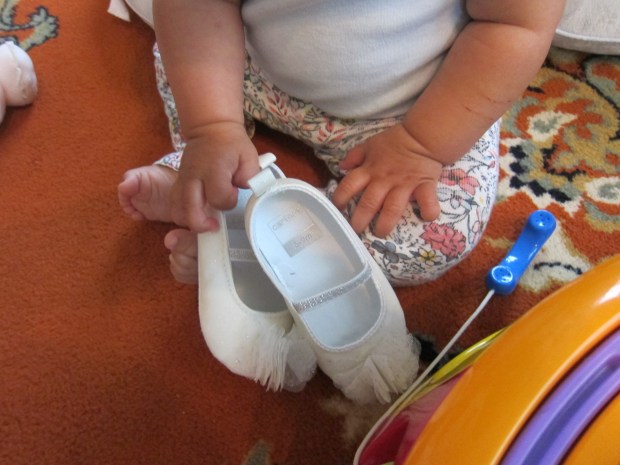
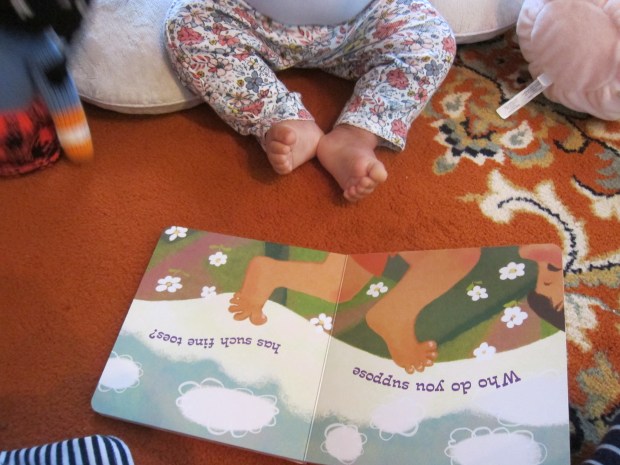
While the two of them played, I snapped pictures of the “movie” unfolding.

Starring Role (5)

More importantly, I filmed!

Starring Role (4)

When it was finished, I sat them down to watch the playback. Travis was thrilled, and Veronika was delighted, even if she didn’t understand on the same level.

Starring Role (6)

This was such a cute concept, both to engage siblings in parallel play even if there is an age gap between them, and also to capture memories and moments in time.

Behold, Travis’s directorial debut:

Foot Day

Foot Day (3).JPG

On the heels of a hands day with Veronika, today was all about feet… and those adorable piggy toes of course.

The idea, as with the day we devoted to hands, was to pick a body part and make it the focus for twenty-four hours. I recited a few nursery rhymes that feature feet (This Little Piggy is an obvious choice). I also sang ‘Clap Your Hands’, but made up verses about feet: stomp stomp stomp your feet; tip tip tippy toe; wiggle wiggle wiggle your toes etc.

Foot Day (5)

I then pulled out a few stuffed animal friends to show her their feet.

Foot Day (7)

It was fun to play with a clean pair of baby shoes!

Foot Day (9)

We read books about feet, including Dr. Seuss’s classic The Foot Book

Food Day alt.JPG

…and one that focused on toes.

Foot Day (4)

Finally, I pointed out feet to her wherever we saw them throughout the day. Look, mommy’s feet are in slippers!

Foot Day (8)


Japanese Flower Art

Japanese Flower (8)

Travis has been very into all things Japanese these days, starting with ninjas and moving on through sushi, taiko drumming, and more. So we were psyched to see a project in his latest Highlights magazine that detailed how to make Japanese flower art (ikebana), a practice that goes back 500 years!

First, cut two cups from an upcycled egg carton. Poke a hole through the cups, and stack them together. Flip them so they are bottom side up and place in a flower pot or small bowl.

Japanese Flower (1)

Begin adding flowers, one at a time. Keep space between each flower in the arrangement, tilting them if needed.

Japanese Flower (3)

It was absolutely beautiful to watch Travis work, so deliberate and careful.

Japanese Flower (2)

I had purchased a few different types of flowers and greenery at the supermarket, and Travis loved selecting which should go next, especially the berries that were laid out.

Japanese Flower (4)

We could start to see why ikebana is a form of meditation!

Once the arrangement was to his satisfaction, we filled our flower pot with small stones (you can purchase these at a craft store), which heightened the beauty.

Japanese Flower (5)

Fill your container with water, and enjoy your flowers!

Japanese Flower (6)

Grocery Store Game

Grocery Game (1)

When she was very little, I grocery shopped with Veronika against my chest in the Ergo carrier, napping more often than not. Now that she’s big enough to sit up and look around, I highly recommend a seat cover with an infant booster. Veronika sits happily ensconced and gets to take in all the sights and sounds of the grocery store – one of my very favorite locations for language-learning and texture exploration!

Instead of racing through my list today, I set aside extra time for Veronika and I to shop slowly and talk about each item we purchased. There was a crinkly bag of lettuce to scrunch in her hands.

IMG_20190605_091356.jpg

Next we talked about colors – like bold green zucchini!

Grocery Game (2)

She loved the papery feel of a head of garlic.

Grocery Game (3)

And playing with the wrappers of energy bars.

Grocery Game (4)

Temperature is another fun area to discuss, like the cold items from the refrigerator case. And a dehydrated soup cup makes sounds like a maraca!

Engage your child’s senses fully in this way and you might just get lucky and be that parent at checkout whose baby is not fussing.

Squishy Art Play

Squishy Art (6).JPG

Today was Veronika’s first art project!

What’s the safest art for a seven month old? Covered up! Because Veronika puts everything in her mouth, there is currently no way to safely give her markers, crayons, or paint – even all-natural or non-toxic stuff – unless it is safely sealed up. But art inside a plastic bag is the solution you’re looking for.

Place a piece of thick paper (like watercolor paper) inside a gallon zip-top bag; for the best fit, I folded our paper in half. Add a few splotches of color, and seal tightly.

Squishy Art (1)

I placed this bag on Veronika’s high chair tray, and encouraged her to squish it around.

Squishy Art (2)

She was a little confused at first, and more so when she realized she couldn’t actually the paint on her fingers, as she can with food on her tray. I talked about the squishy blobs she was feeling, and helped her press her hands into the piles of paint under the plastic.

Squishy Art (3)

Soon she had the idea!

Squishy Art (4)

Truth be told, she was a little frustrated that she couldn’t lift the whole art project up and try it for dinner. But she still had fun exploring!

Squishy Art (5)

When she tired of the game, I removed the paper – her first work of art!

Squishy Art (7)
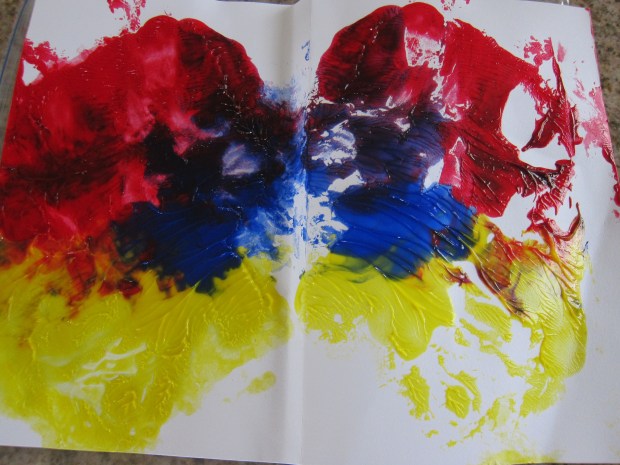
Because the fingerpaint was smeared on quite thick, I folded it over the other (blank) half of the paper, resulting in a cool symmetrical painting.

Squishy Art (8)

Overall, this was a great first art project for a baby, and it encapsulated all that I love about watching kids make art: that the process is a lot more important than the final product; that our role as grown-ups is to facilitate and make sure a little one is using materials safely, but to let them be the “artist”; and that after serving as a model or guide, the most fun can be had when you step back and watch your child create!

Whale Napkin Holder

Whale Napkin (5)

As we head into summer nights and summer dinners – whether poolside, seaside, or just out on the patio – this is a cute napkin holder project for kids to put together. Make as many as you want, whether just one whale to add summer fun to your child’s table, or a whole pod of whales for family dinners al fresco!

Cut a length of cardstock (we chose blue) to fit around a toilet paper tube, and attach with a gluestick.

Whale Napkin (1)

Travis thought it was so neat that the rectangle he cut out could be wrapped around in this way!

Whale Napkin (2)

While he worked on that rectangle, I drew a whale for him on a second piece of blue cardstock and cut it out (bigger kids can do this part themselves).

Travis added some belly lines with marker, and glued down a wiggly eye.

Whale Napkin (3)

Glue the whale to the tube and your holder is ready!

It was fun to show him how to accordion-fold a napkin, alternating folds over and under.

Whale Napkin (6)

Slip the napkin in the tube and your whale now has a water spout. Meanwhile, summer diners have a napkin ready when it’s time to wipe those buttery fingers from corn on the cob!

Whale Napkin (4)

Exaggerate Your Facial Expressions

Exaggerate (5)

As your baby learns about emotions and expressions, bigger is better. So today, while reading books and telling stories with Veronika, it was all about exaggeration!

My go-to stories to tell are Goldilocks and the Three Bears and the Three Little Pigs. Both of these feature a range of emotions, and Veronika echoed them back to me on her face.

Goldilocks was so excited to find the yummy porridge!

Exaggerate (1)

The bears were very concerned when they got back to the house.

Exaggerate (2)

Mama bear was surprised someone had eaten her porridge!

Exaggerate (4)

Hurray, the three pigs are safe from the big bad wolf.

Exaggerate (3)

Books with baby faces can also help your little one learn about facial cues. We love Baby Faces by Margaret Miller, which simply features… baby faces! I point out each emotion to Veronika, made the expression on my own face, and tell her what she’s looking at.

Exaggerate (6)

A useful activity to help your baby pick up on facial cues – an important skill for the lifetime ahead!

Flying Paper, Two Ways

Flipping Fish (6)

Here are two fun ways to harness the power of paper and watch things take flight.

Both of these projects are far less involved than the rockets and planes Travis and I have made recently, but sometimes you just need something simple to fill a lazy morning.

First we made a school of  “flipping fishies”.

Flipping Fish (2)

Draw rectangles on white paper and color in. The more colors the better!

Flipping Fish (3)

Cut out the rectangles, and cut a notch on each end, facing in opposite directions.

Flipping Fish (4)

Slot these notches together and you have fish. Soon we had mommies, daddies, and baby fish.

Flipping Fish (7)

Toss them in the air and watch them whirl!

Flipping Fish (5)

Interestingly, we discovered that our baby fish swirled much better than the bigger ones we made.

Flipping Fish (8)

Next up, we did a repeat of a flying straw we’d made recently with a Kiwi Crate; as with our repeat of the Balloon Rocket, this time we used wide (“milkshake”) straws for better effect.

Cutting out rectangles was great practice for Travis to cut in straight lines!

Flying Straw (1)

For each straw, make one long rectangle, and one short; tape these into circles, and tape onto the straws.

Flying Straw (2)

Hold your straw so the small circle is at the front – and let it soar!

Flying Straw (4)

Those paper circles really catch the wind, and will carry your straw across a room. It’s fun to compare these to a plain old straw, which nose-dives right down.

Flying Straw (5)

Happy flying!

Take a Train Ride

Train Ride (3)

We’ve had lots of firsts for Veronika lately, everything from swimming to hiking to rides in a bucket swing. Today’s new activity was her first train ride!

I set the stage for the big event in the morning, pulling out a few old train track toys (be careful baby doesn’t put magnet trains in his or her mouth), and singing train songs.

Train Ride (2)

Then we made pretend tickets and played train at home!

Train Ride (5)

Big brother Travis loved helping with this step.

Train Ride (4)

Finally it was time for the real thing. Unless you truly have a destination in mind, the best bet is to go to your local station and just ride one stop or two. Our 9 minute ride was the perfect distance to engage Veronika without overwhelming her.

As we waited on the platform, I pointed out other trains going by, as well as the people waiting.

Train Ride (6)

Here comes the train!

Train Ride (7)

On board, she had a blast! She loved looking out the window (and okay, playing with the vents under the window). We listened to the crackle of announcements and the ding of the doors.

Train Ride (9)

Another adventure, under her belt!

Train Ride (10)


This Is the Way…

This is the Way (4)

Let’s be honest; taking care of a baby can seem like a series of repetitive steps that you do each day – feeding them, dressing them, bathing them. But don’t forget that everything you do is fascinating for your little one, still. One way to make it fun – not only for Veronika, but also for myself – is to put it to music.

My favorite song to sing as we do daily routines is “This is the Way” (to the tune of Here We Go Round the Mulberry Bush. Pretty much anything can fit into this song.

This is the way we take a bath

Take a bath, Take a bath

This is the way we take a bath

Early in the morning

Adapt the lyrics for each thing you do each day!

“This is the way we wash our hands… after having a meal.”

This is the Way (1)

“This is the way we put on your clothes…early in the morning”

This is the Way (3)

I also sing the song to her as I go about getting ready for the day, with verses for my shower, for toweling dry, and for getting dresses. You can also enlist baby to be your helper. “This is the way I brush my hair,” I sang to her, and then let her have a turn.

This is the Way (5)

Musical cues like these can help a baby understand where you are in your daily routine, and also sneaks in language learning.