Animal Holiday Dress-Up

Animal Dress-Up (9)

If you’re kids are getting antsy for Christmas and can hardly wait any longer, then hold a Christmas dress-up party for their stuffed animals!

Right after breakfast, Travis and Veronika headed upstairs with leftover bows and gift ribbon and began to deck the halls, er, adorn the stuffed animals, with all the trimmings.

Animal Dress-Up (1)

Cats and dogs soon sported bow hats and ribbon scarves.

Animal Dress-Up (4)

As did a droid or two!

Animal Dress-Up (2)

Veronika thought it was so silly to see favorite animals with big gift bows on them!

Animal Dress-Up (6)

Travis decided to turn it into a competition. Which animal would win the category of Most Festive? He loved tying on ribbons…

Animal Dress-Up (3)

…and adding multiple bows. A big white dog named Marshmallow won the prize!

Animal Dress-Up (7)

Now all the animals could gather together for a holiday party. Needless to say, we sure kicked off the day with some holiday spirit.

Animal Dress-Up (5)

Cookie Plate for Santa

Cookie Plate for Santa (6)

Leaving out treats for Santa is one of Christmas Eve’s biggest highlights in our house, that thrill of the idea that he’ll really come in and take a nibble! This year we decided to make a special plate that can be just for Santa, this year and years to come.

Any plain white plate will work for this project; I purchased one cheaply at the store, but you can use an old white plate if you have one on hand. I set it down in front of Veronika, along with red, yellow, and green acrylic paints.

Cookie Plate for Santa (1)

My original intention was to trace a star-shaped cookie cutter at the top and paint it yellow, then to have Veronika fill in around it. But she quickly had other plans!

Cookie Plate for Santa (2)

She painted the star red before I had even finished tracing! Then the various colors of paint were all smeared together and making a glorious mess. But I loved that the plate was authentically her own creation for Santa Claus.

Cookie Plate for Santa (4)

After it dried, I added in a message around the rim, writing ‘To Santa’ and ‘Christmas 2020’ in red and green sharpies.

Cookie Plate for Santa (5)

If your kids want to have a laugh during the creation of the plate, watch a read-aloud of Father Christmas Needs a Wee. Because Santa will be drinking lots of (almond!) milk alongside all those cookies!

Tofu Boats

Tofu Boats (2)

Playful food is always fun for kids, especially when encouraging new tastes or flavors. Today the kids tried these little “boats” for a snack! Our boats ended up not very sea-worthy (they were prone to tipping over), but they were still cute.

Ingredients:

  • 24 snap peas
  • 1/2 pkg. firm tofu
  • 1/4 cup vegan mayonnaise
  • 2 tablespoons butternut squash puree
  • Olive slices
  1. Slice open each snap pea pod, and press to open slightly. Set aside.
  2. In a bowl, mash together the tofu, vegan mayonnaise, and squash. Spoon a little tofu mixture into each pea pod.
  3. Add olive slices along the sides as life preservers!

Paper Plate Bow Wreath

Paper Plate Wreath (7)

Toddlers love tissue paper projects any time of year, but this is a fun way to play with the material around the holidays!

I cut the center out of two paper plates and then helped Veronika squeeze glue all around the outer rim.

Paper Plate Wreath (1)

Next I set out cut squares of green tissue paper and showed her how to attach them over the glue. Veronika loved how easy this was to do, despite getting sticky a few times.

Paper Plate Wreath (2)

I then gave her circles of red tissue paper and she repeated the task, placing them over dots of glue I had made at intervals on the wreath.

Paper Plate Wreath (4)

That was it! Add a pretty red bow and it’s ready to hang.

Paper Plate Wreath (6)

As a bonus, Veronika loved playing with leftover scraps of green tissue paper for a while.

Paper Plate Wreath (3)

Brown Paper Bag Owl Puppets

Paper Bag Owl Puppets (7)

My kids love to play a game together involving a stuffed animal owl, so I knew they would go nuts for these easy owl puppets. We made two so that each sibling would have an owl to fly around.

To start, you’ll need two lunch-sized brown paper bags (ideally without any company writing on the front, but oh well…). I then cut out various features from colored construction paper, including triangle beaks, three sizes of circles for eyes, and a brown cut-out for each belly.

Paper Bag Owl Puppets (1)

Travis loved helping glue down all the pieces with a glue stick, especially the three-layered eyes.

Paper Bag Owl Puppets (4)

We added feather markings to the bellies with orange marker.

Paper Bag Owl Puppets (6)

And that quickly, the owls were ready to play.

Paper Bag Owl Puppets (2)

It was safe to say that the kids thought these puppets were a hoot!

Making Snow

Making Snow (7)

With a snowstorm outside, Travis and I tested how many ways we could make snow inside today. The answer was four, if you count cartoon snowflakes in a movie as the final way!

First, we got a little scientific and tested two homemade mixtures to see which made better snow.

In the first bin, we combined 1 cup baking soda with 1 cup shaving cream. This mixture looked a lot like snow, and had a nice chill to the touch, but didn’t clump together well.

Making Snow (2)

In the second bin, we combined 2 and 1/2 cups baking soda with 1/2 cup conditioner. This mixture turned out to be fantastic! We could shape it into snow balls and build little snowmen.

Making Snow (3)

And as you can see, it led to lots of joyful messy play.

Making Snow (4)

Once the mess was cleaned up, we turned to paper snowflakes. Fold a white square of paper into a triangle, then fold over itself again into a smaller triangle. Now fold this triangle up into thirds. A helpful visual on these instructions can be found here.

Making Snow (5)

Begin using scissors to snip any which way, just not cutting all the way through this folded triangle. The thick paper was tough for Travis to cut, so I helped him out and we ended up with beautiful snowflakes.

Making Snow (6)

They looked fantastic against our snowy window!

Making Snow (10)

Finally, we watched snowflakes on the TV screen. The The Snowy Day movie is a well-done extension of the classic book by the same name. It inspired us to think of all the ways we’ll play in real snow tomorrow.  In the meantime, we’ll be here eating snowball cookies!

Indoor Ice Caves and Snowball Fights

Indoor Fort (2)

Sometimes it’s too windy and cold to play in a snowstorm, but you can bring the snow in instead of sending the kids out. Imaginary snow, that is.

To wit, first I made Veronika an ice palace. Whether your kids pretend this is an ice cave, a snow fort, or a polar bear’s arctic den, imaginations will go wild as they crawl through any tunnel made with pillows and blankets. We went all out, adding blankets from the beds upstairs, not just the ones from the living room.

Indoor Fort (1)

Veronika loved loading it up with “snowballs” (a.k.a. rolled up socks).

Indoor Fort (3)

And she was thrilled when she discovered a secret back entrance.

Indoor Fort (6)

There was even a secret window to peek through halfway down the tunnel.

Indoor Fort (5)

Then we split up the ice tunnel into two barricades and it became the perfect snow fort for a snowball fight!

Indoor Snowball Fight (6)

For snowballs, we simply balled up pairs of socks and added a few from crumpled white tissue paper. Now it was mommy versus Travis for all out war!

Indoor Snowball Fight (3)

Travis cackled with glee hiding behind his wall or popping up to pelt me.

Indoor Snowball Fight (7)

And he loved staging sneak attacks. Veronika may not have entirely understood, but she certainly picked up on the glee and soon tried her hand at tossing a few “snowballs”.

Indoor Snowball Fight (5)

Attack!

Indoor Snowball Fight (4)

By now I had two gleeful kids who would happily have played in their “snow fort” all day. I think at this point they were pretending it was a ski slope with avalanches rolling downhill!

Indoor Snowball Fight (8)

Don’t forget clean-up: Make it a race to see who can toss all those sock balls back into a bin the fastest.

Indoor Snowball Fight (1)

What will your kids do with an indoor snow fort? Please share in the comments!

Slippery Sledding Bin

Slippery Sledding Bin (4)

When your kids wake up to a huge snowstorm outside and sledding is in the near future, but it’s too windy and cold to go sledding just yet… Take the toys sledding instead!

I loved the set-up for this activity because it required only one ingredient: shaving cream. I turned a glass bowl upside down over a craft tray and sprayed liberally with shaving cream. The kids were sort of in awe that mommy was doing this!

Slippery Sledding Bin (2)

Smooth down into an even layer, then add toys and send them sledding! Lids from the kitchen make perfect sleds for Playmobil figures (we used one from a peanut jar).

Slippery Sledding Bin (1)

We also have a few Little People figures who came with their own skis and slids, and they were perfect for sending down the “hill”.

Slippery Sledding Bin (4)

Travis loved having figures face plant in the snow!

Slippery Sledding Bin (5)

Veronika just thought it was amazing to see how slippery and soapy the tray was, making it more of a sensory game for her.

Slippery Sledding Bin (7)

This was messy for sure, but a fun way to start the morning.

Slippery Sledding Bin (8)

Blowing a Kiss Christmas Card

Blow Kiss Card (7)

This would be a fantastic idea for a holiday card to faraway relatives any year, but particularly in this year of COVID-19, we plan to send a copy even to relatives who live close by.

To make the card, all you need is to capture your kids on camera blowing a kiss. It was so cute to coach Veronika through this.

Blow Kiss Card (1)

Travis happily demonstrated, and then I had the pictures printed at the drugstore and we were ready to design the rest of the card! Veronika loved seeing the prints of herself and big brother.

Blow Kiss Card (3)

I folded red construction paper in half and we used glue sticks to attach the photos.

Blow Kiss Card (4)

While Veronika happily scribbled on extra scrap paper, I wrote the following message in each card:

We can’t see you this Christmas

but we’re blowing you kisses

And sending you wishes.

Blow Kiss Card (5)

Veronika helped add a few puffy Christmas stickers on the cover of each to complete the project.

Blow Kiss Card (8)

For a slightly different look, you can have the words printed directly onto the photo and mail it more like a postcard. But I like that our version of the card was so easy and quick to make.

Blow Kiss Card (9)

‘Let It Snow’ Winter Town

Christmas Town (11)

Here’s a fun way to make a winter playset for kids, especially on days when it’s too cold to really go outside and play.

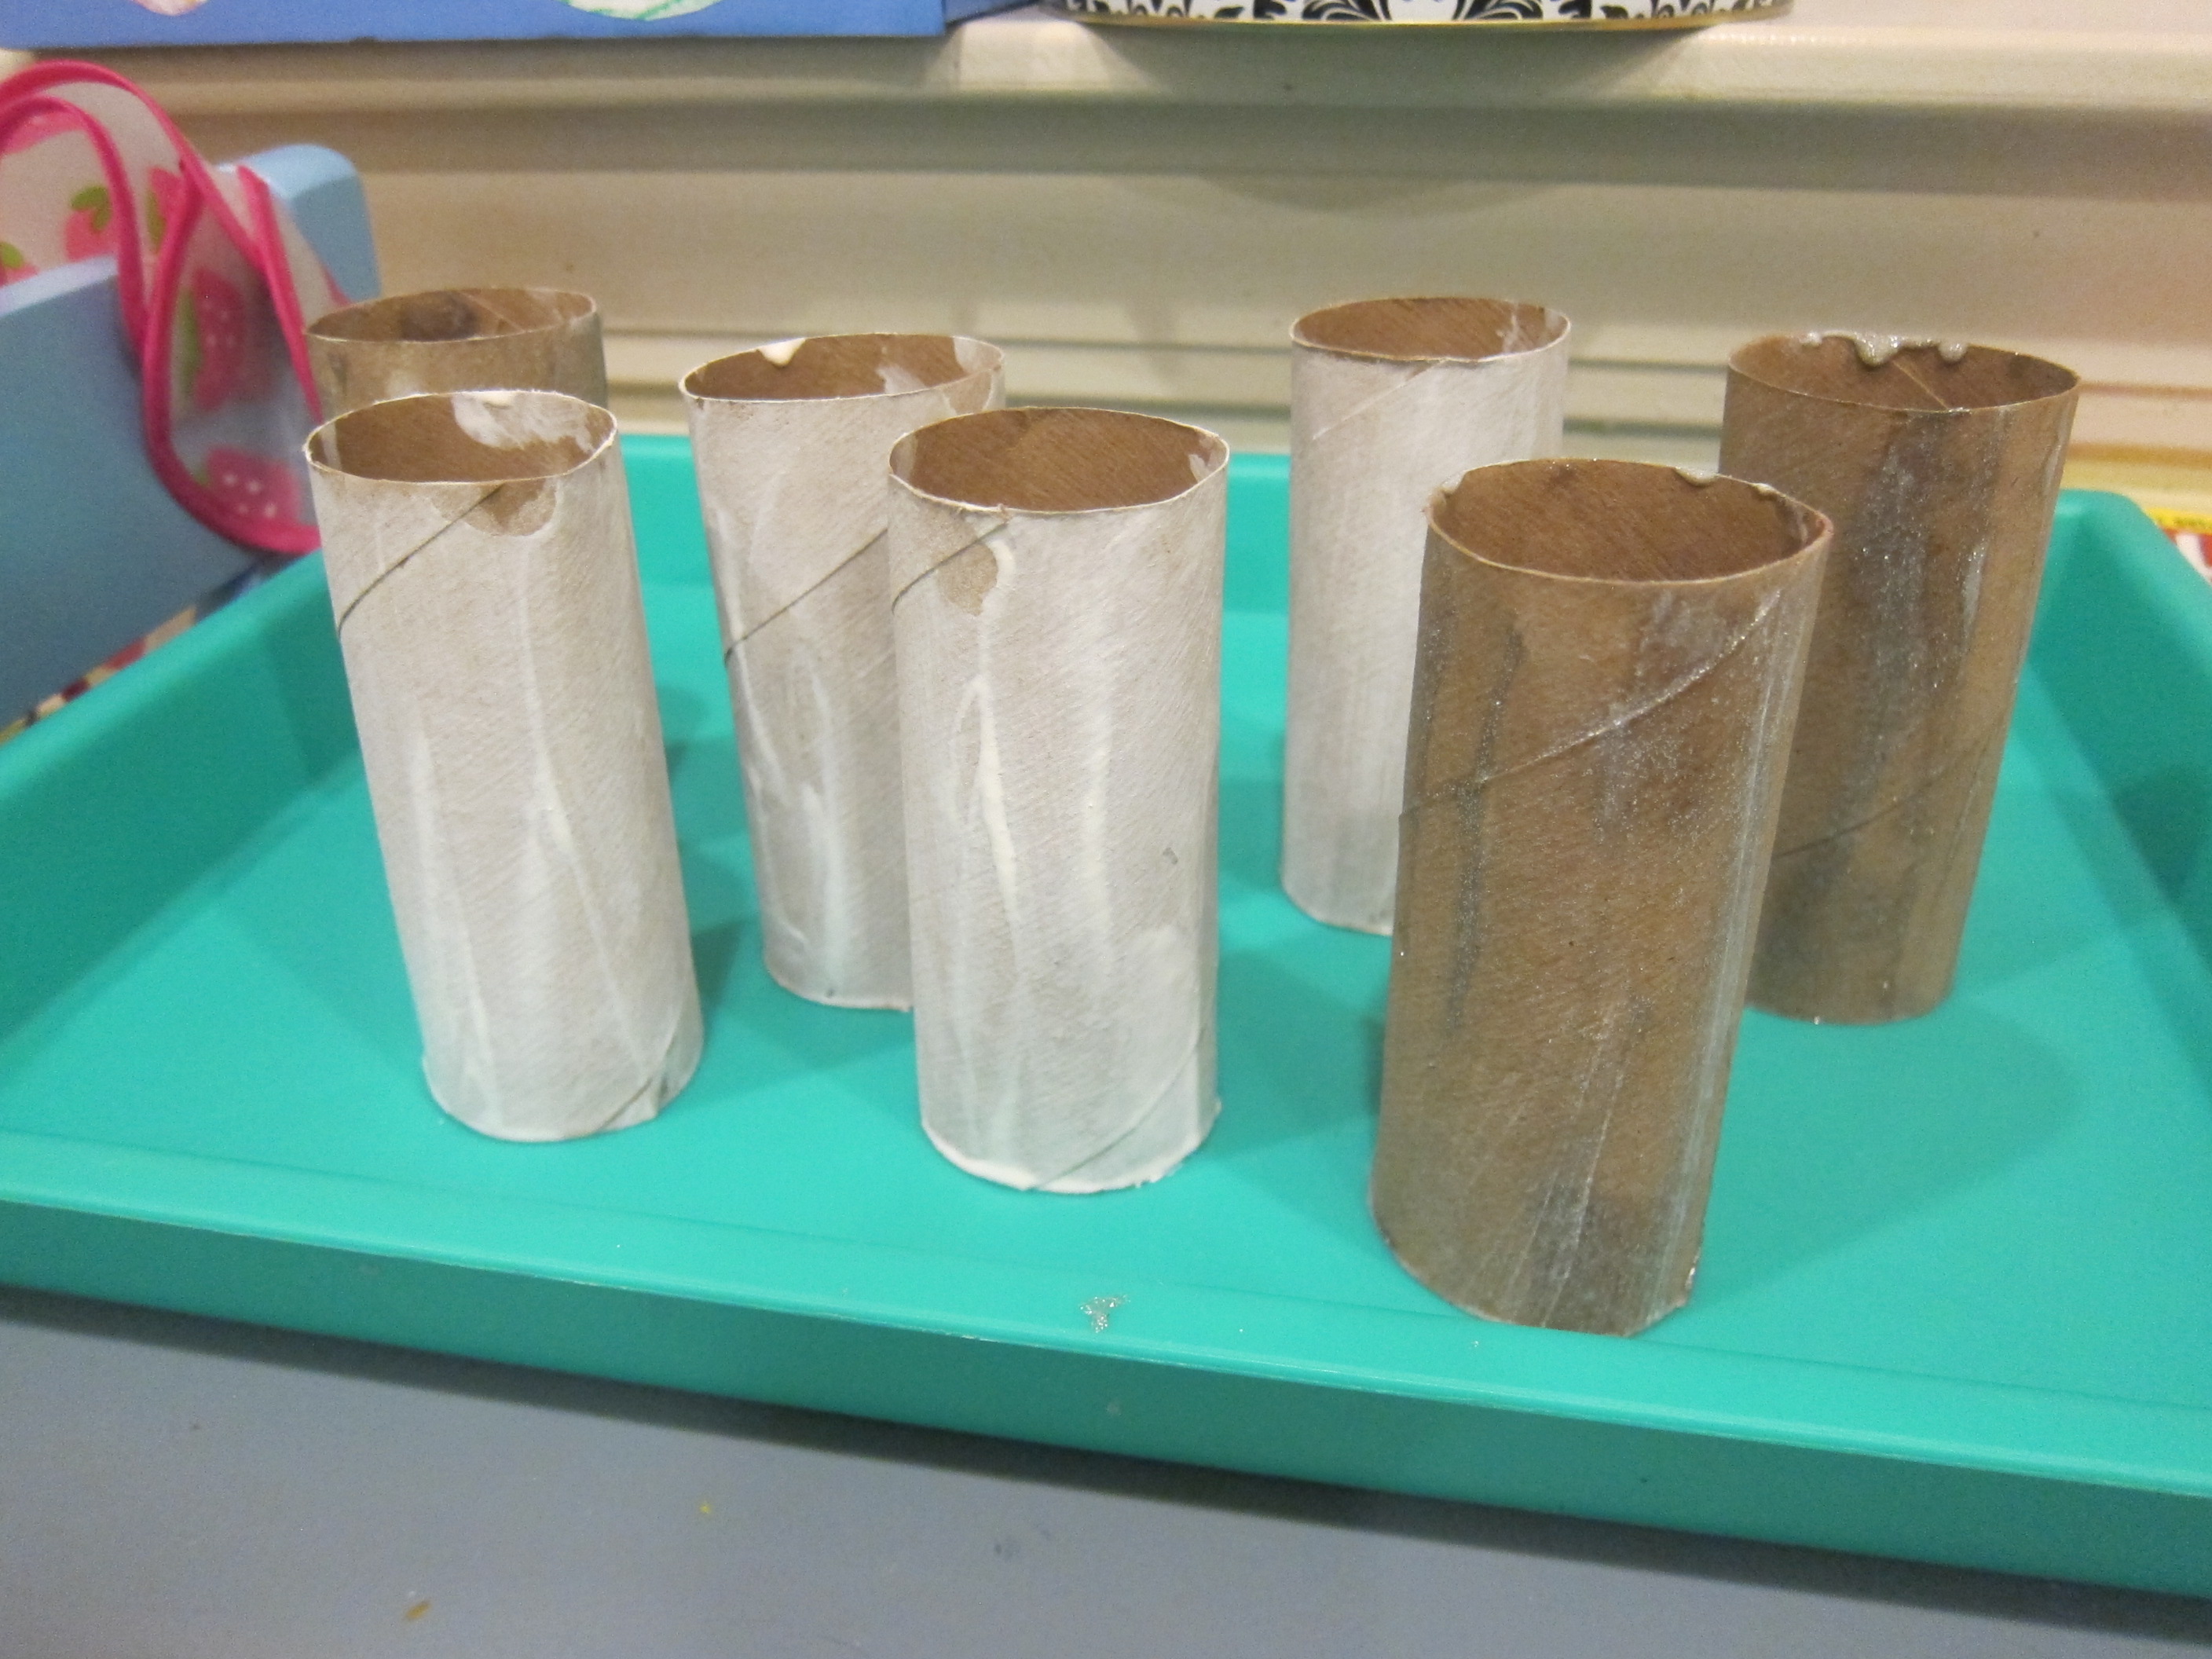
The first step is to paint toilet paper tubes white; the more tubes you have, the bigger your town will be! I considered having Veronika join in for this step of the project, but then decided to paint the night before so she wouldn’t have to wait for it to dry in the morning. I covered 4 tubes with white paint but then ran out and had to use sparkly silver on a few instead.

Christmas Town (1)

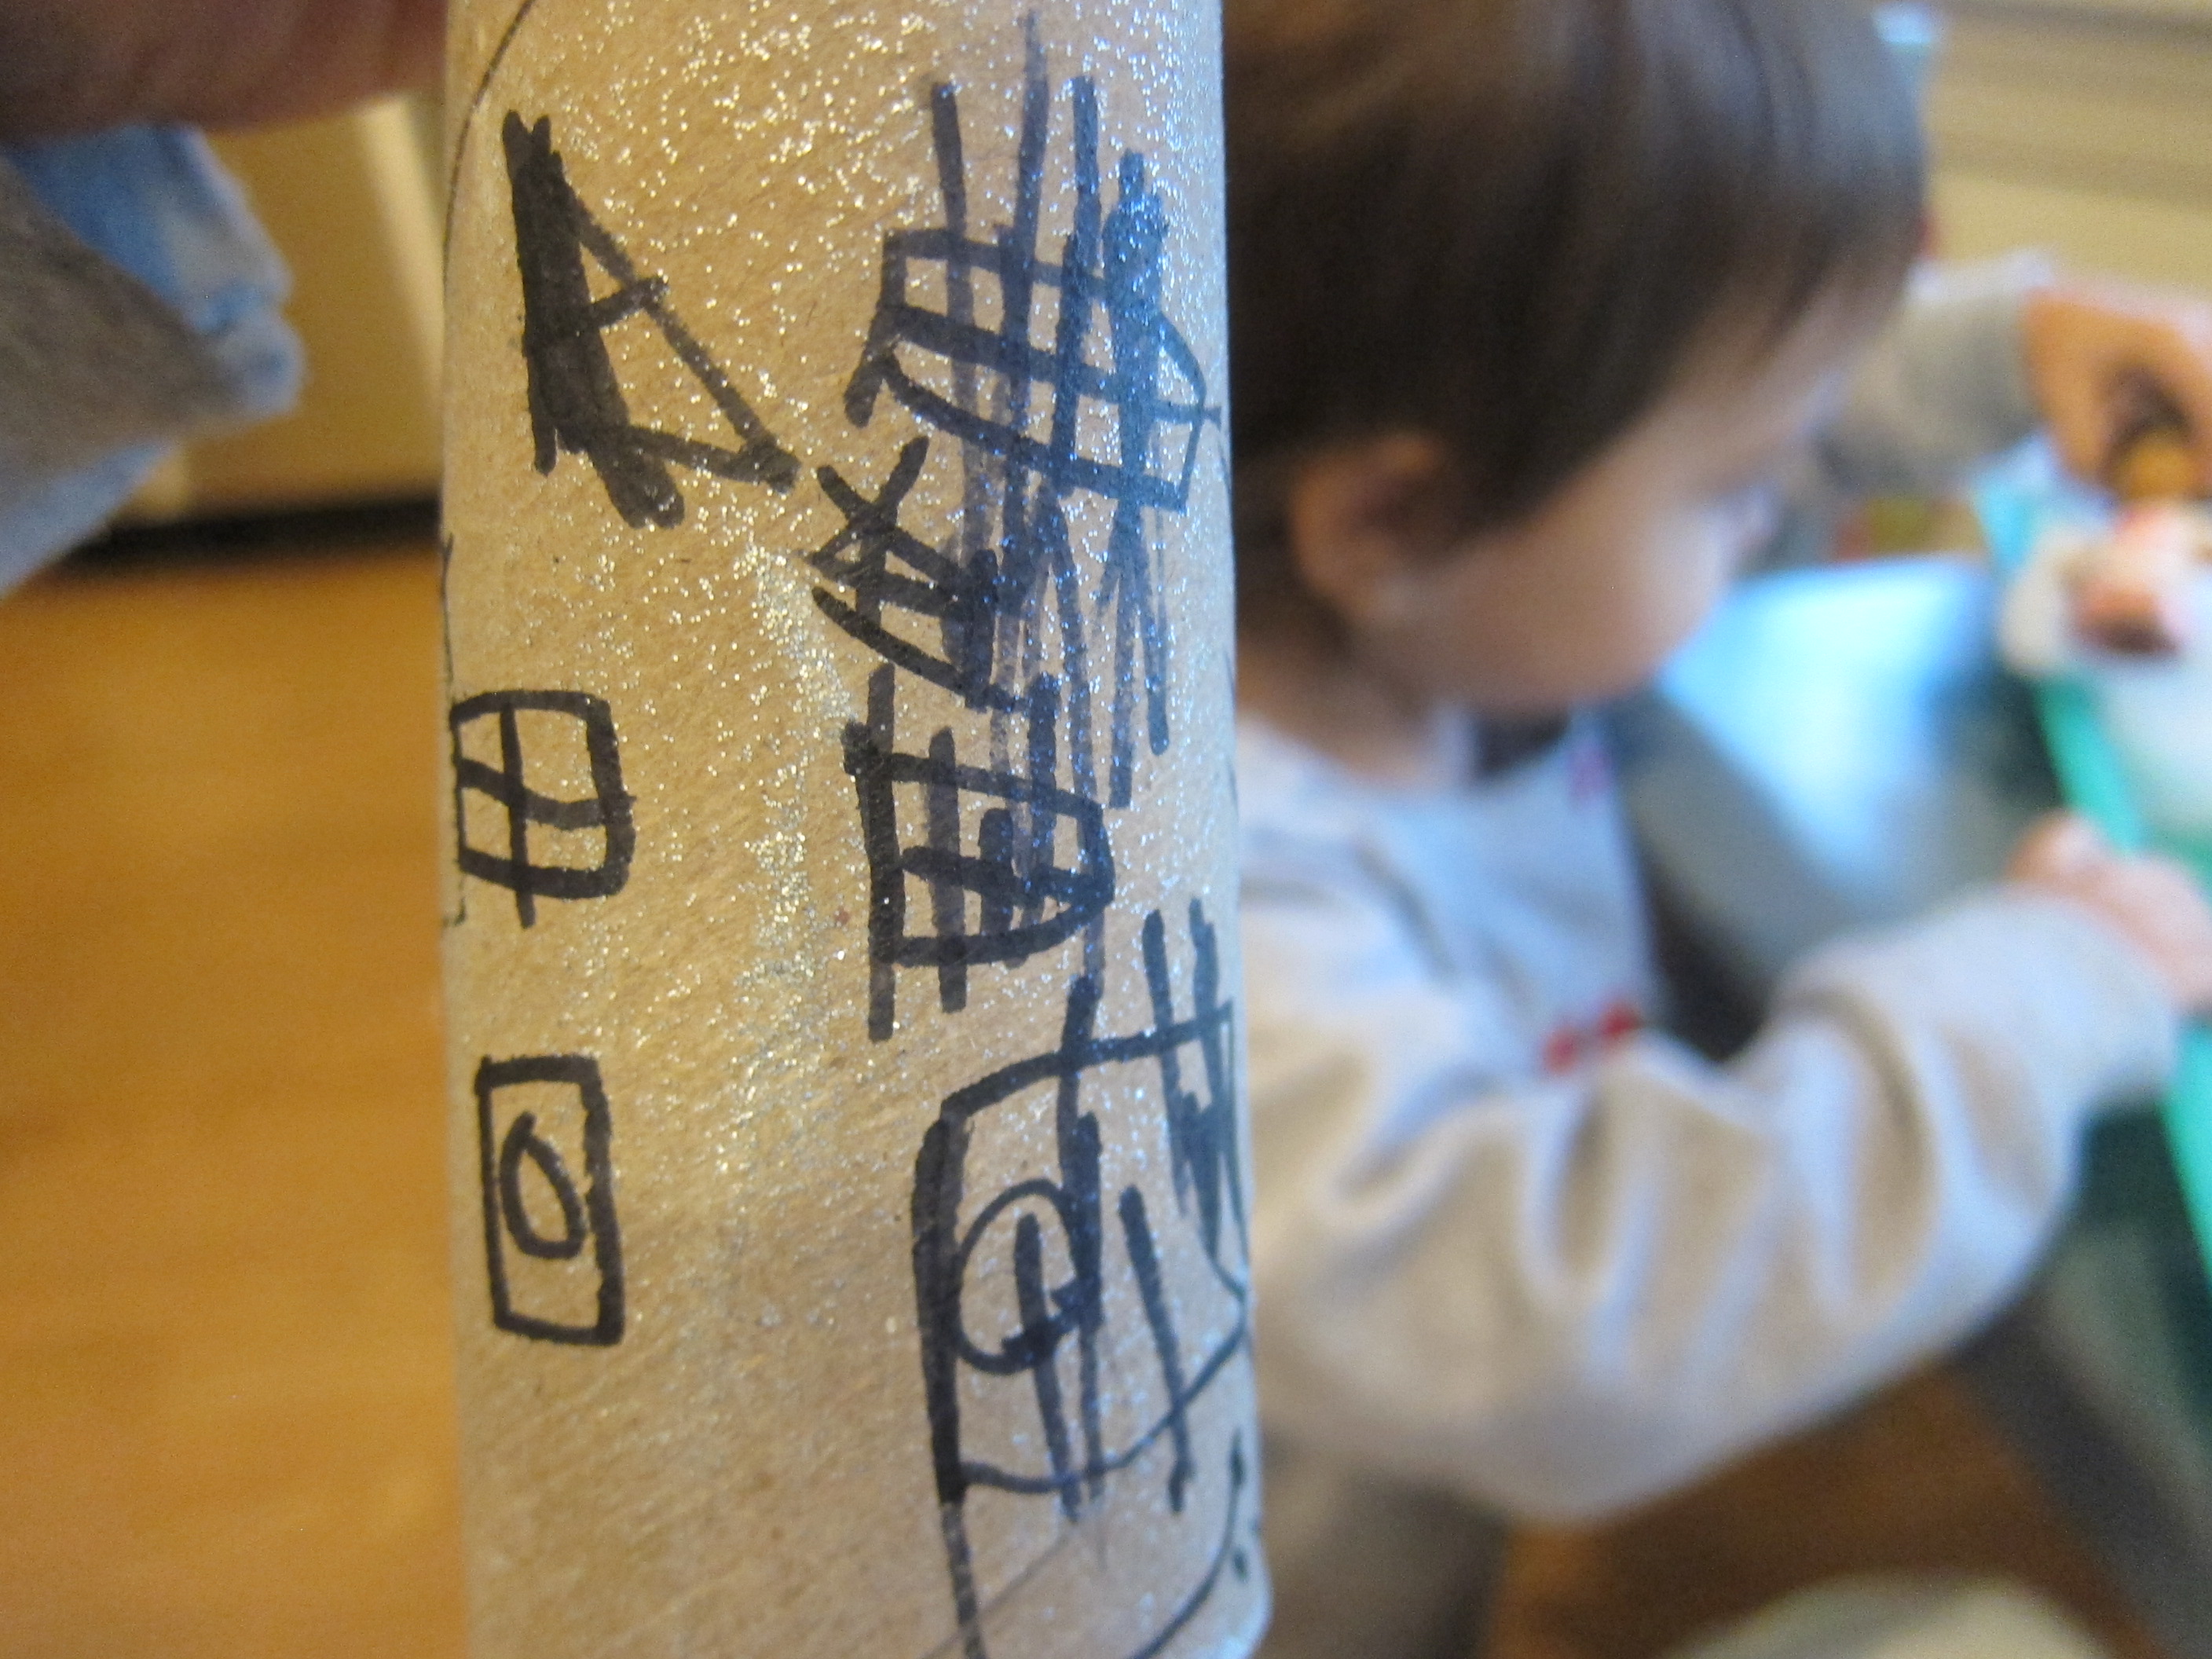
In the morning, the kids helped set up the rest of this little town. First we decorated the tubes with marker to make windows and doors. Veronika loved proudly scribbling.

Christmas Town (2)

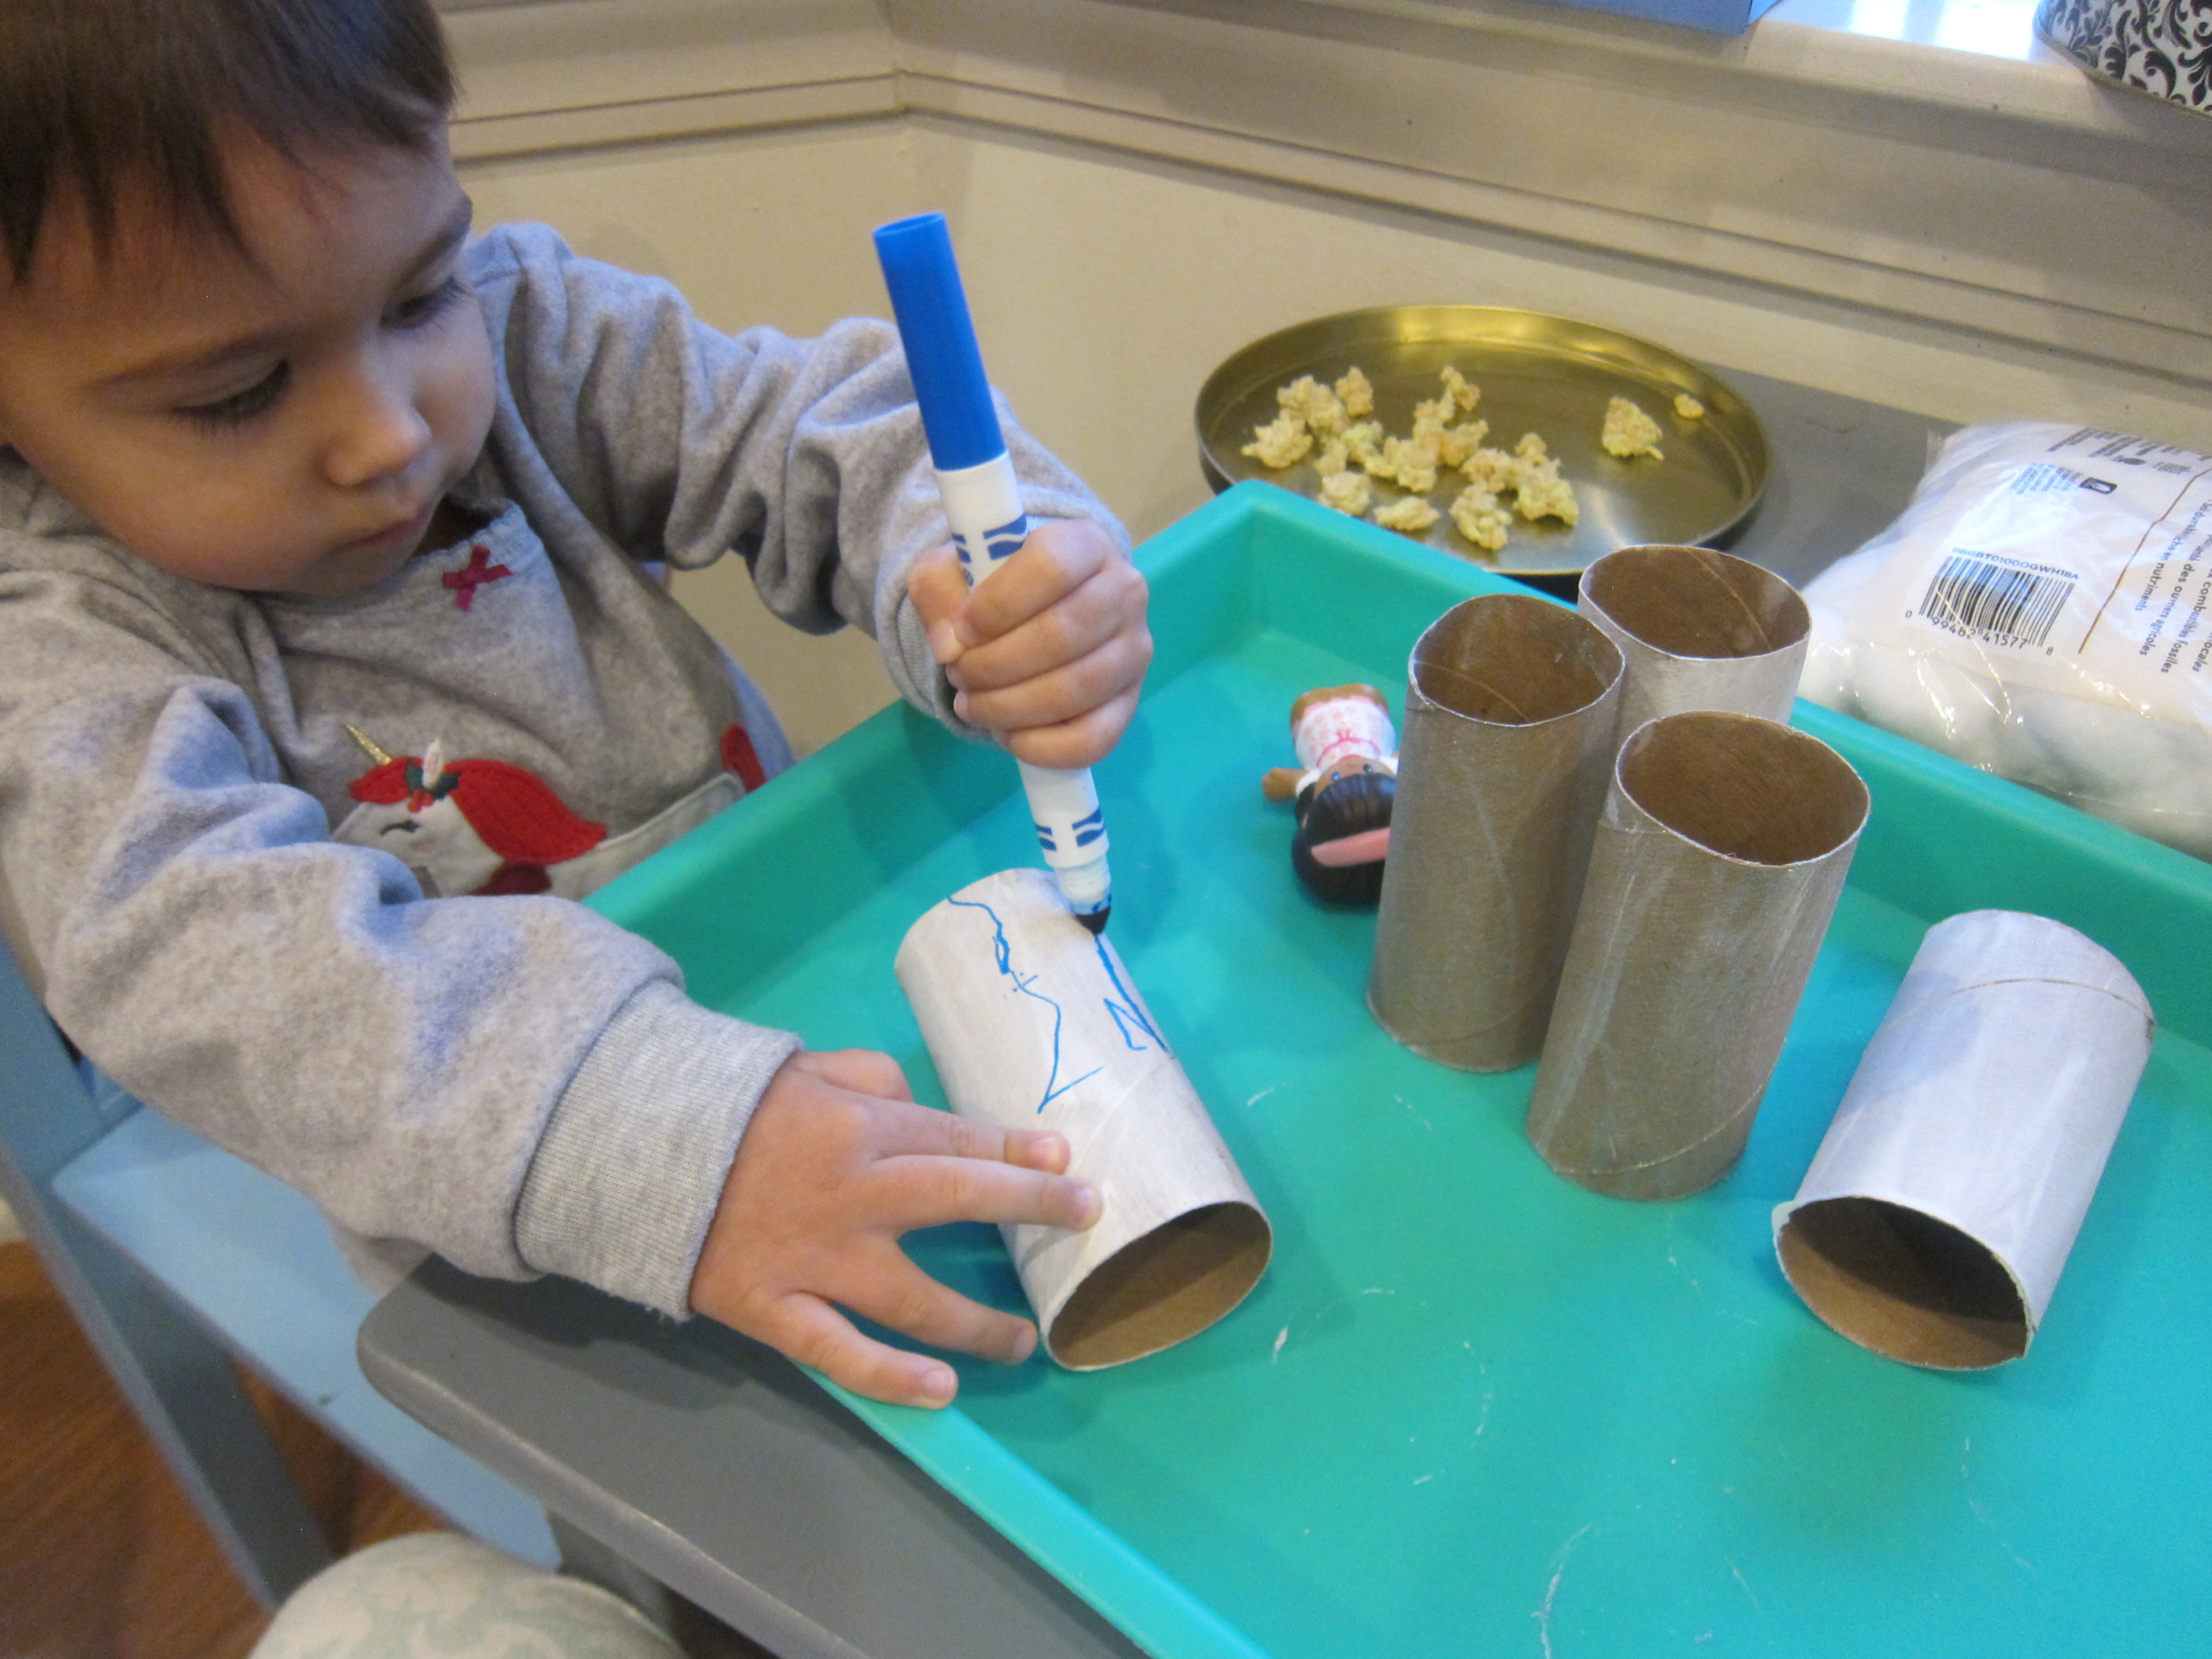
Big brother Travis was very deliberate with his architectural features.

Christmas Town (3)

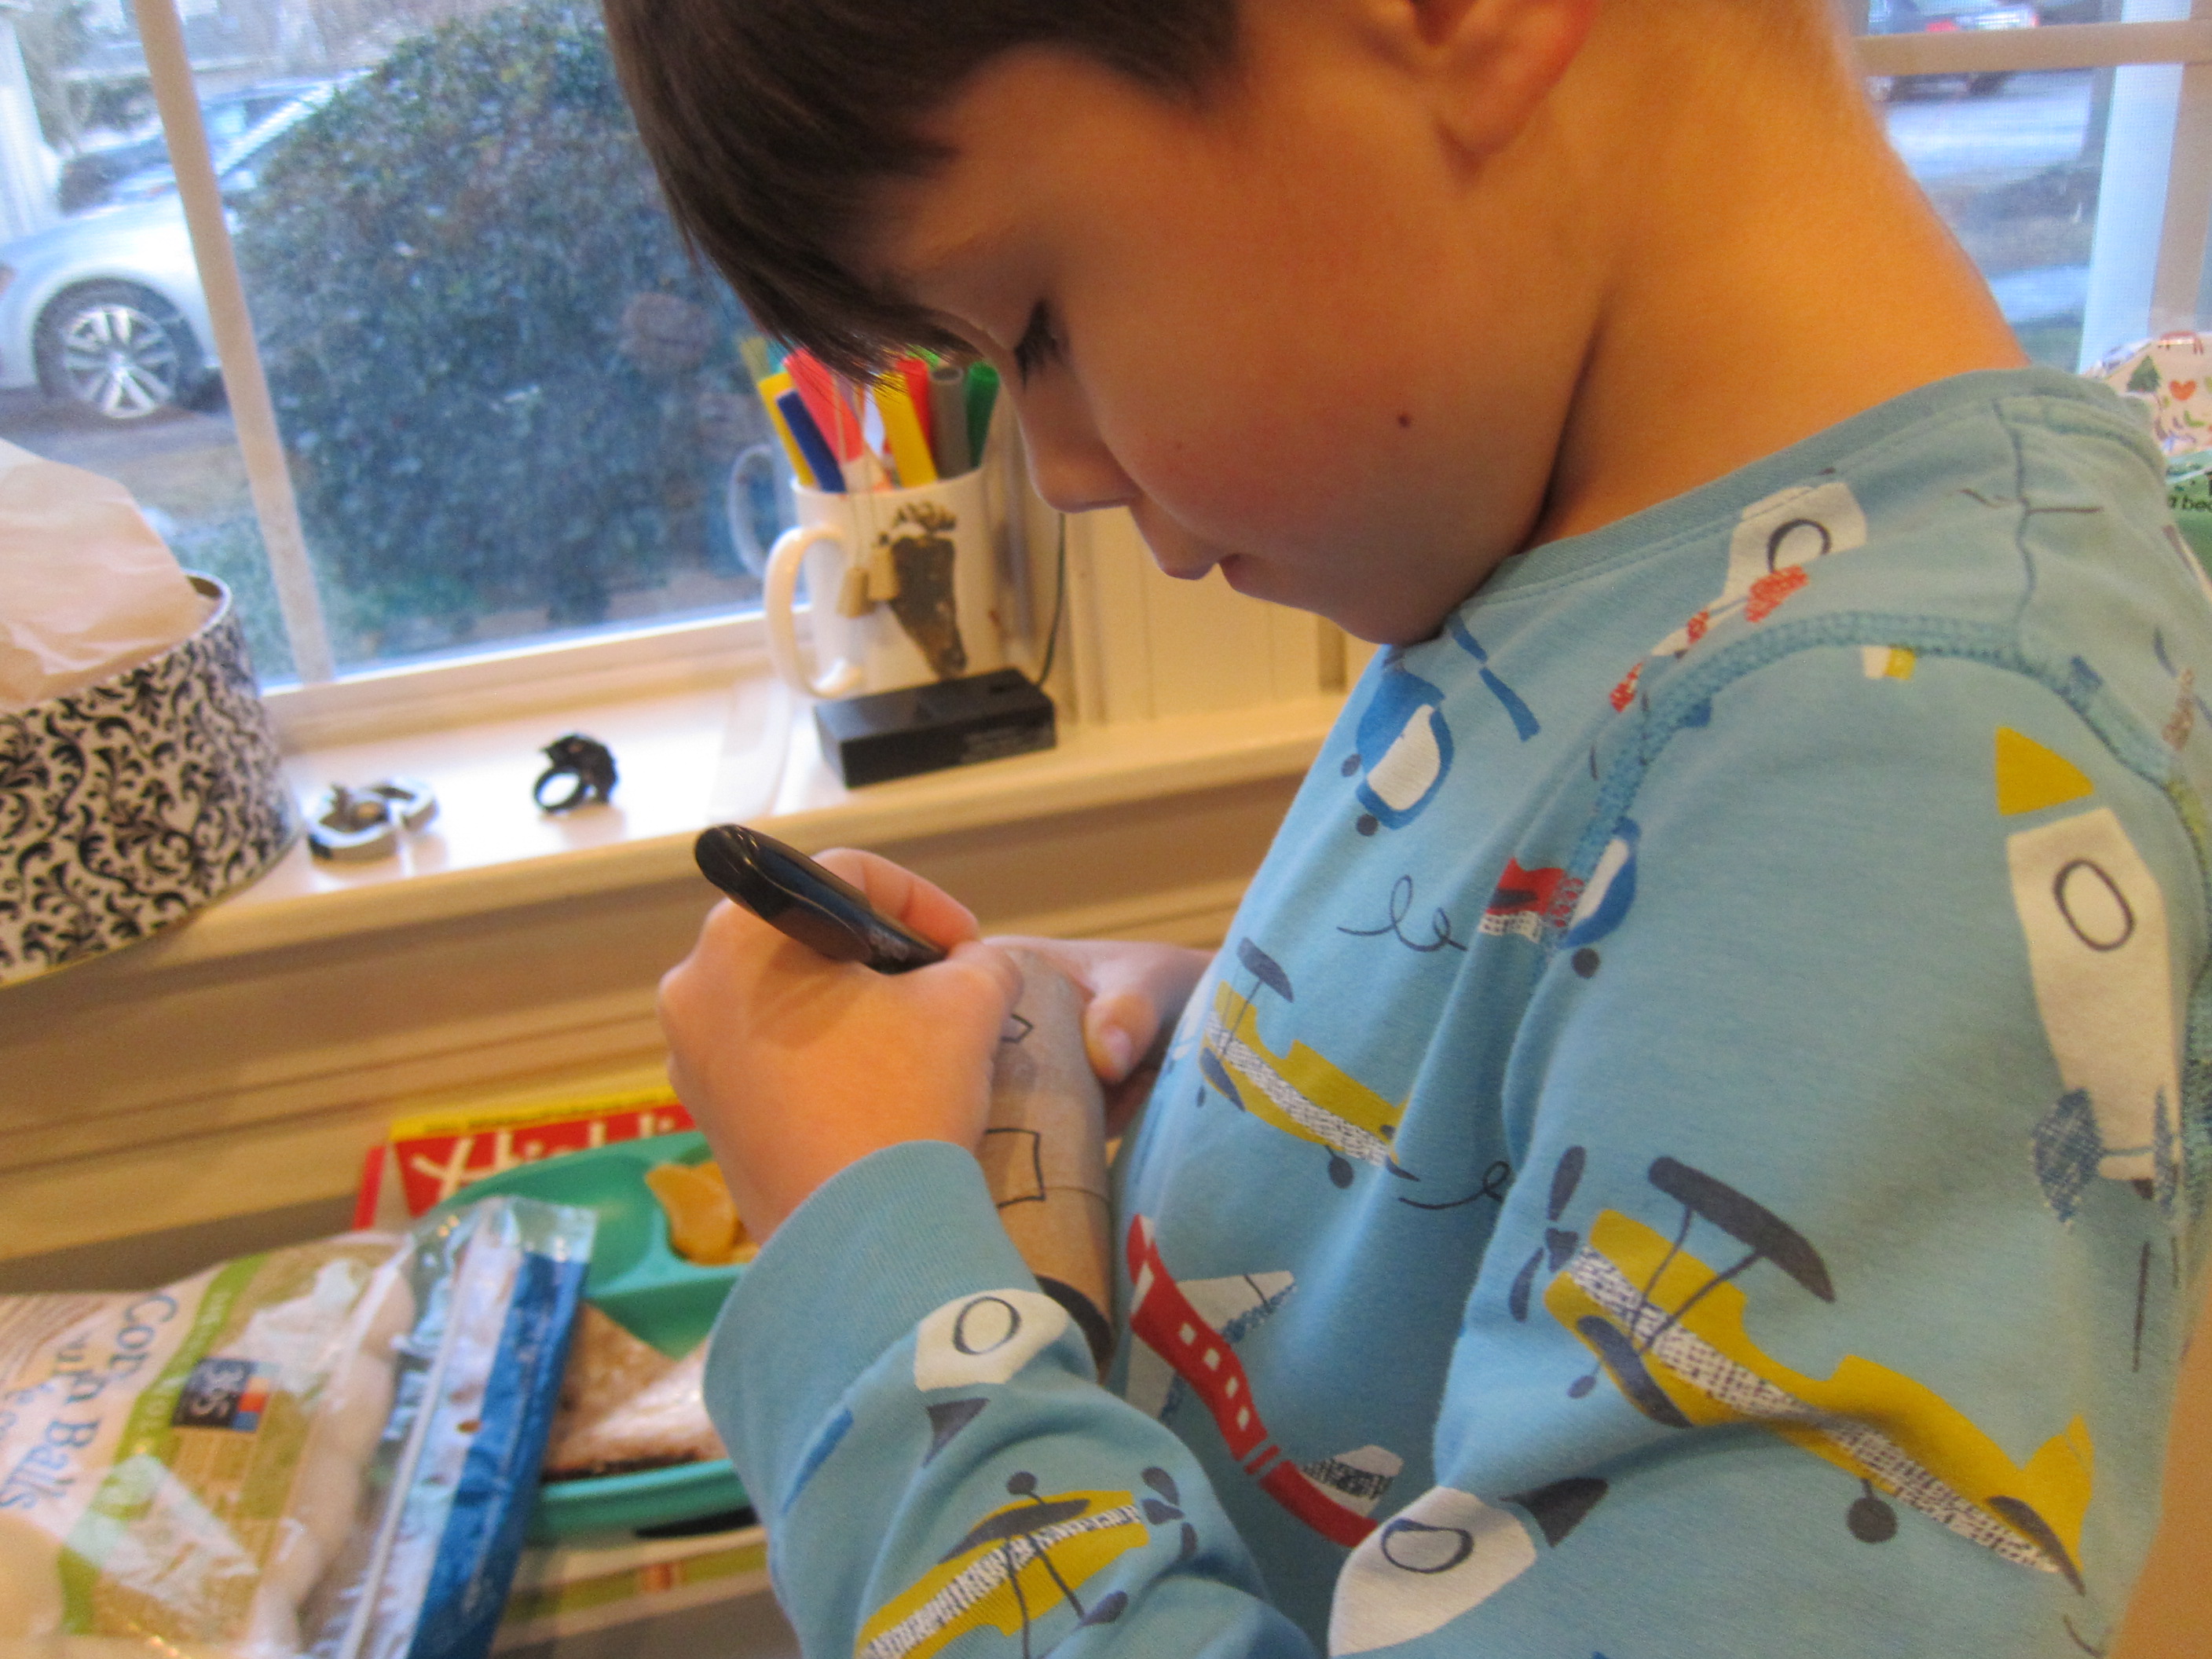
He was particularly proud of this triangular window!

Christmas Town (6)

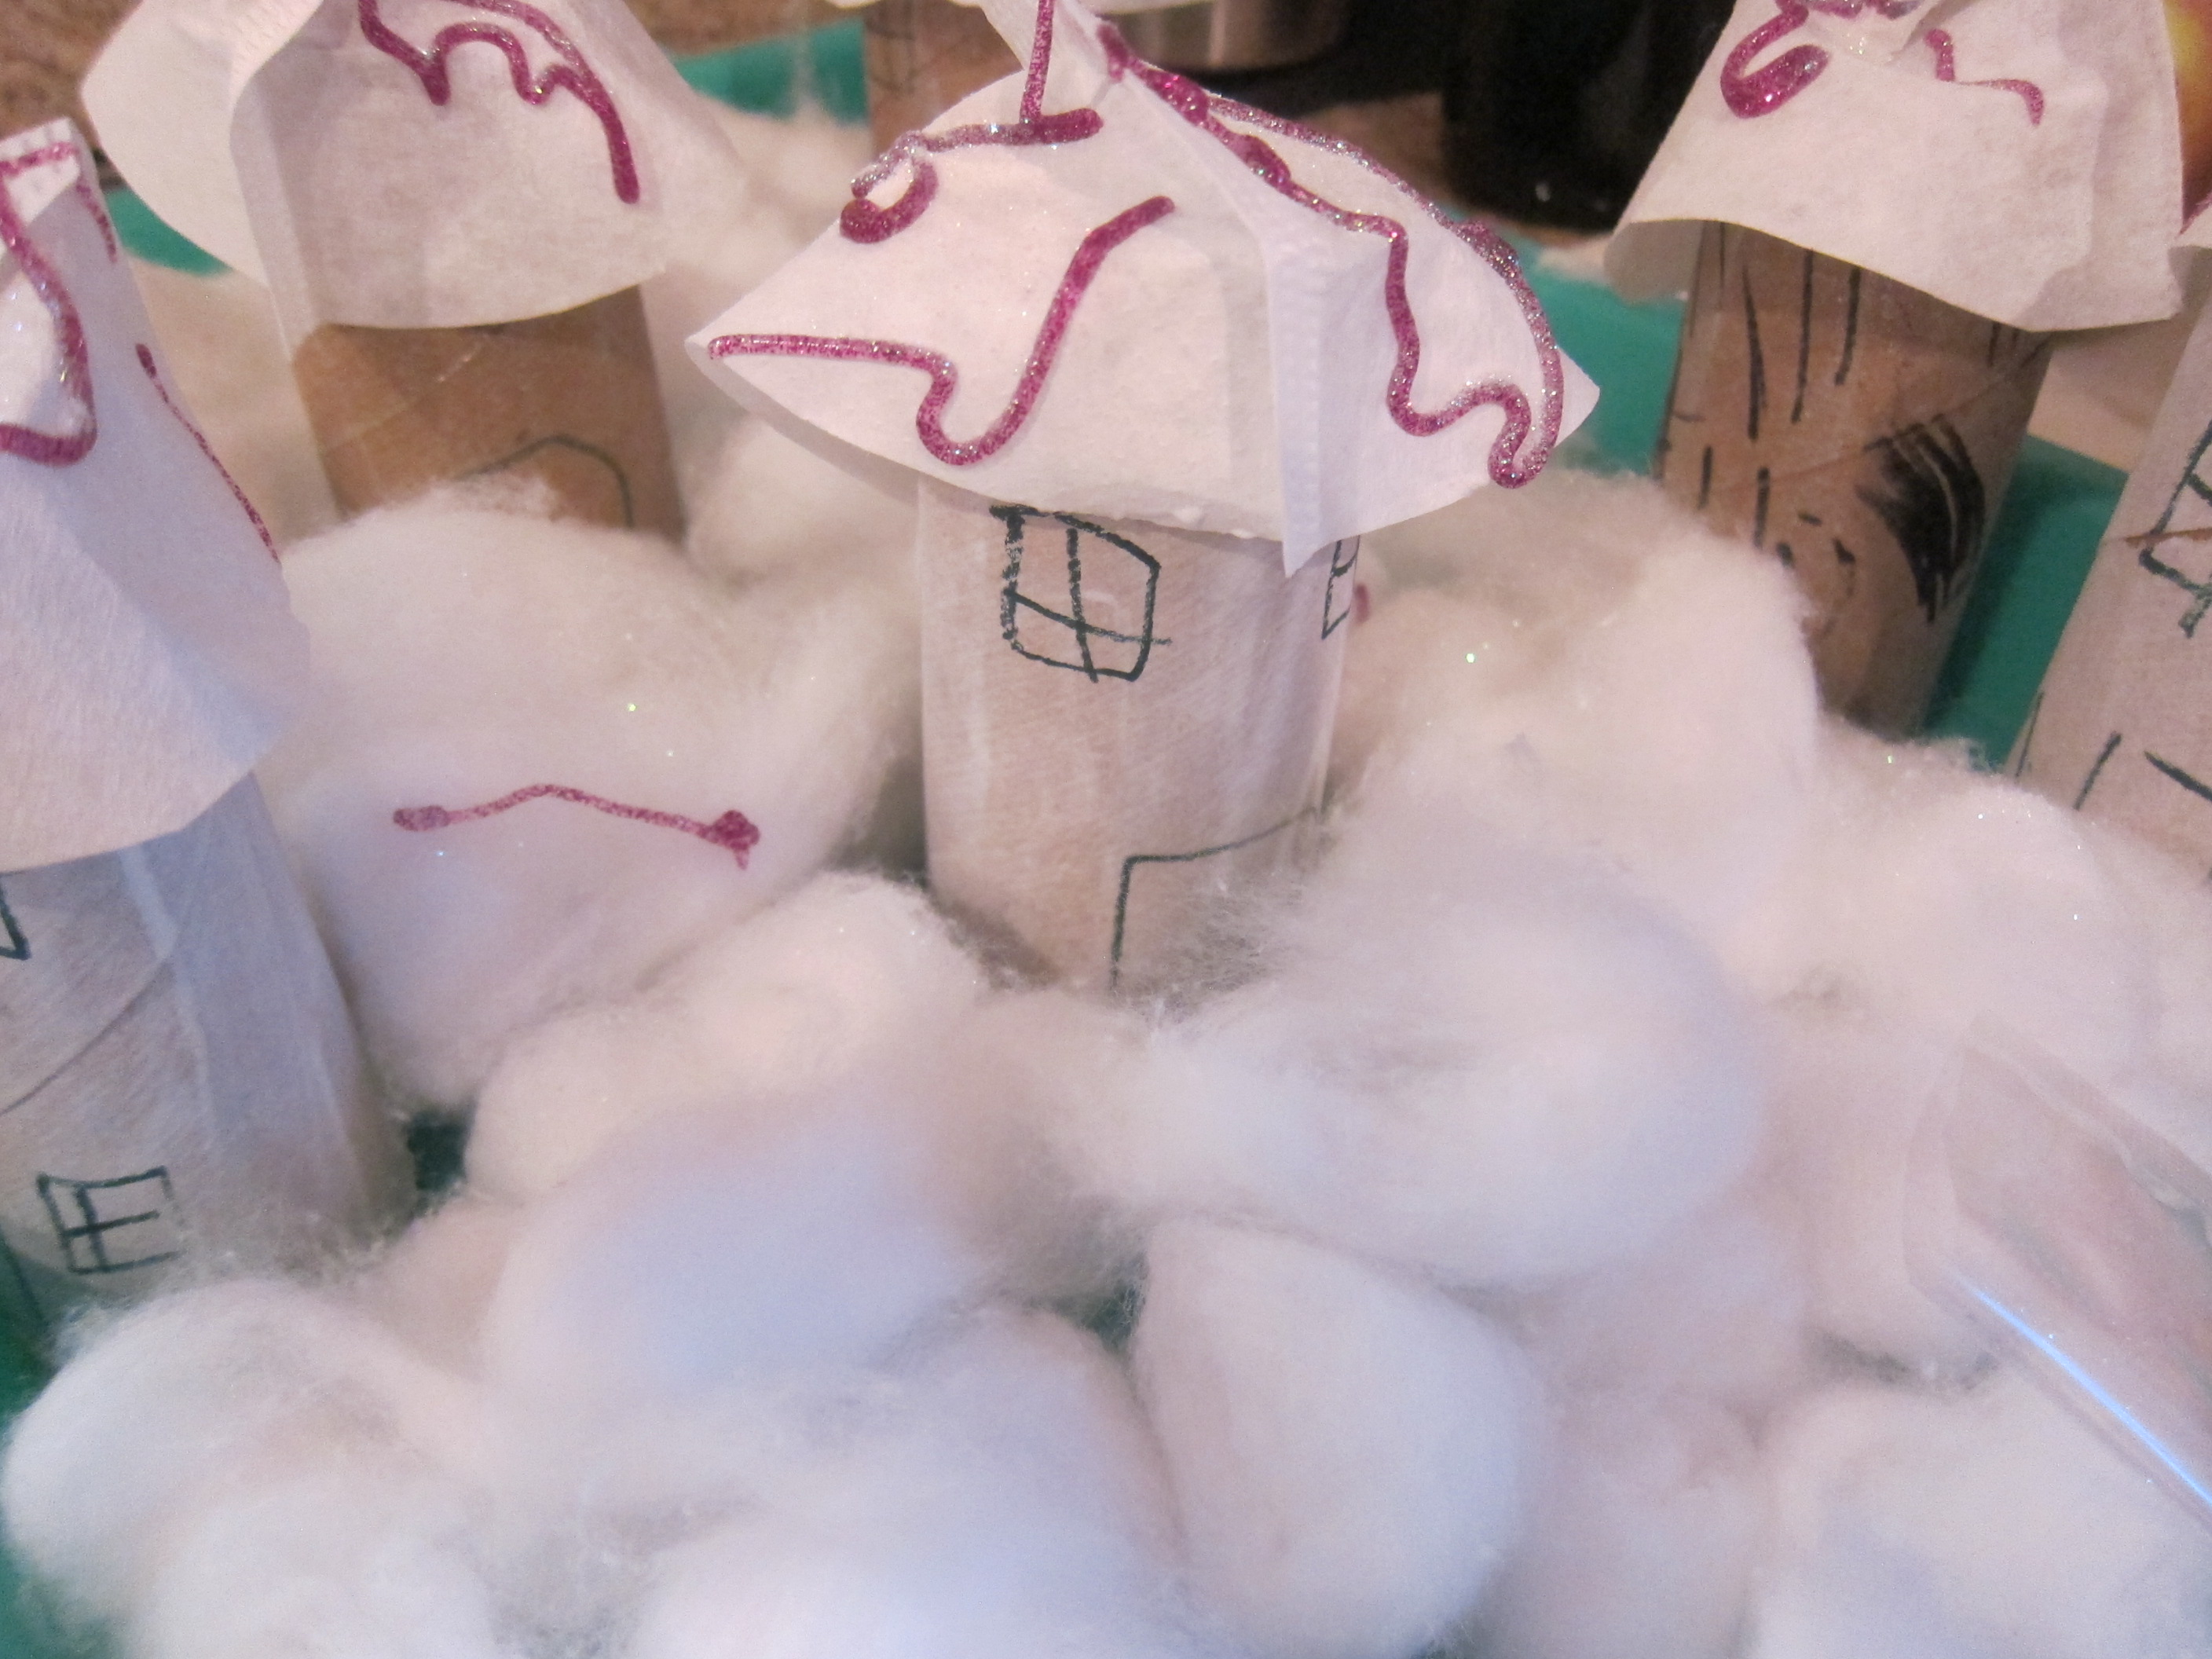
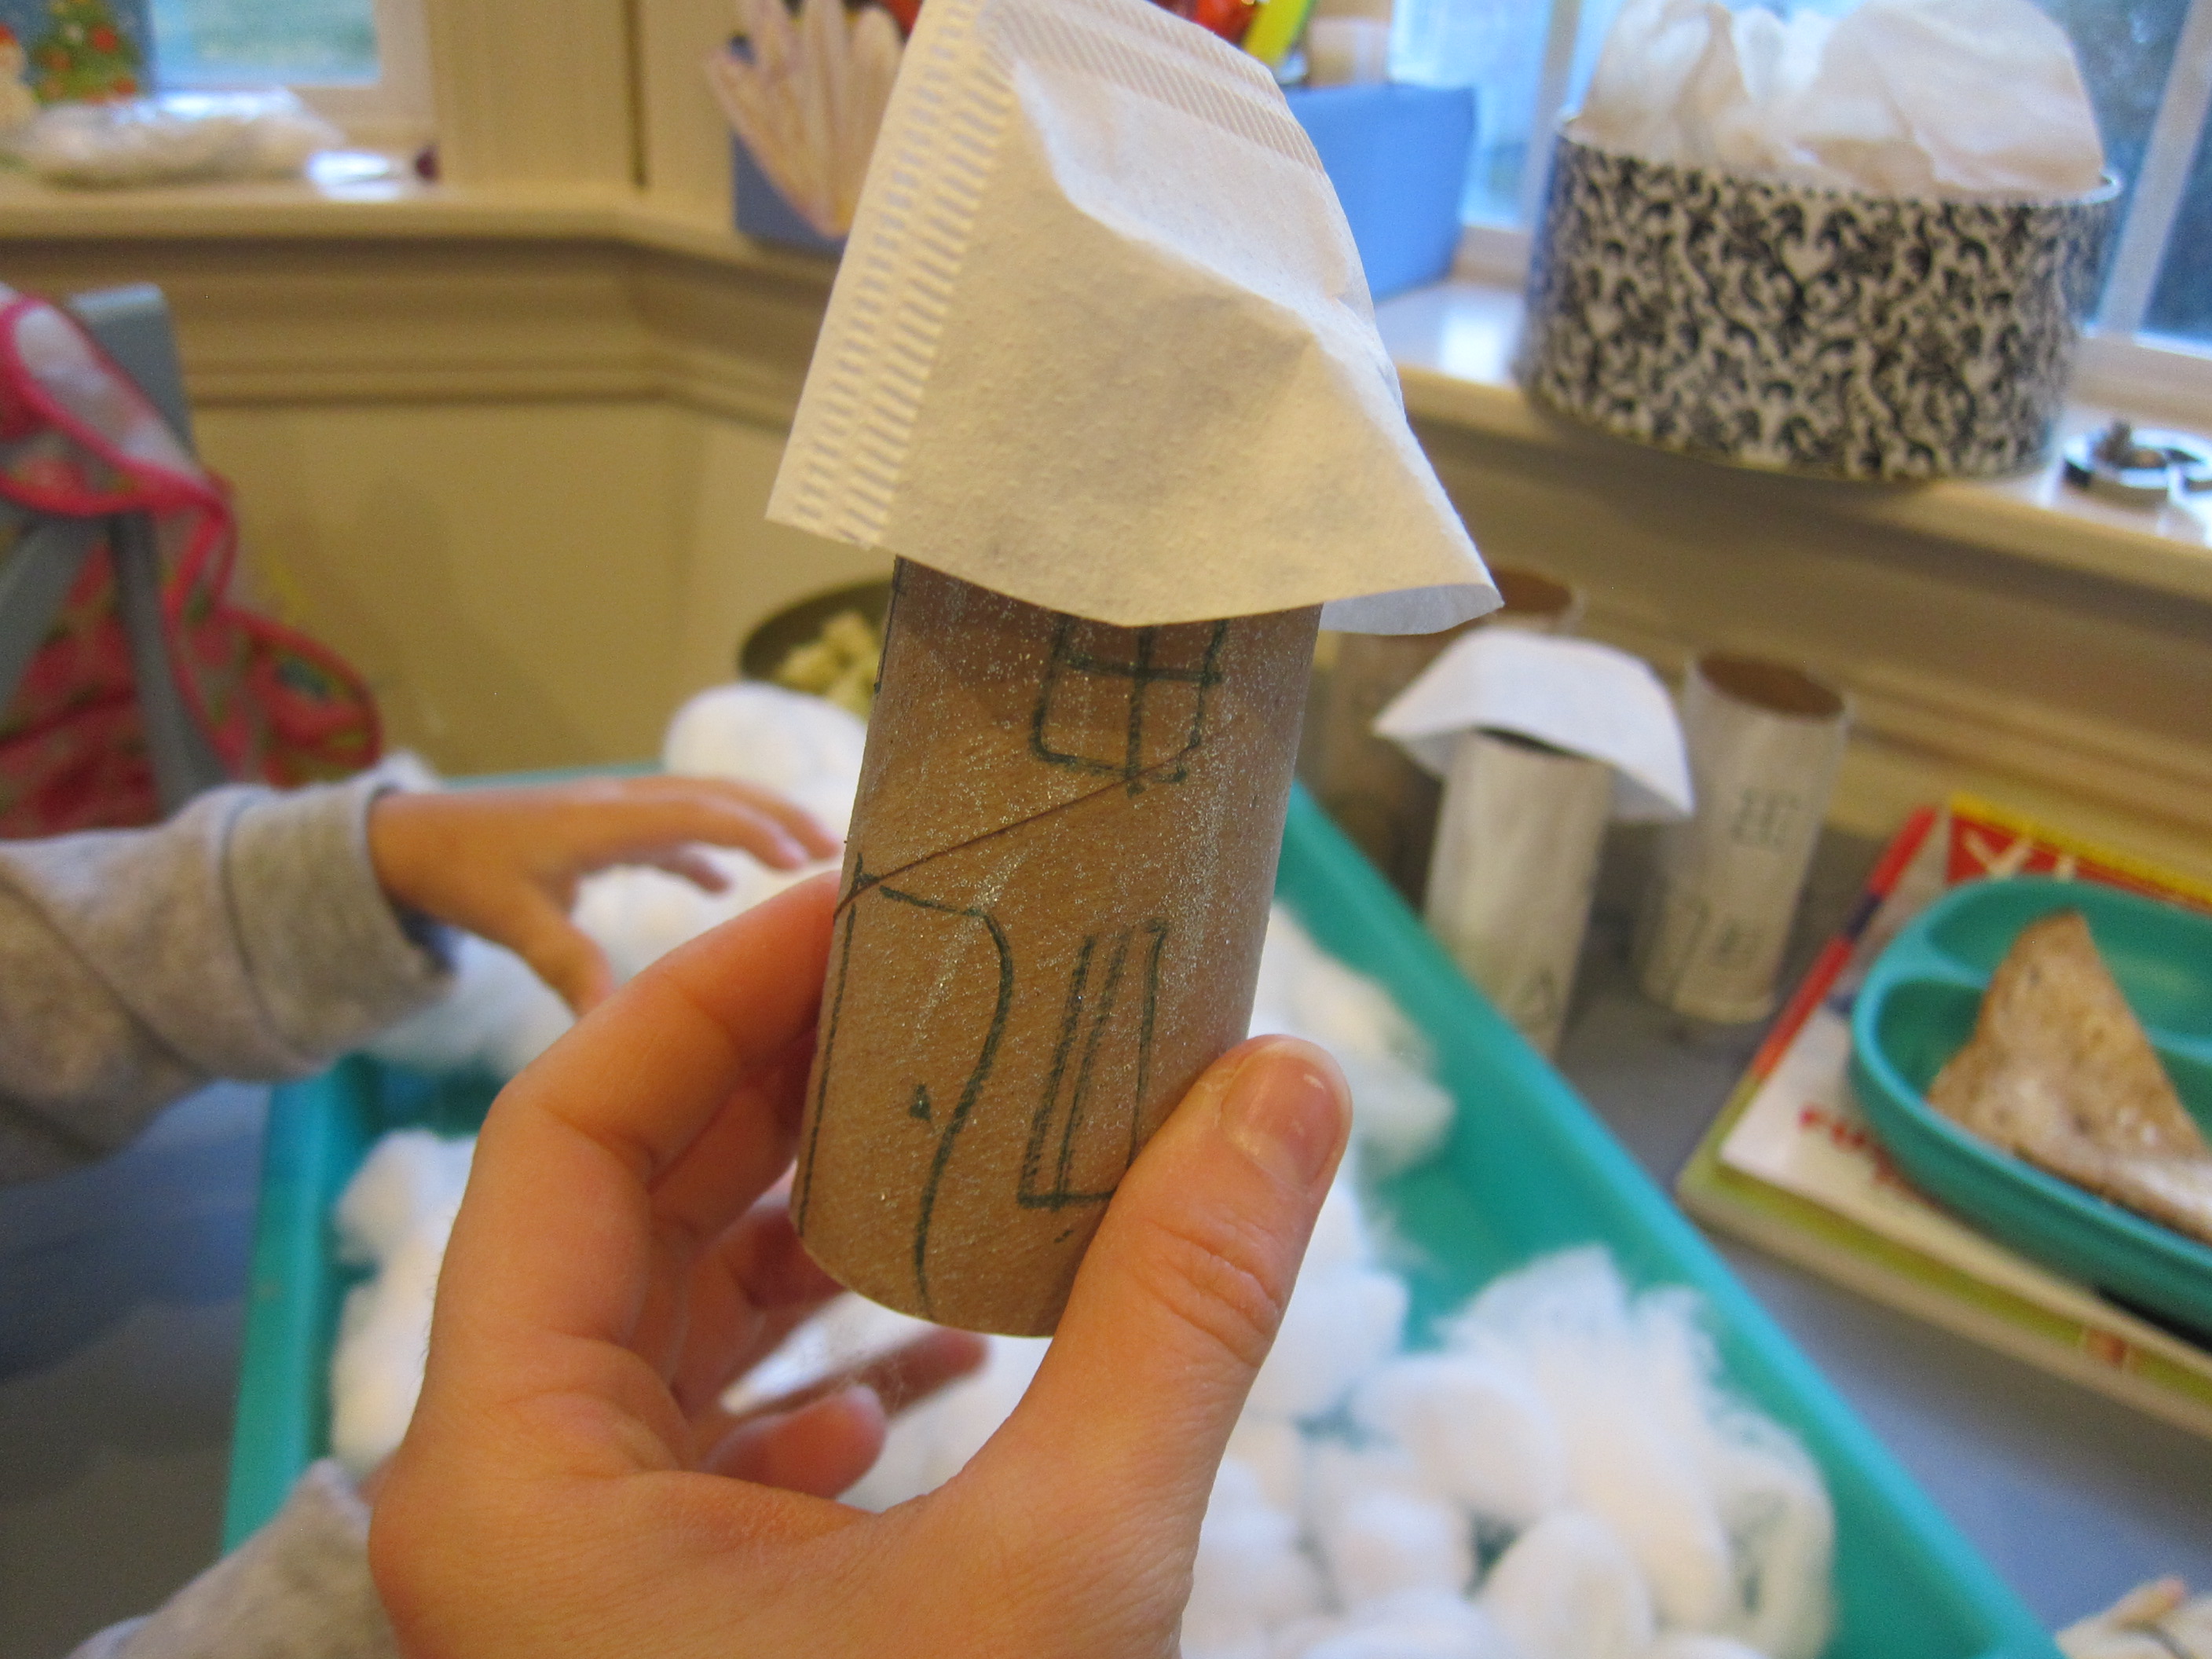
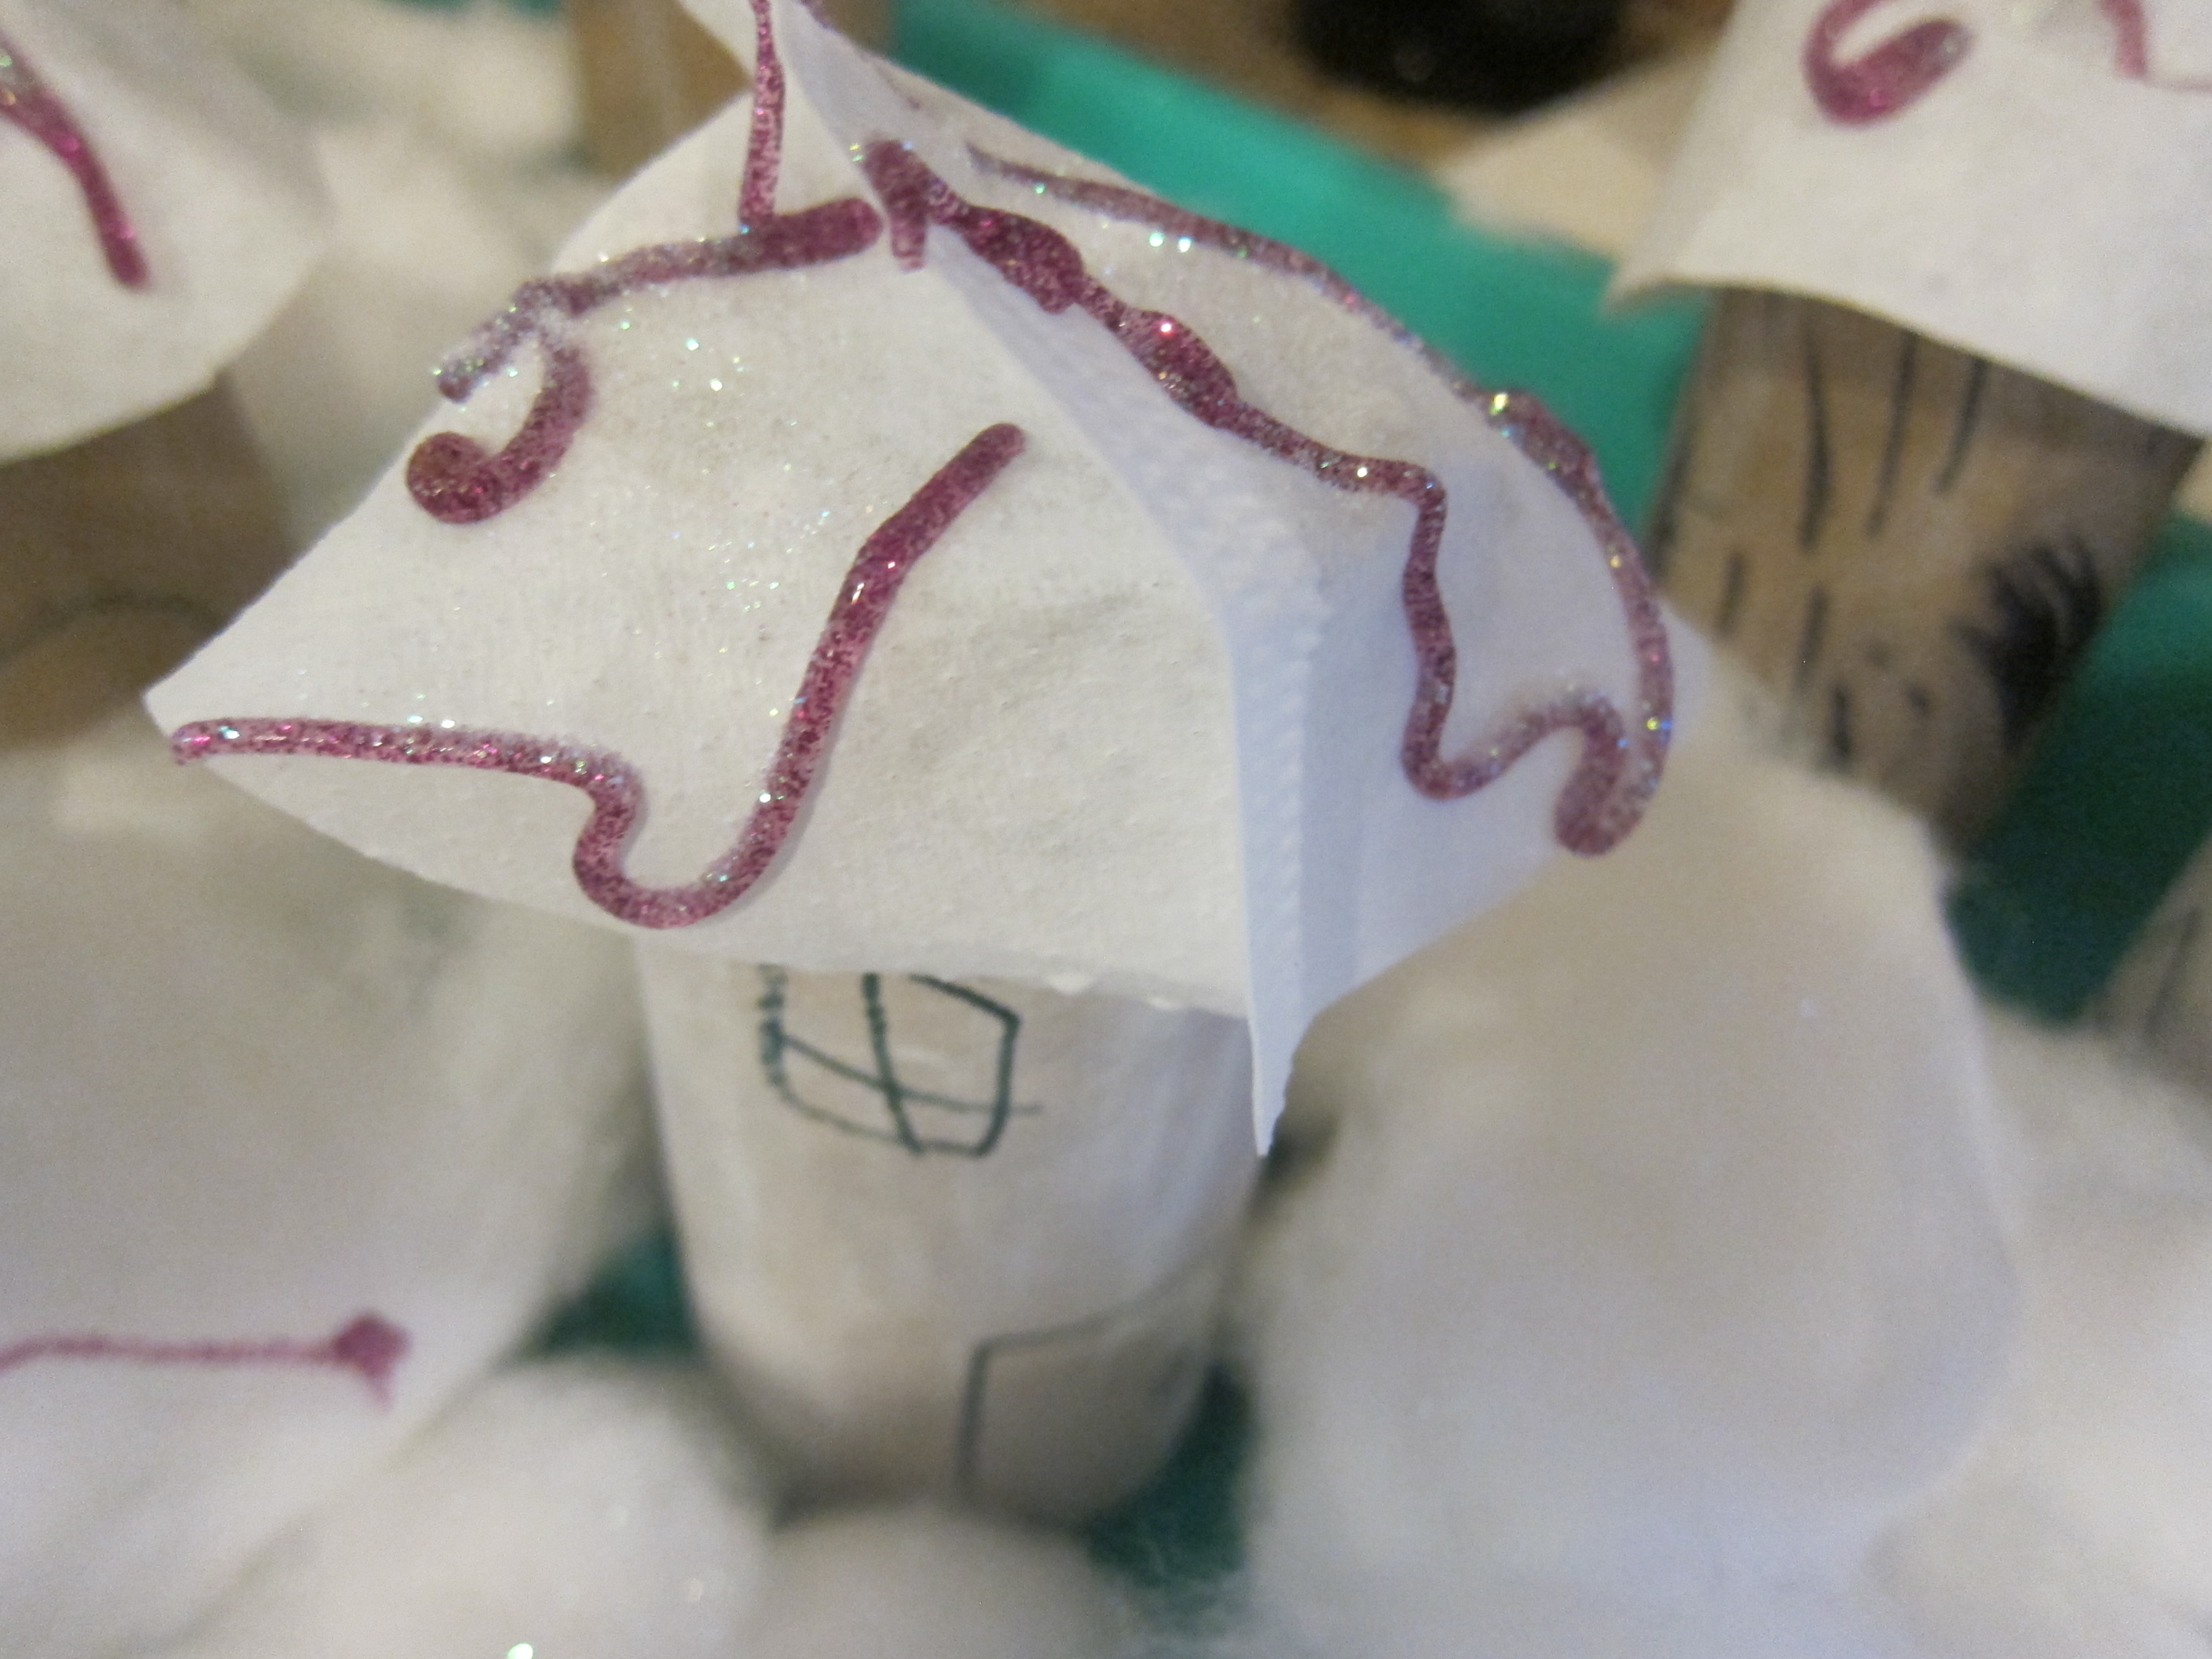
For rooftops, we glued on white coffee filters (which I  had to trim slightly to fit). White cupcakes liners would work for this step, too.

Christmas Town (5)

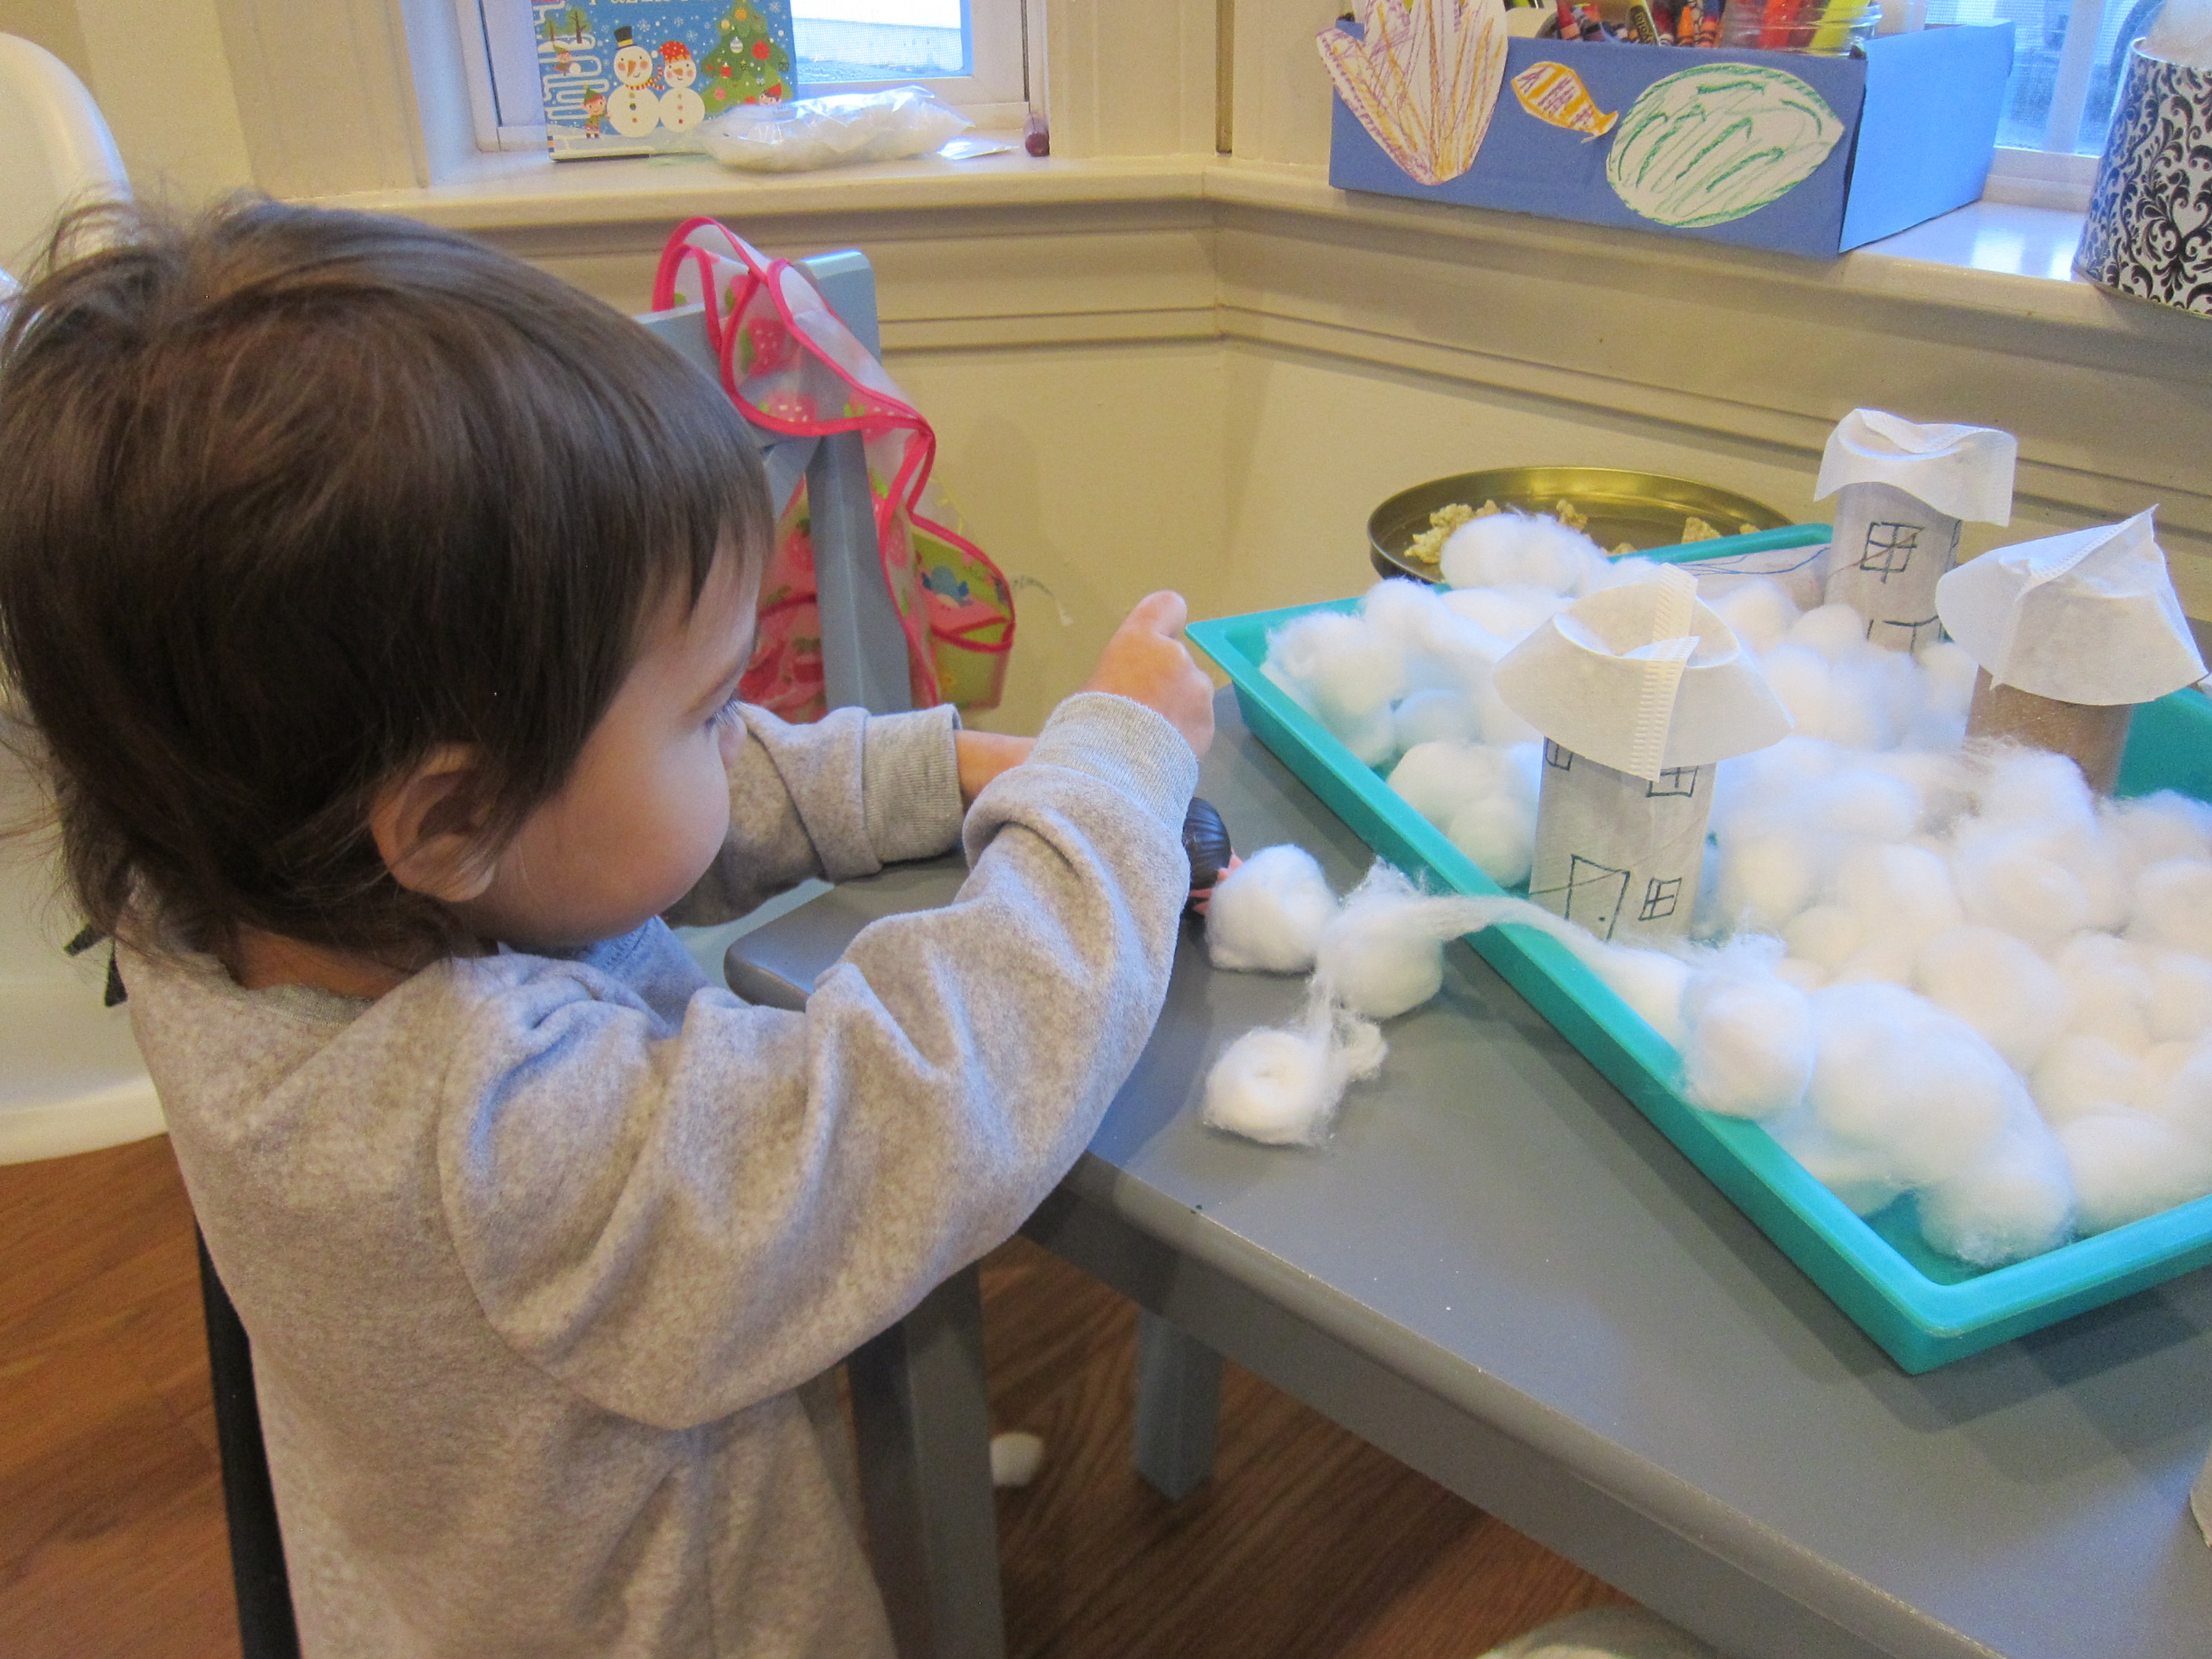
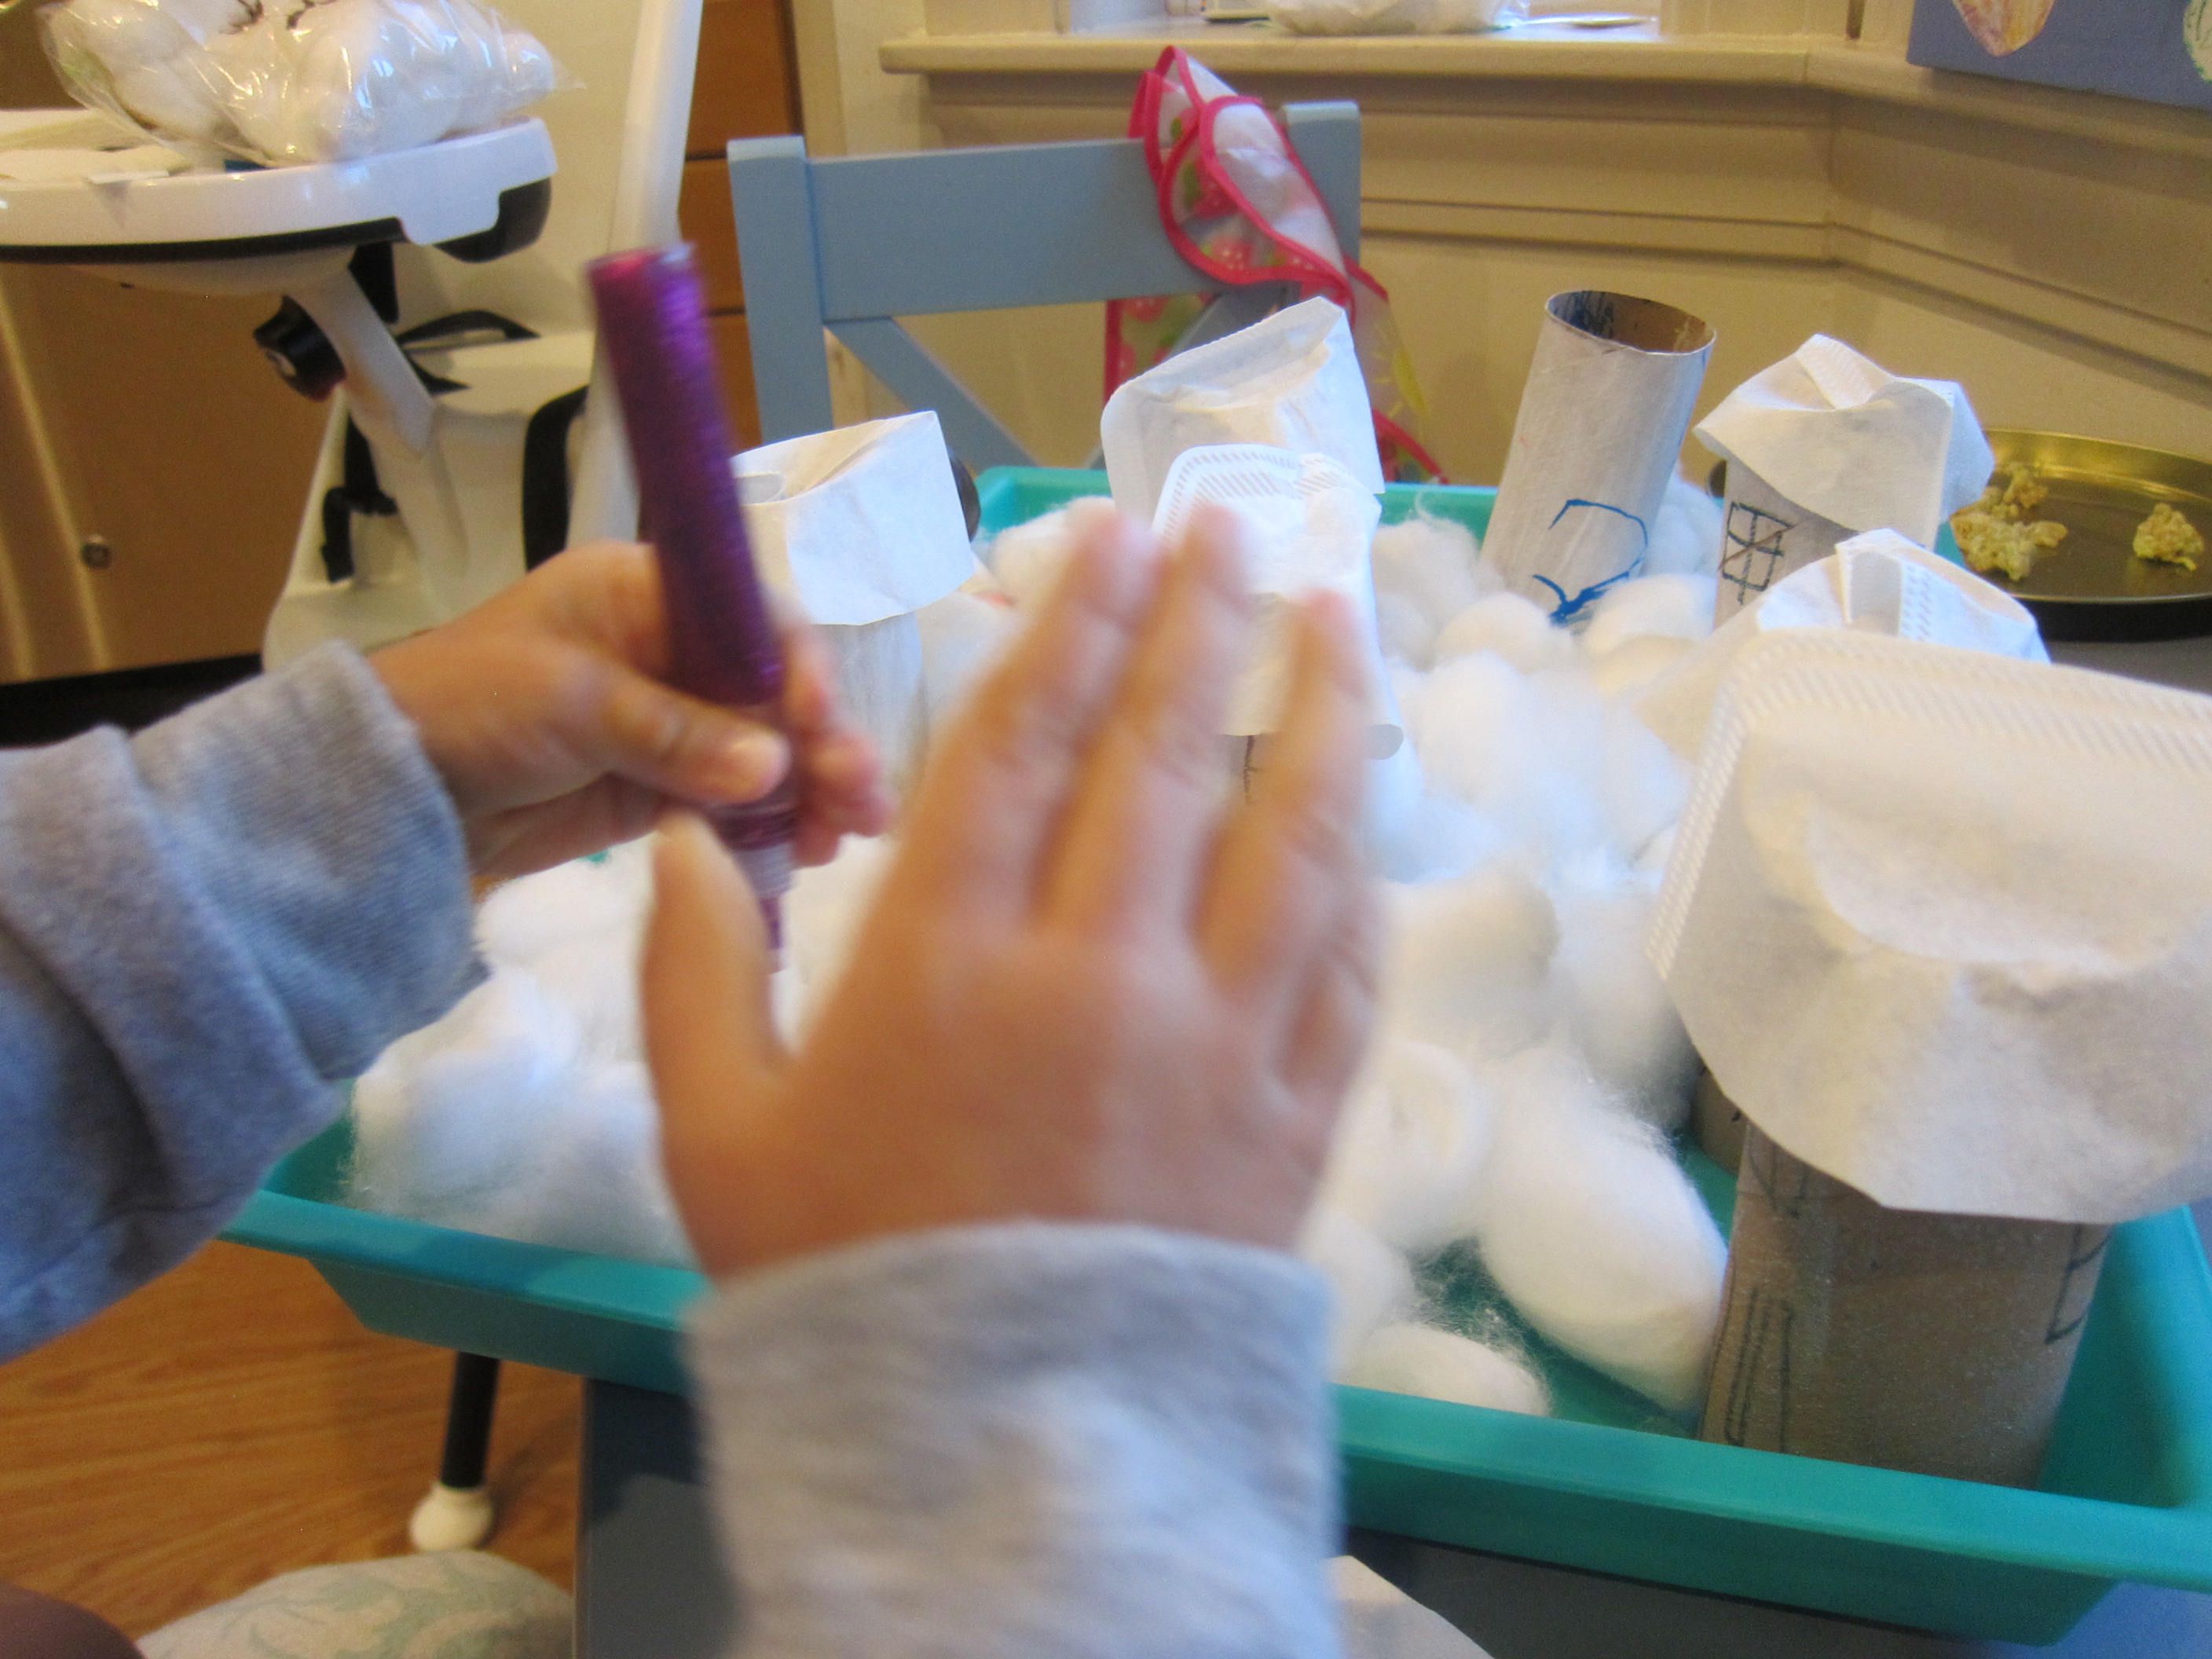
For snowy streets, I showed the kids how to pull cotton balls apart slightly so they were light and fluffy, just like snow on the ground. You might even consider piling a few cotton balls together to make “snowmen”!

Christmas Town (7)

It was time to make our town sparkle with snow. Veronika wanted to use glitter glue and I only had purple, which spoiled the look slightly. But then we sprinkled over it with white glitter!

Christmas Town (9)

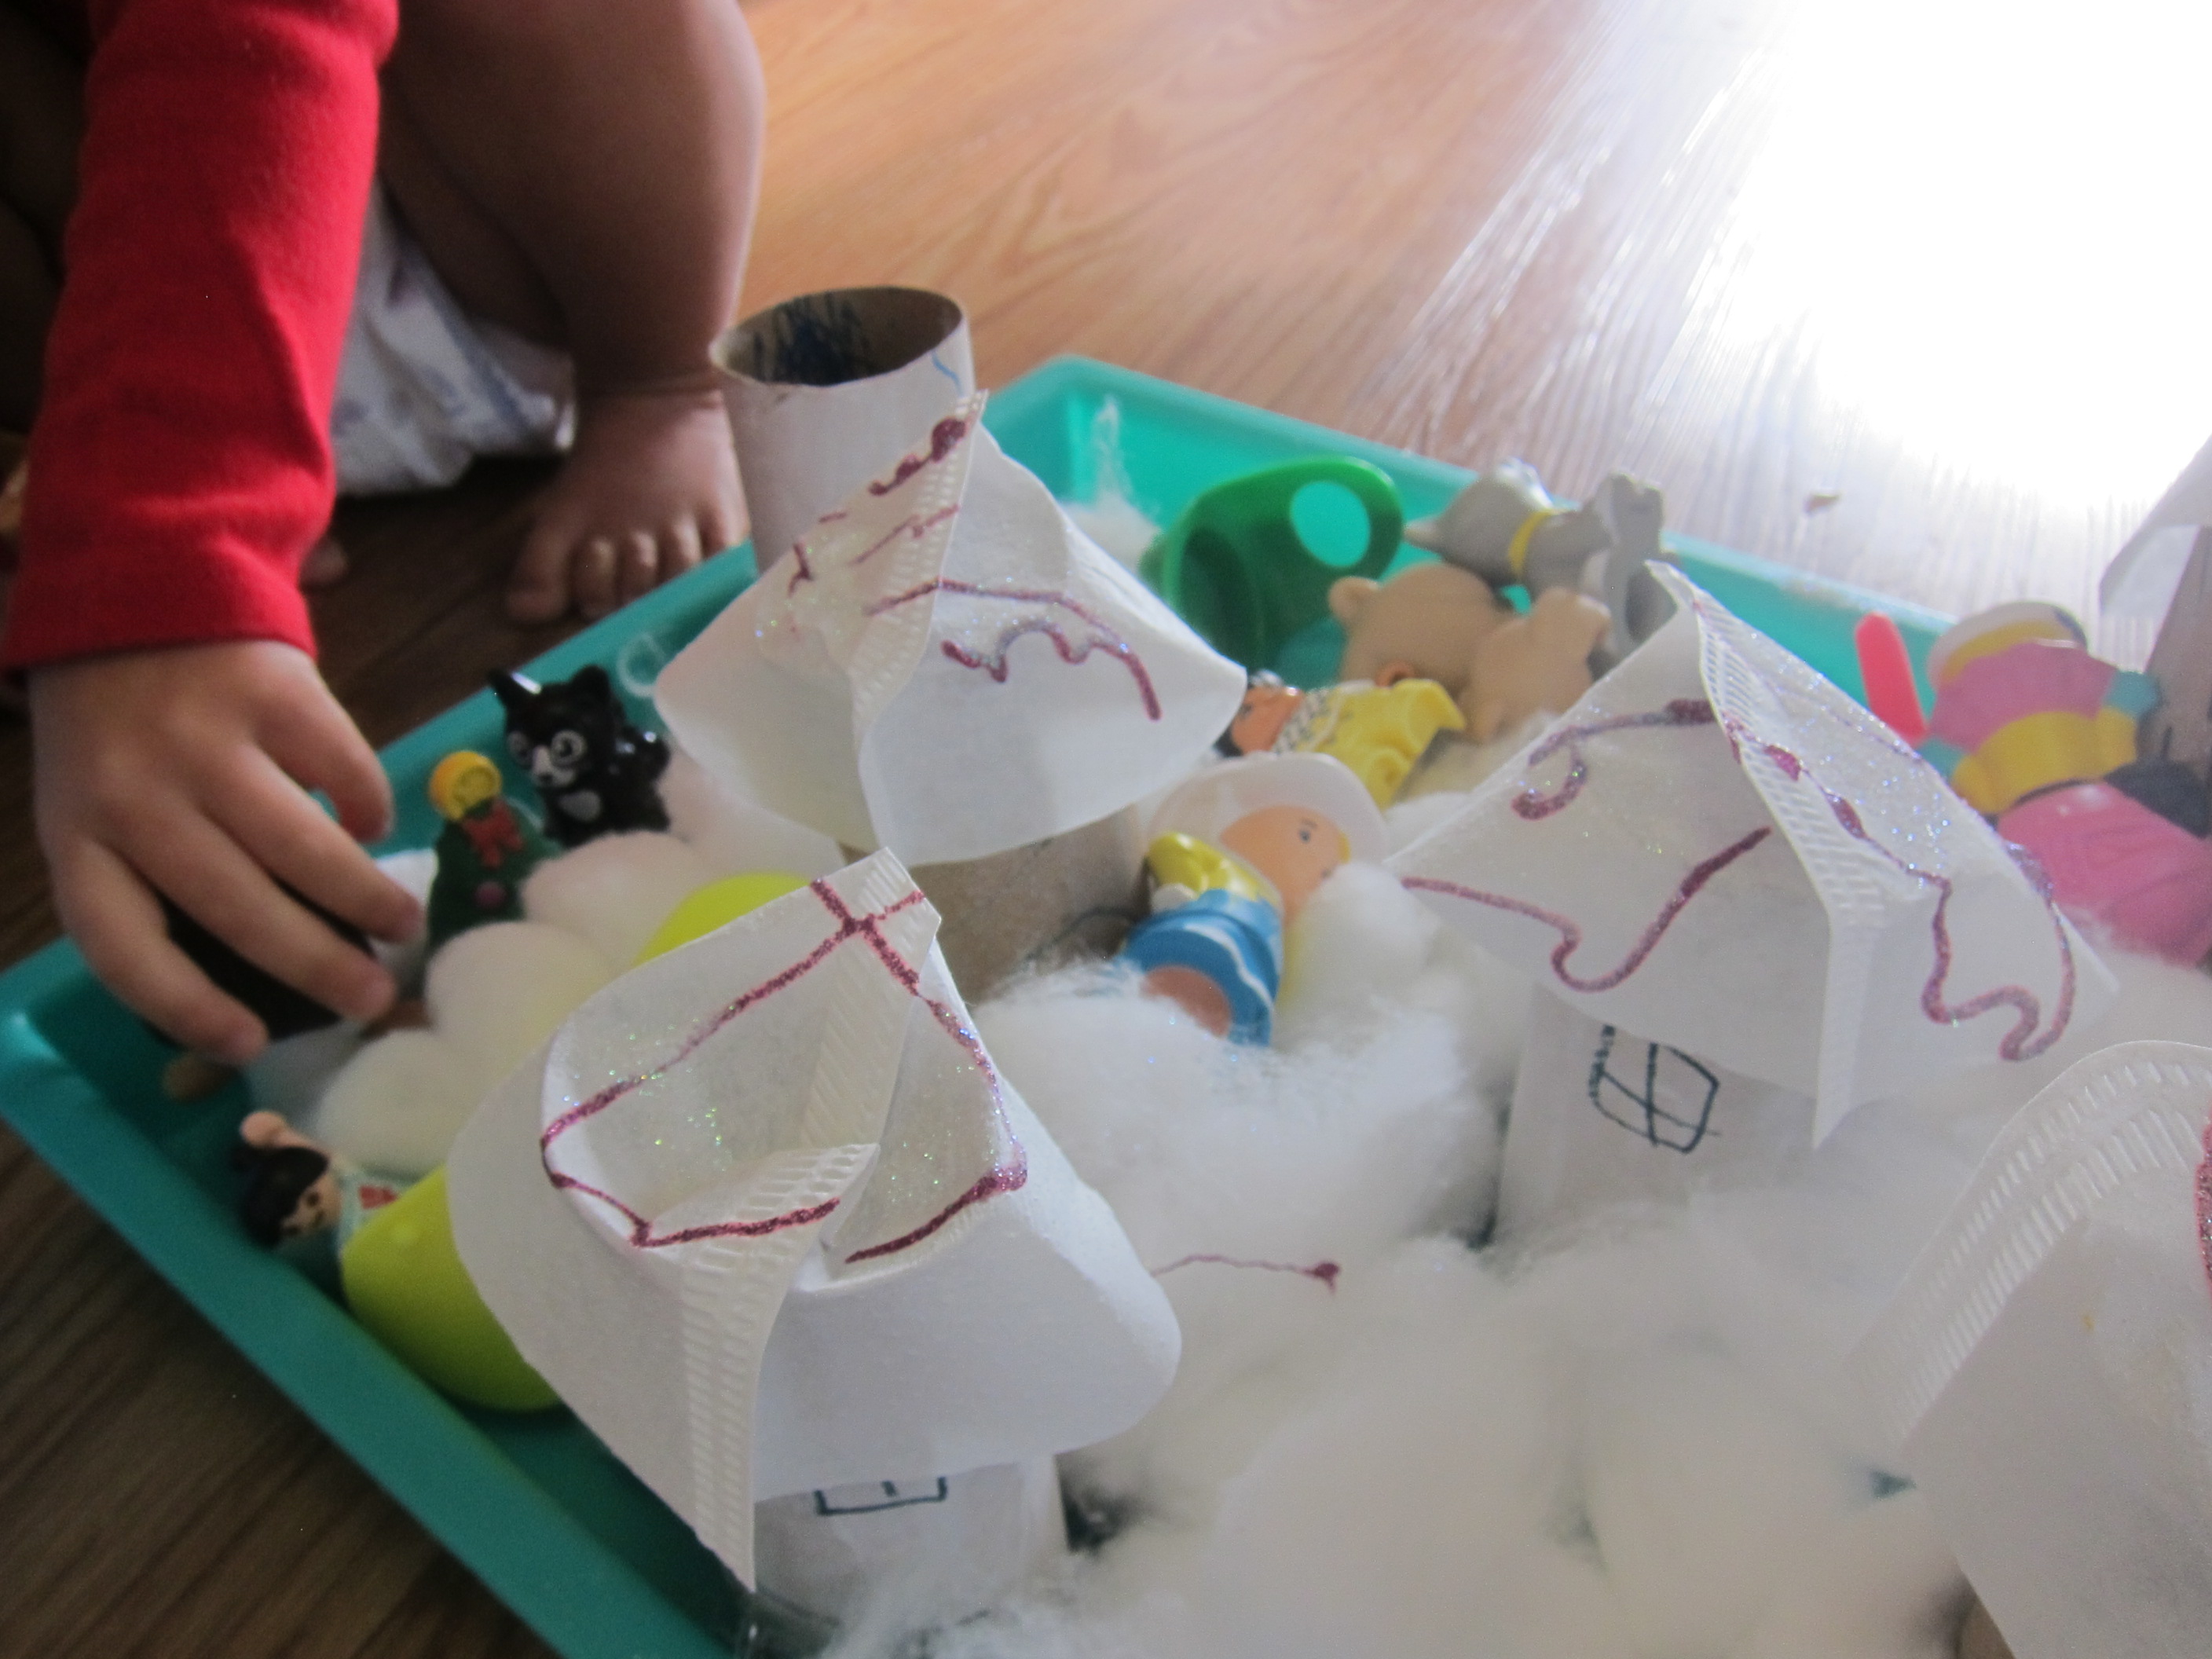
Now it was a sparkly, snowy scene!

Christmas Town (10)

Veronika loved adding play figures to wander in the streets of town. We included some seasonally-appropriate toys from her advent calendar, like a small Christmas tree and snowman.

Christmas Town (16)

She loved the way the soft cotton balls felt, and also enjoyed putting her toy people inside the tube houses. I guess they were staying cozy and warm!

Christmas Town (15)

What will go in your winter town? Please share in the comments!